Offroad Trailblazers and Envoys

What did you do to your GMT today?

Trailblazer and Envoy related, but not off-road related...

by drburke » Sun Jul 21, 2013 6:33 pm

JorDaneeKey wrote:Totally misunderstood your post. For some reason I was thinking "bumper" meant you had gotten a custom bumper from Barton. We never even considered touching ours. It has stayed off and will until we get a custom front bumper. As for the rear, I forgot how much of a pain that was. Were it not for my step-dad's acetylene torch, we would've never gotten the bolts loose, I'm sure.


I'm not touching the front either. Picking up Barton's bumper on Tuesday.

v7guy wrote:sway bar delete


Scale of 1-10, how much fun was the front sway bar :poke:
User avatar
drburke
Off-Roader
 
Posts: 205
Joined: Thu Dec 13, 2012 5:00 pm
Location: GA
Name: Burke
Vehicle Year: 2004
Vehicle: Chevrolet TrailBlazer
DriveTrain: 4WD
Rank: Trail Ready

by fishsticks » Sun Jul 21, 2013 6:53 pm

Image

Dipped the TB.
11 Silverado LTZ - 6.2L/6l80, 2/3 drop, self tuned
85 Hilux - 3RZ, dual cases, caged, 40s, chromo everything
02 TrailBlazer LTZ - 35s, lockers, balls - Gone but not forgotten - Build
User avatar
fishsticks
Moderator
 
Posts: 4356
Joined: Thu Apr 01, 2010 11:30 pm
Location: WA, Vancouver
Name: Donny
Vehicle Year: Other
Vehicle: Other Vehicle
DriveTrain: 4WD w/ Aftermarket Locker
Rank: Extreme Offroader

by RyansTBLS » Sun Jul 21, 2013 6:59 pm

You don't have a tb...do you? :poke:
The problem with the Trailblazer is, people think you know what you're doing.
User avatar
RyansTBLS
Addict
 
Posts: 623
Joined: Sun Feb 12, 2012 7:00 pm
Location: OR, La Grande
Name: Ryan
Vehicle Year: 2006
Vehicle: Chevrolet TrailBlazer
DriveTrain: 4WD
Rank: Trail Ready

by dvanbramer88 » Sun Jul 21, 2013 7:07 pm

v7guy wrote:sway bar delete

Image


Nice. Best improvement ever IMO. (Talking from experience with Josh's TB)


I bet there was some swearing to go along with those cuts.
Chevy Power!
Long live the Republic
"Violence is not always evil. The judicious use of violence and those willing to use it without hesitation is often all that stands between wolves and sheep."

Build Thread
User avatar
dvanbramer88
Lifer
 
Posts: 2283
Joined: Tue Jul 05, 2011 3:12 pm
Location: PA, Bristol
Name: Dave
Vehicle Year: 2002
Vehicle: Chevrolet TrailBlazer
DriveTrain: 4WD
Rank: Trail Ready

by fishsticks » Sun Jul 21, 2013 7:37 pm

RyansTBLS wrote:You don't have a tb...do you? :poke:


I still work on it. :P
11 Silverado LTZ - 6.2L/6l80, 2/3 drop, self tuned
85 Hilux - 3RZ, dual cases, caged, 40s, chromo everything
02 TrailBlazer LTZ - 35s, lockers, balls - Gone but not forgotten - Build
User avatar
fishsticks
Moderator
 
Posts: 4356
Joined: Thu Apr 01, 2010 11:30 pm
Location: WA, Vancouver
Name: Donny
Vehicle Year: Other
Vehicle: Other Vehicle
DriveTrain: 4WD w/ Aftermarket Locker
Rank: Extreme Offroader

by RyansTBLS » Sun Jul 21, 2013 8:23 pm

Oh yea, I forgot you sold it with a lifetime guarantee :slap:
The problem with the Trailblazer is, people think you know what you're doing.
User avatar
RyansTBLS
Addict
 
Posts: 623
Joined: Sun Feb 12, 2012 7:00 pm
Location: OR, La Grande
Name: Ryan
Vehicle Year: 2006
Vehicle: Chevrolet TrailBlazer
DriveTrain: 4WD
Rank: Trail Ready

by navigator » Mon Jul 22, 2013 8:20 am

On Friday installed Dorman 265-811 Transmission Oil Pan. Based on what I had read this was supposed to be the deep pan so I bought a deep filter as well. Evidently I already had a deep pan/filter because they looked the same except for the drain in the bottom.
It went on without a hitch. Hopefully I'll get the cooler installed this weekend.
Attachments
TrannyPan.jpg
"Please consider a search before posting. Folks on this site PIONEERED functional offroad use of these trucks."
The answer to many common lift questions can be found
here
My Build Thread
User avatar
navigator
Moderator
 
Posts: 4651
Joined: Wed Mar 09, 2011 10:16 am
Location: NC, Winnabow
Name: Chris
Vehicle Year: 2006
Vehicle: Chevrolet TrailBlazer
DriveTrain: 4WD
Rank: Trail Ready

by bartonmd » Mon Jul 22, 2013 8:53 am

Just as an aside, since this is a "GMT" thread not a "TB" thread... The Pitman arm on the Chevy trucks might be the biggest PITA job I've ever done on anything. Where do you want the main shaft of the steering box to point, to make it really easy to work on? That's right, 3" away, directly at the front IFS crossmember that's welded in, and right behind the anti-roll bar. You're supposed to remove the steering box from the vehicle to do this job, but that would mean bleeding lines and having to find some place to get like 300ft/lbs on the nut. Got the nut off with a pipe wrench and a 3ft cheater bar, unbolted the box and moved it to a different hole (put the lower mounting ear in the top mounting hole), cut the pitman arm off with a die grinder when my pitman arm puller broke, while pulling on it with a universal disconnect tool, used an impact to get the new arm most of the way on, re-mounted it its home, and put the last turn and a half on it with the same pipe wrench and 3ft cheater bar.

Idler arm mount, idler arm, pitman arm, and steering damper took me 8 hours to do.

The fuel pump I did in the morning took me a little over an hour, because of being able to just jack up the bed and not move the tank.

Mike
bartonmd
Moderator
 
Posts: 4469
Joined: Wed Sep 09, 2009 9:35 am
Location: IN, Indianapolis
Name: Mike
Vehicle Year: 2007
Vehicle: Chevrolet TrailBlazer
DriveTrain: 4WD w/ G80
Rank: Offroad Rated

by v7guy » Mon Jul 22, 2013 9:04 am

drburke wrote:
v7guy wrote:sway bar delete


Scale of 1-10, how much fun was the front sway bar :poke:


Poke? I don't understand?

It's been a long 36 hours, you're gonna need to spell it out for me lol
build thread

All things in moderation, including moderation.
Some people never go crazy... what truly horrible lives they must lead
User avatar
v7guy
Moderator
 
Posts: 3712
Joined: Wed Mar 09, 2011 10:17 pm
Location: NY, long island
Name: Jason
Vehicle Year: 2004
Vehicle: Chevrolet TrailBlazer
DriveTrain: 4WD
Rank: Offroad Rated

by dvanbramer88 » Mon Jul 22, 2013 9:18 am

navigator wrote:On Friday installed Dorman 265-811 Transmission Oil Pan. Based on what I had read this was supposed to be the deep pan so I bought a deep filter as well. Evidently I already had a deep pan/filter because they looked the same except for the drain in the bottom.
It went on without a hitch. Hopefully I'll get the cooler installed this weekend.


What we learned on GMT400's is, The shallow pans are "flat" and the deep pans have the "step." In other words, the shallow pan is the same depth over the whole pan, and the deep pan has a shallow end and a deeper end.

The one you posted in definatly a deep pan.
Chevy Power!
Long live the Republic
"Violence is not always evil. The judicious use of violence and those willing to use it without hesitation is often all that stands between wolves and sheep."

Build Thread
User avatar
dvanbramer88
Lifer
 
Posts: 2283
Joined: Tue Jul 05, 2011 3:12 pm
Location: PA, Bristol
Name: Dave
Vehicle Year: 2002
Vehicle: Chevrolet TrailBlazer
DriveTrain: 4WD
Rank: Trail Ready

by dvanbramer88 » Mon Jul 22, 2013 9:25 am

bartonmd wrote:Just as an aside, since this is a "GMT" thread not a "TB" thread... The Pitman arm on the Chevy trucks might be the biggest PITA job I've ever done on anything. Where do you want the main shaft of the steering box to point, to make it really easy to work on? That's right, 3" away, directly at the front IFS crossmember that's welded in, and right behind the anti-roll bar. You're supposed to remove the steering box from the vehicle to do this job, but that would mean bleeding lines and having to find some place to get like 300ft/lbs on the nut. Got the nut off with a pipe wrench and a 3ft cheater bar, unbolted the box and moved it to a different hole (put the lower mounting ear in the top mounting hole), cut the pitman arm off with a die grinder when my pitman arm puller broke, while pulling on it with a universal disconnect tool, used an impact to get the new arm most of the way on, re-mounted it its home, and put the last turn and a half on it with the same pipe wrench and 3ft cheater bar.

Idler arm mount, idler arm, pitman arm, and steering damper took me 8 hours to do.

The fuel pump I did in the morning took me a little over an hour, because of being able to just jack up the bed and not move the tank.

Mike


Tell me about it. I took the steering gear box out to do mine. Three bolts and 2 lines. Wiggled the gear box out with pitman still on it. My weak-ass electric impact wouldn't do squat with the puller. I took it down to my neighbors shop to borrow a real pneumatic impact. A couple burps and it came right off, and same thing to put the new one on. Completely worth the 10 minute trip down to his shop. Saved a lot of ball breaking.

When I did the same job on my truck in the spring, the idler arm and bracket and steering stabilizer went pretty quick compared to the pitman.

But to be fair, I spend 12 hours doing lower ball joints at the end of May. :shoot:
Chevy Power!
Long live the Republic
"Violence is not always evil. The judicious use of violence and those willing to use it without hesitation is often all that stands between wolves and sheep."

Build Thread
User avatar
dvanbramer88
Lifer
 
Posts: 2283
Joined: Tue Jul 05, 2011 3:12 pm
Location: PA, Bristol
Name: Dave
Vehicle Year: 2002
Vehicle: Chevrolet TrailBlazer
DriveTrain: 4WD
Rank: Trail Ready

by bartonmd » Mon Jul 22, 2013 9:59 am

dvanbramer88 wrote:
bartonmd wrote:Just as an aside, since this is a "GMT" thread not a "TB" thread... The Pitman arm on the Chevy trucks might be the biggest PITA job I've ever done on anything. Where do you want the main shaft of the steering box to point, to make it really easy to work on? That's right, 3" away, directly at the front IFS crossmember that's welded in, and right behind the anti-roll bar. You're supposed to remove the steering box from the vehicle to do this job, but that would mean bleeding lines and having to find some place to get like 300ft/lbs on the nut. Got the nut off with a pipe wrench and a 3ft cheater bar, unbolted the box and moved it to a different hole (put the lower mounting ear in the top mounting hole), cut the pitman arm off with a die grinder when my pitman arm puller broke, while pulling on it with a universal disconnect tool, used an impact to get the new arm most of the way on, re-mounted it its home, and put the last turn and a half on it with the same pipe wrench and 3ft cheater bar.

Idler arm mount, idler arm, pitman arm, and steering damper took me 8 hours to do.

The fuel pump I did in the morning took me a little over an hour, because of being able to just jack up the bed and not move the tank.

Mike


Tell me about it. I took the steering gear box out to do mine. Three bolts and 2 lines. Wiggled the gear box out with pitman still on it. My weak-ass electric impact wouldn't do squat with the puller. I took it down to my neighbors shop to borrow a real pneumatic impact. A couple burps and it came right off, and same thing to put the new one on. Completely worth the 10 minute trip down to his shop. Saved a lot of ball breaking.

When I did the same job on my truck in the spring, the idler arm and bracket and steering stabilizer went pretty quick compared to the pitman.

But to be fair, I spend 12 hours doing lower ball joints at the end of May. :shoot:


I was using an Aircat 1150 that's supposedly good for 1150ft/lbs of torque (at 175psi, where they're all rated. I run on 95-130psi, though). It didn't even pop off at all, until I was almost entirely through the pitman arm with the die grinder, and gave it one last hit on the impact. Holy shit!

Mike
bartonmd
Moderator
 
Posts: 4469
Joined: Wed Sep 09, 2009 9:35 am
Location: IN, Indianapolis
Name: Mike
Vehicle Year: 2007
Vehicle: Chevrolet TrailBlazer
DriveTrain: 4WD w/ G80
Rank: Offroad Rated

by dvanbramer88 » Mon Jul 22, 2013 1:10 pm

I couldn't even tell you what my neighbor's shop has. I know his brother has a boner for spending too much on absolute top of the line Snap On tools. So it wouldn't surprise me if they were running something along those lines pushing 200 PSI. They have a tire machine so their air supply needs to be not only high PSI but high CFM also.
Chevy Power!
Long live the Republic
"Violence is not always evil. The judicious use of violence and those willing to use it without hesitation is often all that stands between wolves and sheep."

Build Thread
User avatar
dvanbramer88
Lifer
 
Posts: 2283
Joined: Tue Jul 05, 2011 3:12 pm
Location: PA, Bristol
Name: Dave
Vehicle Year: 2002
Vehicle: Chevrolet TrailBlazer
DriveTrain: 4WD
Rank: Trail Ready

by bartonmd » Mon Jul 22, 2013 2:04 pm

Tire machines only require about 90psi, and volume can come from a big tank, like the 60 gallon one I have.

Mike
bartonmd
Moderator
 
Posts: 4469
Joined: Wed Sep 09, 2009 9:35 am
Location: IN, Indianapolis
Name: Mike
Vehicle Year: 2007
Vehicle: Chevrolet TrailBlazer
DriveTrain: 4WD w/ G80
Rank: Offroad Rated

by james02 » Tue Jul 23, 2013 8:53 am

v7guy wrote:
drburke wrote:
v7guy wrote:sway bar delete


Scale of 1-10, how much fun was the front sway bar :poke:


Poke? I don't understand?

It's been a long 36 hours, you're gonna need to spell it out for me lol


:pirat:
james02
Off-Roader
 
Posts: 101
Joined: Wed May 15, 2013 8:22 pm
Location: NY
Name: james
Vehicle Year: 2002
Vehicle: GMC Envoy
DriveTrain: 4WD

by v7guy » Tue Jul 23, 2013 10:45 am

v7guy wrote:
drburke wrote:
v7guy wrote:sway bar delete


Scale of 1-10, how much fun was the front sway bar :poke:


Poke? I don't understand?

It's been a long 36 hours, you're gonna need to spell it out for me lol


james02 wrote: :pirat:


I posted that before the E.R. stitches and concussion... :facepalm:

:mrgreen: :lol:
build thread

All things in moderation, including moderation.
Some people never go crazy... what truly horrible lives they must lead
User avatar
v7guy
Moderator
 
Posts: 3712
Joined: Wed Mar 09, 2011 10:17 pm
Location: NY, long island
Name: Jason
Vehicle Year: 2004
Vehicle: Chevrolet TrailBlazer
DriveTrain: 4WD
Rank: Offroad Rated

by DirtyBacon04 » Wed Jul 24, 2013 5:14 pm

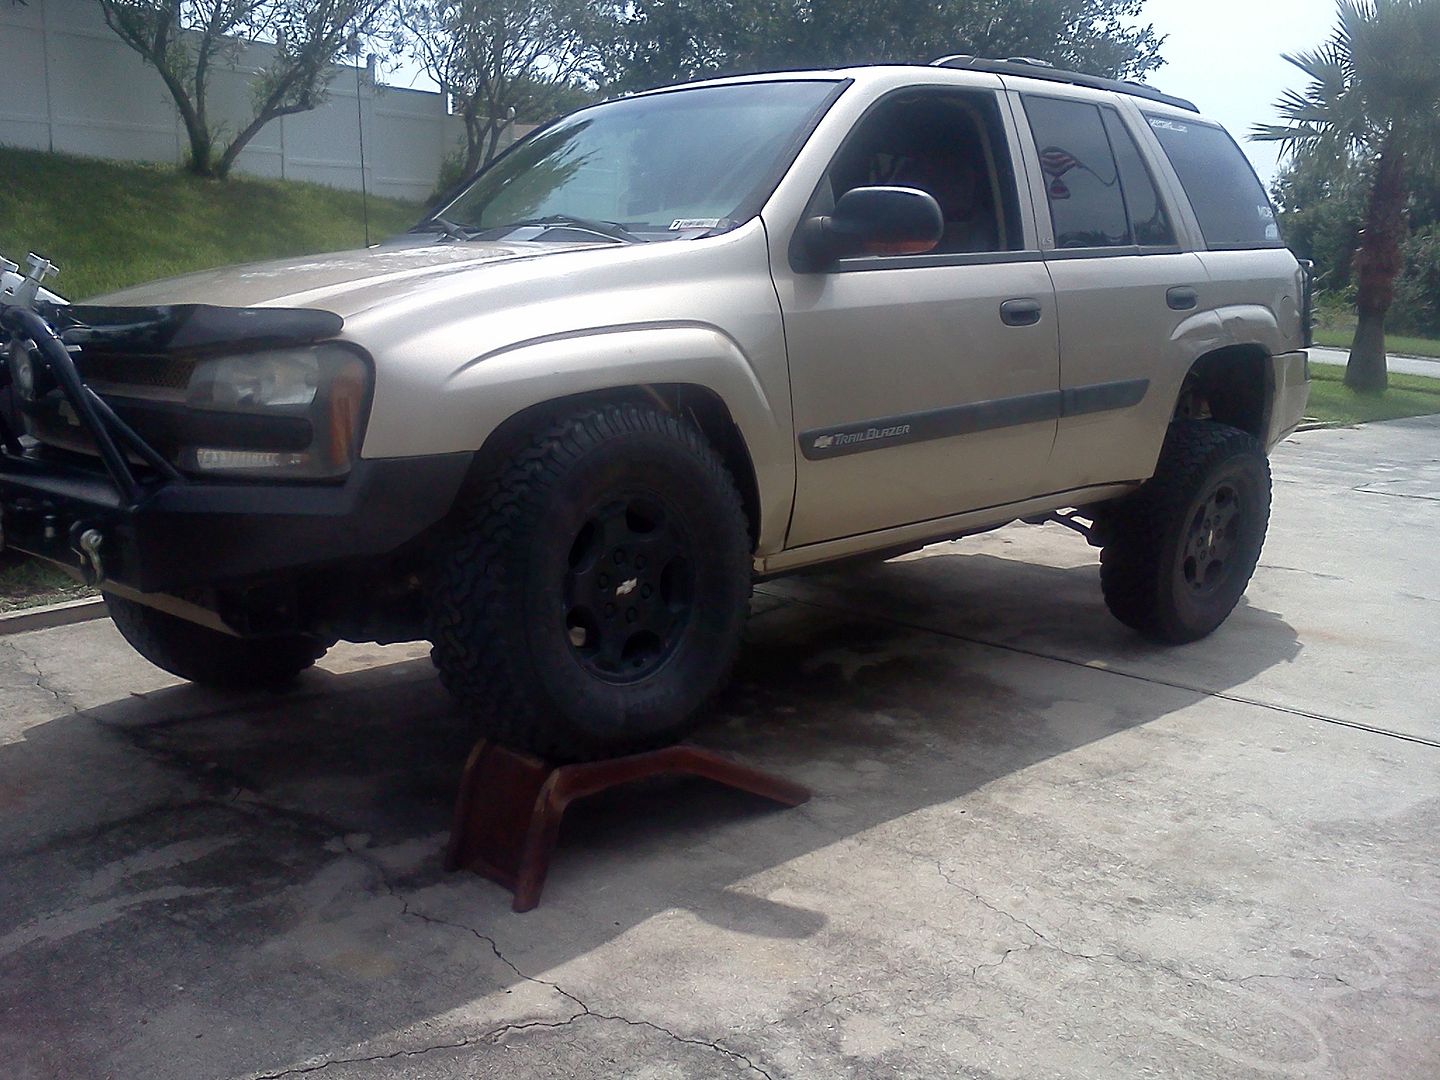
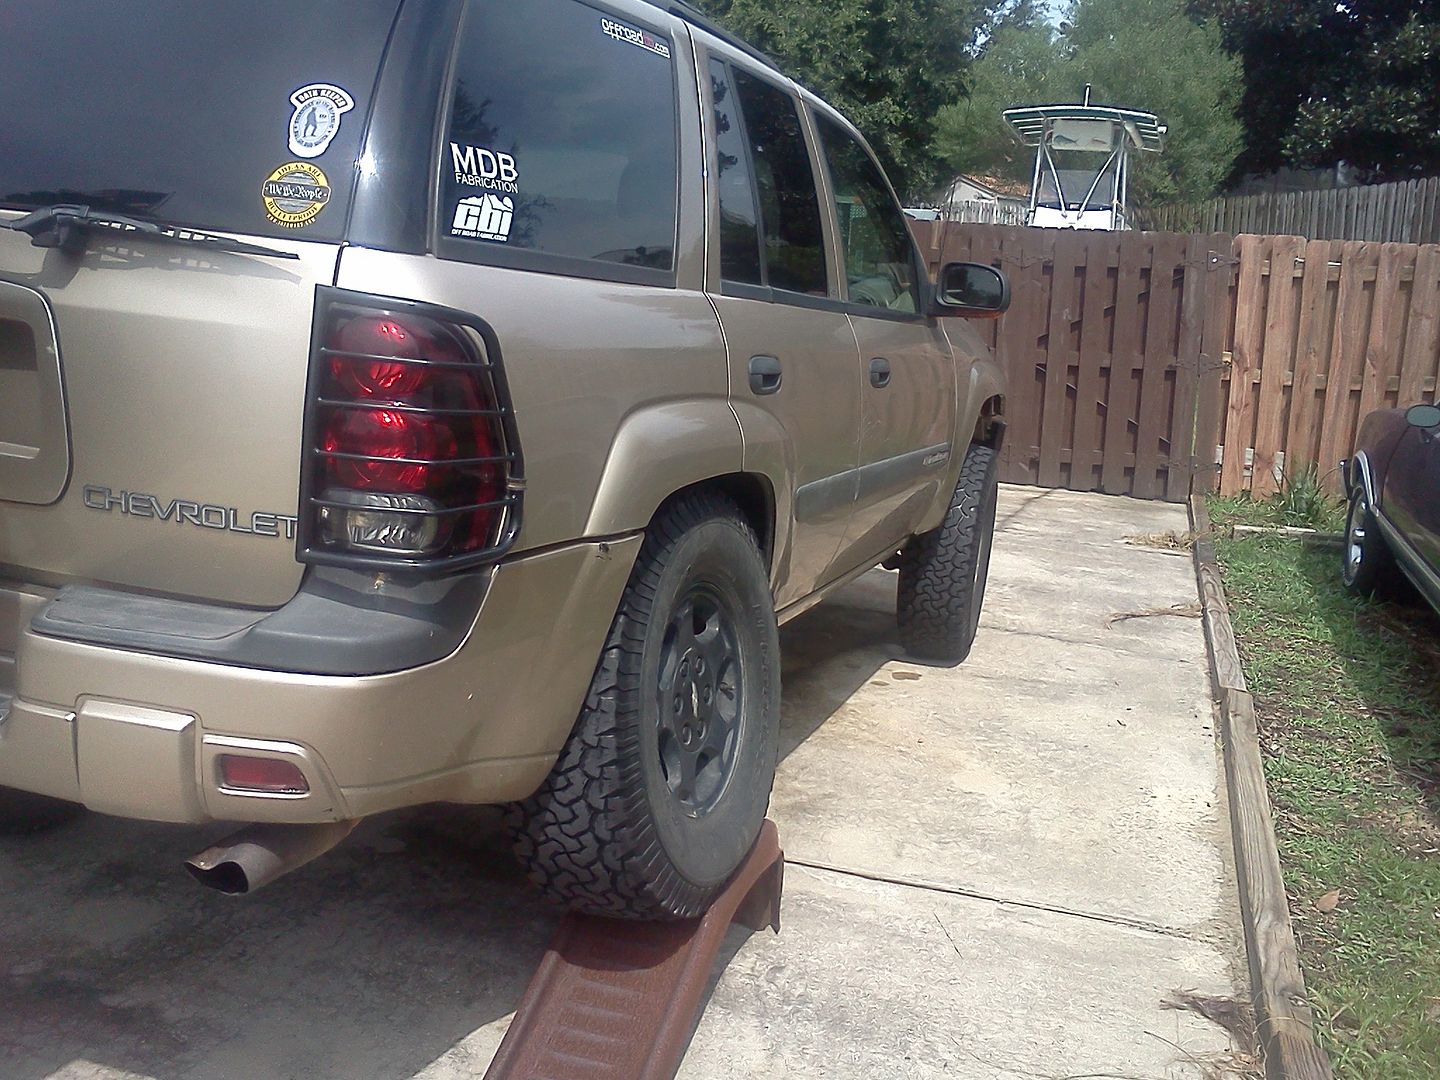
Played around with some flex. This is the only way to get this kinda flex within 2 hours of my house...

Image

Image

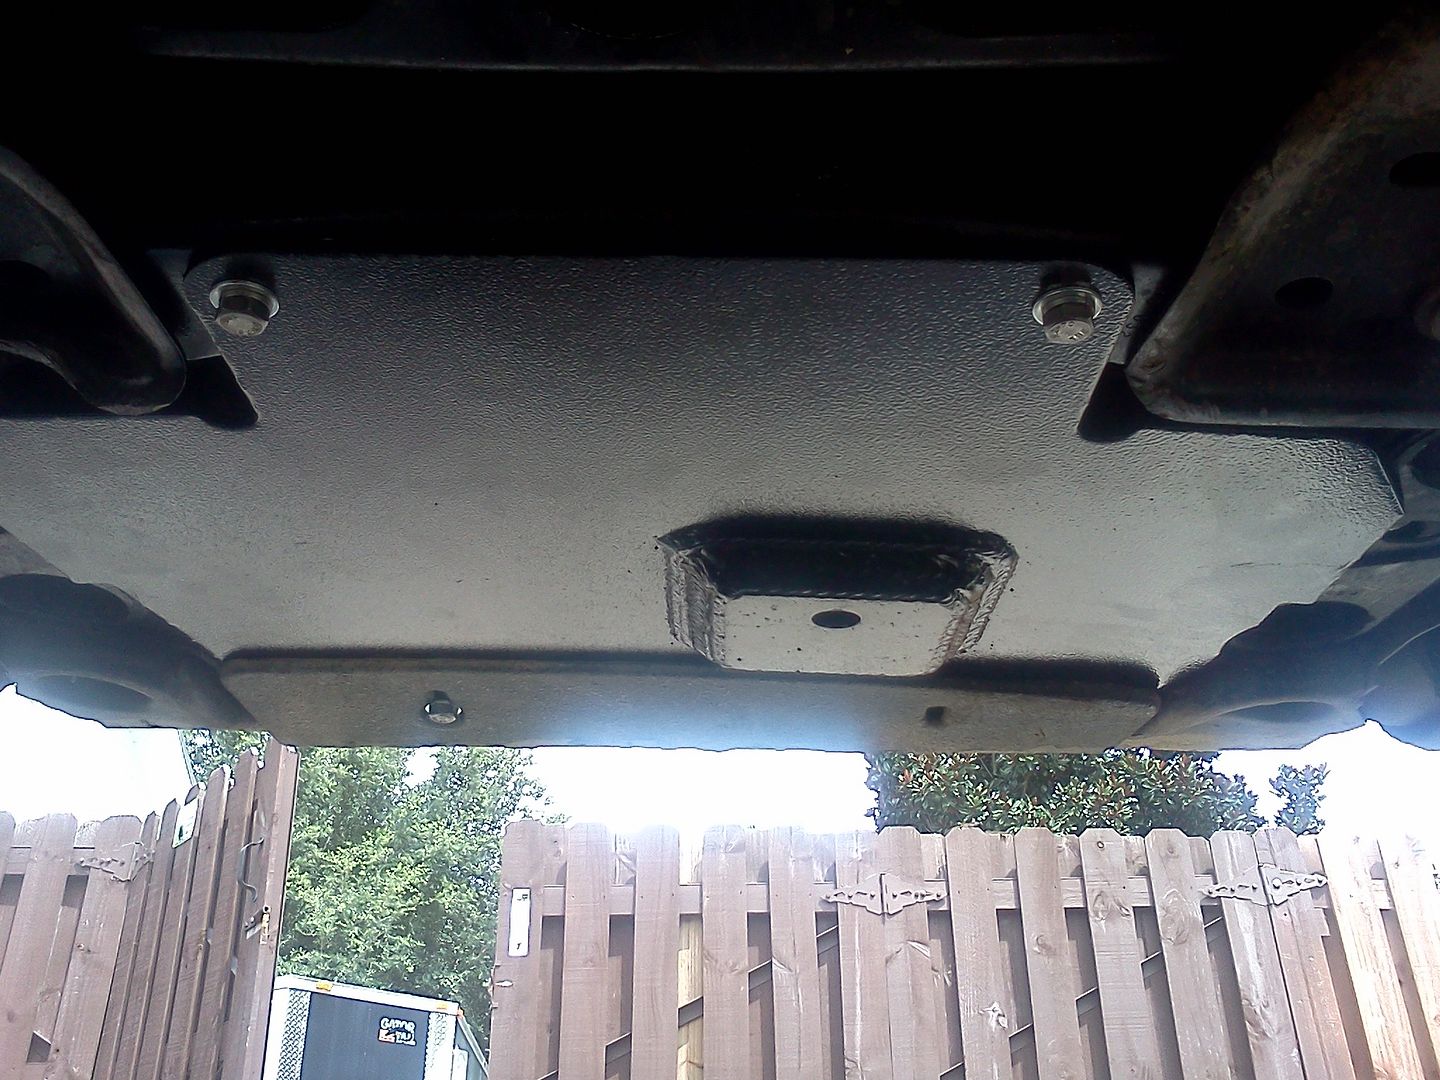
Installed a new skid plate from MikeyB. Amazing how easily it fits when it's in the right shape...
Image

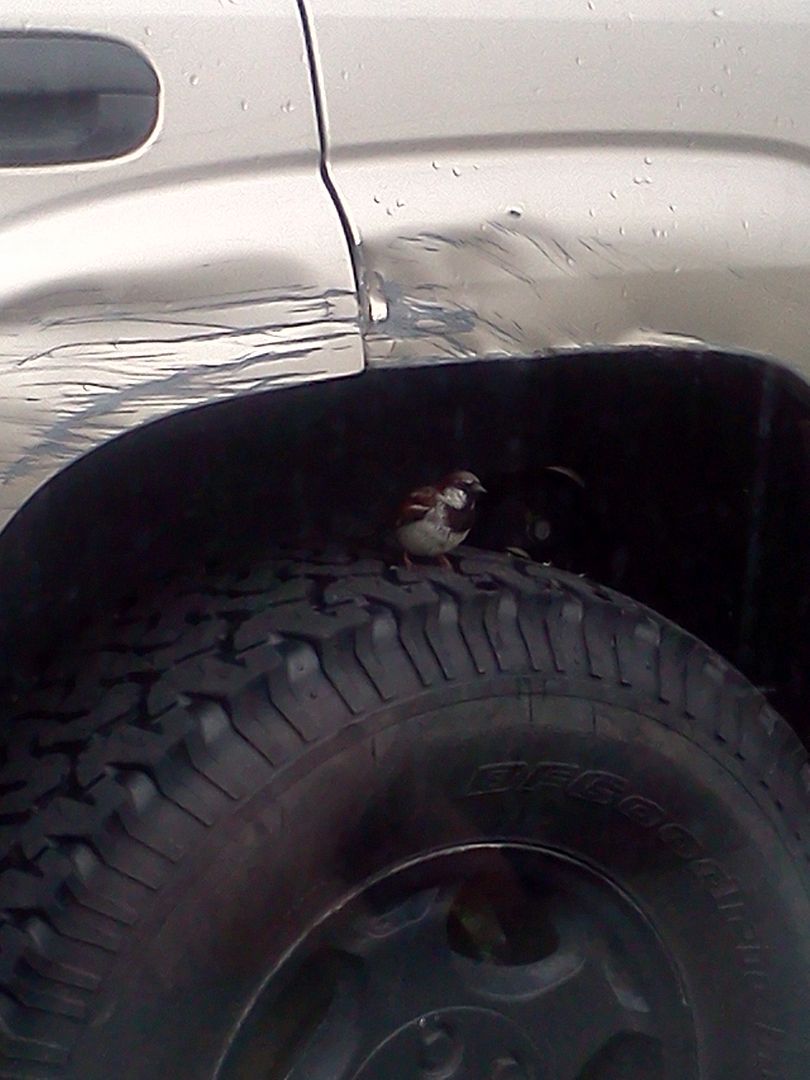
Also found this lil sparrow guy guarding my truck.

Image
Trans-Continental Trailblazer - 5th Award
Current Count of Transmission Rebuilds: 5.5
***The more you know, the less you need.***
USMC '07-'12
Dirty Bacon's Build
User avatar
DirtyBacon04
Moderator
 
Posts: 3048
Joined: Fri Aug 05, 2011 4:59 am
Location: AK, Fairbanks
Name: Michael
Vehicle Year: 2004
Vehicle: Chevrolet TrailBlazer
DriveTrain: 4WD w/ Aftermarket Locker
Rank: Expedition Rated

by SaltWaterDrinker » Thu Jul 25, 2013 9:53 am

ImageUploadedByTapatalk1374760403.286466.jpg


Squaring Frank's basket away for Saturday!!!
User avatar
SaltWaterDrinker
Trail-Blazer
 
Posts: 465
Joined: Wed Jul 06, 2011 9:07 pm
Location: PA, Philadelphia
Name: Josh
Vehicle Year: 2003
Vehicle: Chevrolet TrailBlazer
DriveTrain: 4WD
Rank: Trail Ready

by Sugar16 » Fri Jul 26, 2013 9:01 pm

Image

Got my ORTB stickers today. Thanks James :flex dirty:
User avatar
Sugar16
Off-Roader
 
Posts: 113
Joined: Mon Sep 24, 2012 6:06 pm
Location: OH, Canton
Name: Jonathan
Vehicle Year: 2004
Vehicle: GMC Envoy
DriveTrain: 4WD

by Trail X » Fri Jul 26, 2013 9:39 pm

Looks great!

And Chris, that one threw me off too... I didn't realize that ALL TBs had a deep transmission pan from the factory.
8-) Build Thread | ExPo Build | YouTube Videos
Not all who wander are lost. -Tolkien
User avatar
Trail X
Founder
 
Posts: 9925
Joined: Mon Sep 07, 2009 10:22 pm
Location: VA, Roanoke
Name: James Downing
Vehicle Year: 2005
Vehicle: Chevrolet TrailBlazer
DriveTrain: 4WD w/ Aftermarket Locker
Rank: Expedition Guide

PreviousNext

Return to Truck Discussion

cron