Original thread with b.s.ing allowed here:
viewtopic.php?f=11&t=1949" onclick="window.open(this.href);return false;
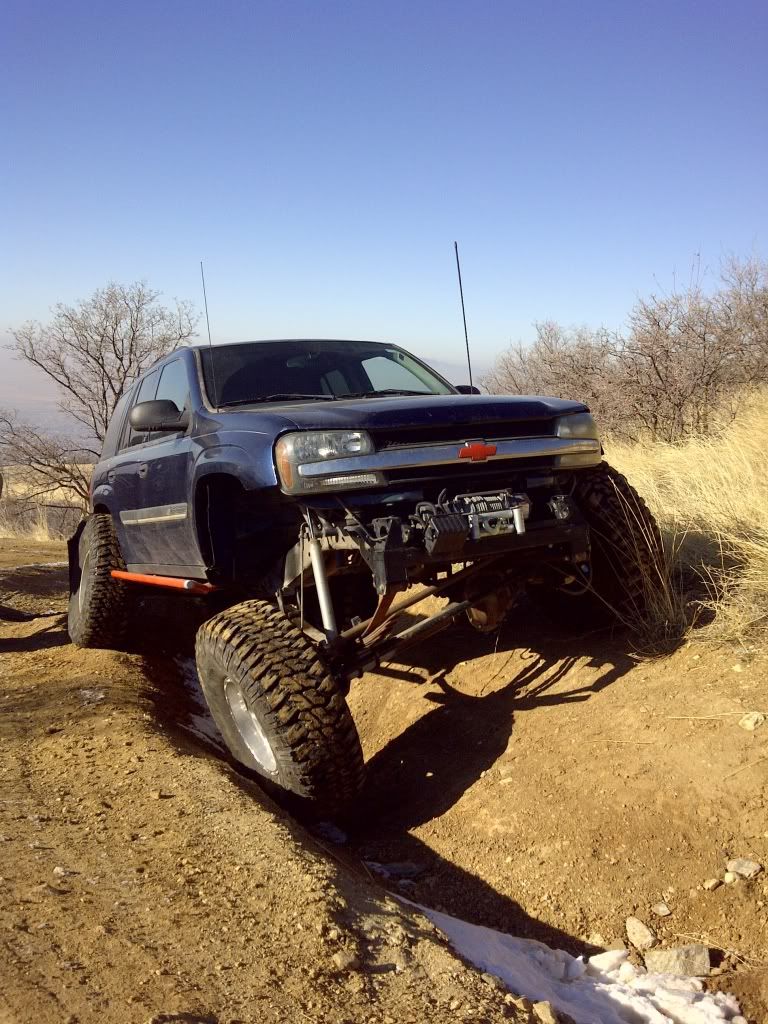
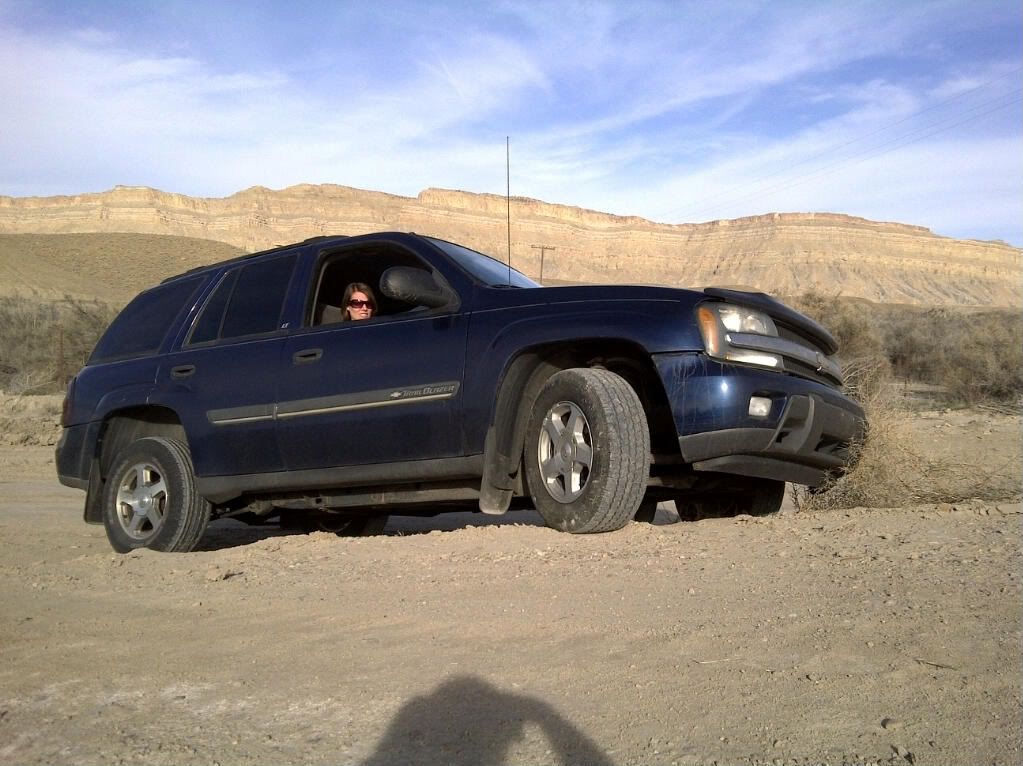
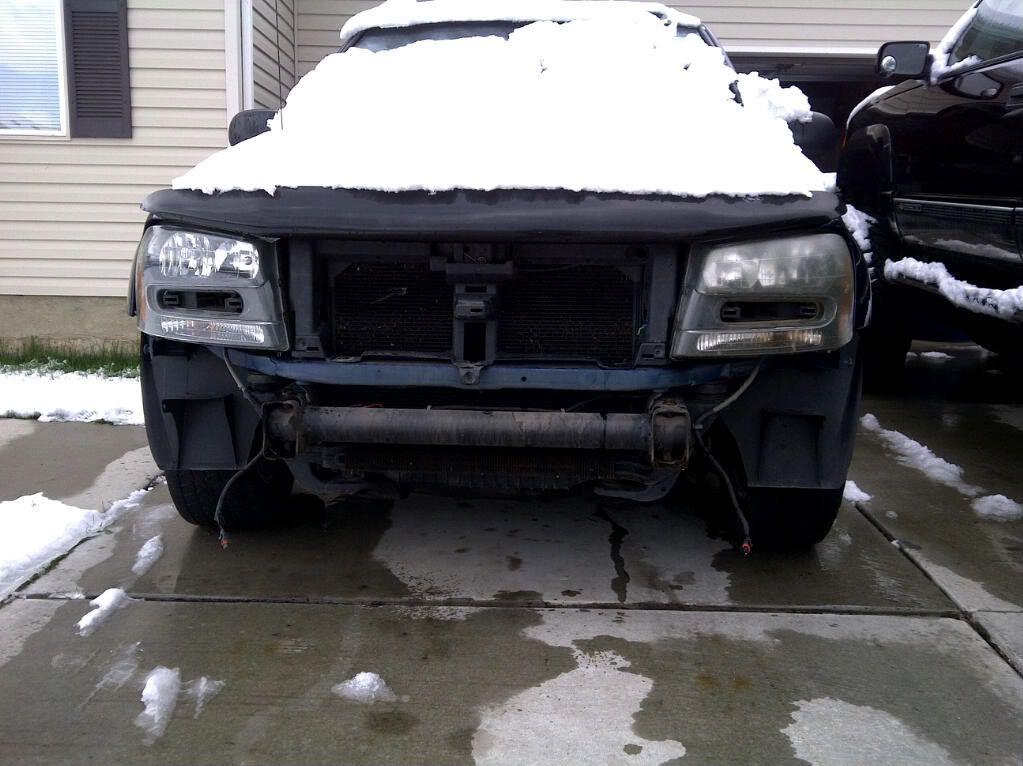
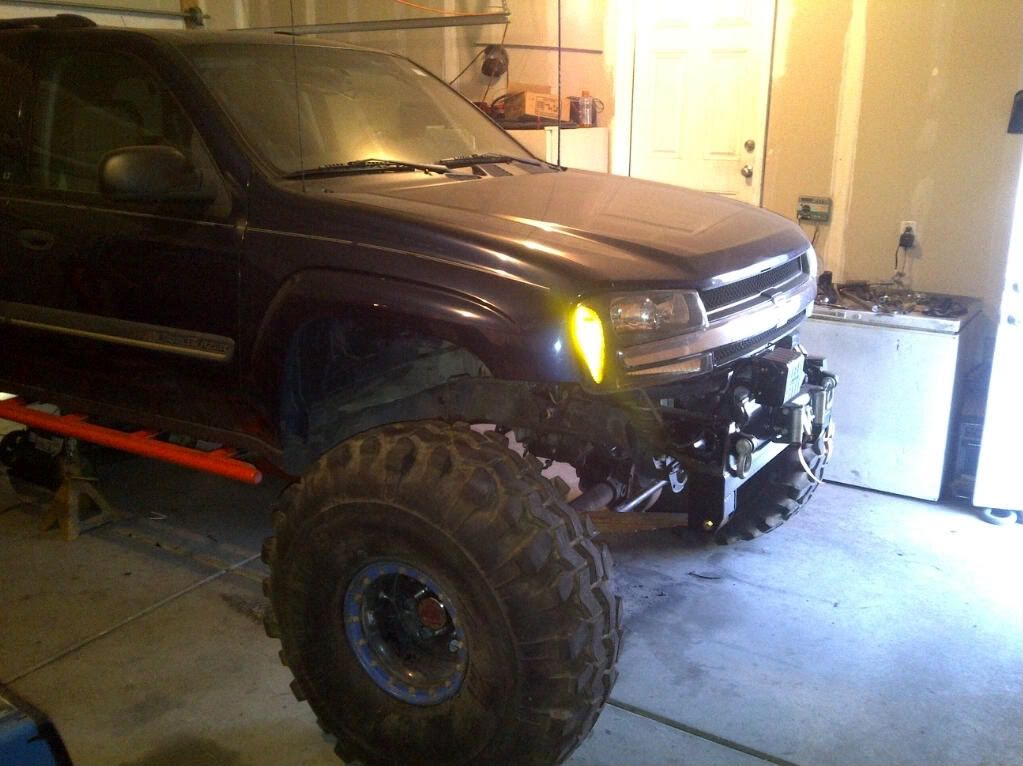
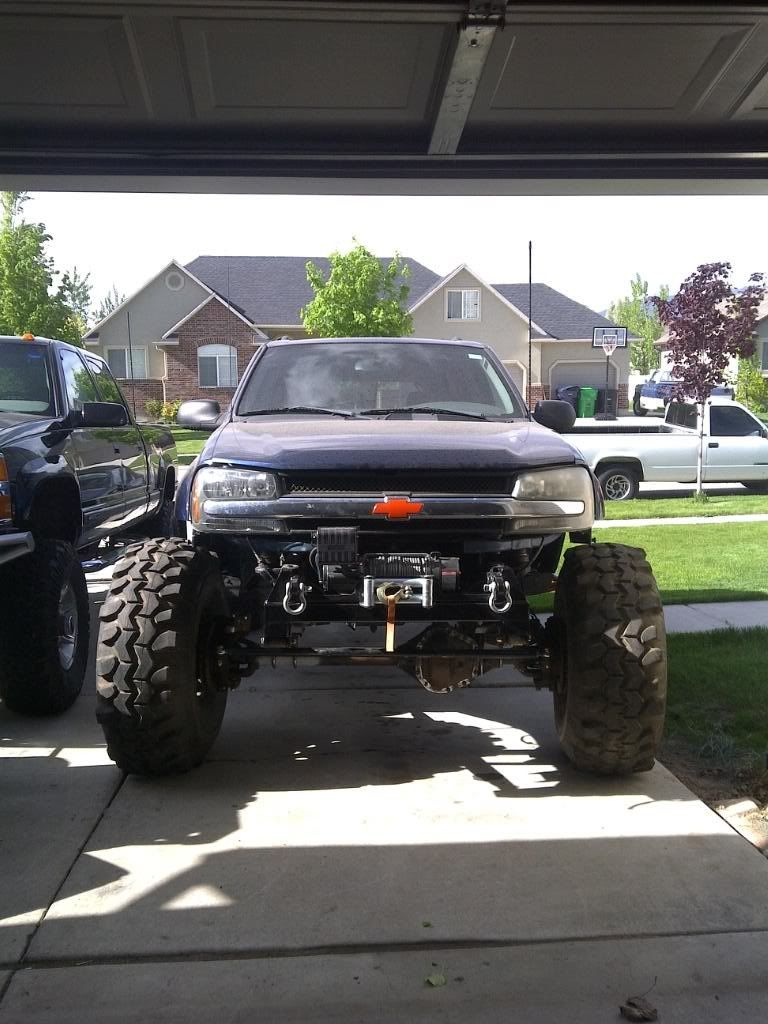
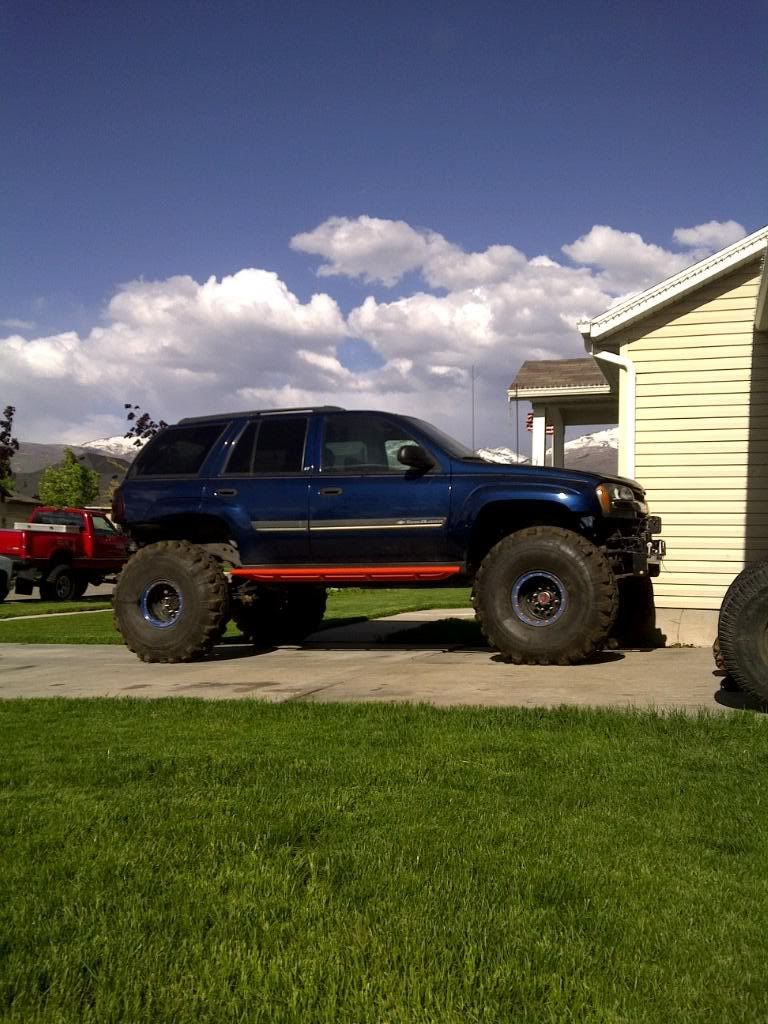
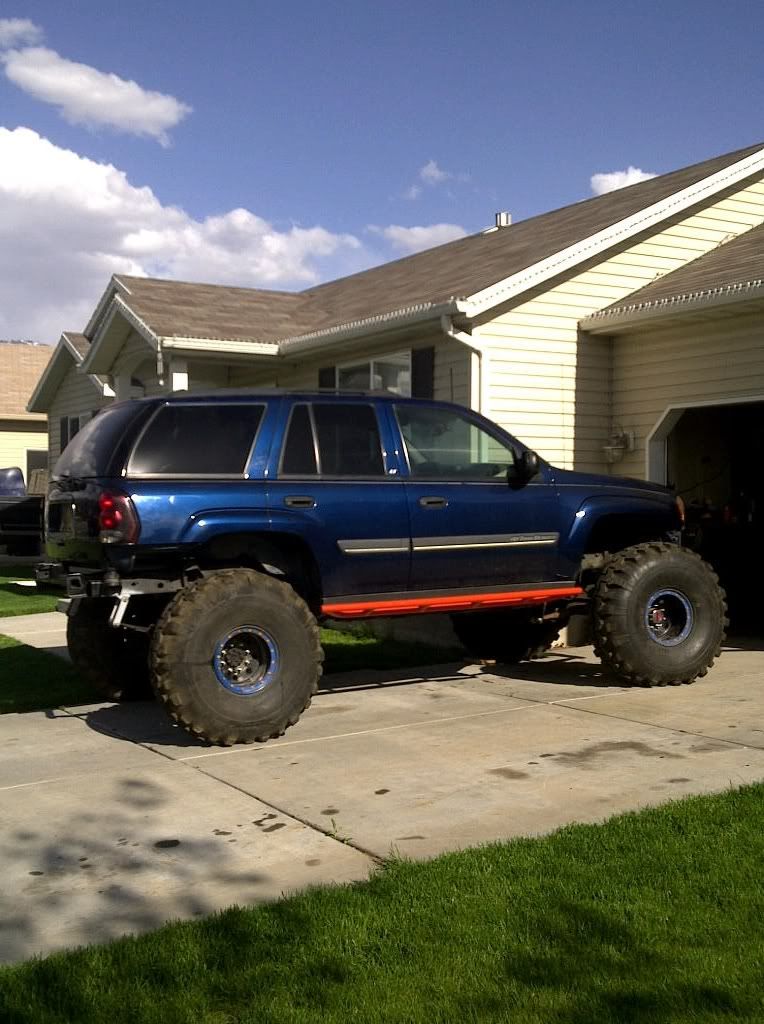
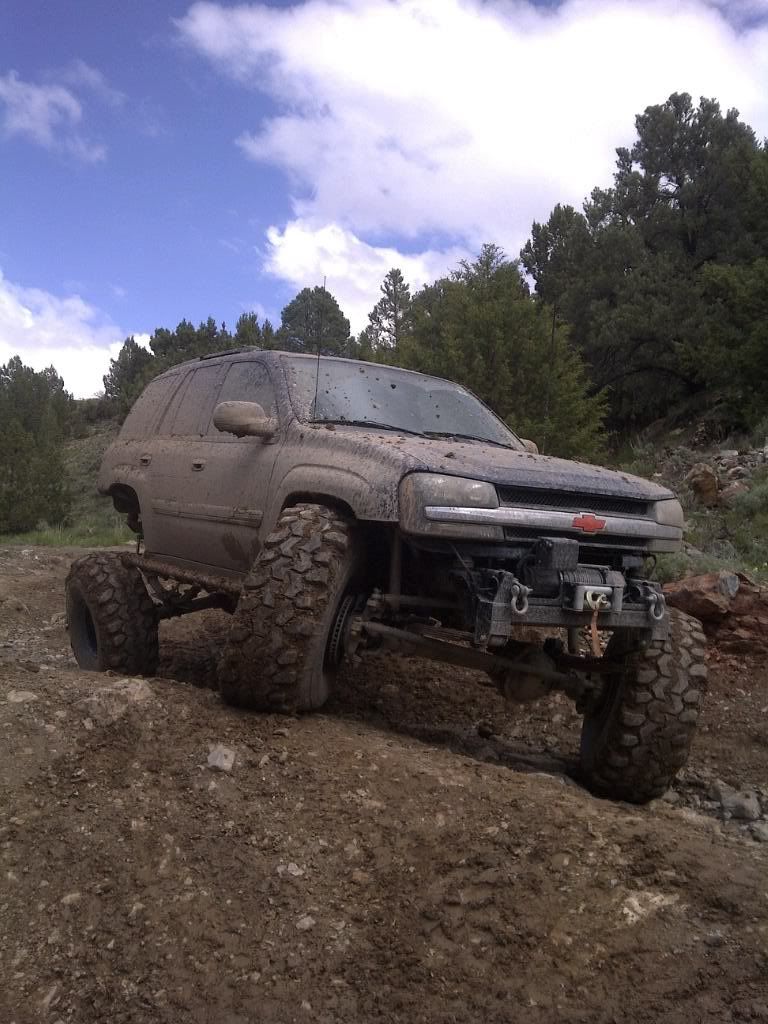
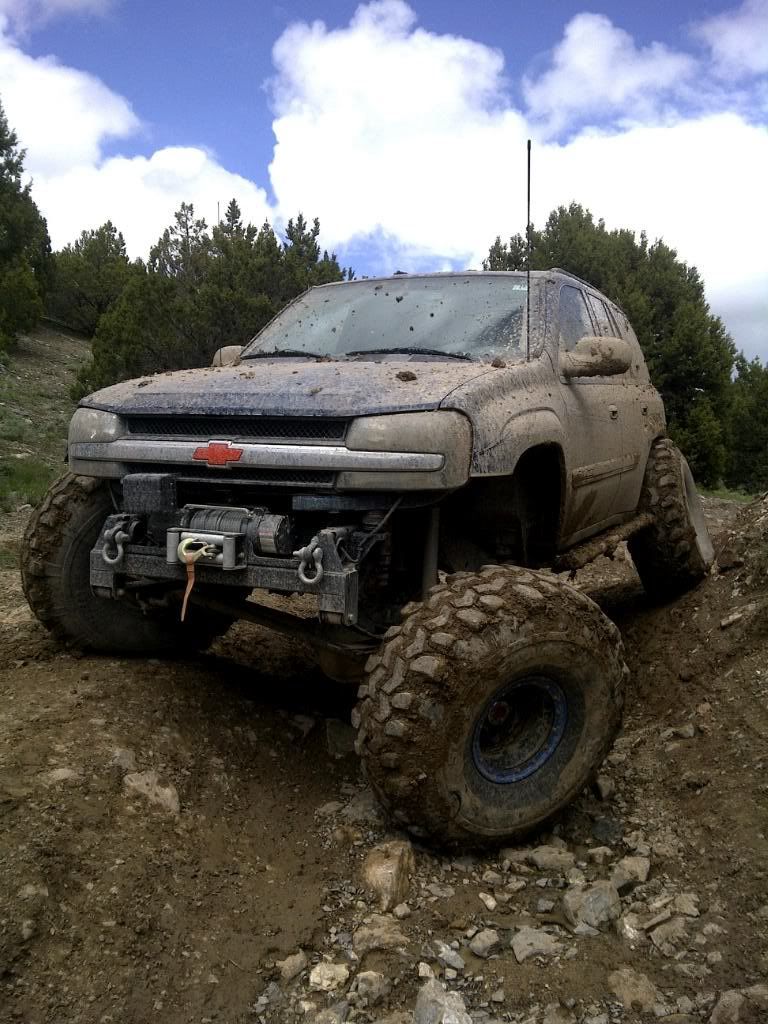
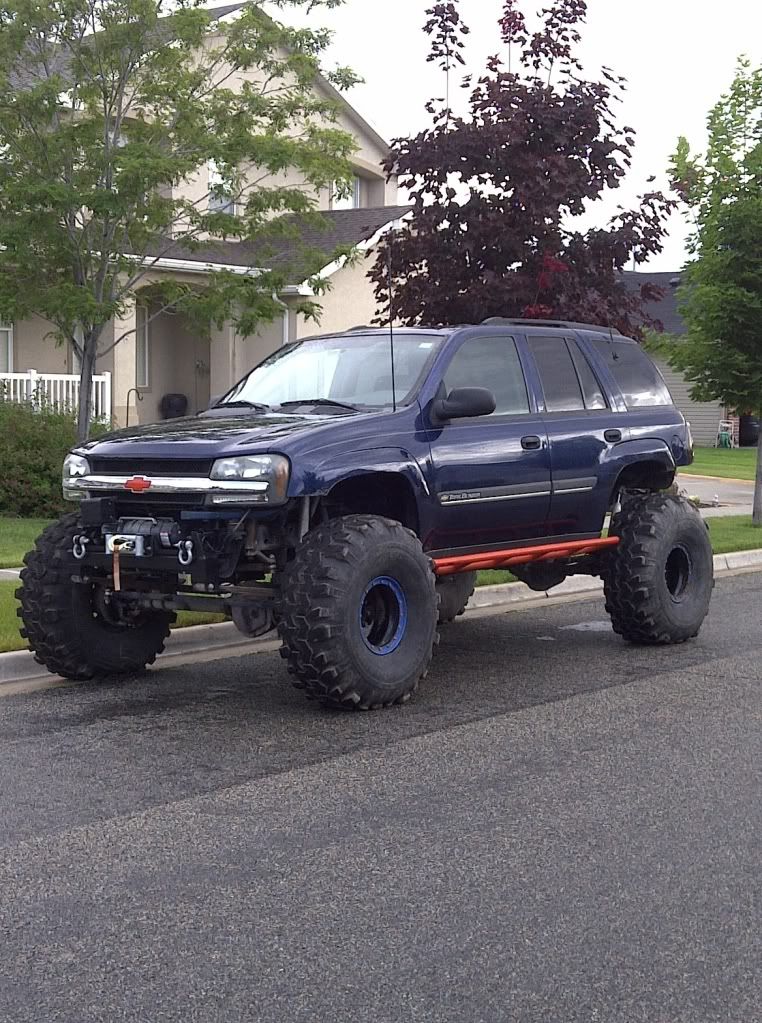
2002 TrailBlazer LT
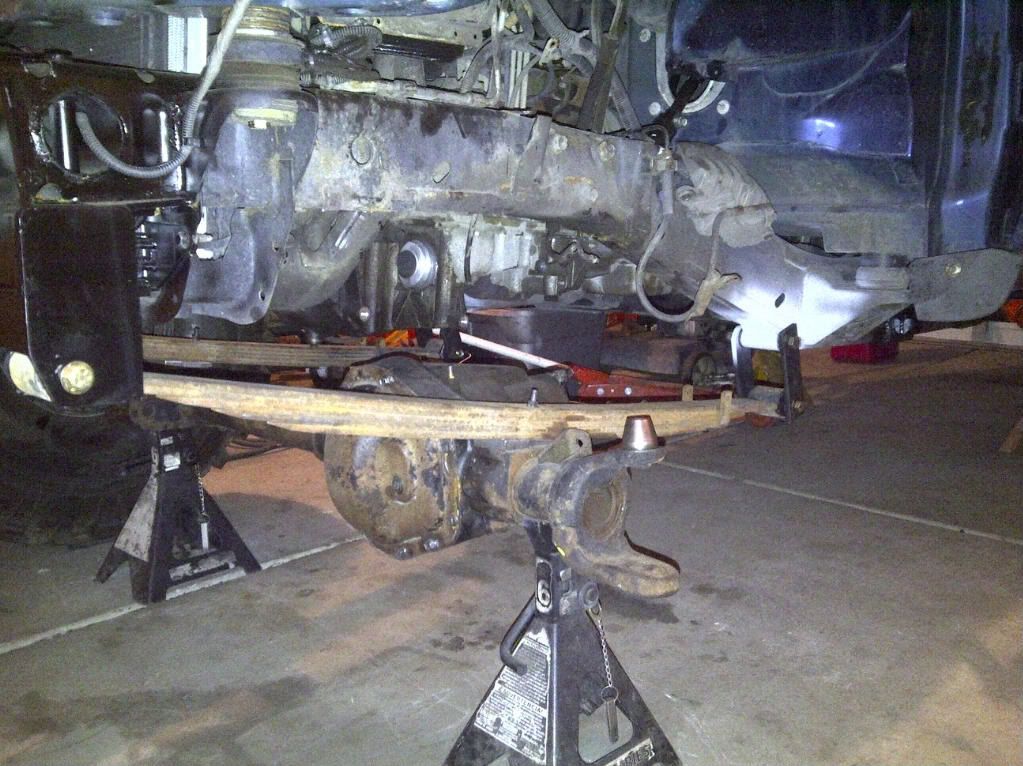
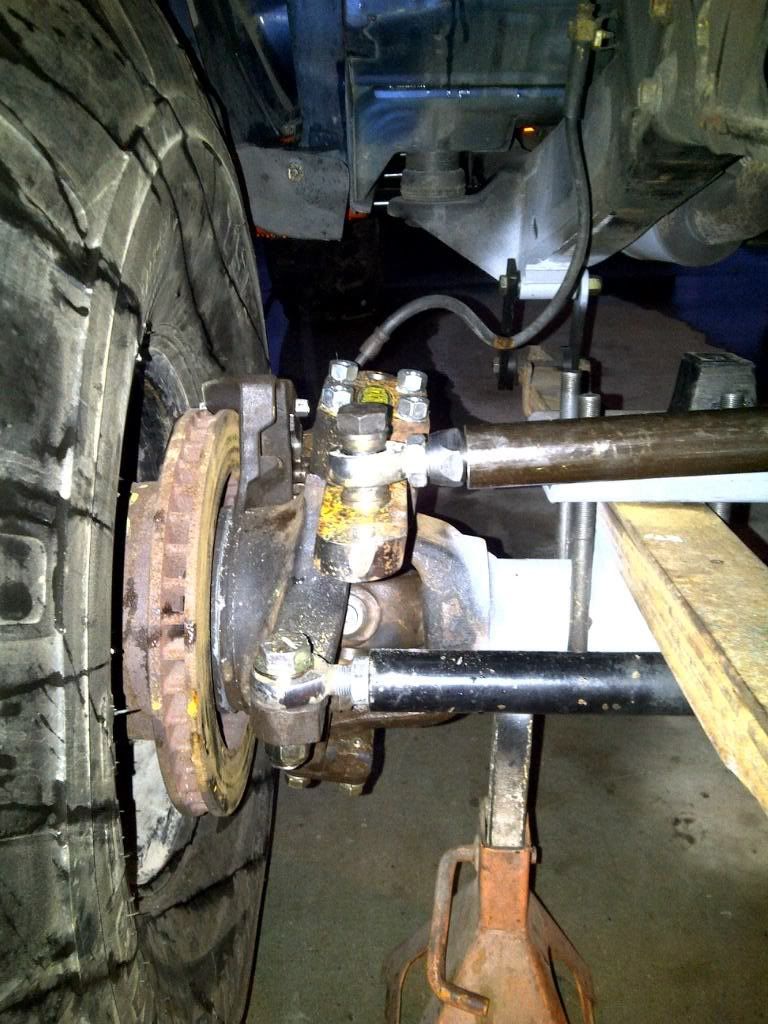
1988 Dana 60 front axle with 4.56 yukon gears and spartan locker with 2" spacers.
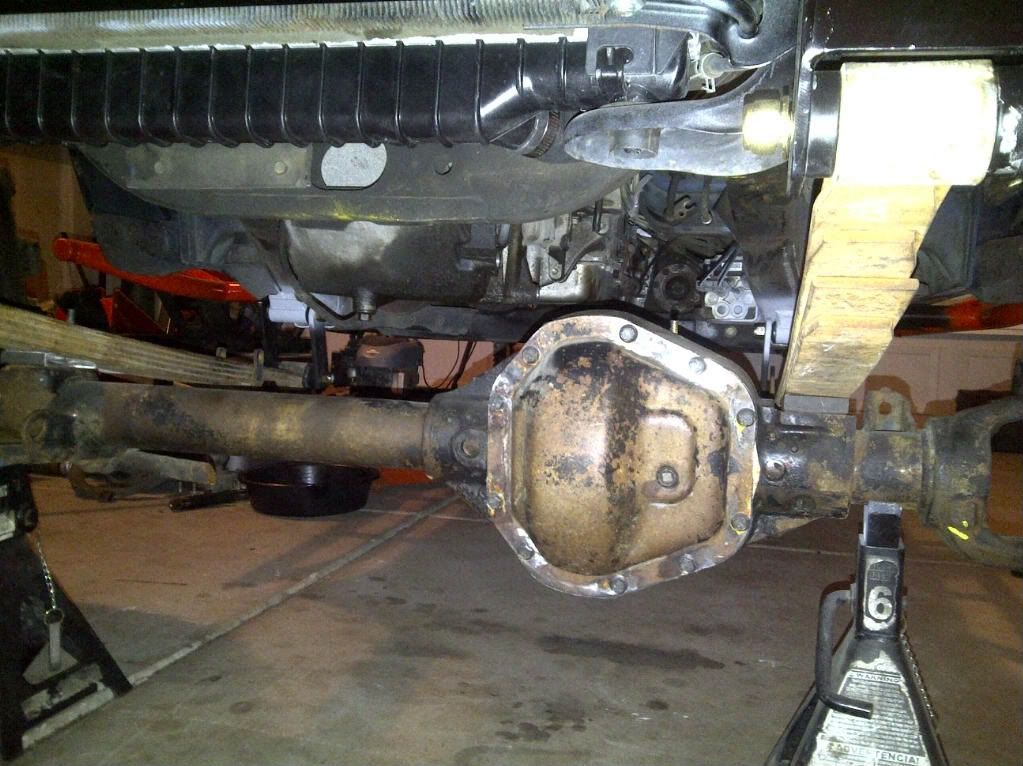
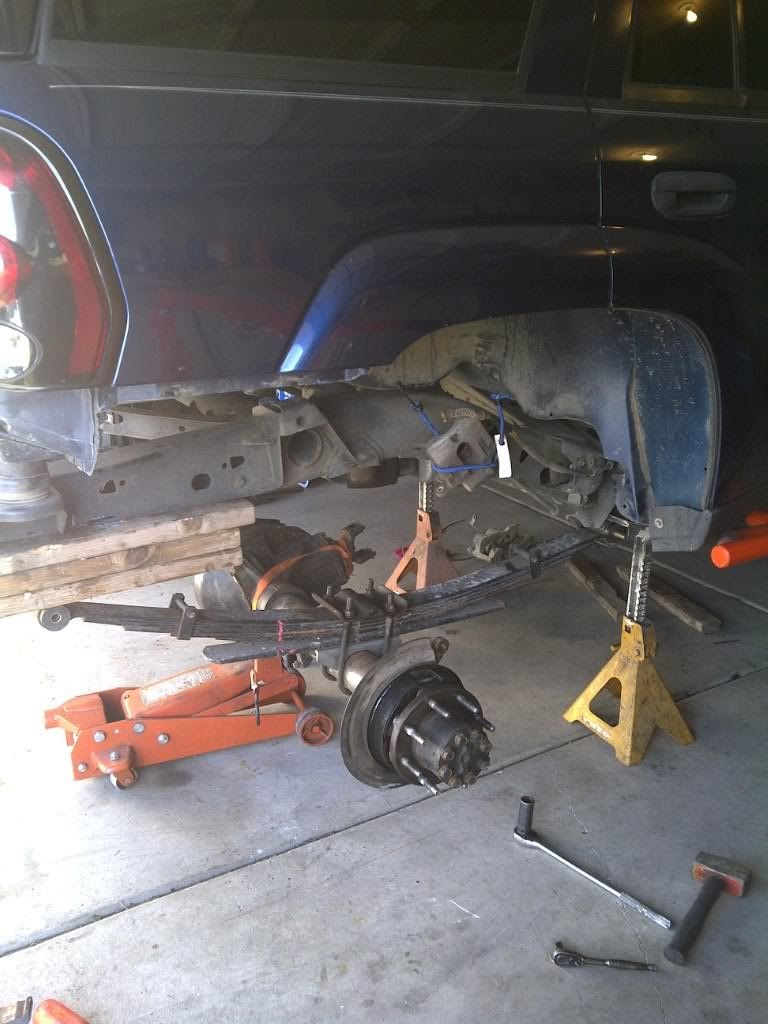
2002 Full Floating 14 bolt with 4.56 gears and detroit locker, factory dual piston disc brakes with 2" spacers.
Front and rear axles both moved out roughly 6".
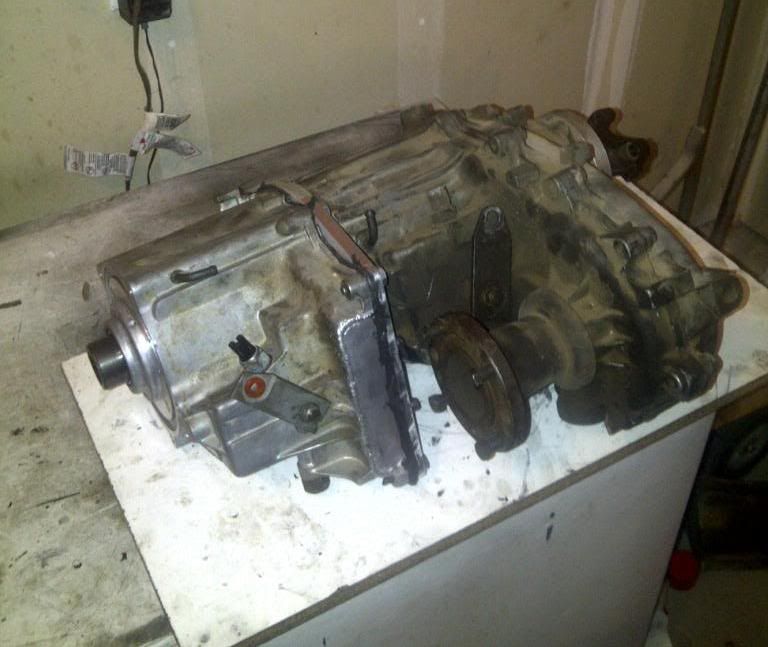
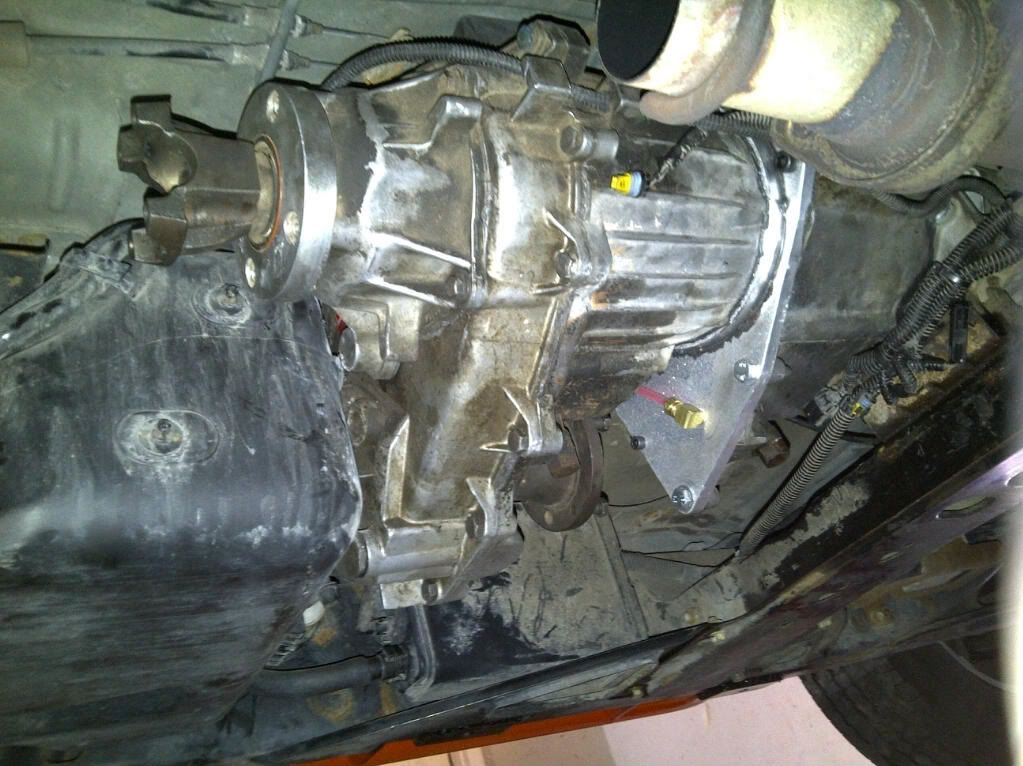
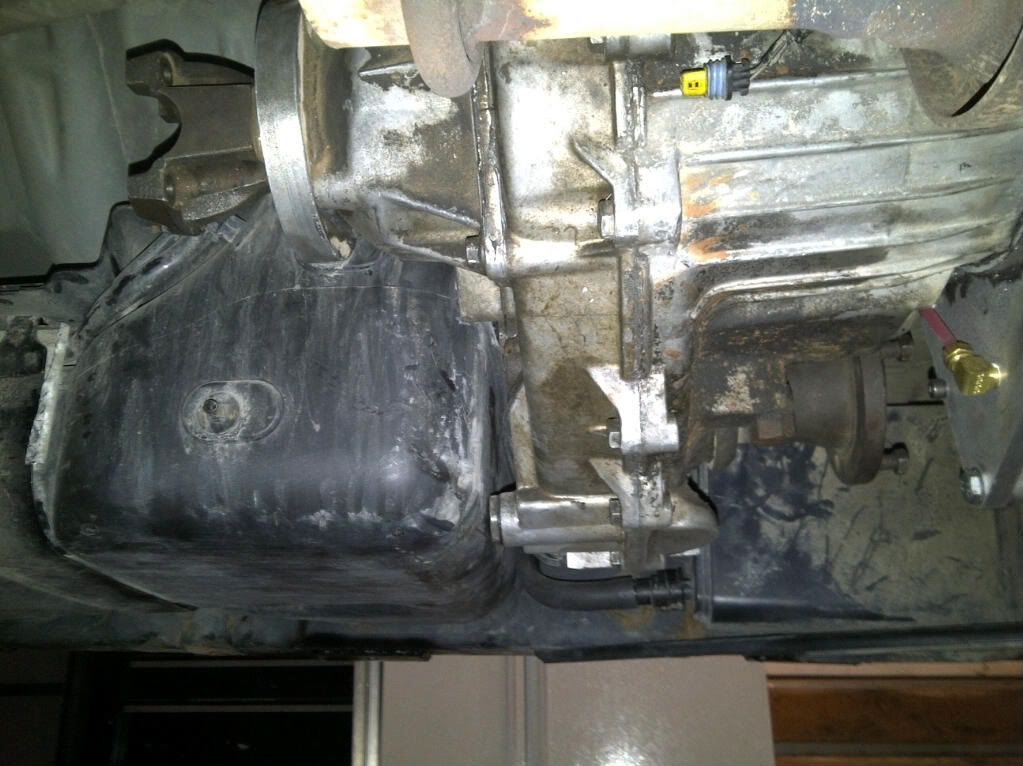
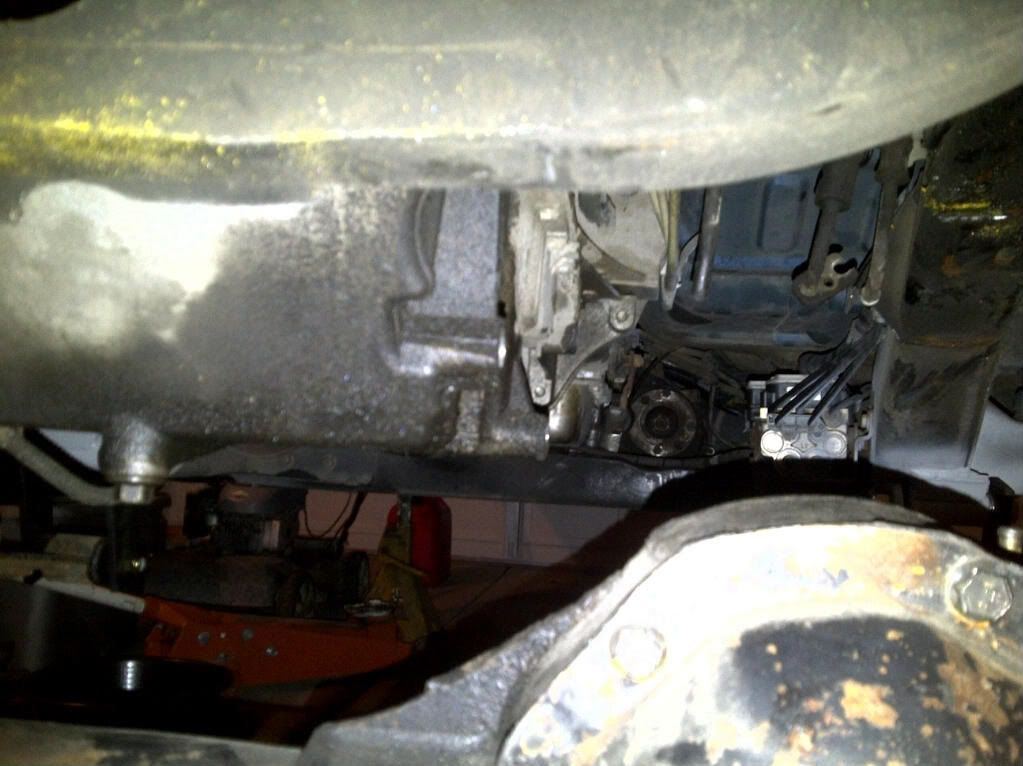
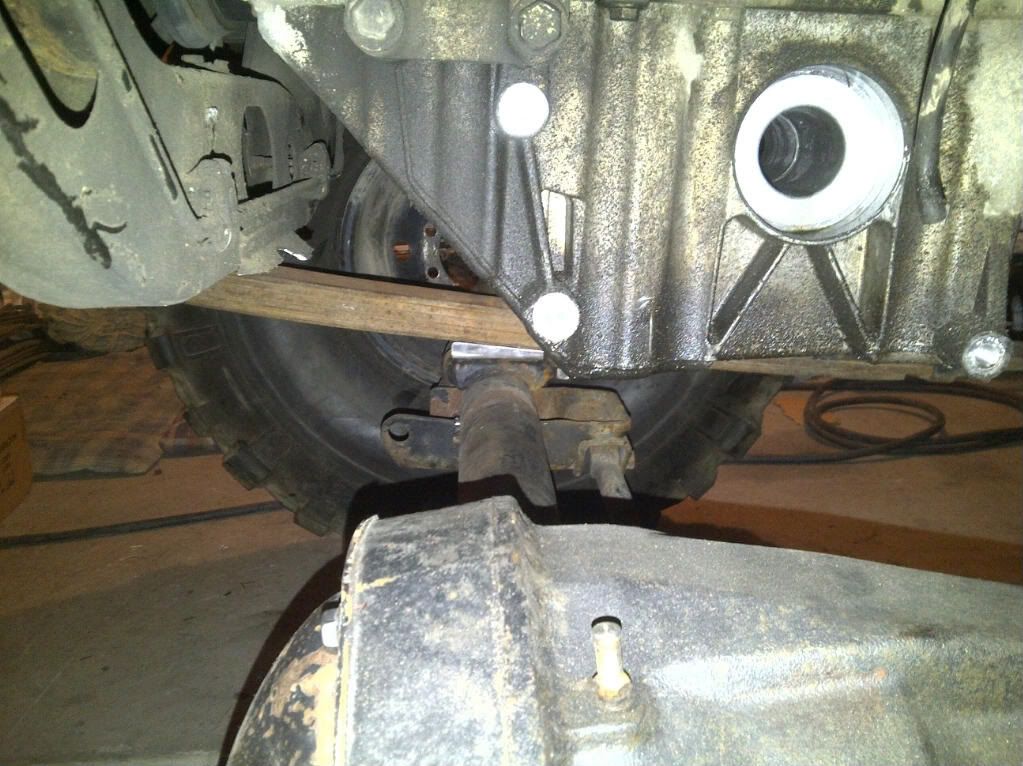
Box4rocks doubler, modified 231 27 spline front case.
241 rear case, 32 spline with slip yoke eliminator.
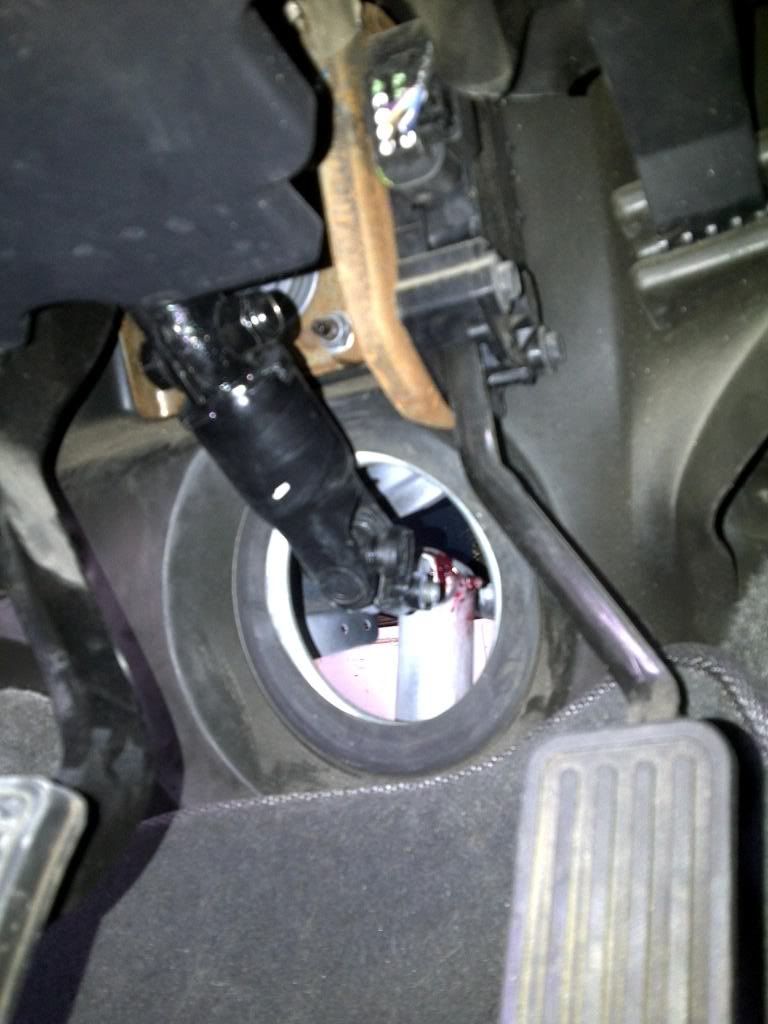
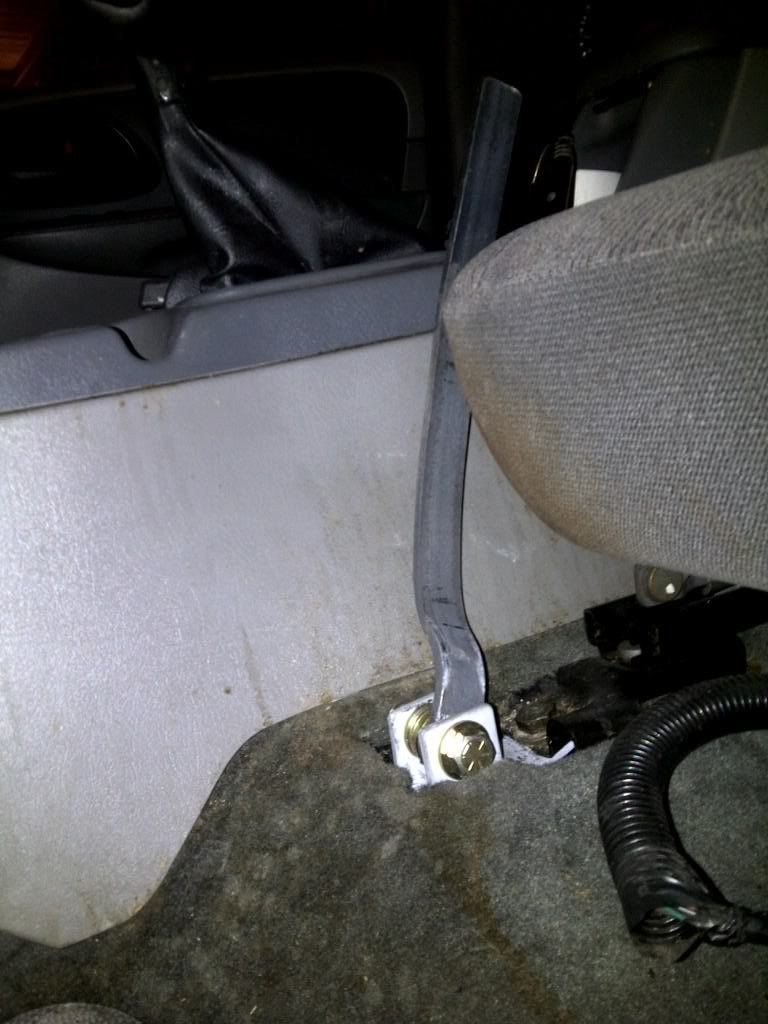
Dual shifters in cab, 1 each side of console.
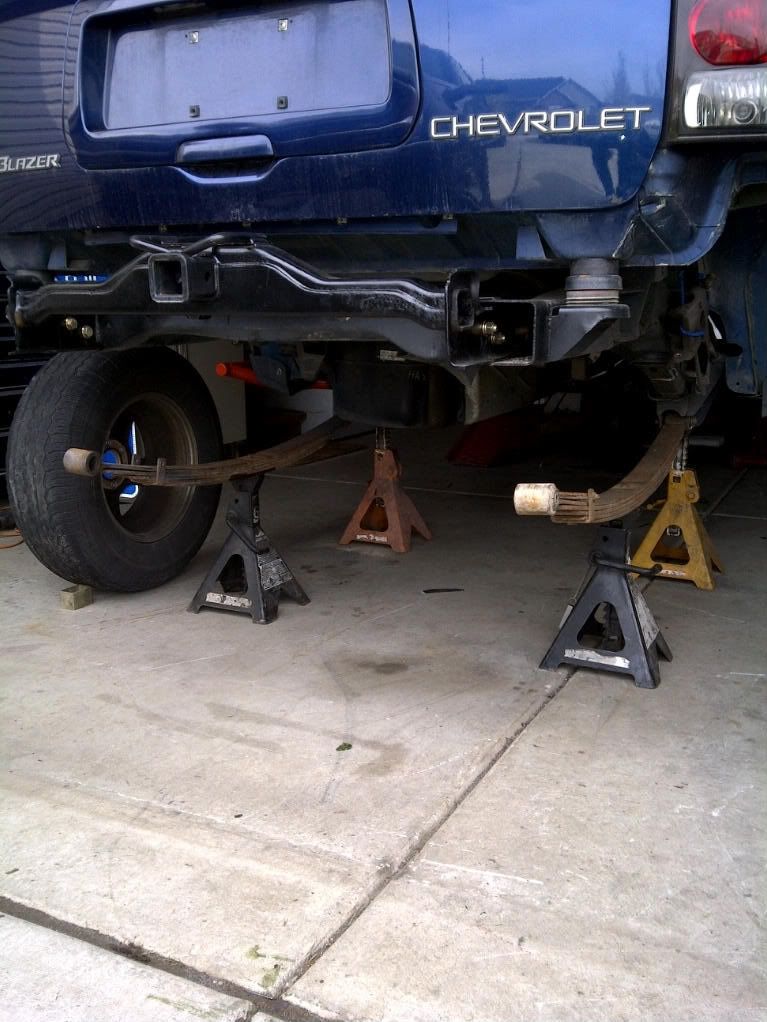
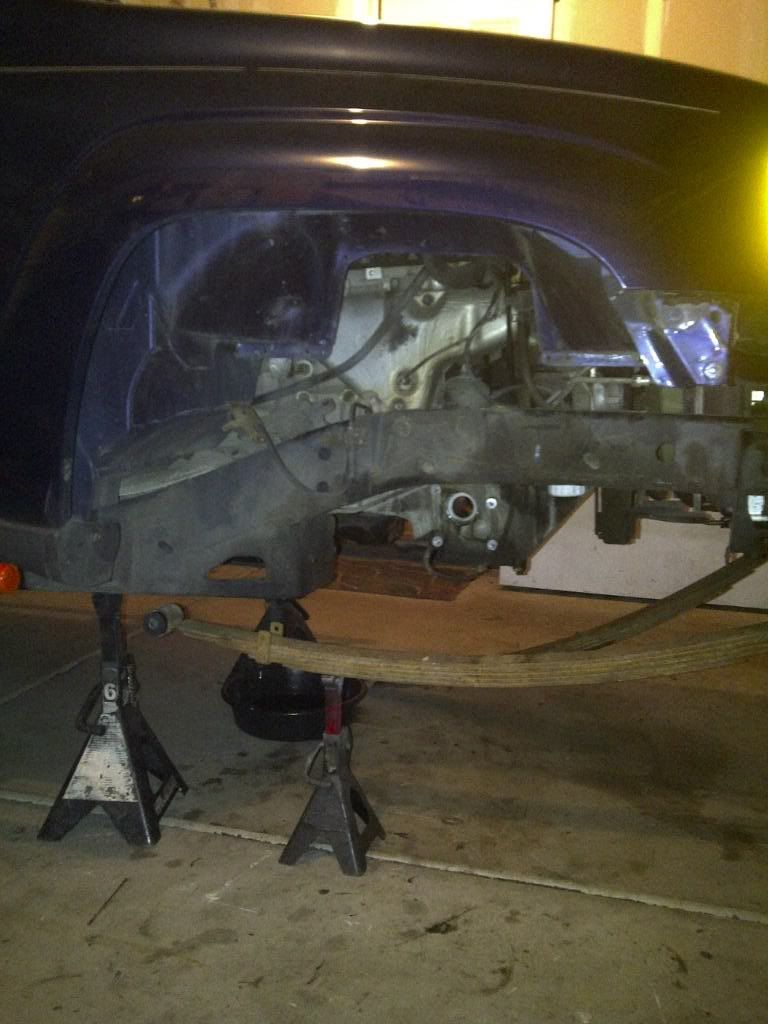
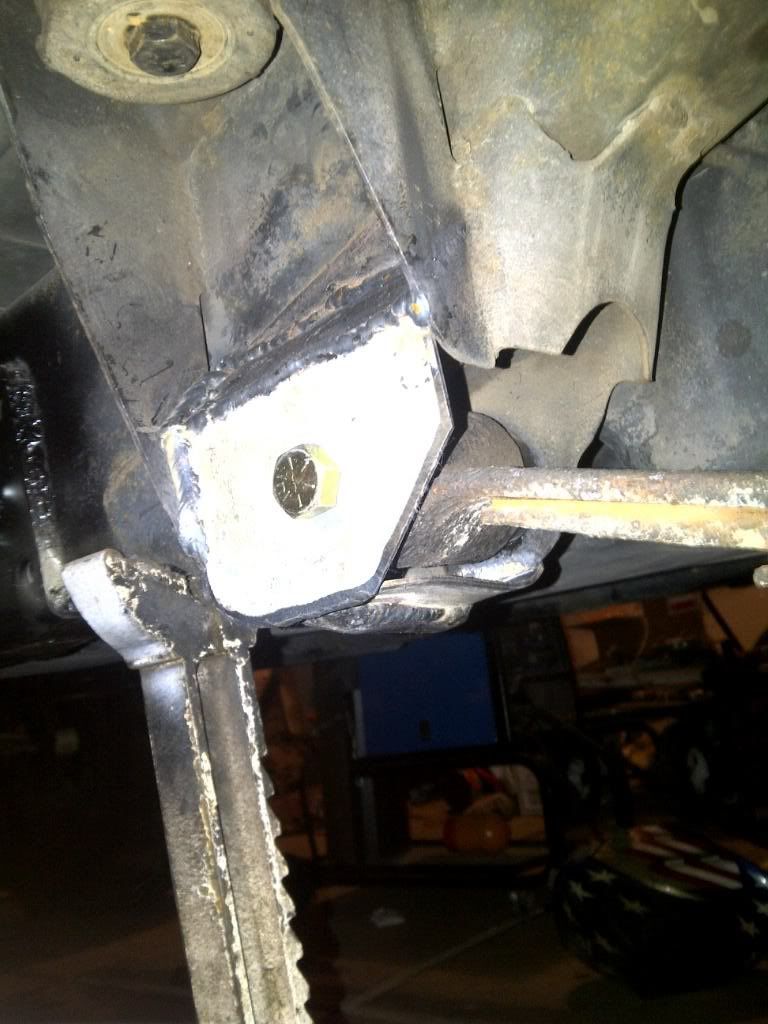
Leaf spring suspension, all 4 corners, using 73-87 chevy 1/2 ton rear springs.
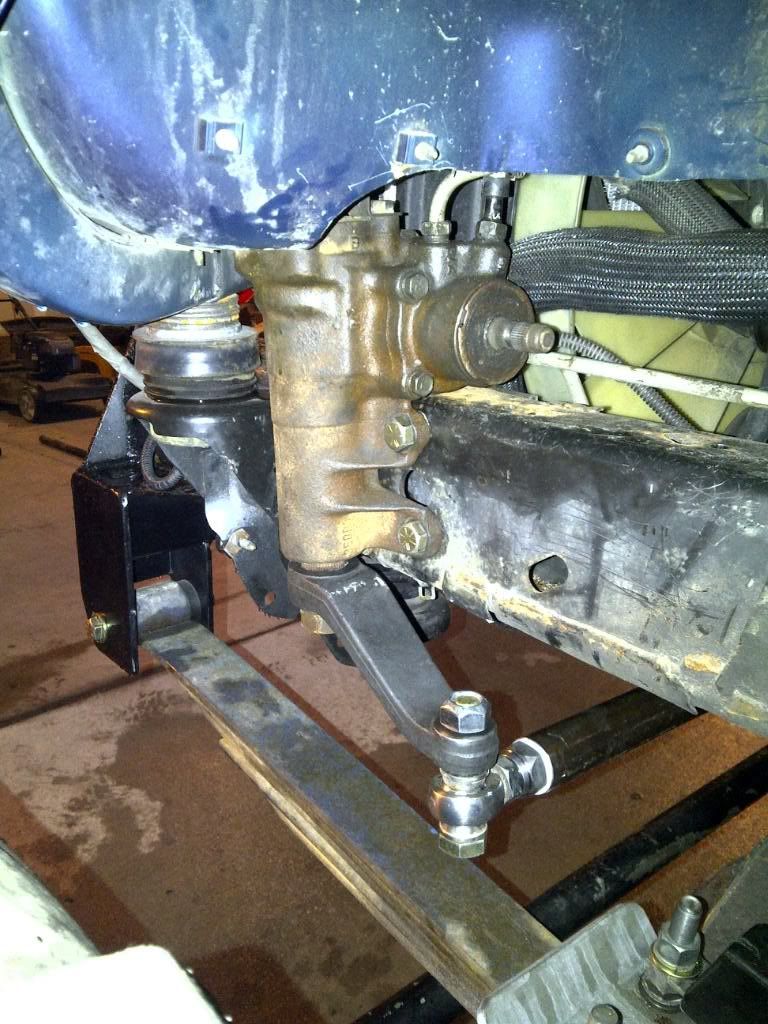
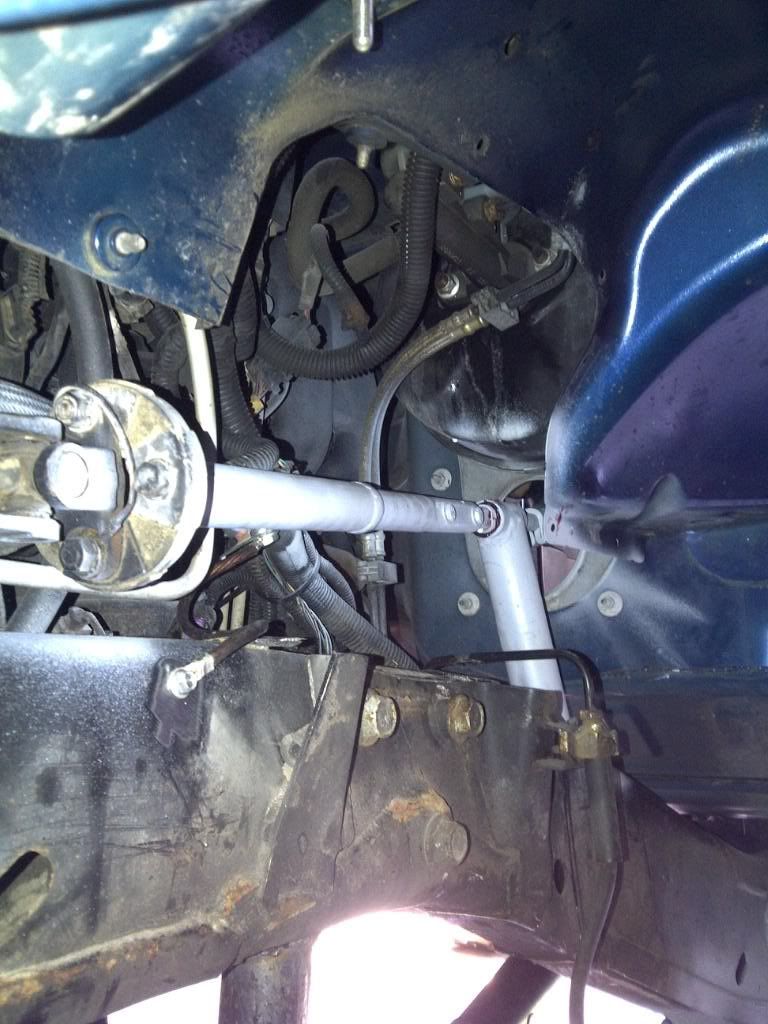
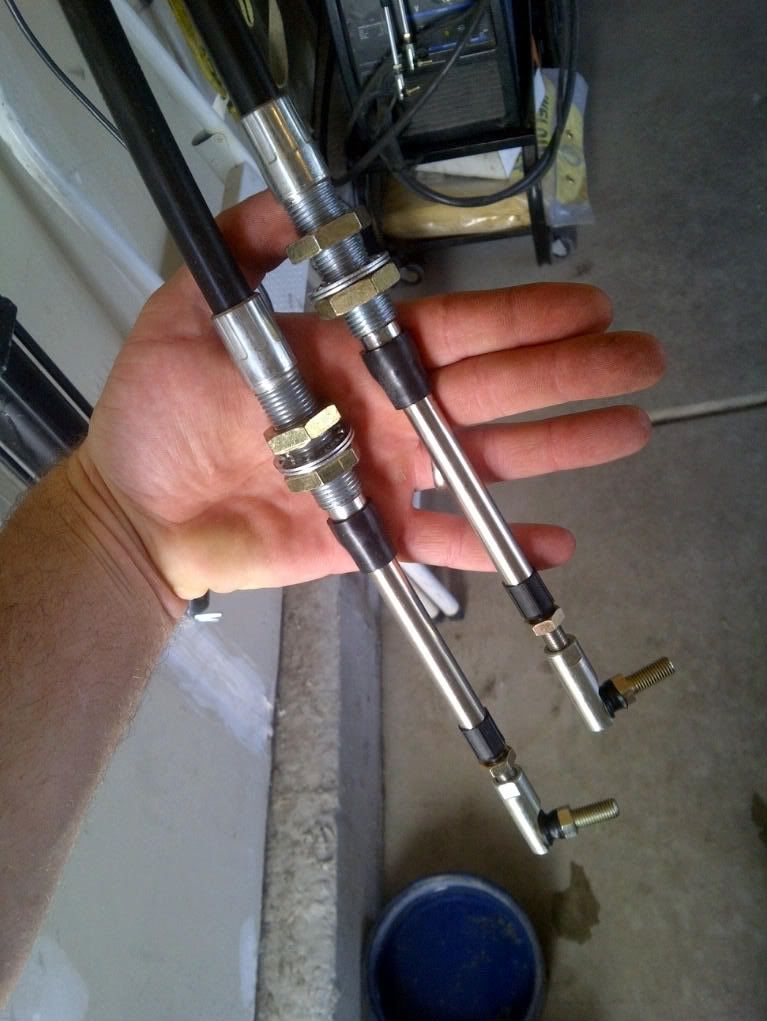
Steering gearbox from a 1990 toyota 4runner with Trail-Gear pitman arm.
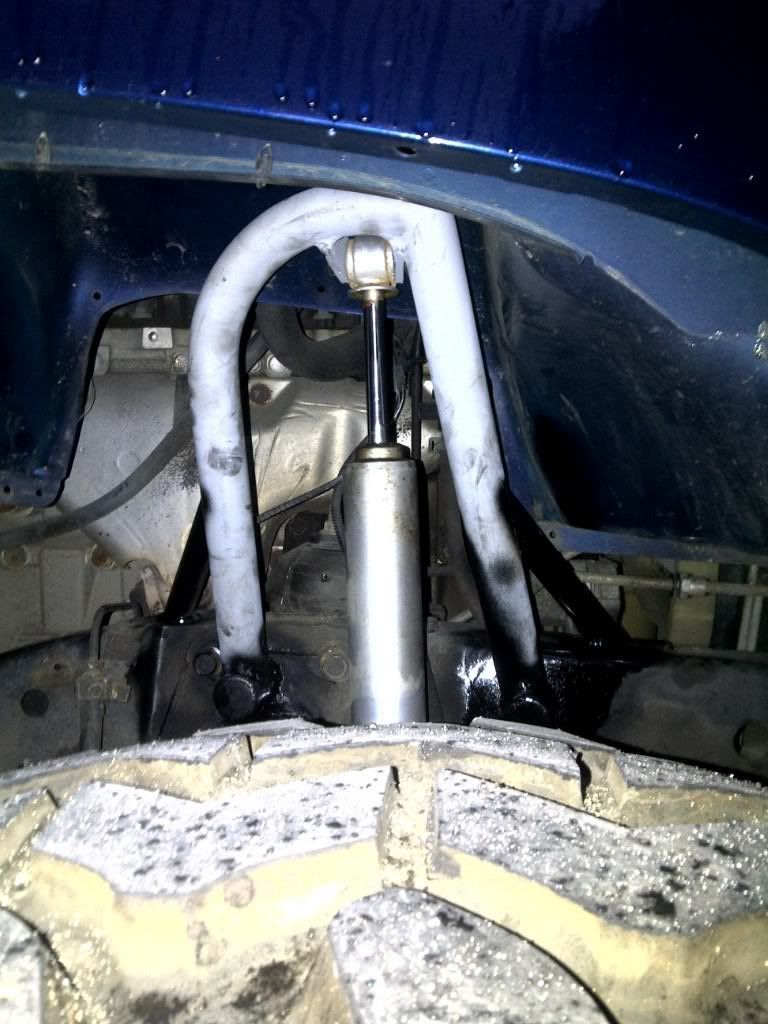
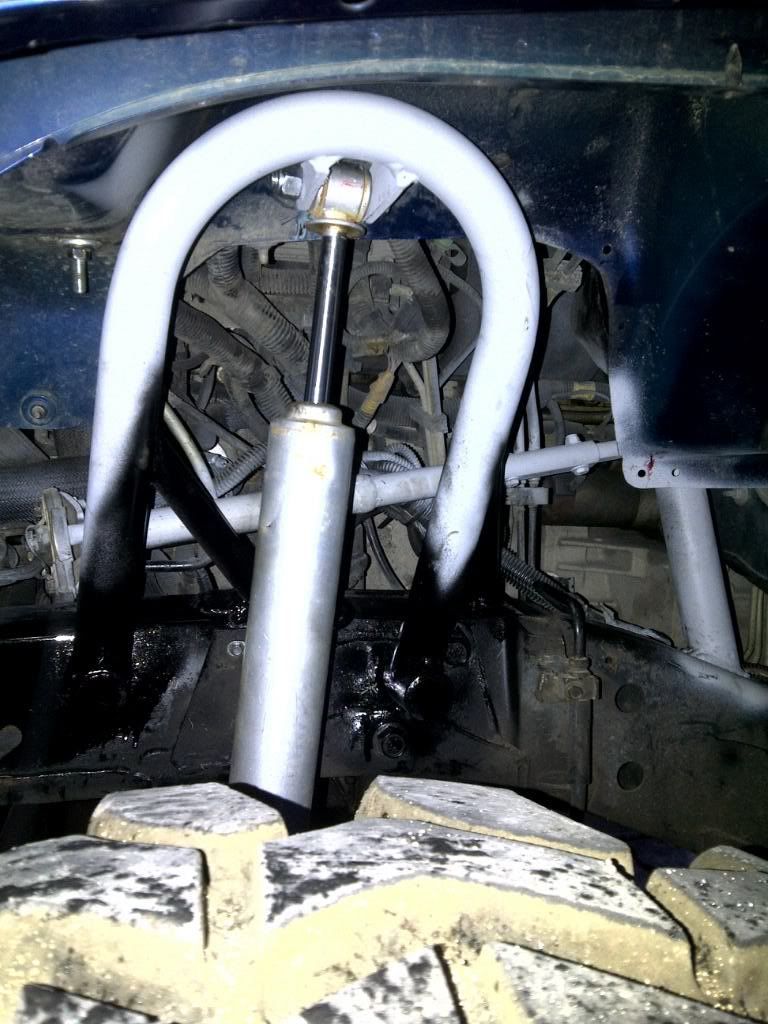
Trail-Gear 14" travel shock hoops, 14" travel rancho 9000 front shocks.
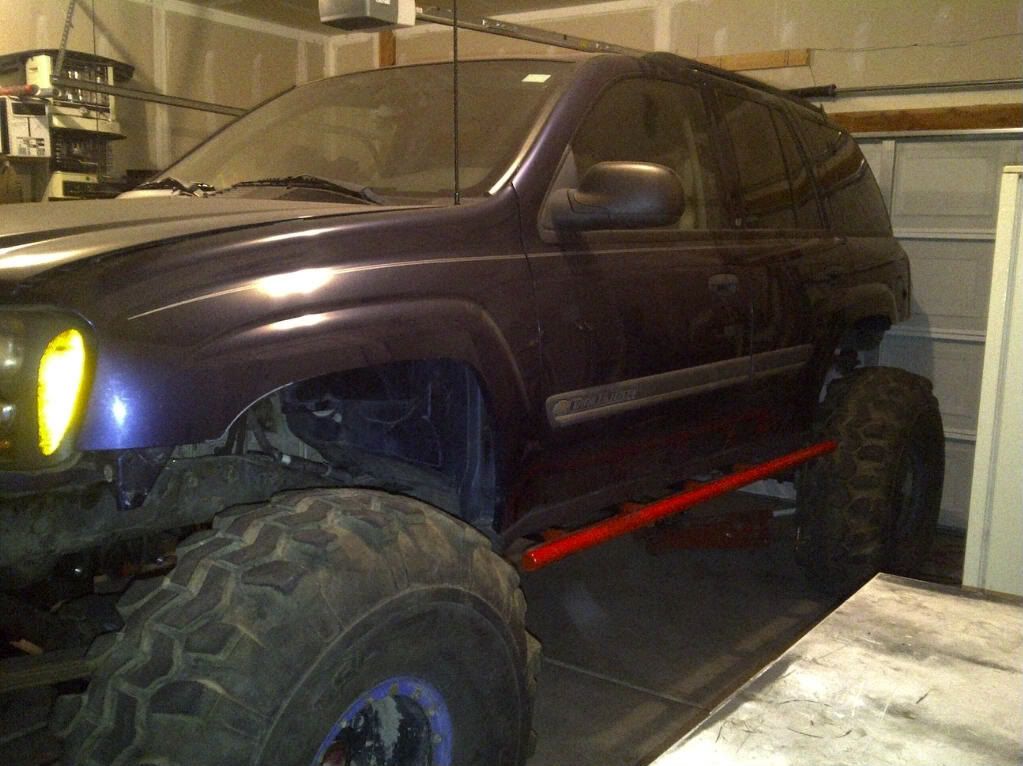
Trail-Gear Sliders, mounted inside out, outer tube has 1.5" .120 wall tube added inside.
1" body lift.
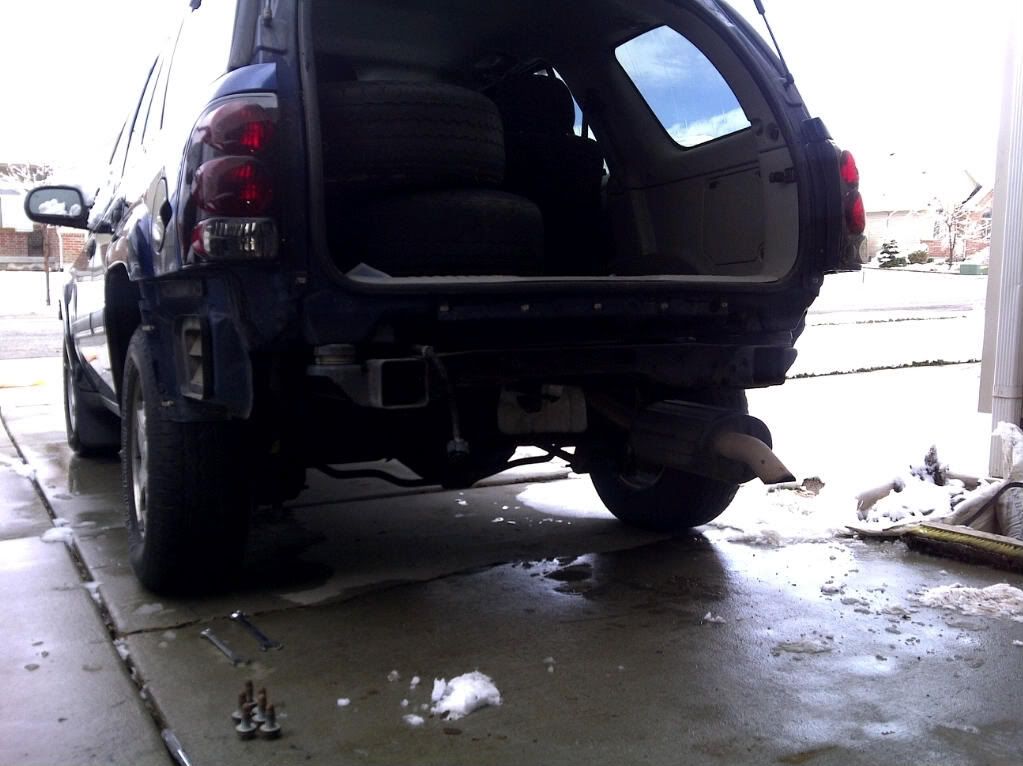
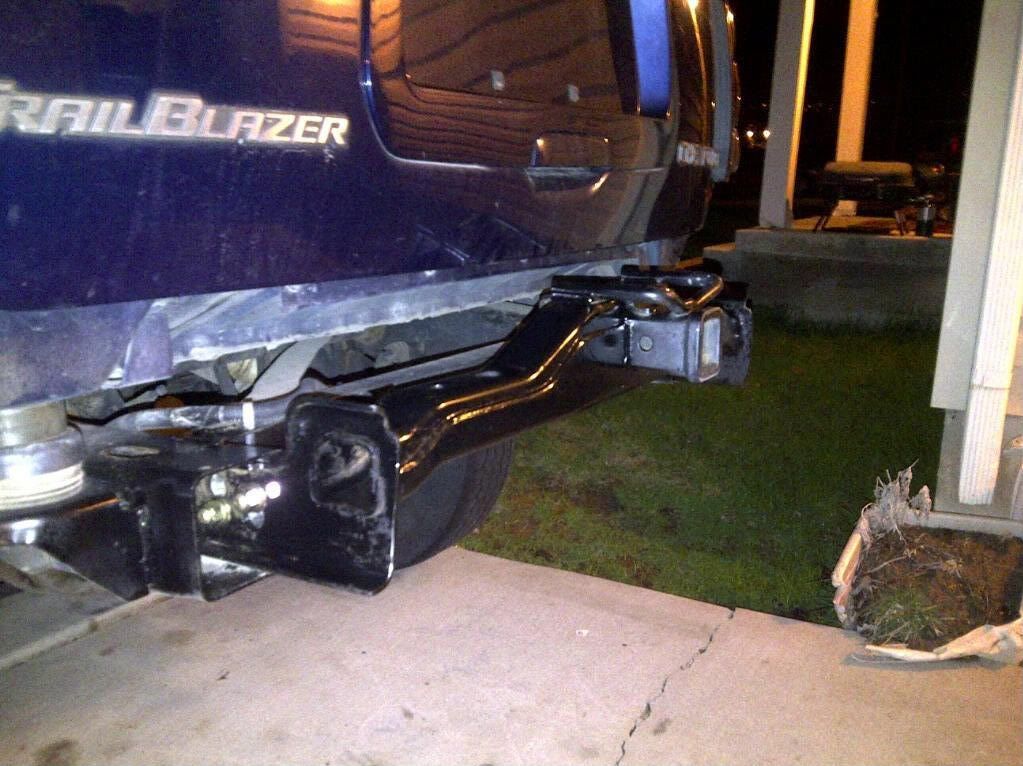
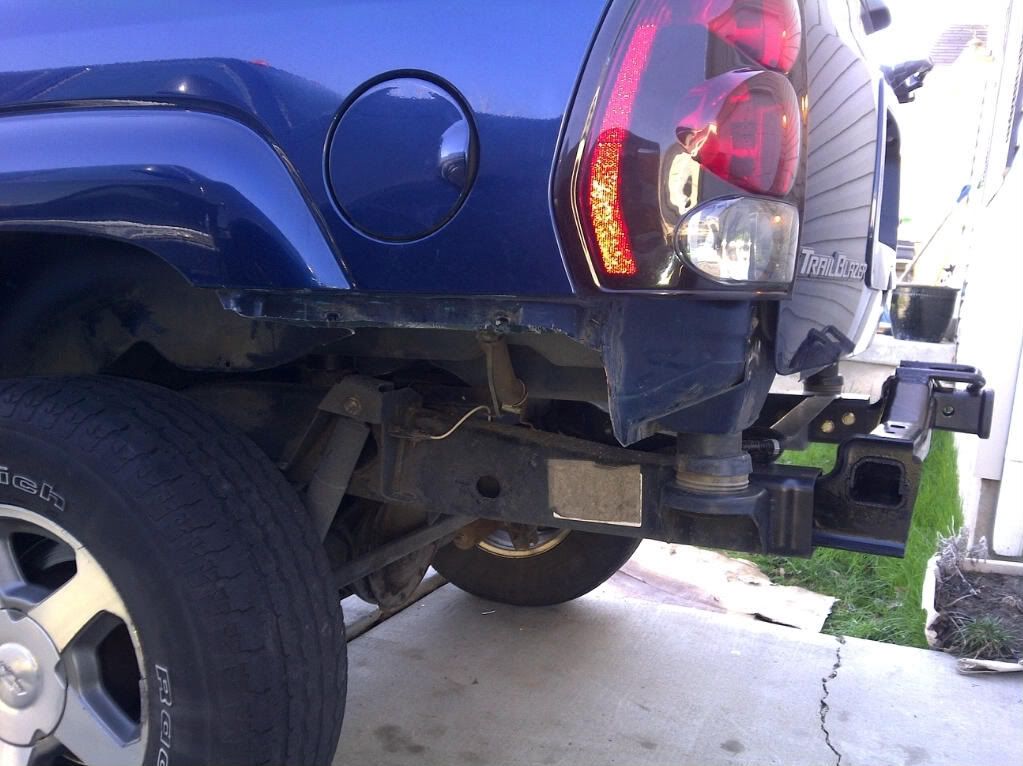
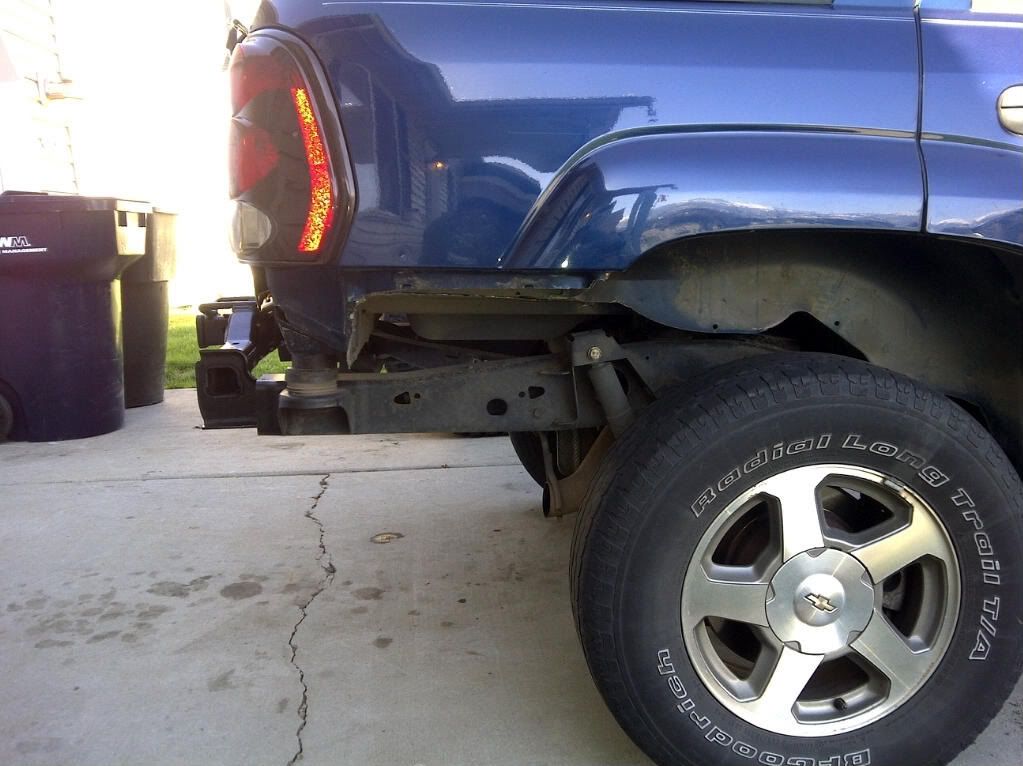
Flipped rear hitch.
Custom computer tune. (delete air injection, rear o2, torque management, upped shift firmness and top speed limiter, lowered fan temps, removed the possibility of po128 code, and more power!)
Hollow cat with performance muffler and 3" tailpipe.
10,000lb winch and recovery points.
Removed rear headrests
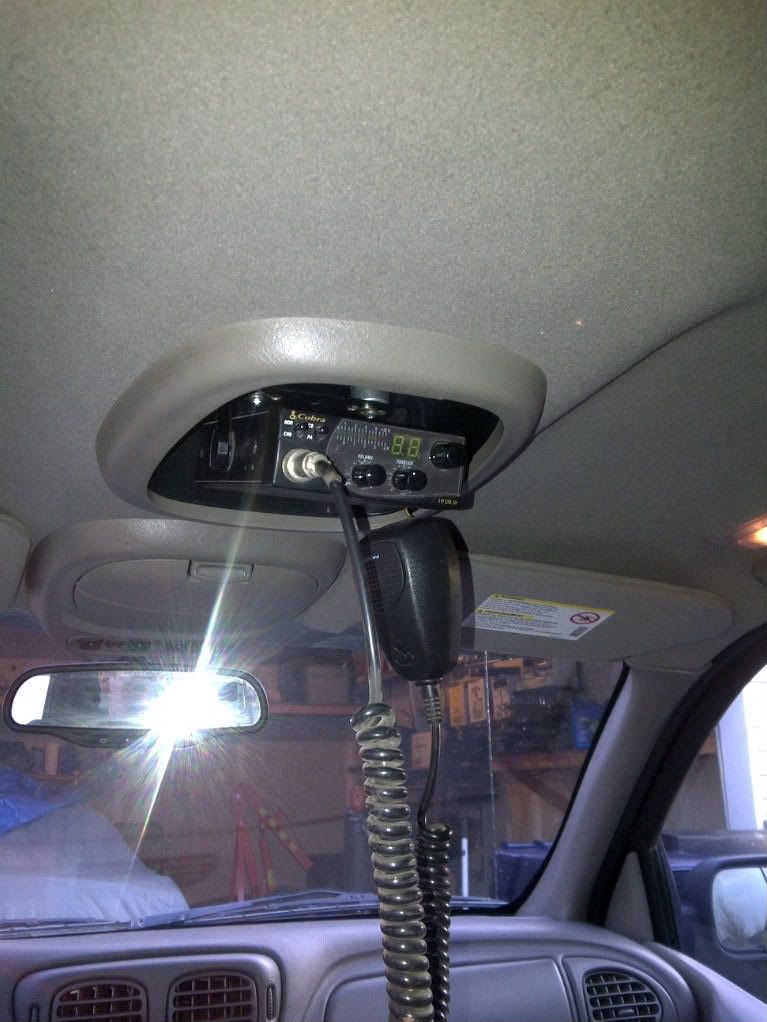
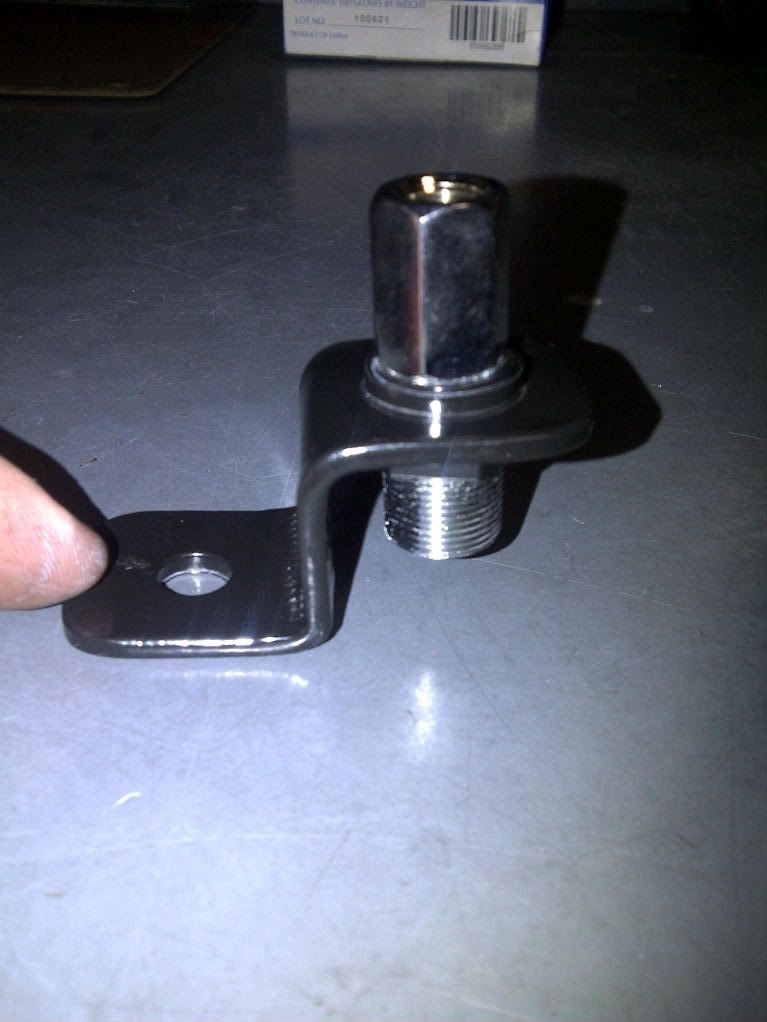
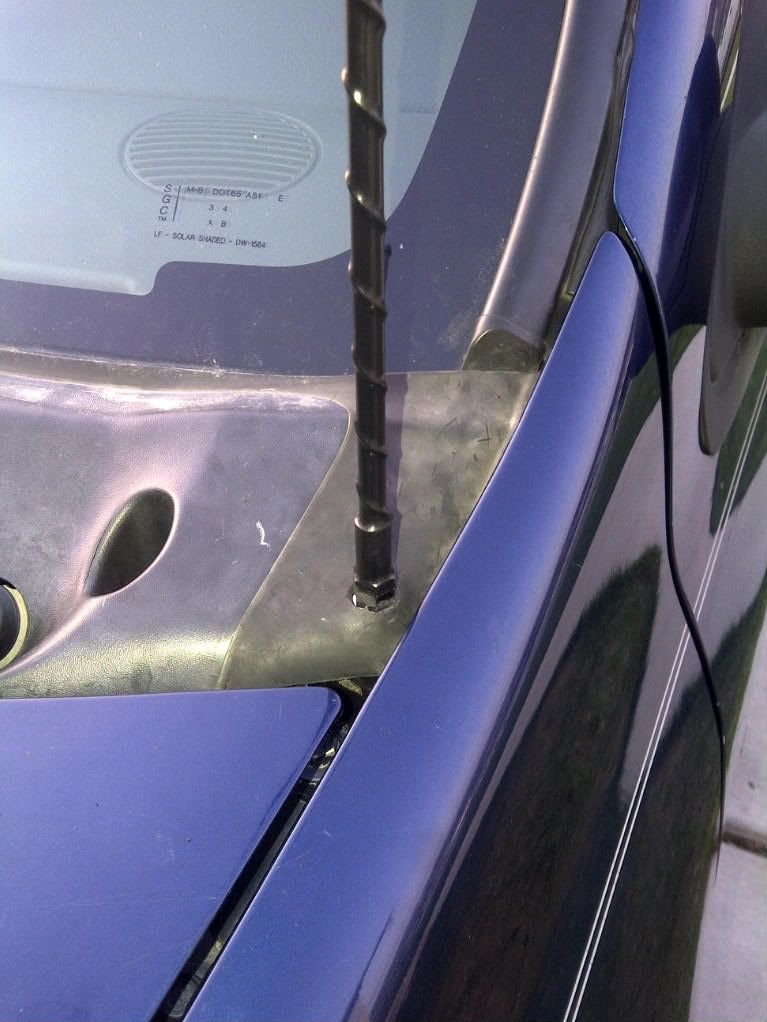
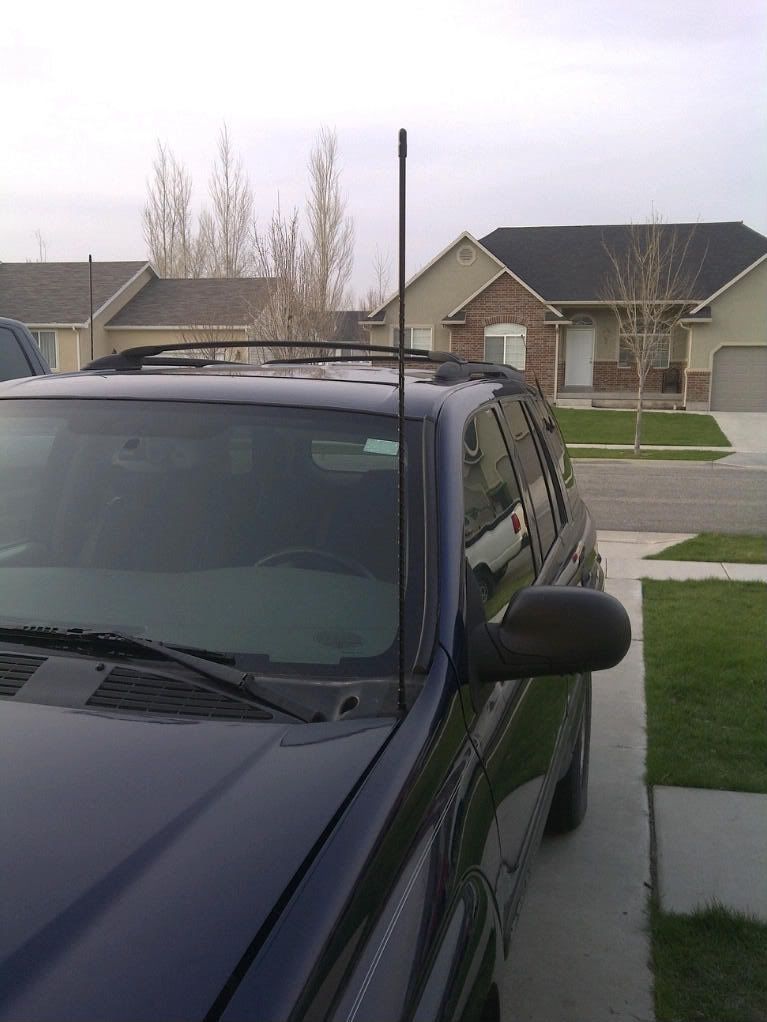
CB radio in overhead console, cowl mounted antenna opposite of ratio antenna.
Fire extinguisher install, passenger side of center hump.
Cabin air filter mod.
Mudflaps
Backup lamps, dual KC 55watt lights.
40x13.50x17 Goodyear MTRs on 17x9 Aluminum wheels.
Link to my photobucket with over 100 pics:
http://s909.photobucket.com/albums/ac29 ... /4CRAWLIN/