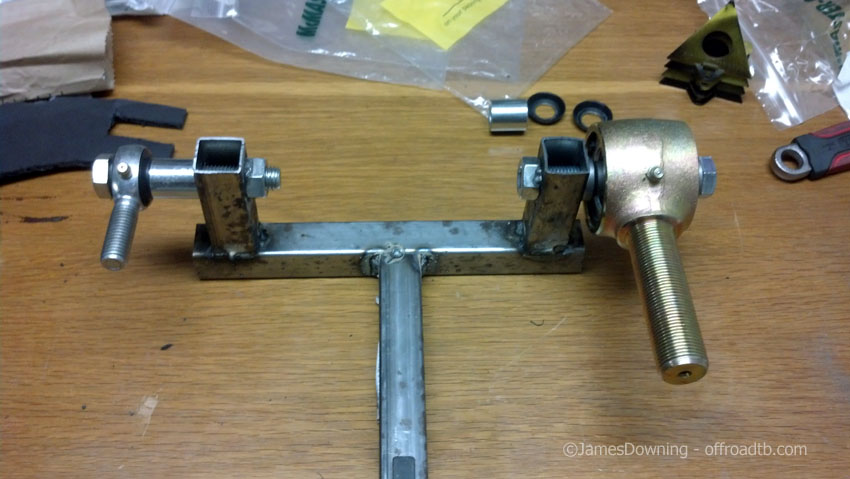
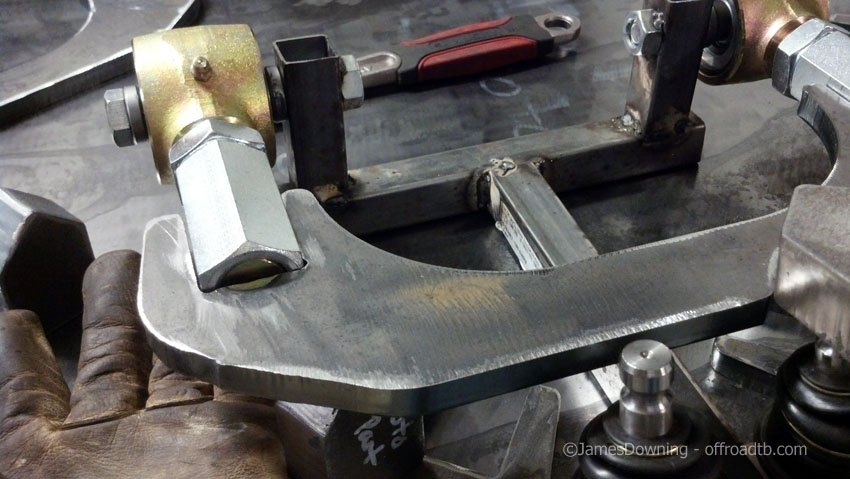
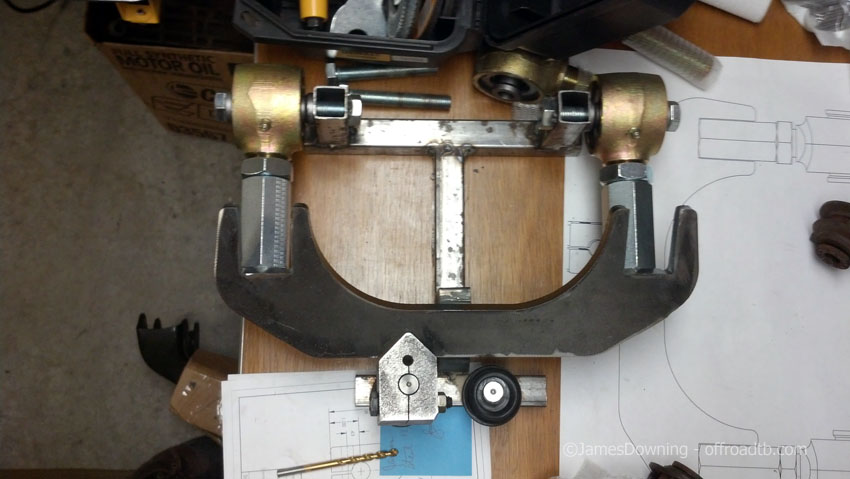
First step is creating a welding fixture:
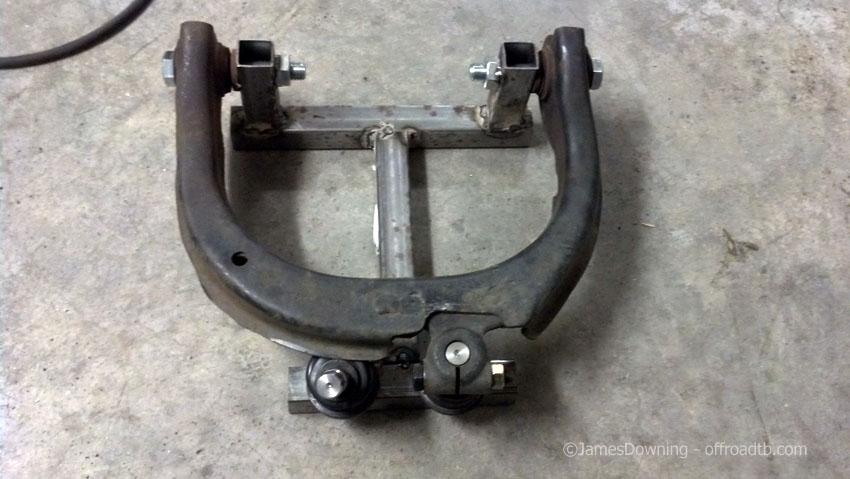
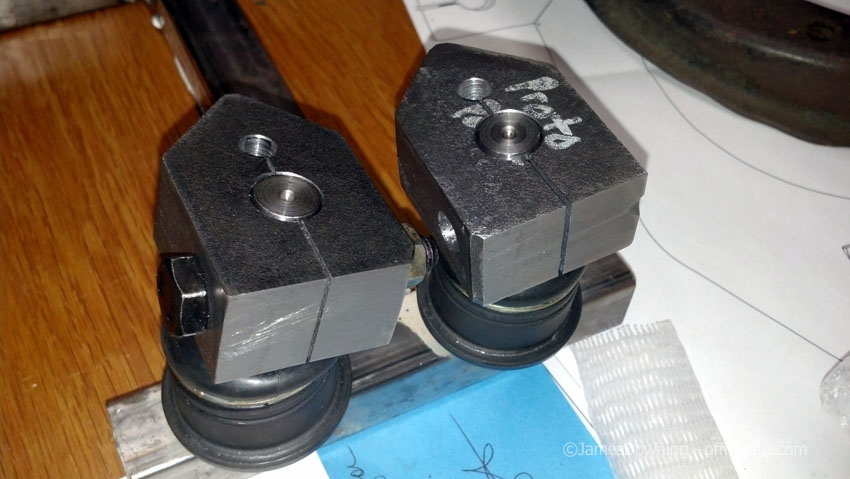
Original plan, M14 heims with spacers:
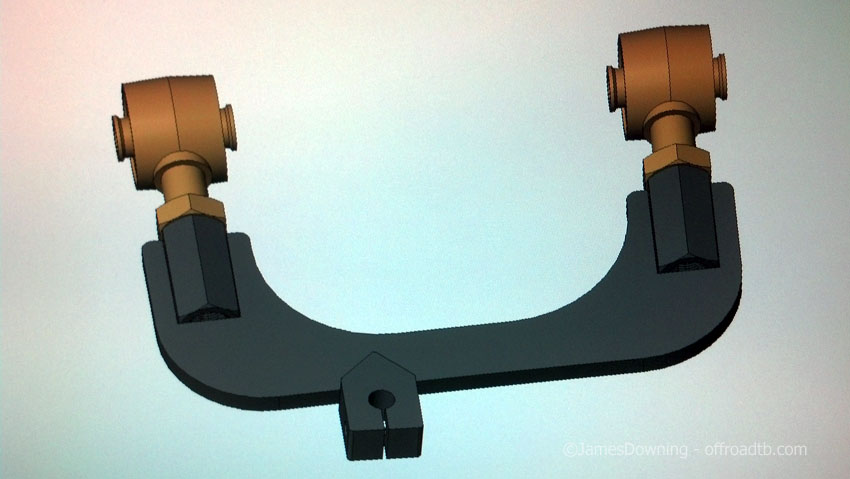
I didn't like the heims, thought they looked way too spindly. So I found some 9/16" Johnny Joints, and decided to see what they looked like. Much better:
Computer layouts:
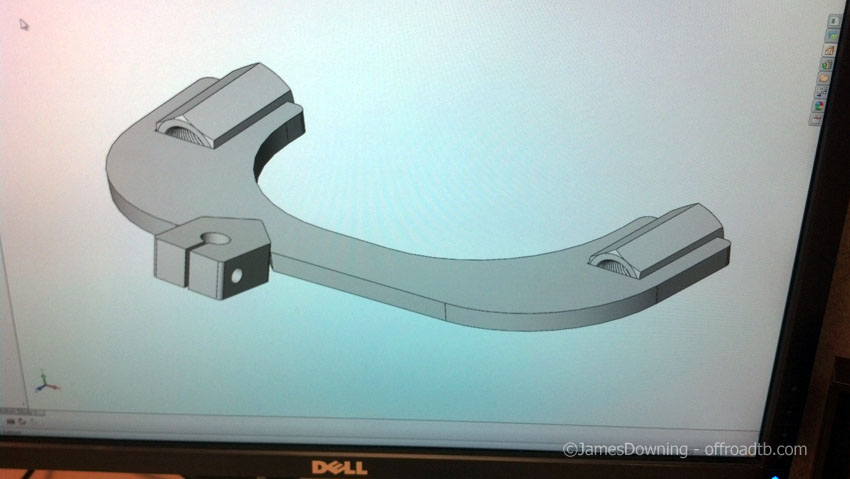
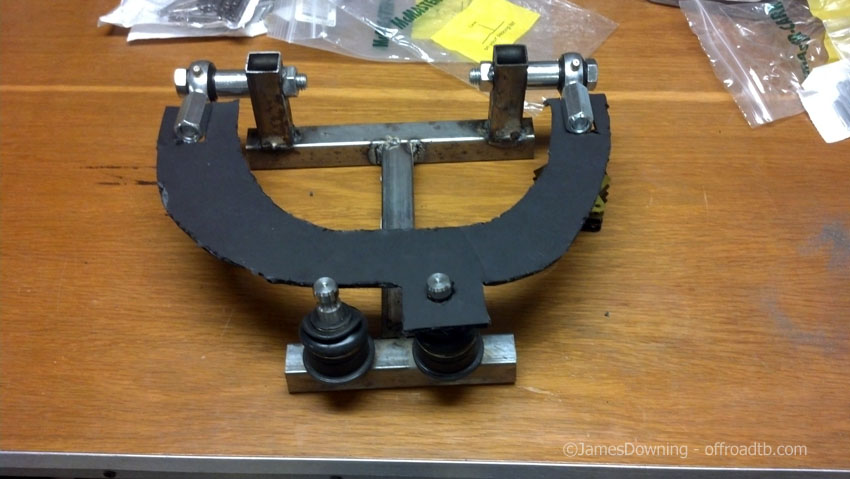
First rough layouts with the cnc plasmad parts. The main "wu tang" plate is 1/2" thick, the pinch is 1" thick:
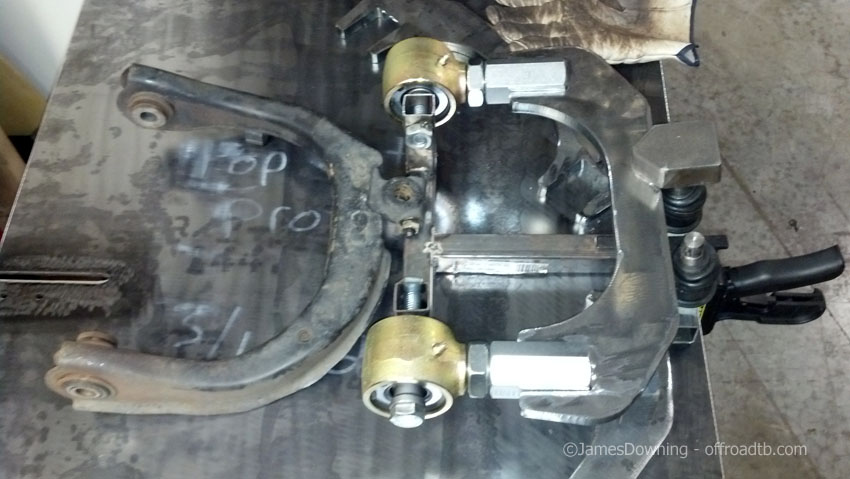
Coupling nuts are the connection points for the JJs. Thread is 1"-14
Comparison shot, stock vs new plan:
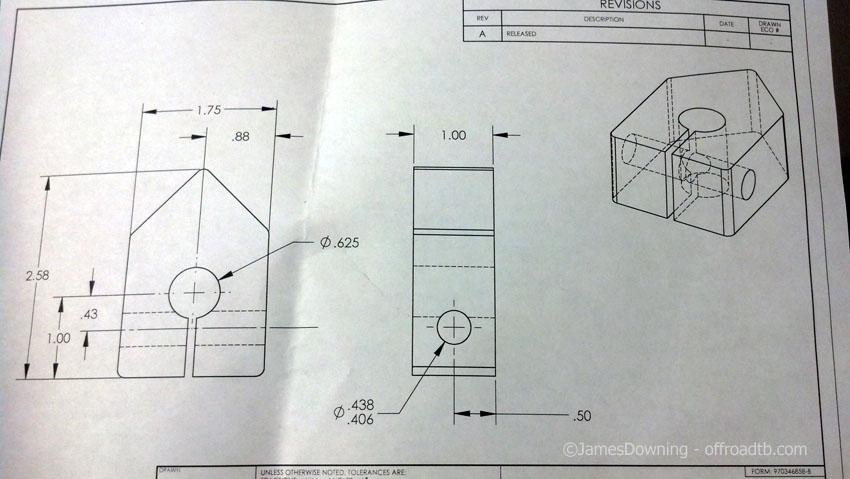
Machining drawing for the pinch bolts:
Machined, had to extend the slot a bit further so the bolt could actually pinch the stud... the original plan was too stiff. Terminated the slot in a hole so there's no crack propagation point.
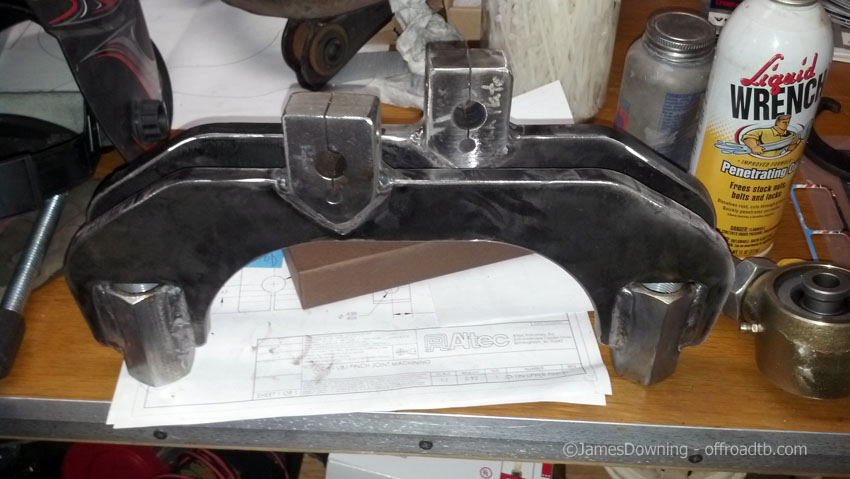
Layout didn't look perfect at first, had to take off a sliver of about 1/4" of material from the "wu tang" plate around the pinch plate.
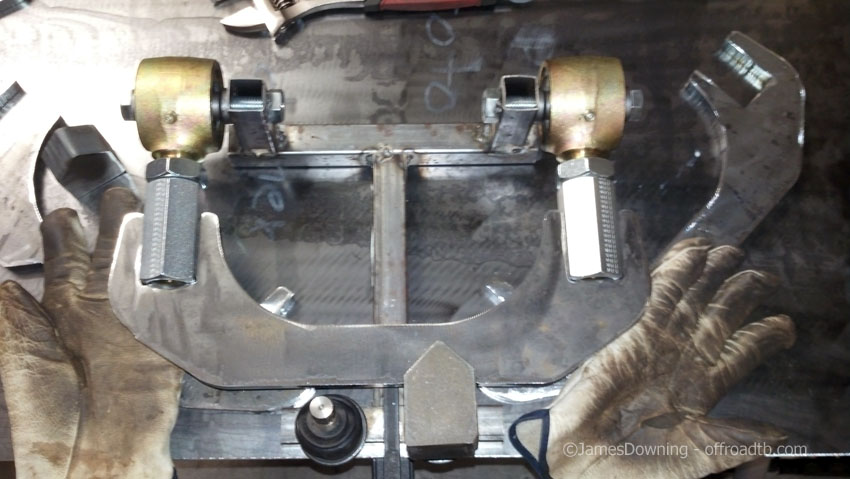
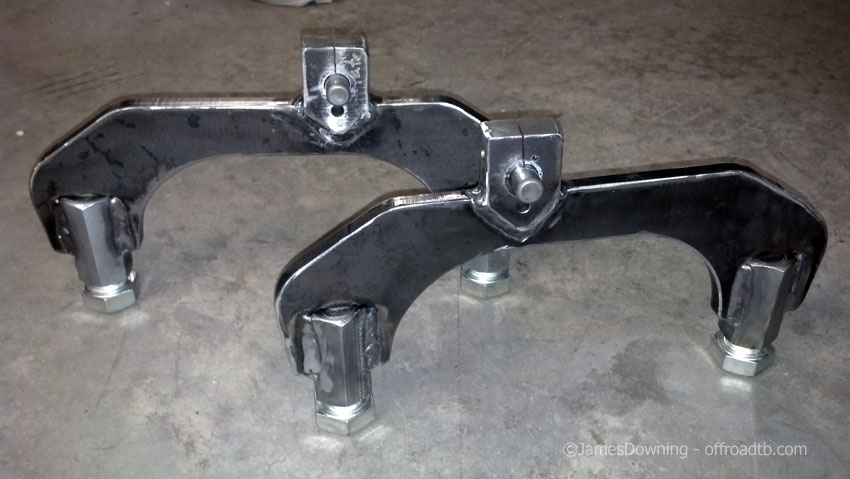
Welded:
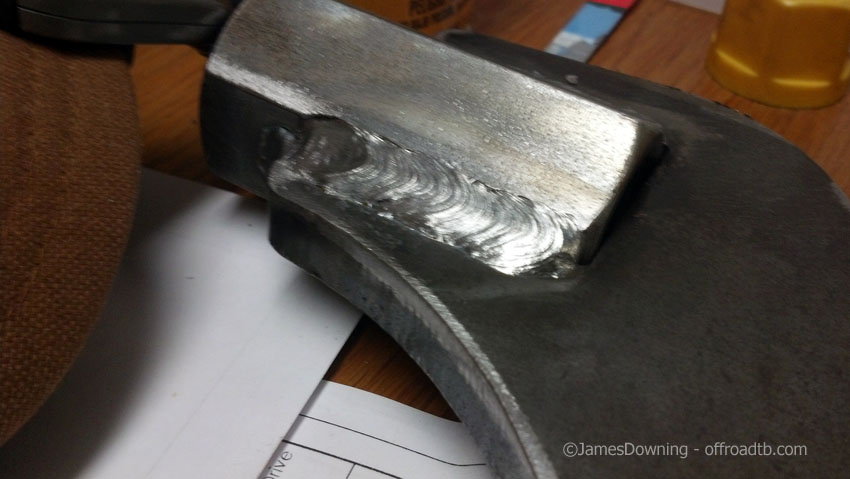
Detail of the welds, they weren't all perfect, but most of them looked good. Had to grind down a couple here and there:
Masked for powder:
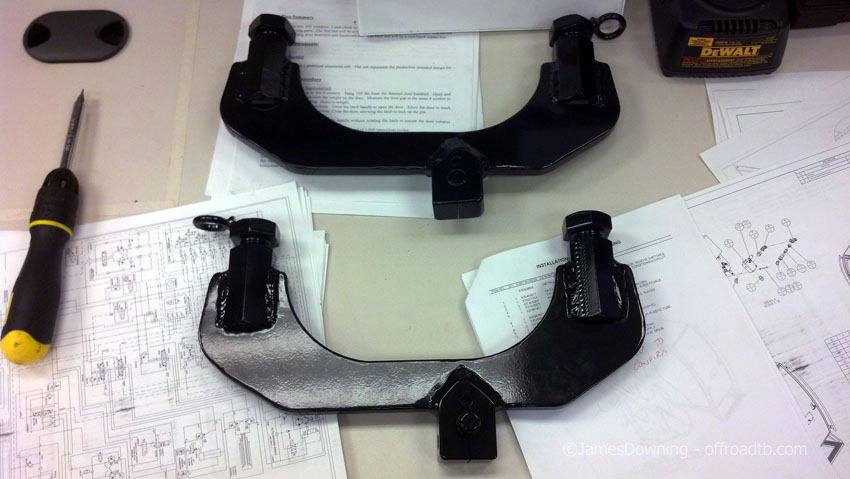
Finished products:
Installed left side:
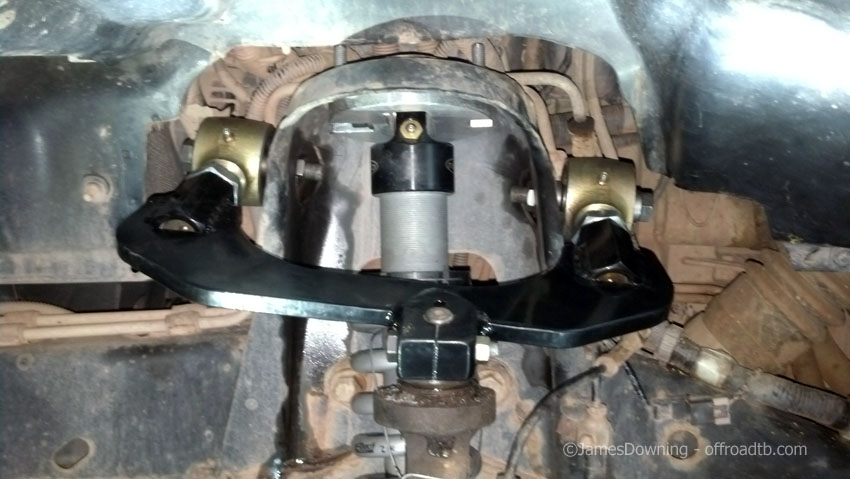
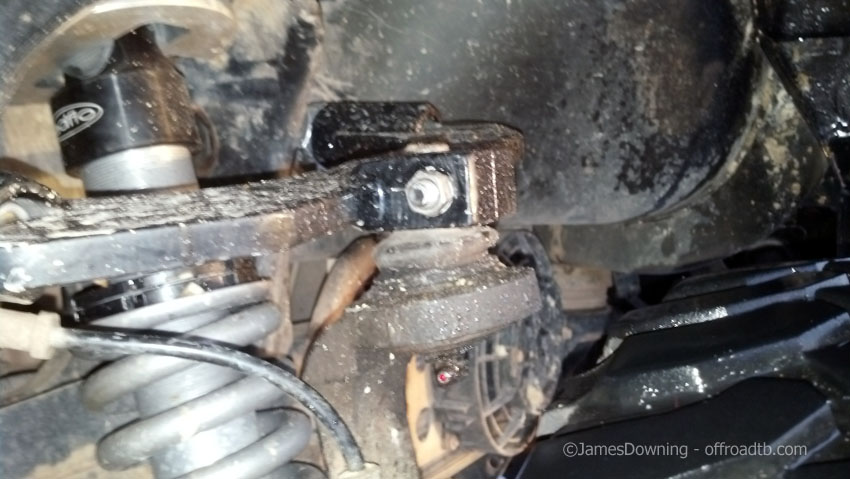
Fitment was a bit tight. What I didn't realize was that the bushings in the stock UCAs allow for some axial movement when installing the UCAs to the bucket. Mine didn't. So I had to grind out about 1/16" of material from the JJ arbors.
Note the lock nut on the inside of the bucket. I was worried that the tight JJs would work the mounting bolt loose. Also to note, the stock bolts are too short for JJs, had to get some new 10.9 class M14s, 100mm long for the attachment bolts. The front bolt on the pass side was too long though and hit the washer bottle upon my first attempt at install. Had to cut it down to about 90mm and it barely fit.
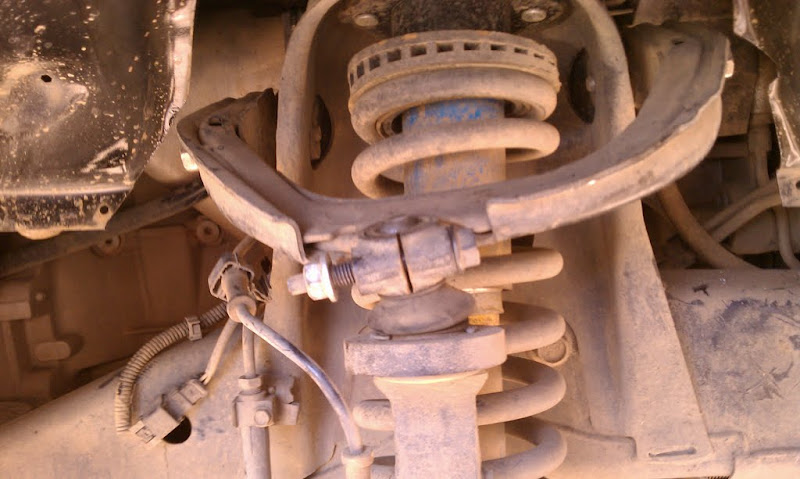
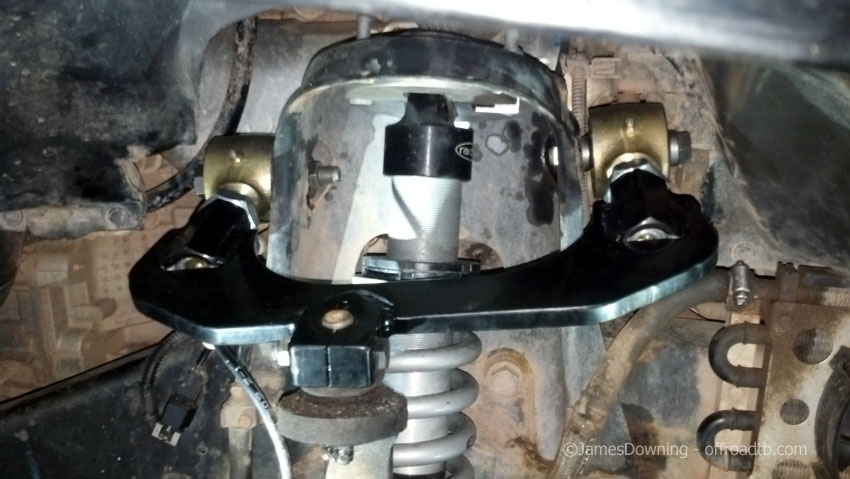
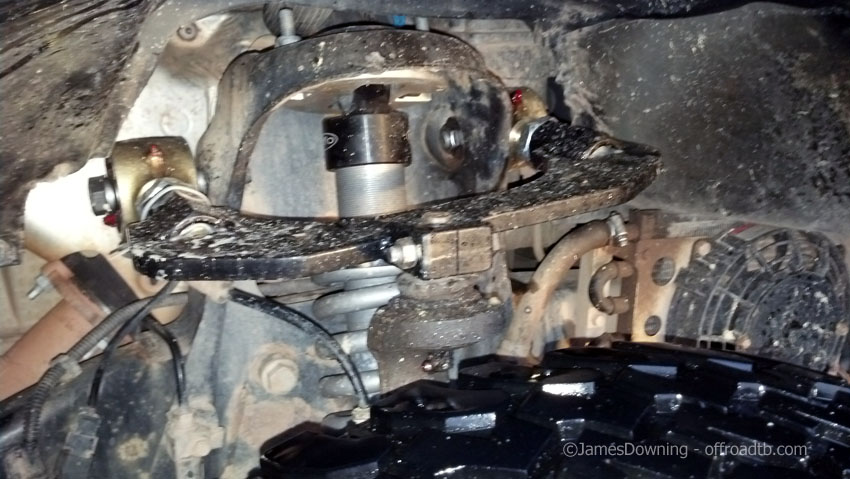
Installed right side:
Better picture with better light:
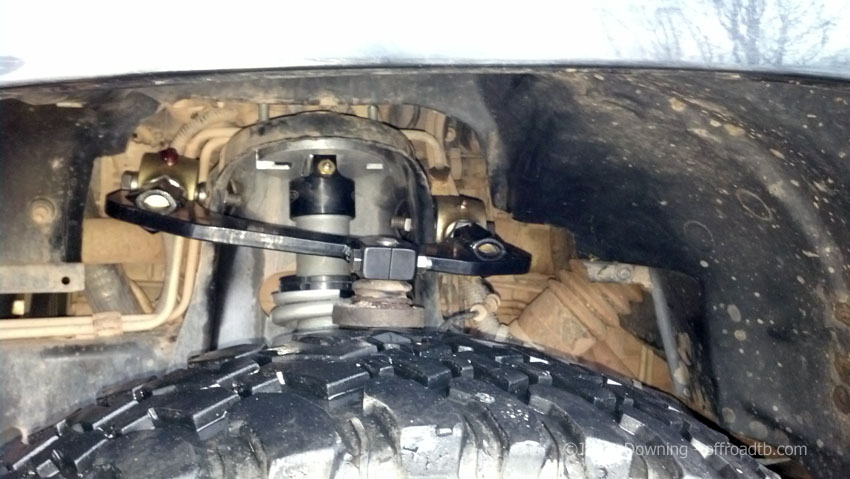
Did a little testing at my local proving ground, and saw no issues. The JJs are a bit tight right now, but everything seemed to work as expected. Really firmed up the front end (but found my outer tie rods are shot... DOH):
Ball joint angle still not perfect, I guess my measurements were a tad off, but a ton better than the stock UCA... even flipped. I should have angled the pinch plate back a bit more, I did 9 degrees of tilt on that axis, must be closer to 14: