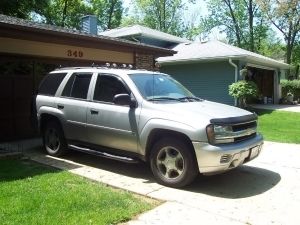
Drivetrain Specs
-4.2L I6, 4WD w/G80
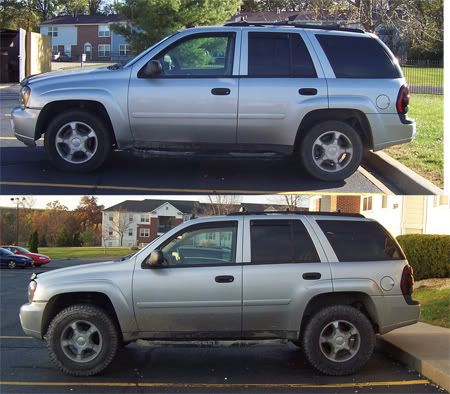
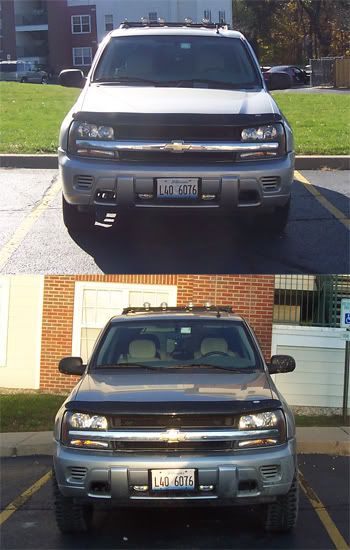
Suspension mods
-LiftMeister 3" Suspension Lift
Tires
-265/70/17 Falken Rocky Mountain ATS
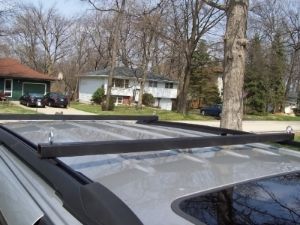
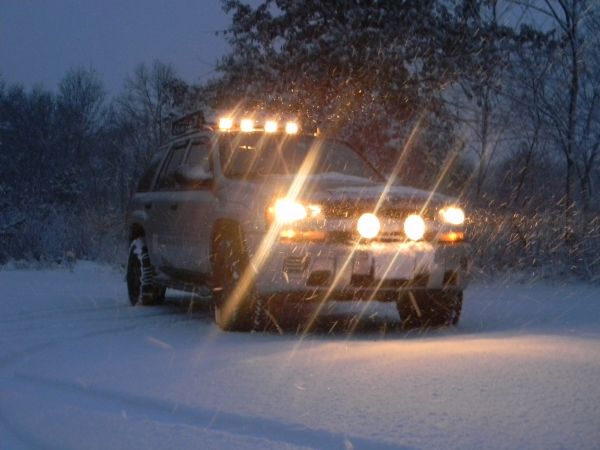
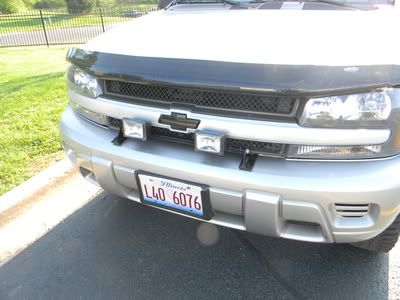
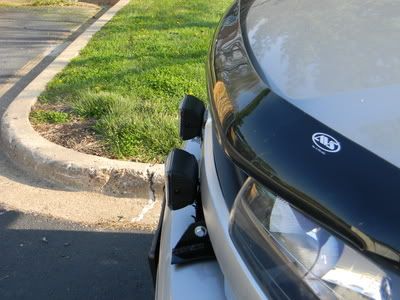
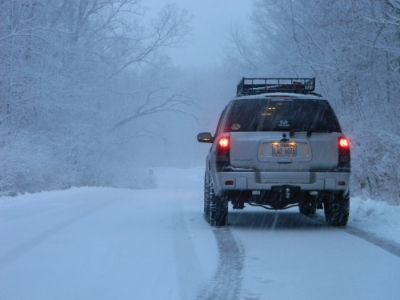
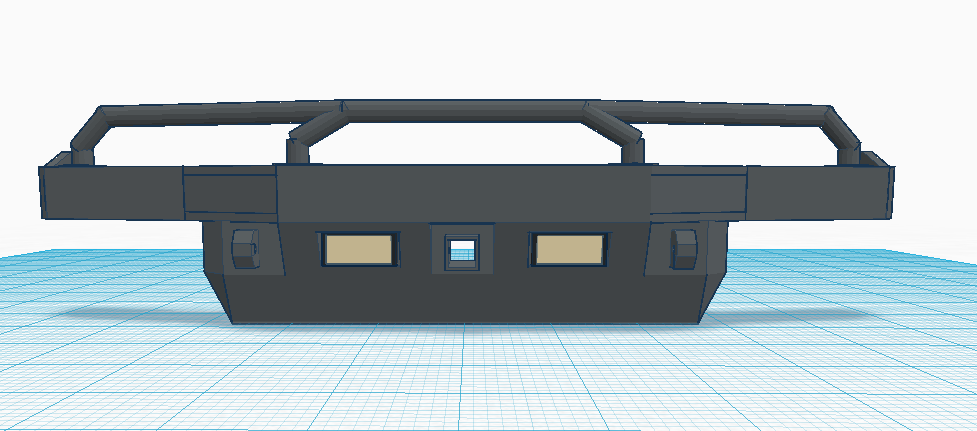
Exterior Modifications
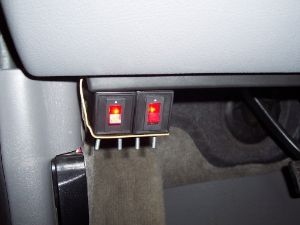
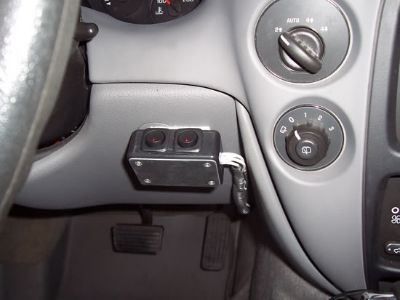
-Exterior lighting
- 4x Hella Micro FF on roof
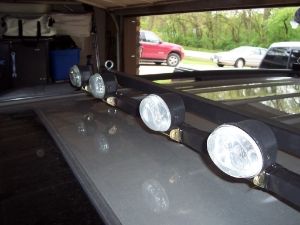
- 2x KCHiLites 57 series on bull bar
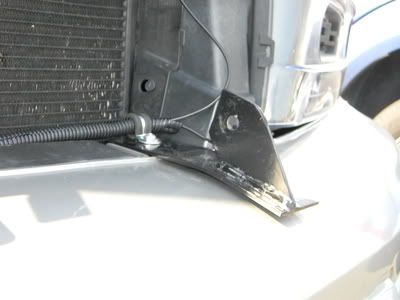
- 2x Backup Lights (Platinum Burners)
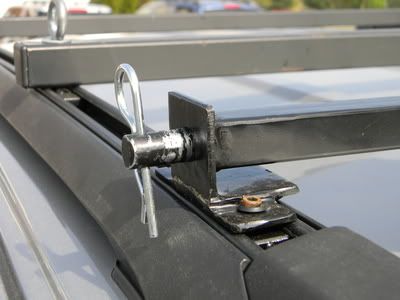
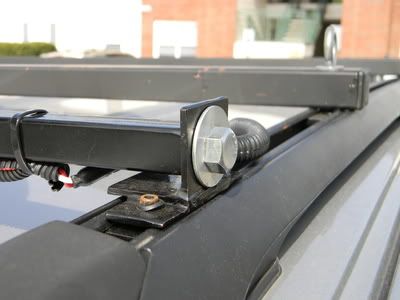
-Custom/Home made roof carrier
-Hitch mounted carrier
- Spare tire
- HiLift Jack
-Home Made Camp Awning
Engine Modifications
-none
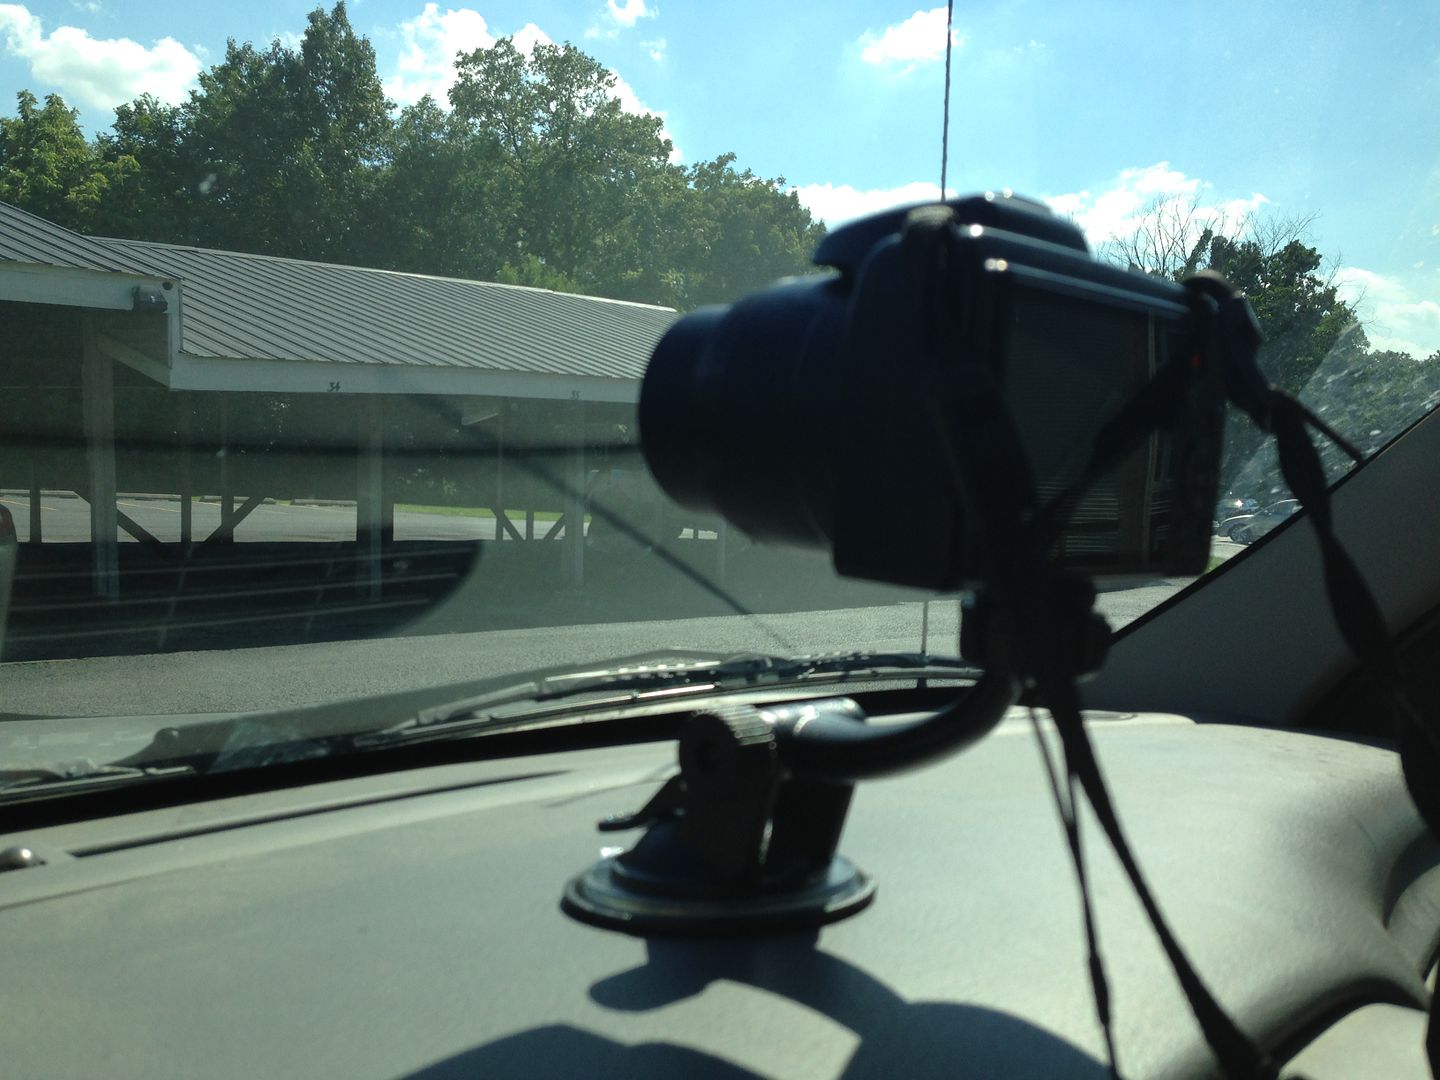
Interior Modifications
-Delorme Topo North America
-Dash Camera Mount
-Additional Power Plug in Cargo Area
Recovery Equipment
-Hi Lift with Lift Mate
-Toolbox with assorted tools
-Hitch Shackle Mount
-Shovel
-First Aid / Roadside Emergency Kit