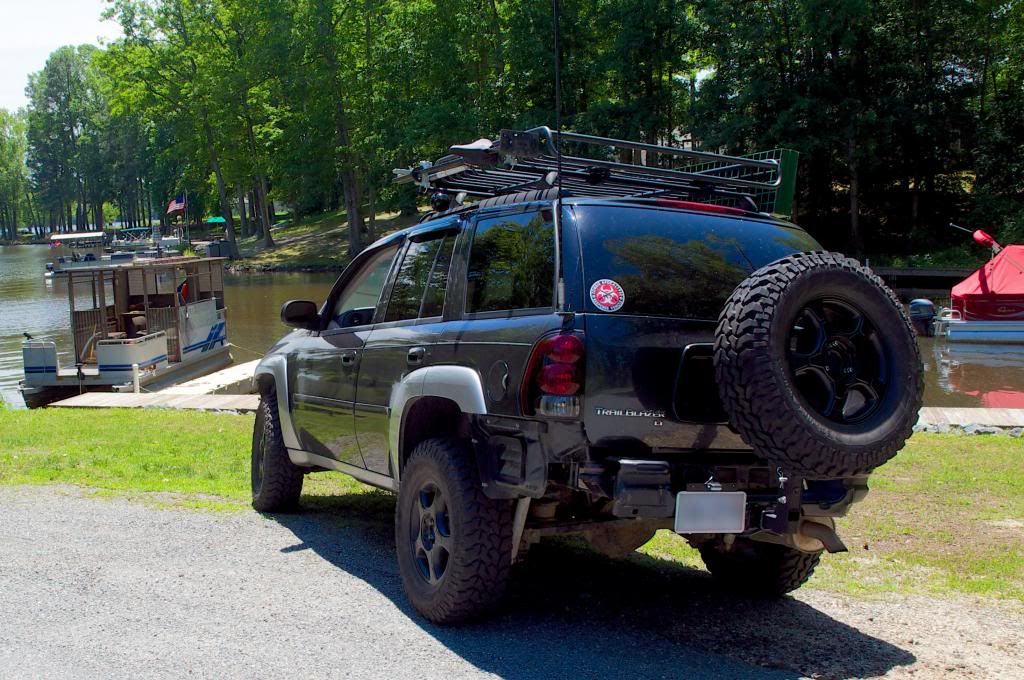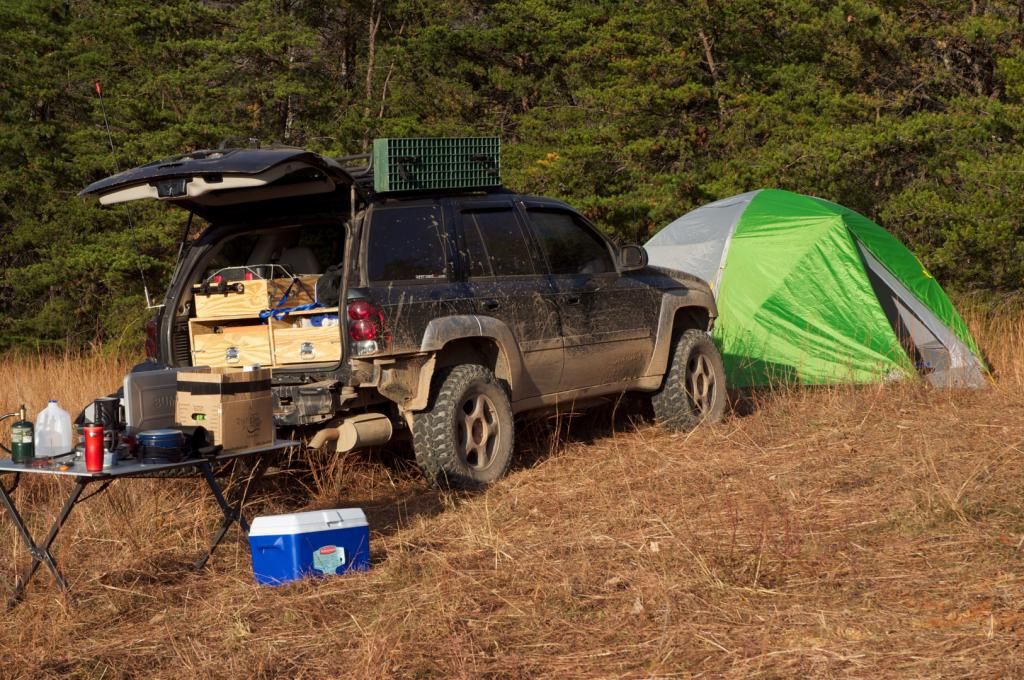
Photo taken Nov 9, 2014 during TECORE XI
Drivetrain Specs:
4.2L I6 - GU6 (3.42), without G80
Suspension Modifications:
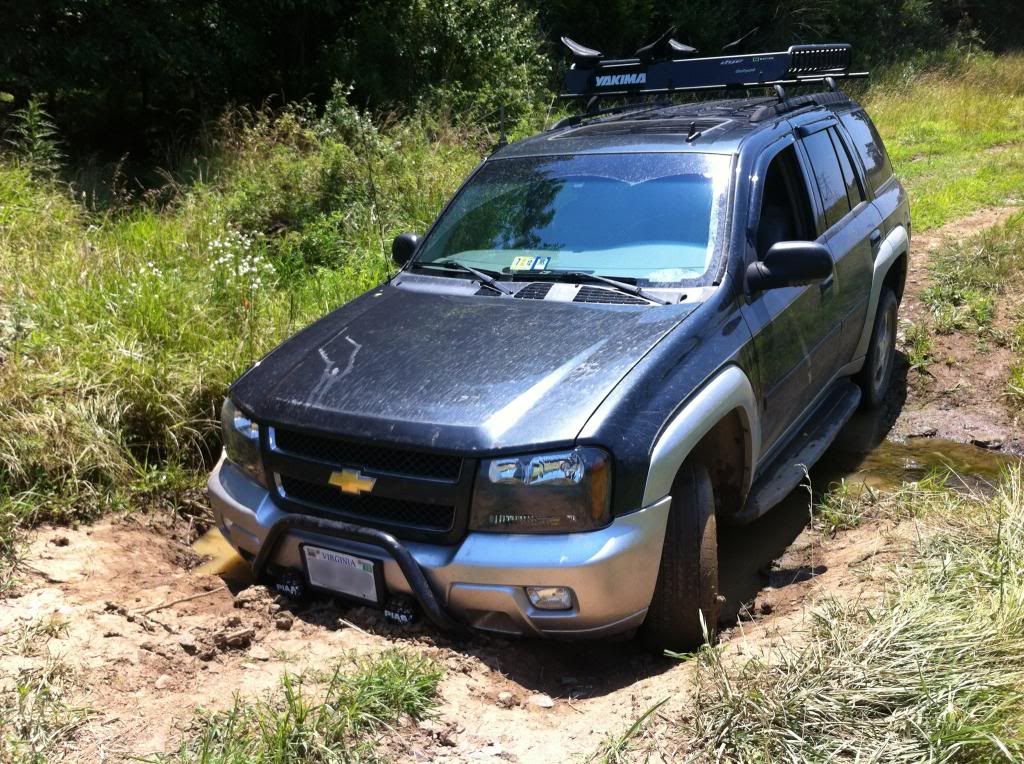
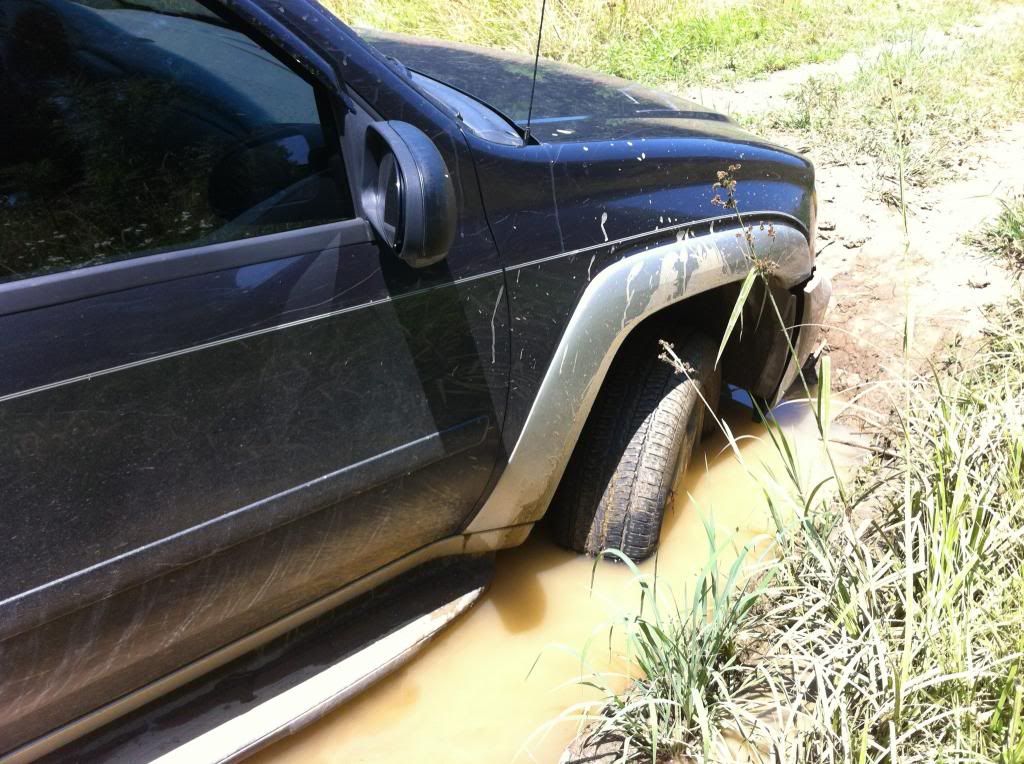
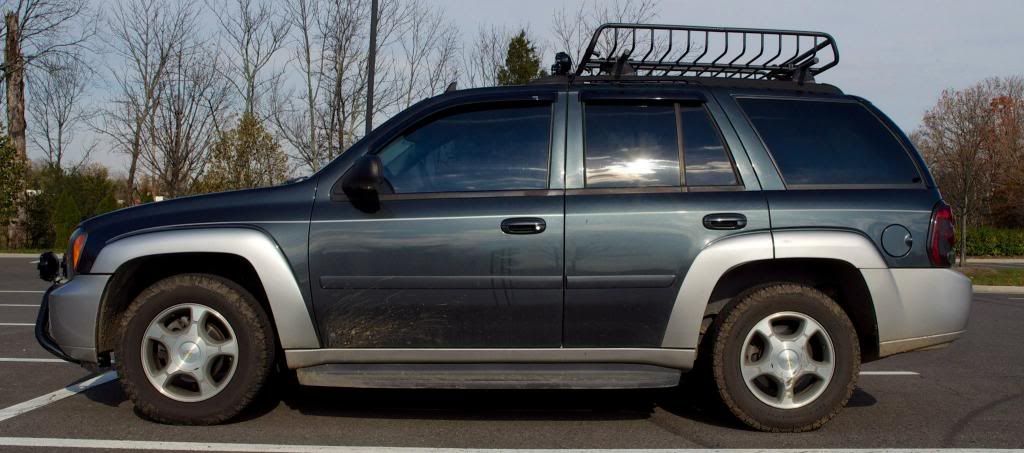
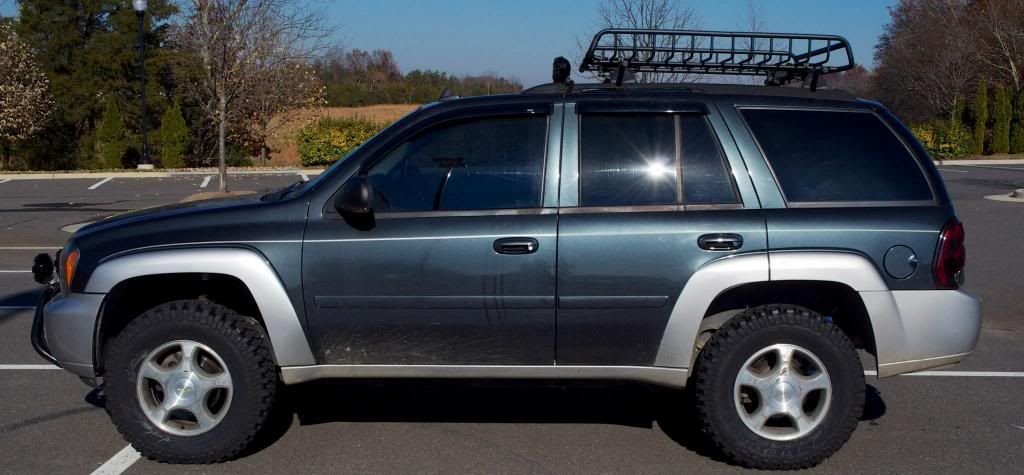
255/75R-17 (32") - Firestone Destination M/T
1.5" wheel spacers from Liftmeister
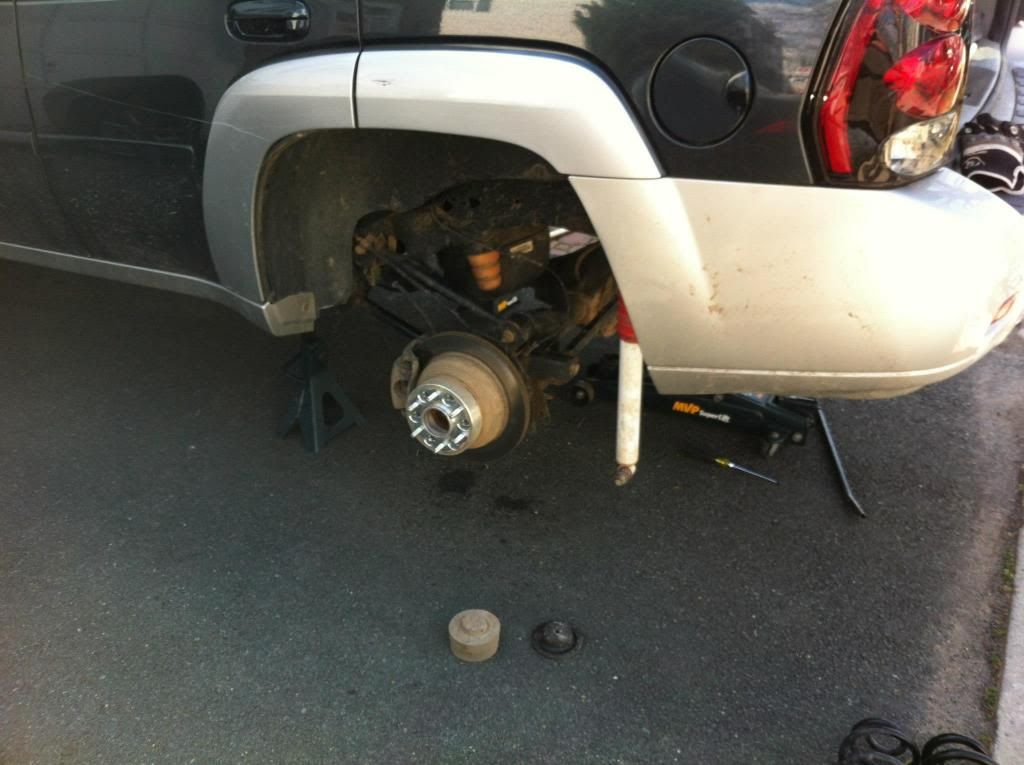
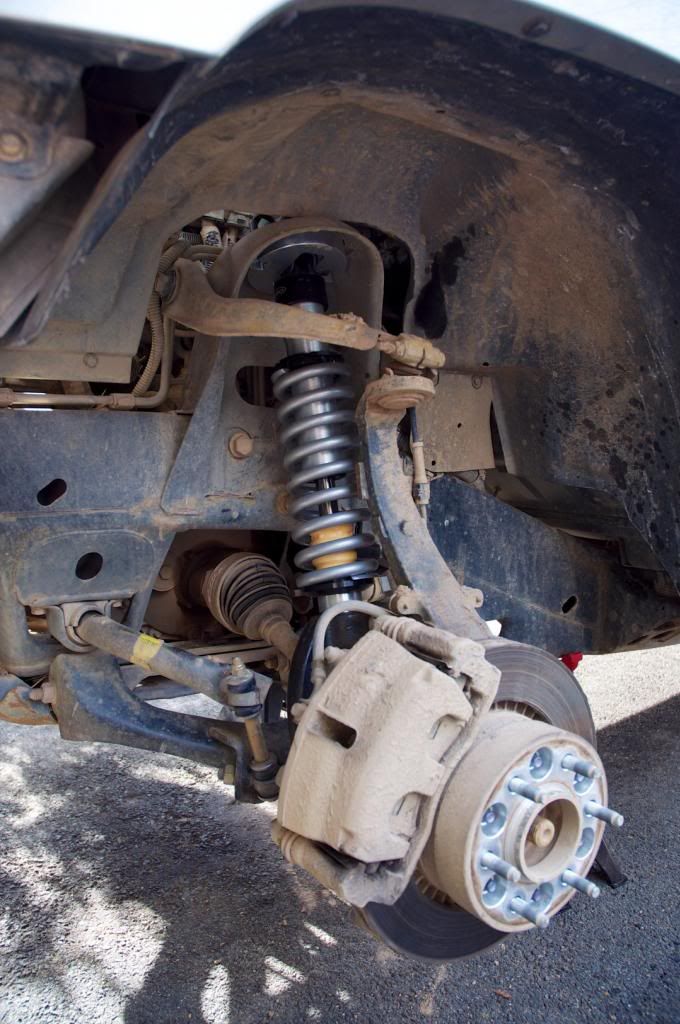
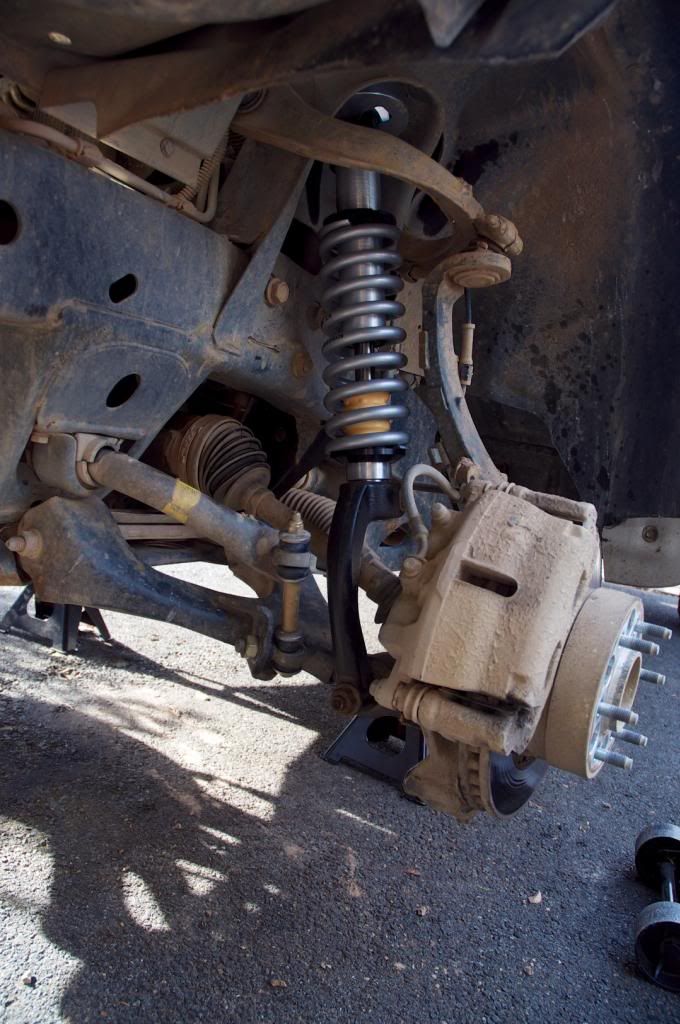
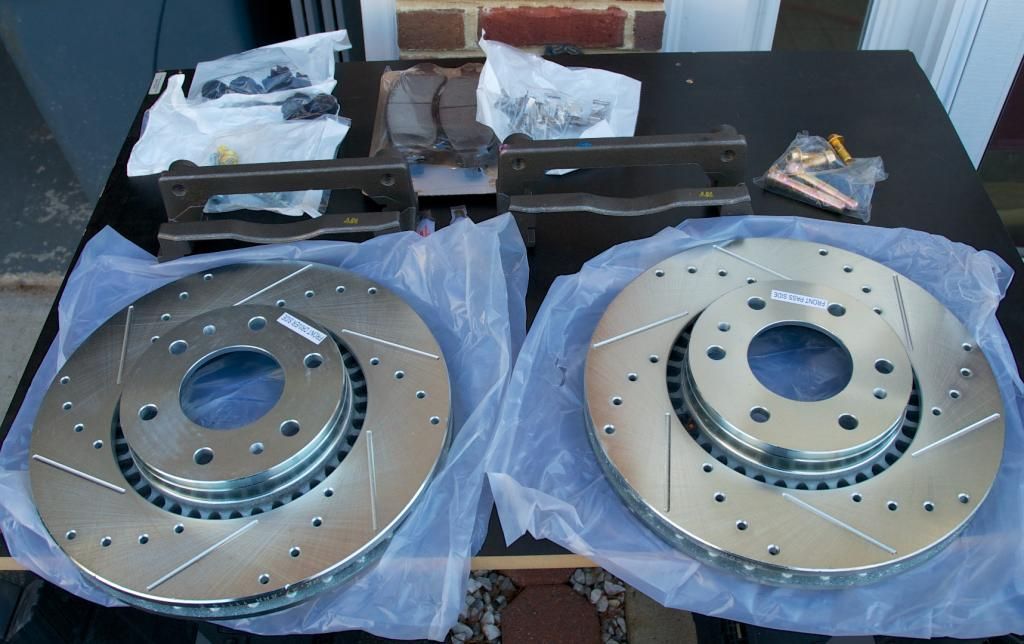
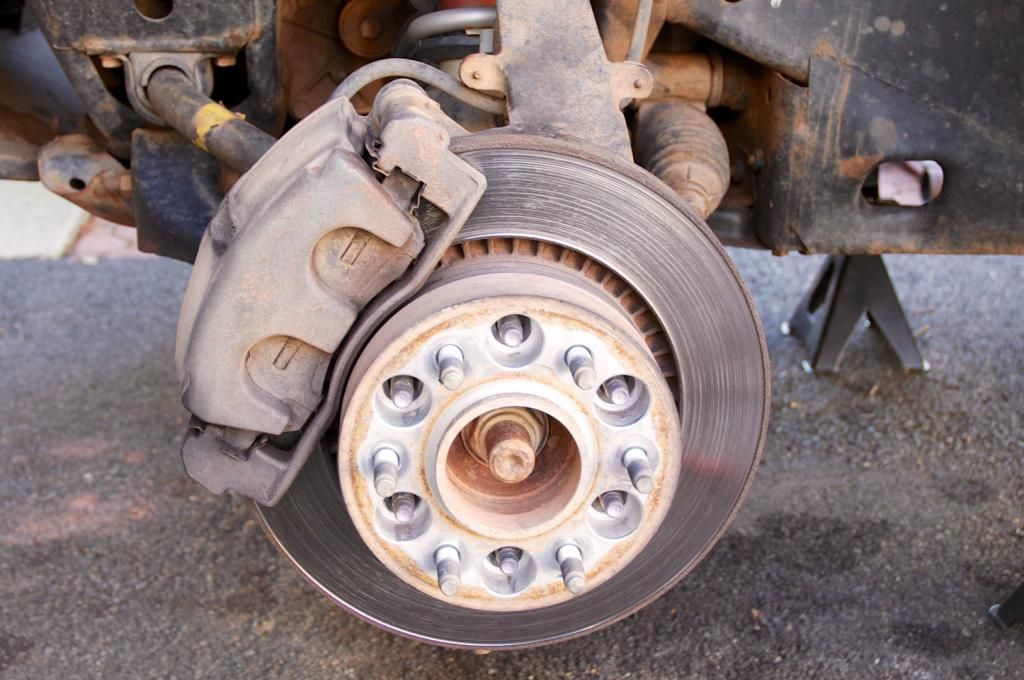
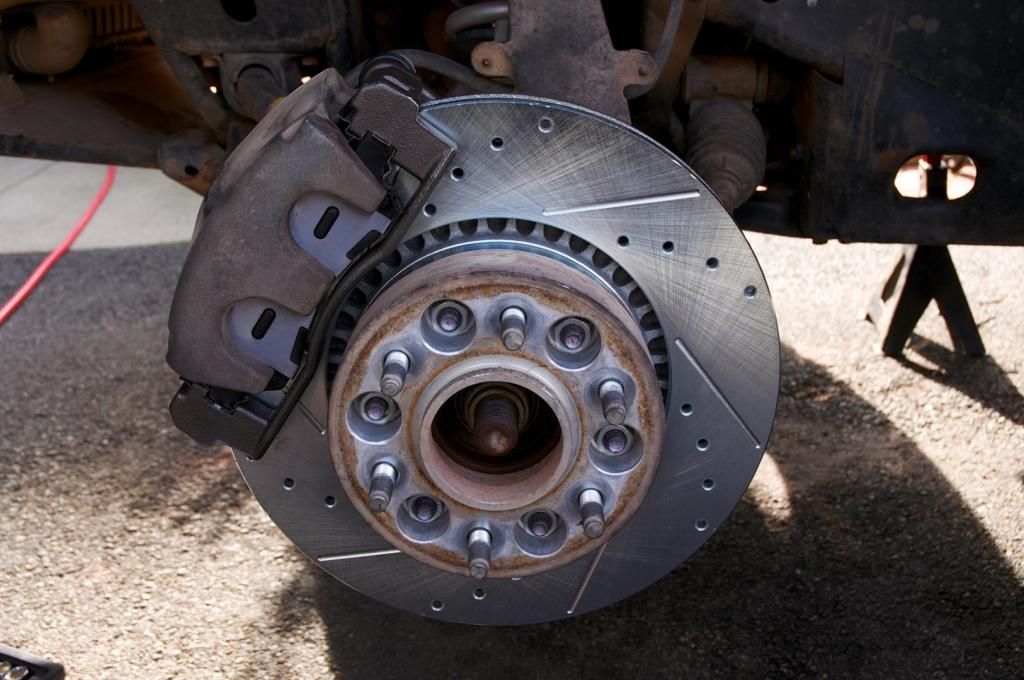
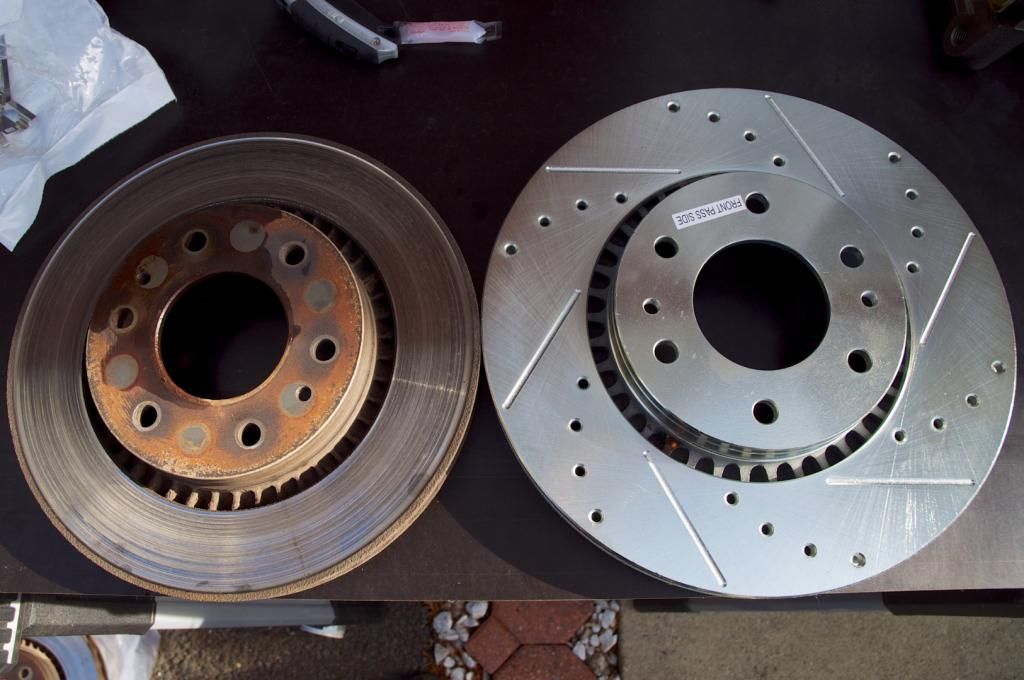
Power Stop Zinc Coated Drilled & Slotted Rotors
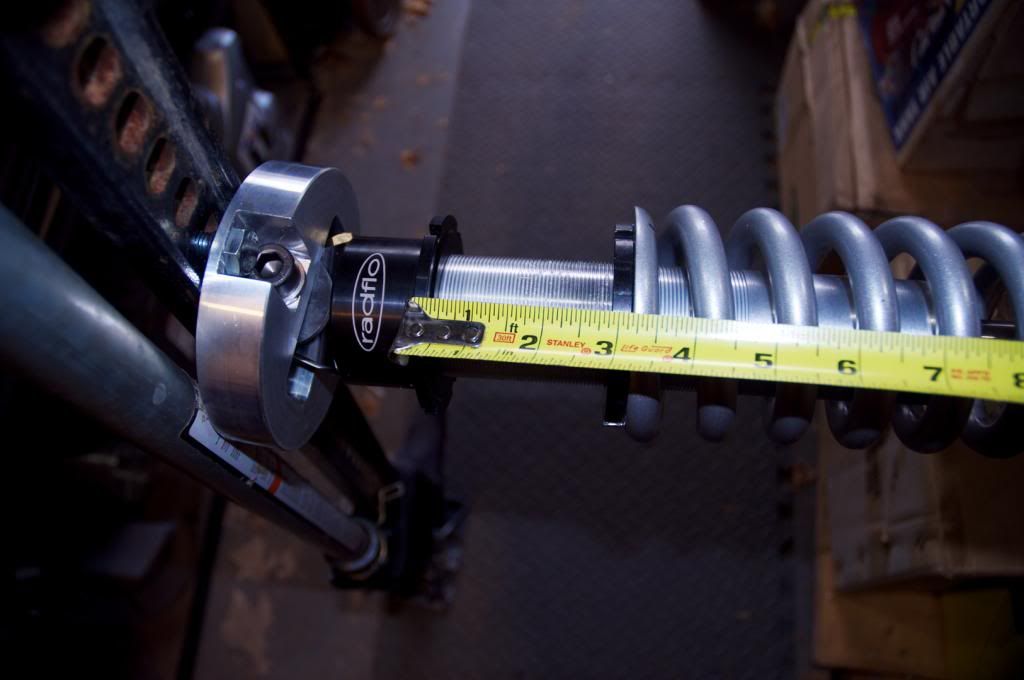
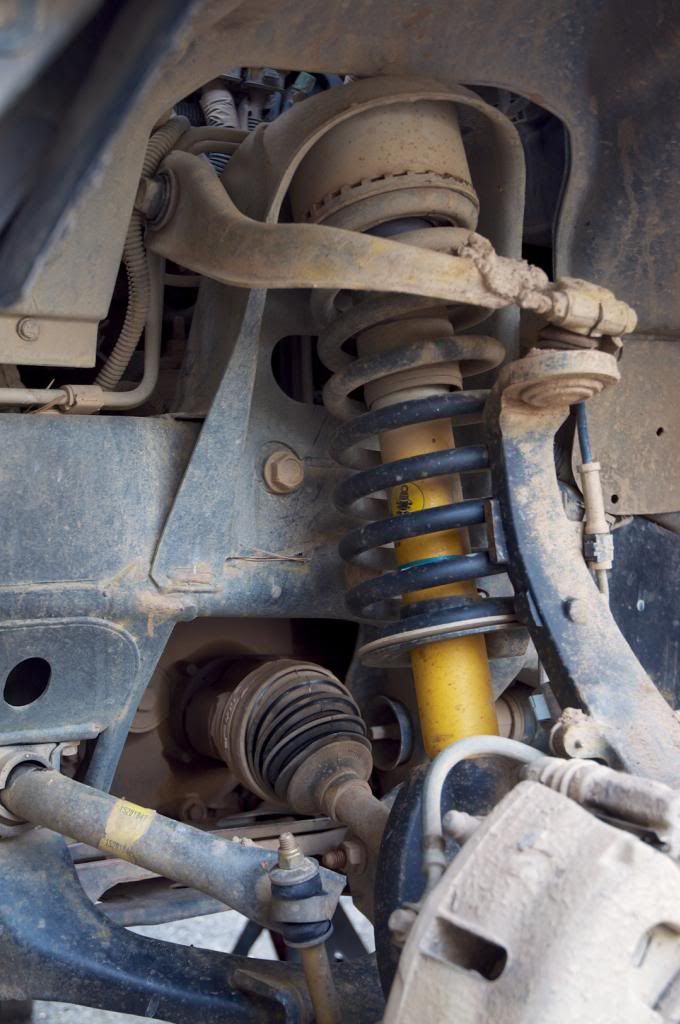
Front:
Radflo coil overs adjusted to 3.25" (see this thread: viewtopic.php?f=15&t=4833)
Flipped UCAs
EXT/SS Brake Upgrade - viewtopic.php?f=27&t=4622
Sway Bar disconnected
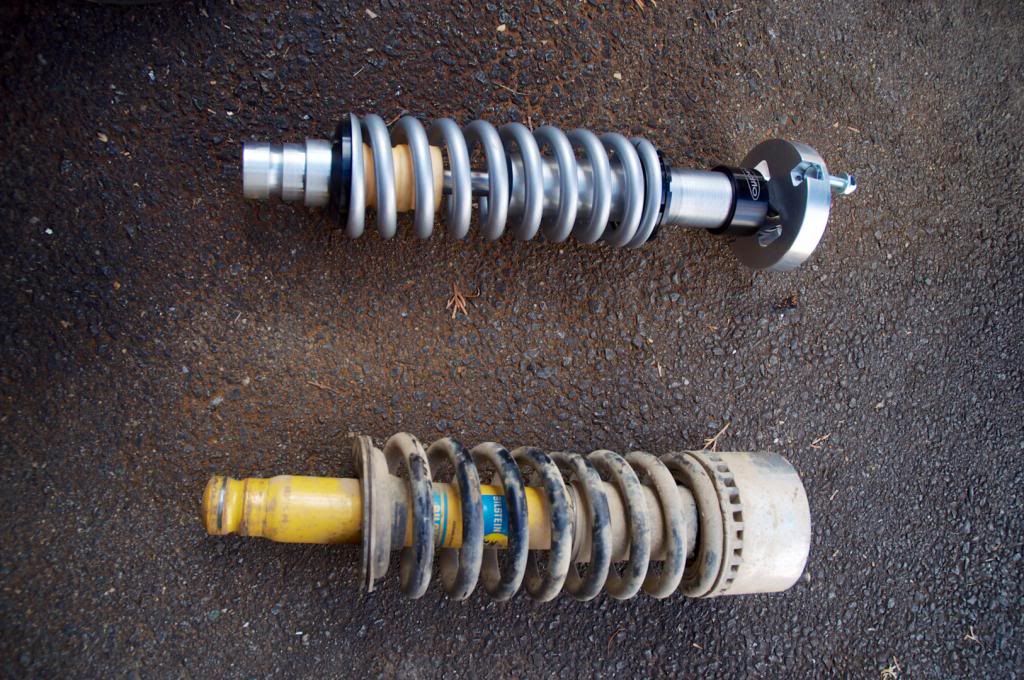
Back:
2" Liftmeister Lift
Bilstein 5100 (part number: 33-185552)
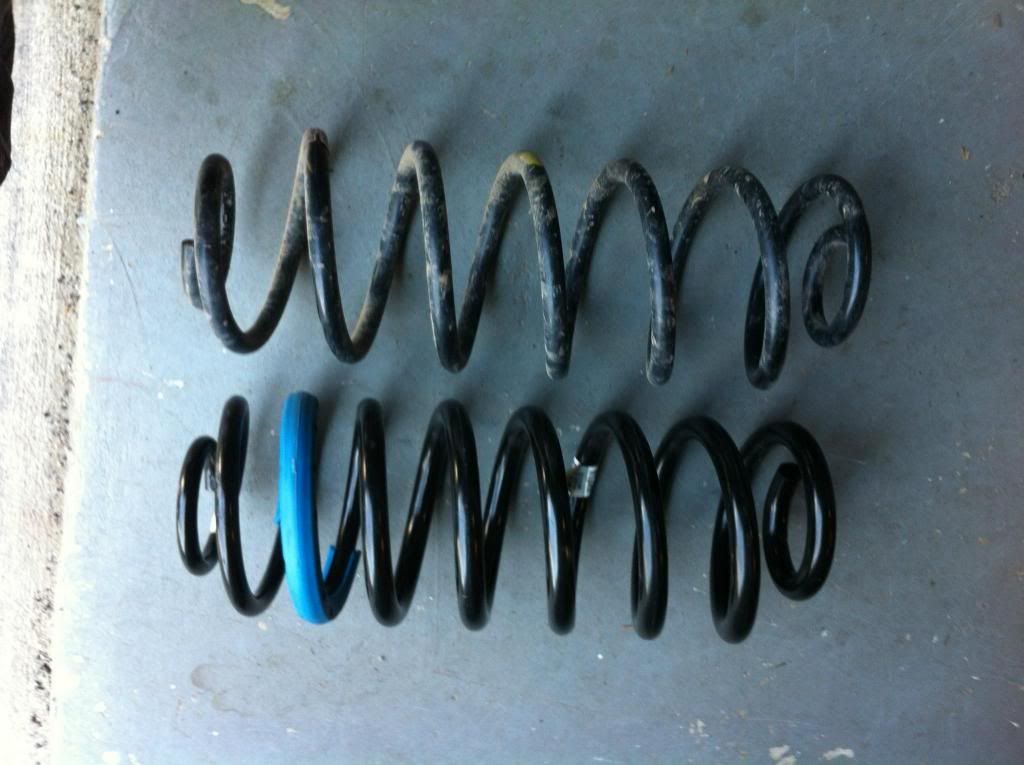
Z71 Springs
Panhard lowering bracket from ErikSS
Sway Bar removed
Exterior Modifications:
Running boards removed
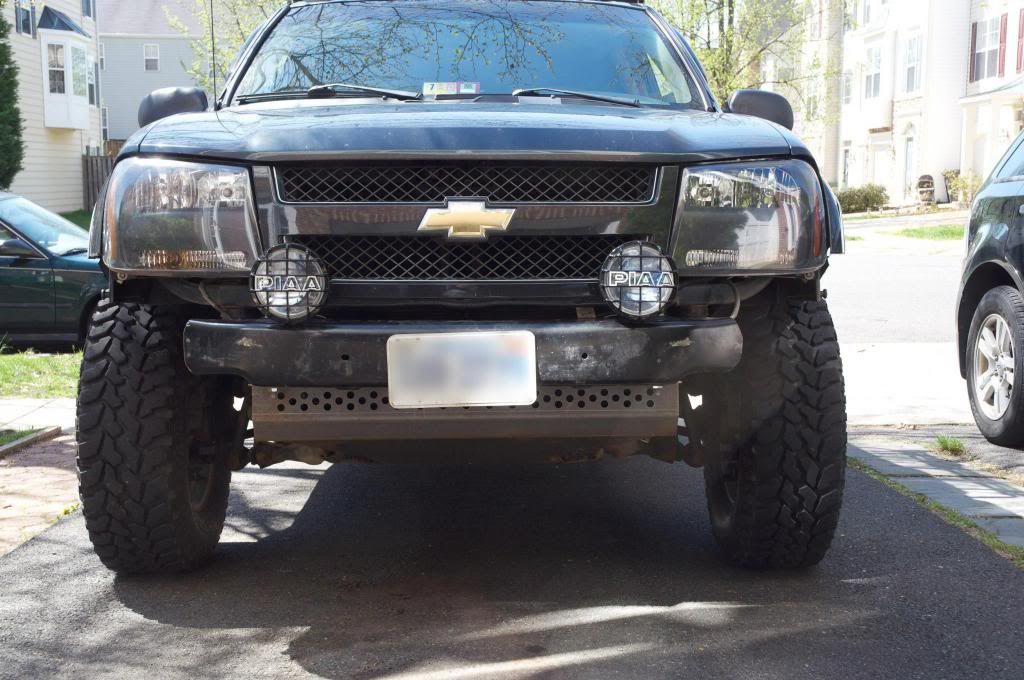
Front bumper cover removed
Front fender liners trimmed (yes...I still have the fender liners...)
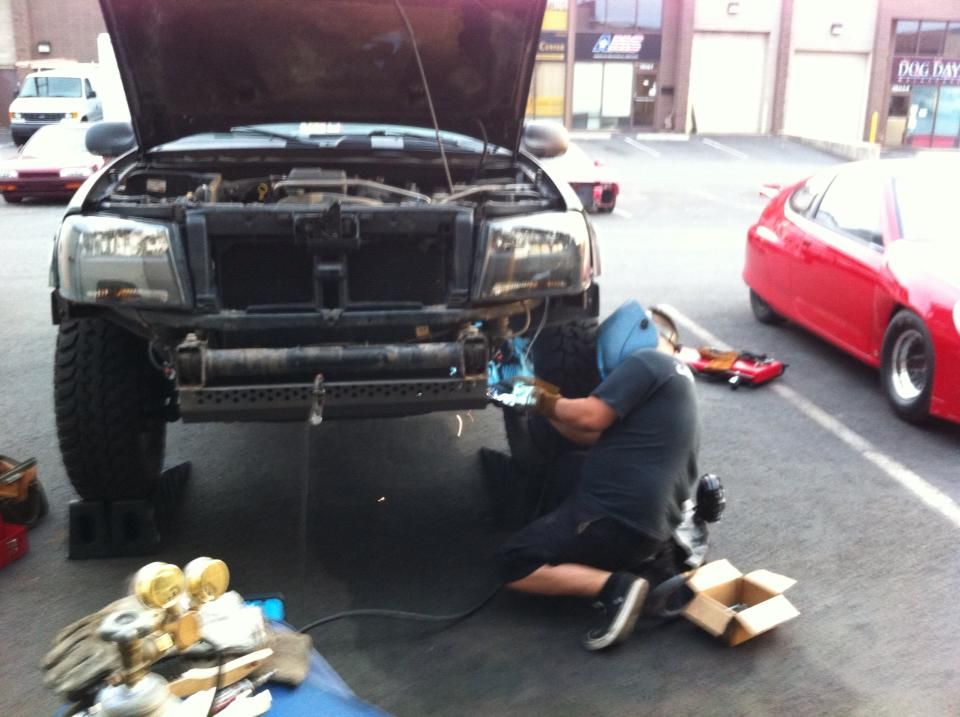
Stock front bumper trimmed, shaped and flipped upside down to mount the OEM tow hooks
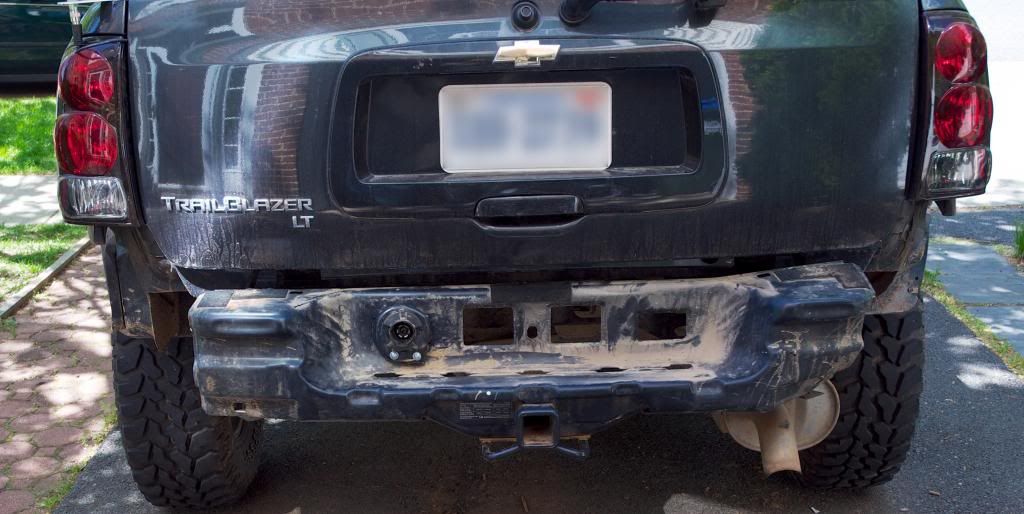
Rear bumper cover removed
Trailer connector receptacle relocated
Stock rims painted black with Plasti Dip
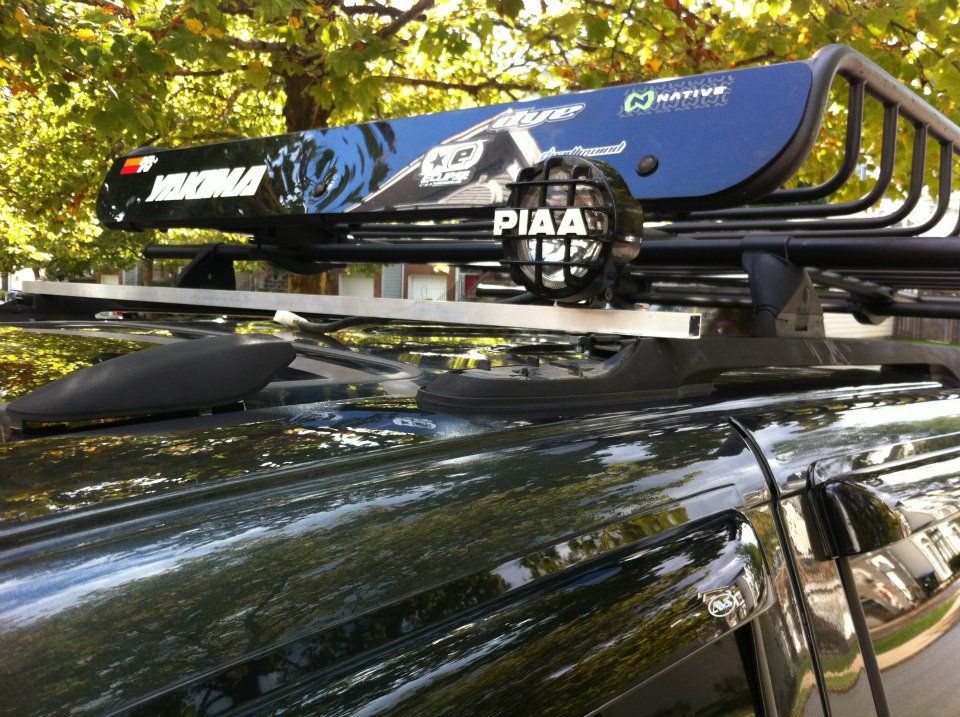
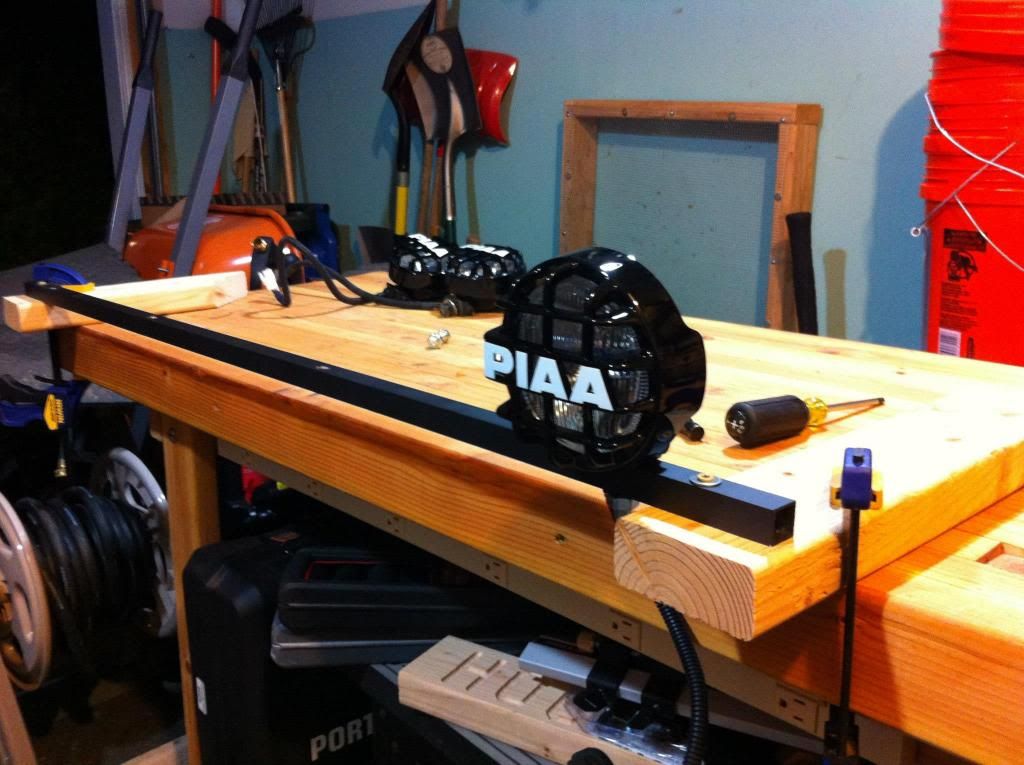
2x PIAA 520 ATP lights mounted on the stock bumper
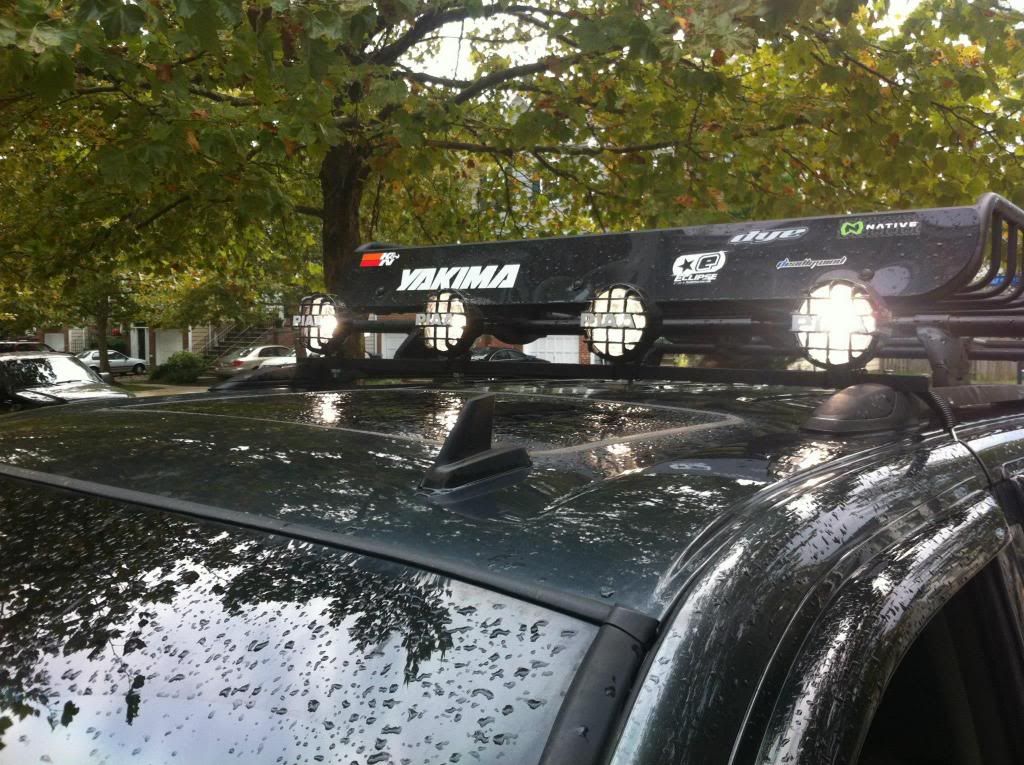
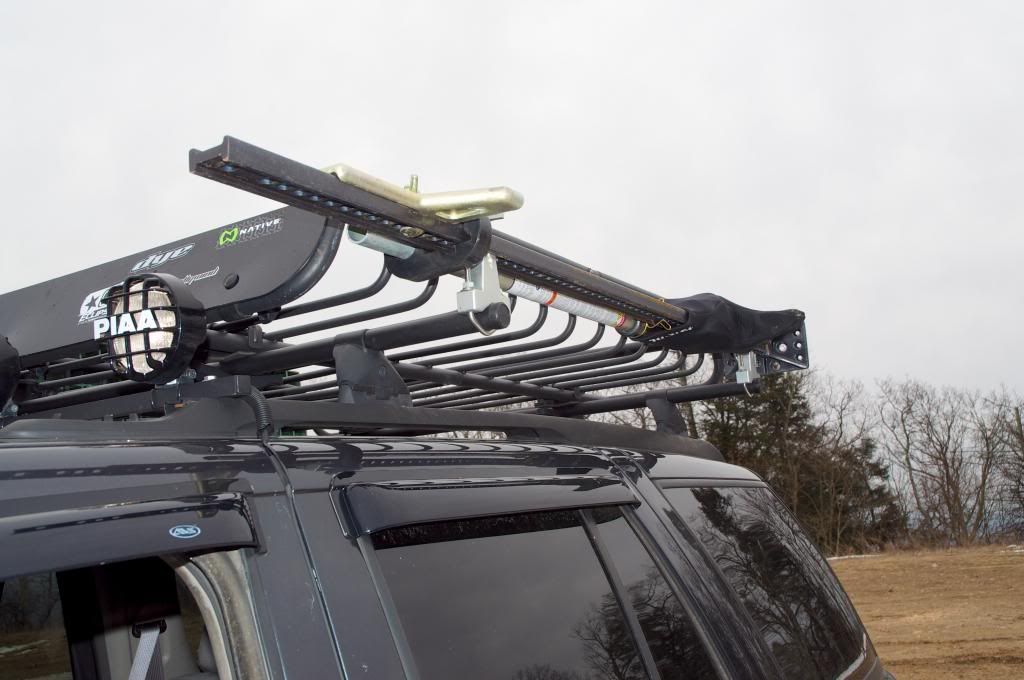
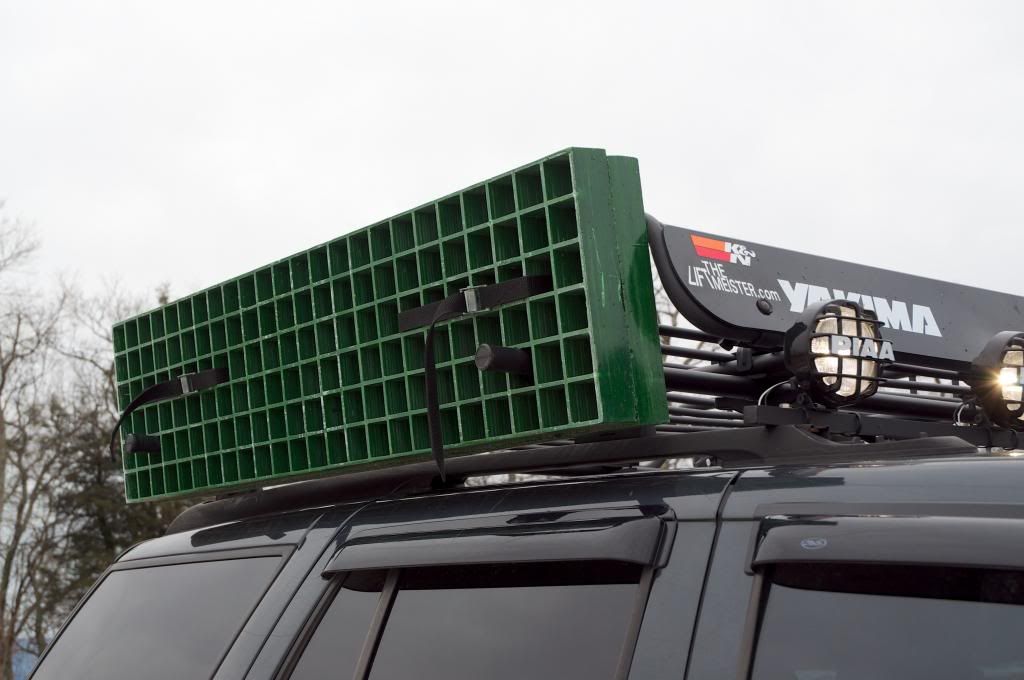
Custom Roof Light Bar
4x PIAA 510 ATP lights mounted on custom roof light bar
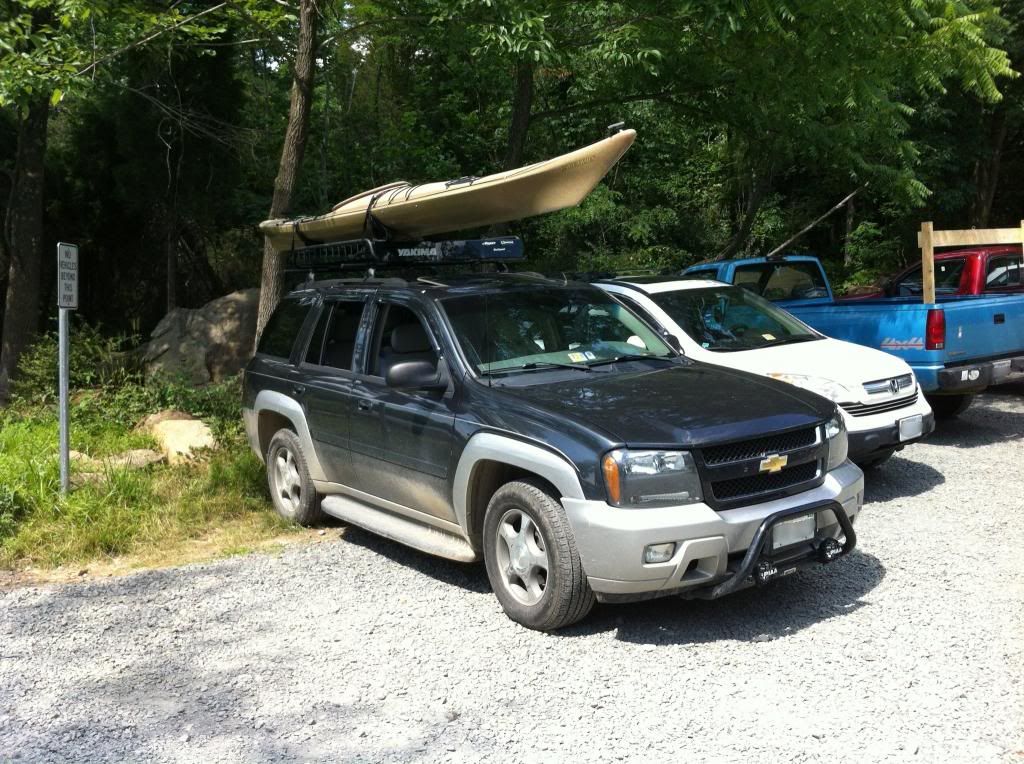
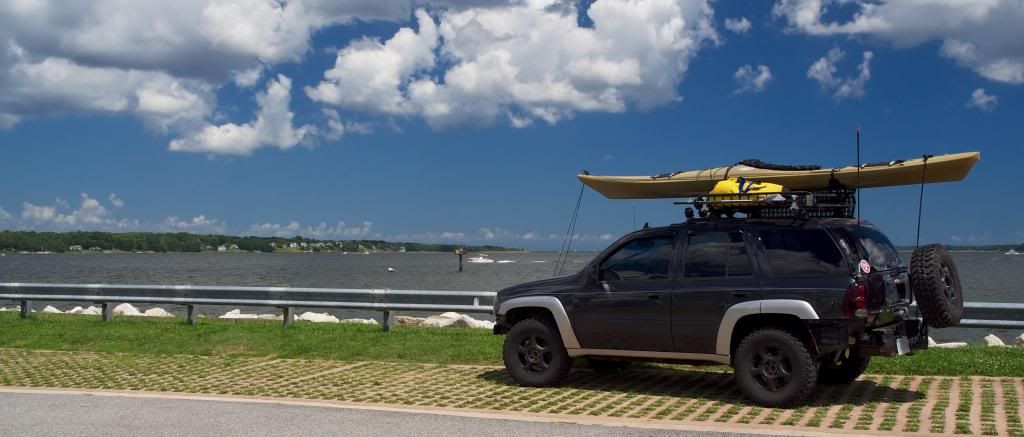
Yakima Megawarrior gear basket
Hi-Lift mounts on Yakima cross bars beside the gear basket
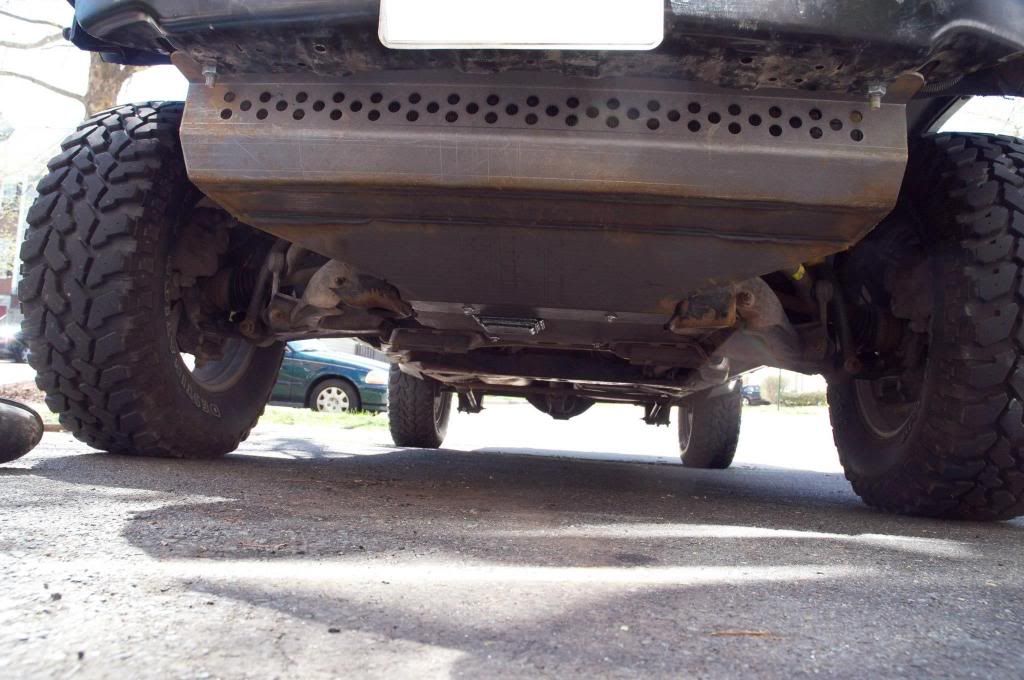
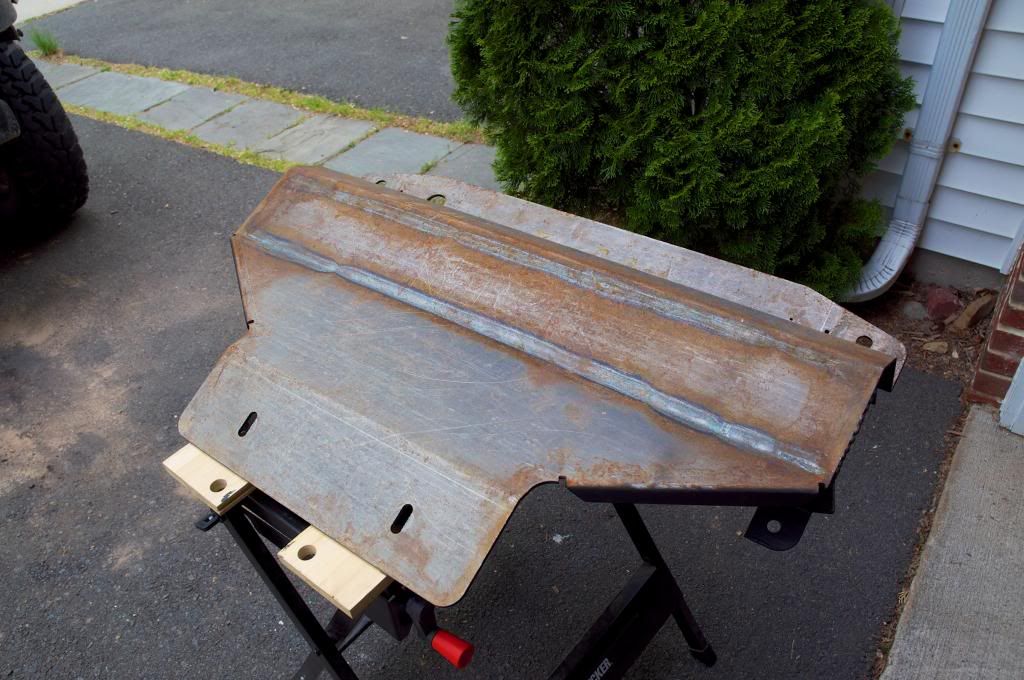
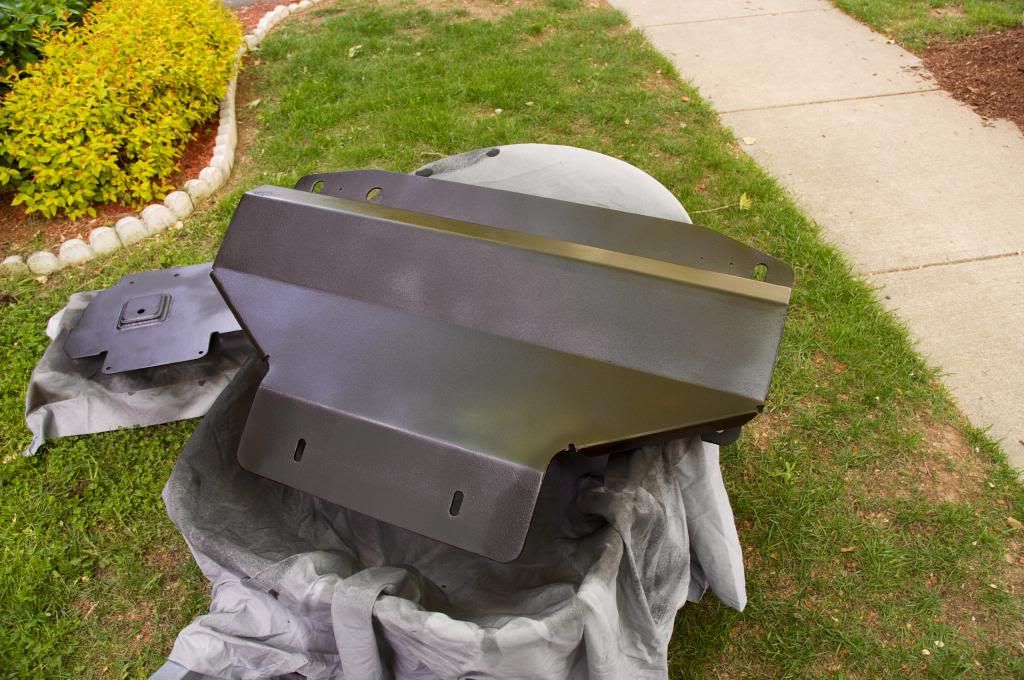
MDB Radiator Skid
MDB Oil Pan Skid
Purple Cranium Rear Differential Guard
CBI Offroad Fabrication tire carrier
Rear license plate relocated
Engine Modifications:
none
Interior Modifications:
Husky Liner Floor Mats
Cargo drawers
Recovery Equipment:
Hi-Lift, Lift Mate, Off-Road Base, Off-Road kit
Hi-Lift Handle-All
OKoffroad XD waffle boards/bridging ladders
Tow Straps
2ea Grade 70 5/16", 20 foot long tow chains (mainly for the H-Lift winching capability)
ARB Recovery Kit (snatch strap, tree saver, snatch block, winch extension strap)
Numerous d-shackles
Receiver mount d-shackle
Q Industries MV50 SuperFlow Air Compressor
50 foot air hose
Staun Tire Deflators
ARB Speedy Seal Tire Repair Kit
Craftsman electronic tire pressure gauge
285 piece mechanics tool box (1/4, 3/8, 1/2 sockets, wrenches, hex key wrenches, torx bits, standard/phillips screwdriver bits)
Jumper Cables
Flashlight
Numerous cargo straps
Variety of gloves (1 pair water proof gloves, 1 pair welding gloves, 2 pair cold weather gloves, several pairs of standard leather work gloves)
Electrical Modifications:
Custom wiring harnesses for the lights
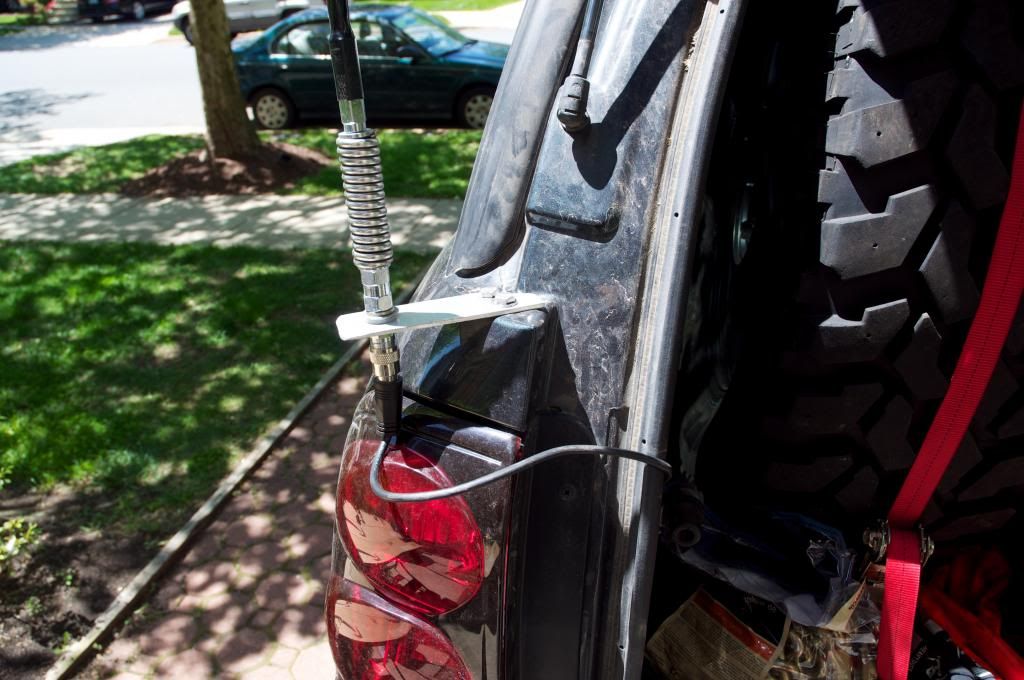
Uniden PRO520XL CB
Firestick 4' CB antenna
Pending install:
Winch (Quadratec Q11000, steel cable. Not my first choice, but this one was given to me for free! Now I just need a bumper to mount it to.)
Coming soon:
Front bumper
Rear bumper
Rock sliders