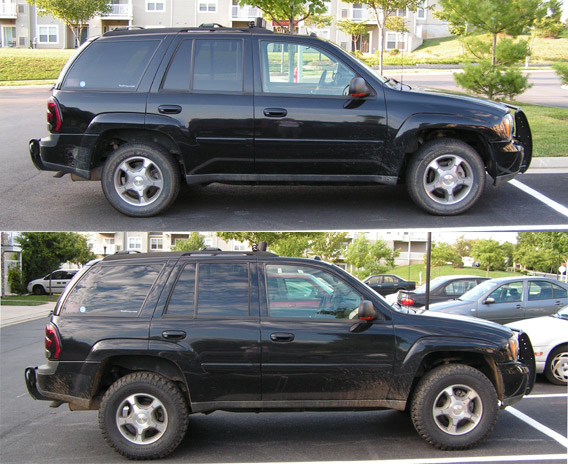
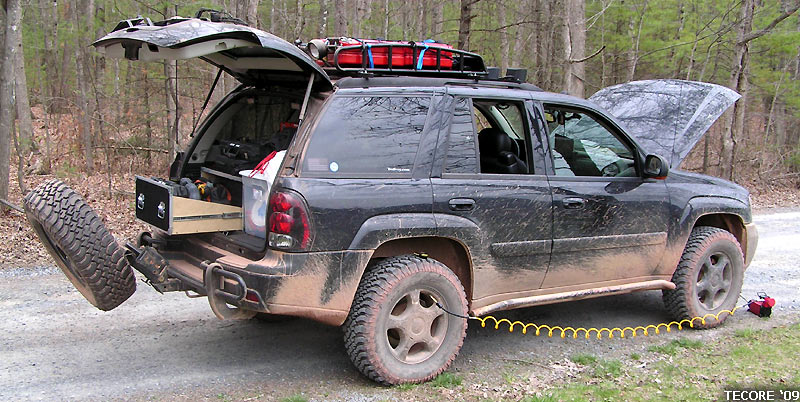
Where it stands today:
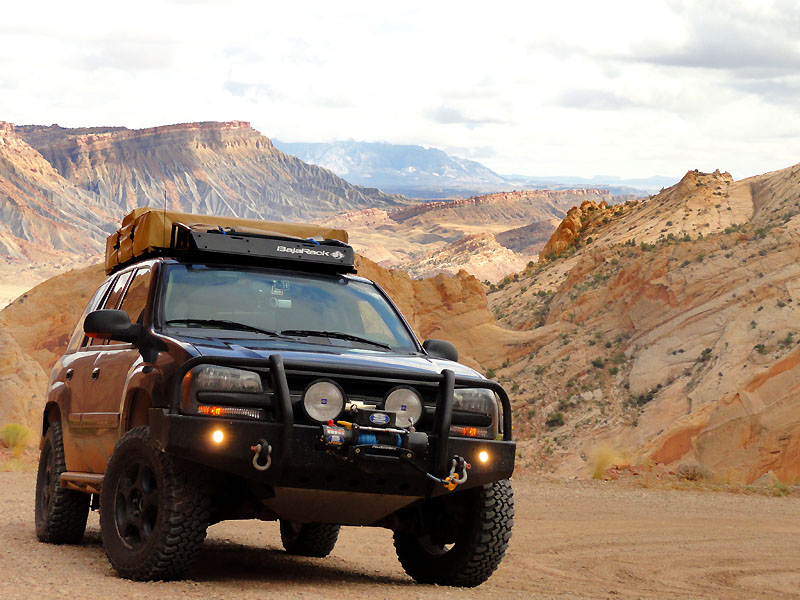
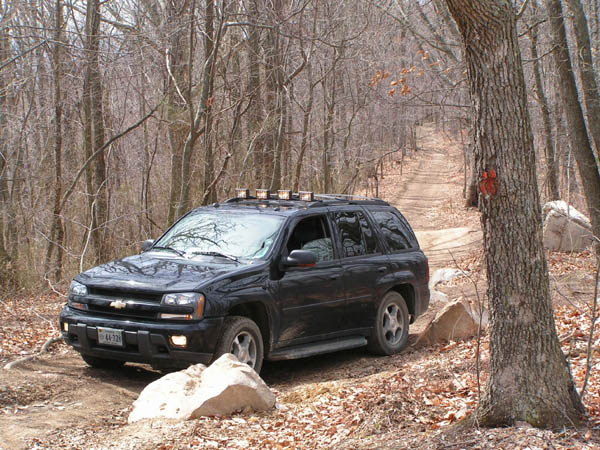
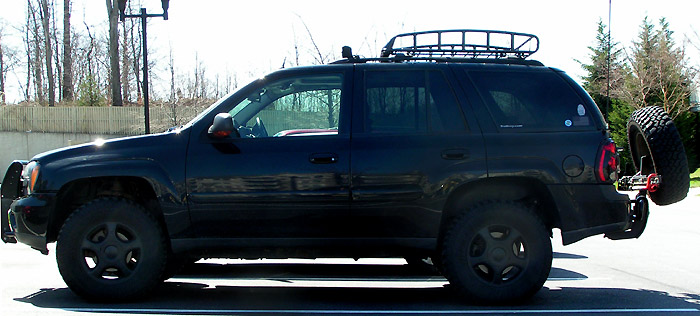
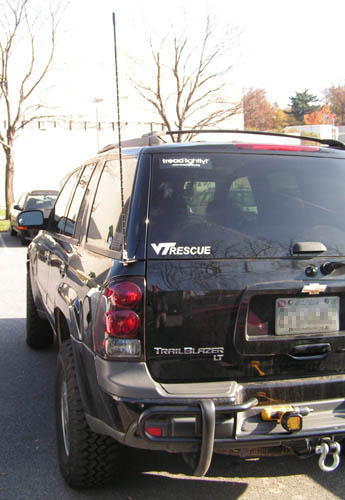
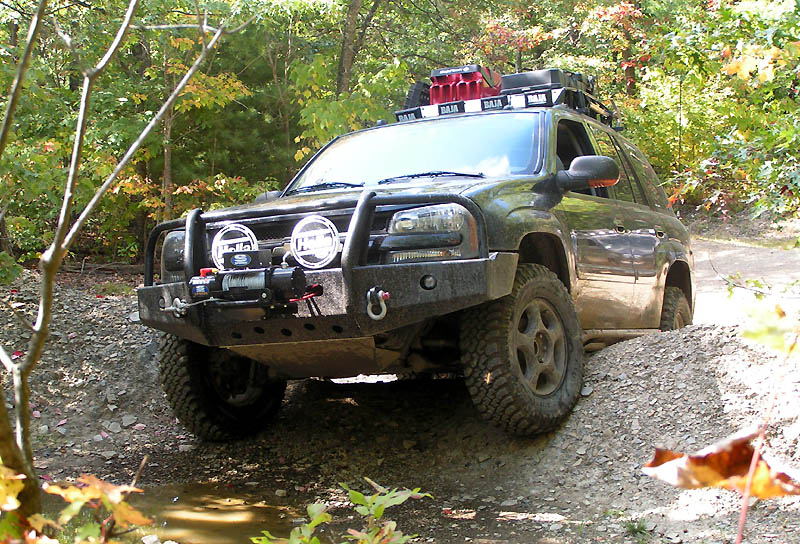
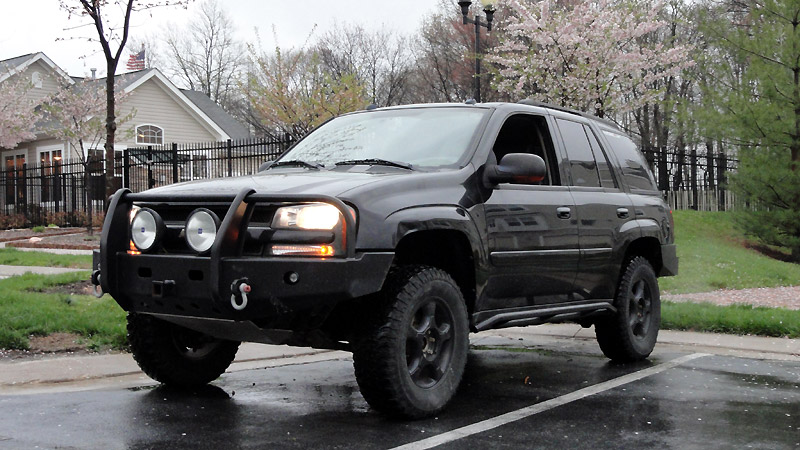
2005 Chevrolet TrailBlazer
Suspension/Drivetrain Modifications:
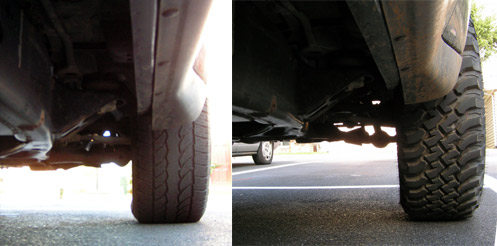
- 285/70/R17 (33") Mastercraft Courser MXT - Load Range E
- 1.5" Wheel Spacers from WheelAdapter.com
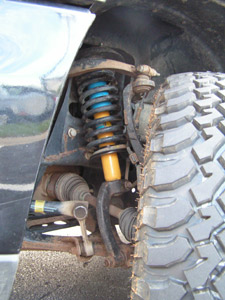
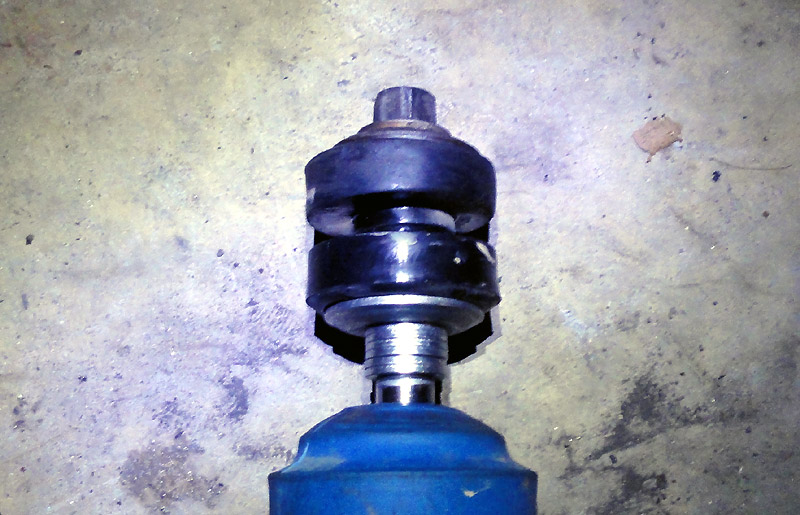
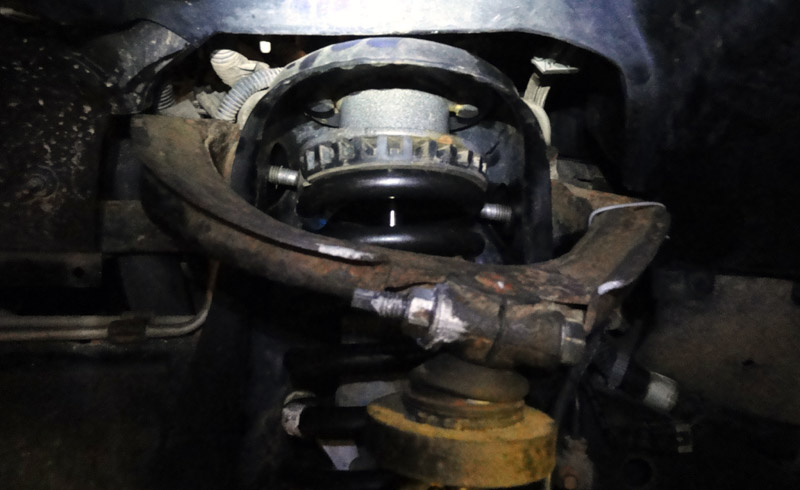
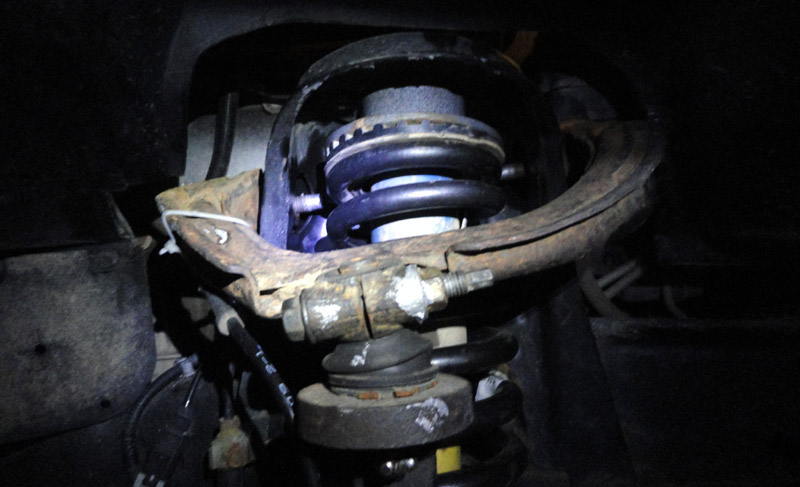
FRONT - Radflo Coilovers
- Custom Upper Control Arms
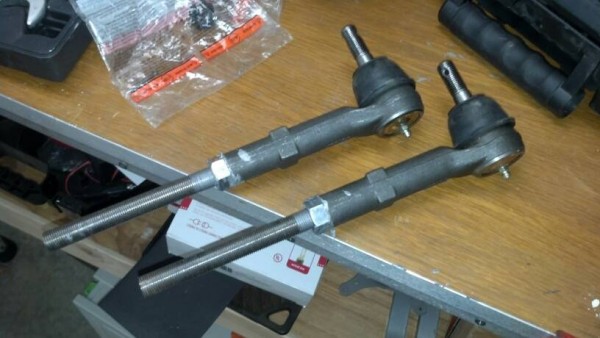
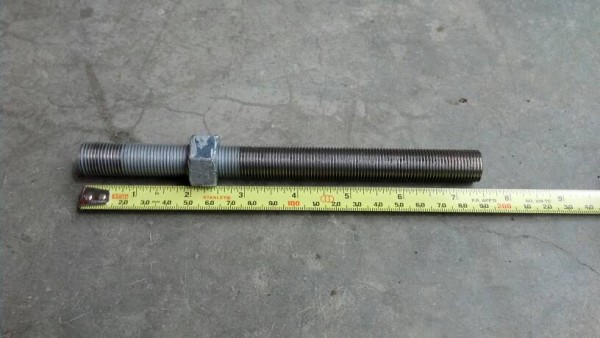
- Cromolly Tie Rod Links with 2500HD Ball Joints (Moog ES800223 w/ M16x1.5mm Class B7 Threaded Rod)
- Swaybar Deleted
- 4.56 ratio gears
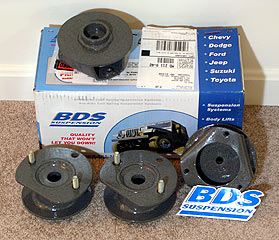
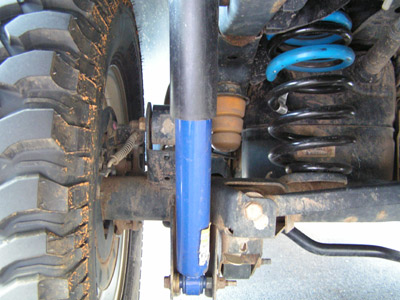
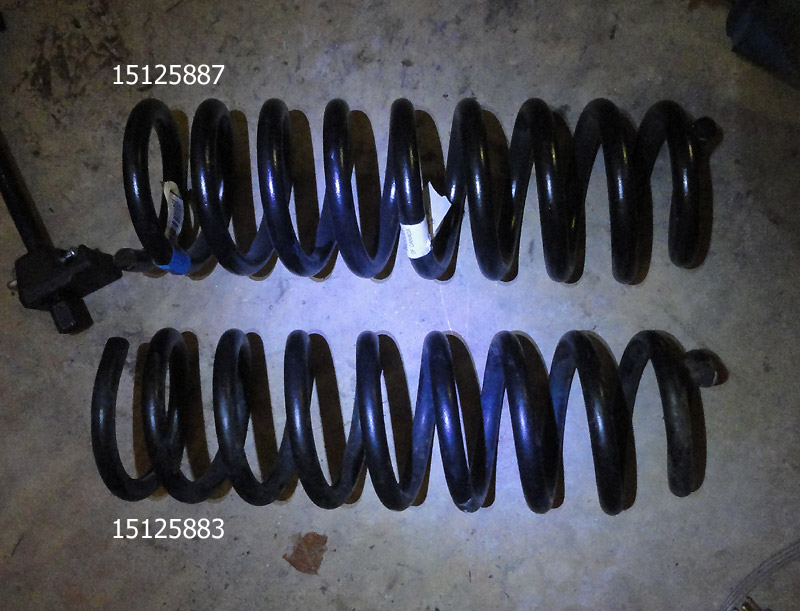
REAR - 2" BDS Suspension Lift
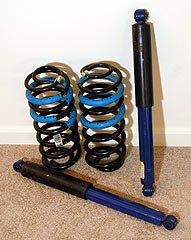
- Tahoe Z71 GM Rear Springs 15234633
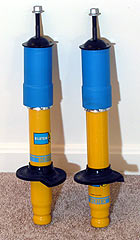
- Bilstein 5125 (P/N 33-185552) digressive shocks
- Swaybar Deleted
- 8.6" Axle, 4.56 ratio gears, No-slip locker
Exterior Modifications:
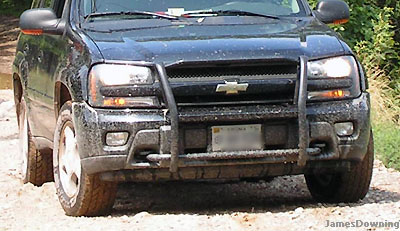
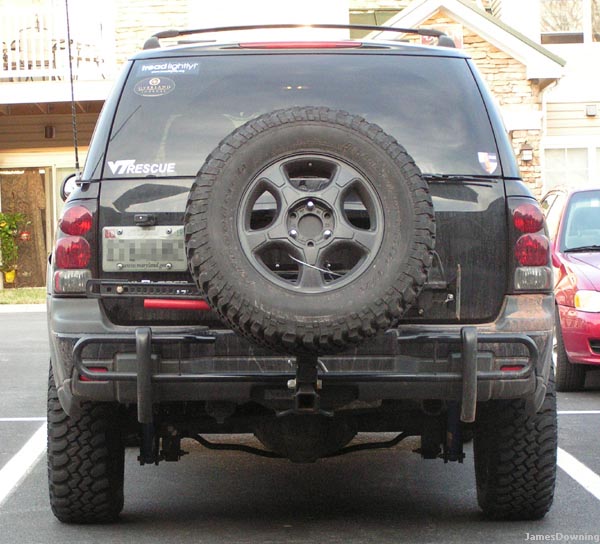
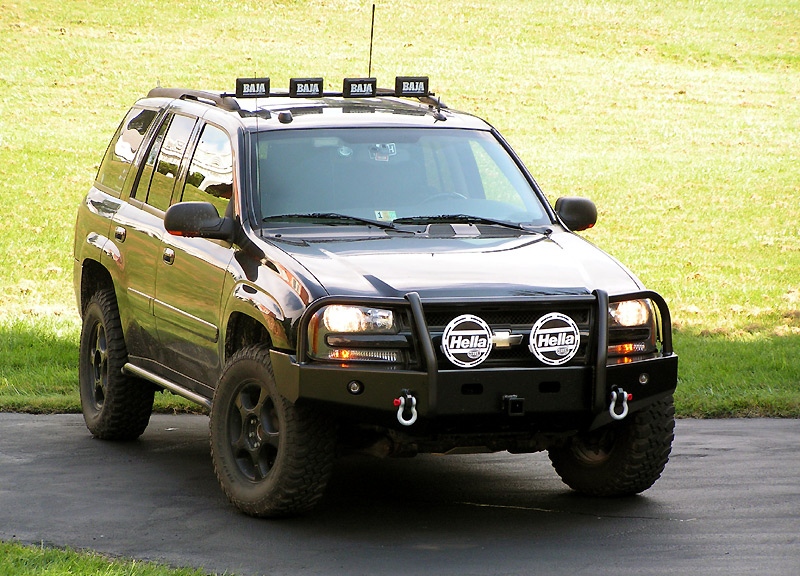
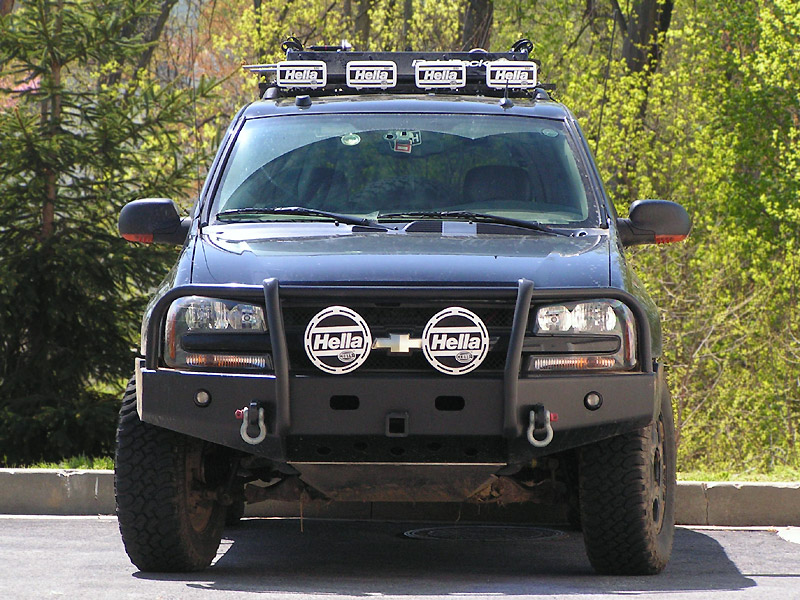
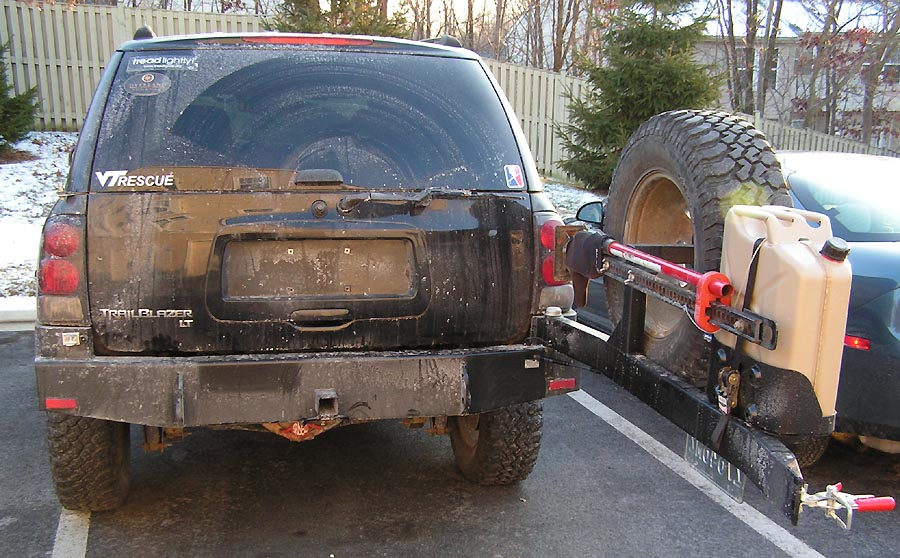
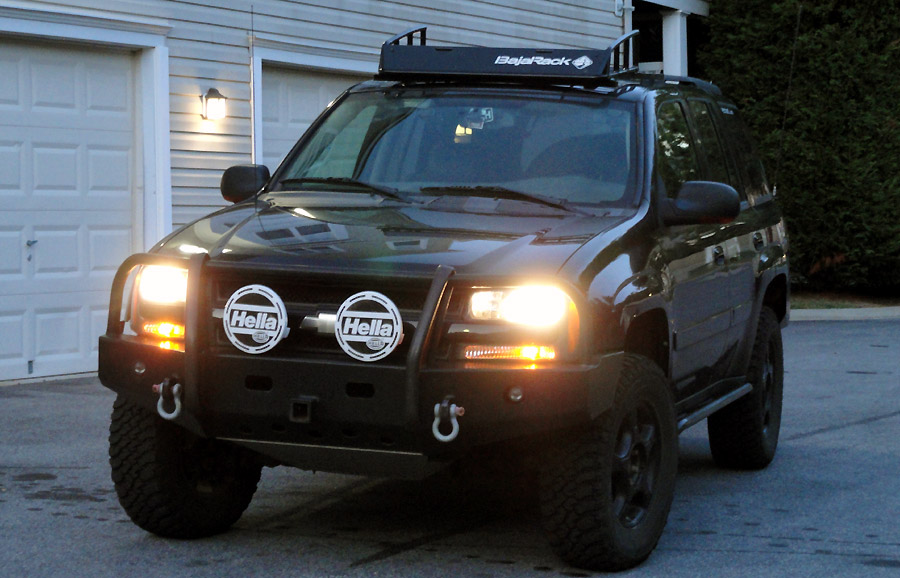
- Custom Receiver Bumper - Hella Rallye 4000s - Hella Micro DE fogs - By Tactical Armor Group - Modified by Freaky Tree Fabrication
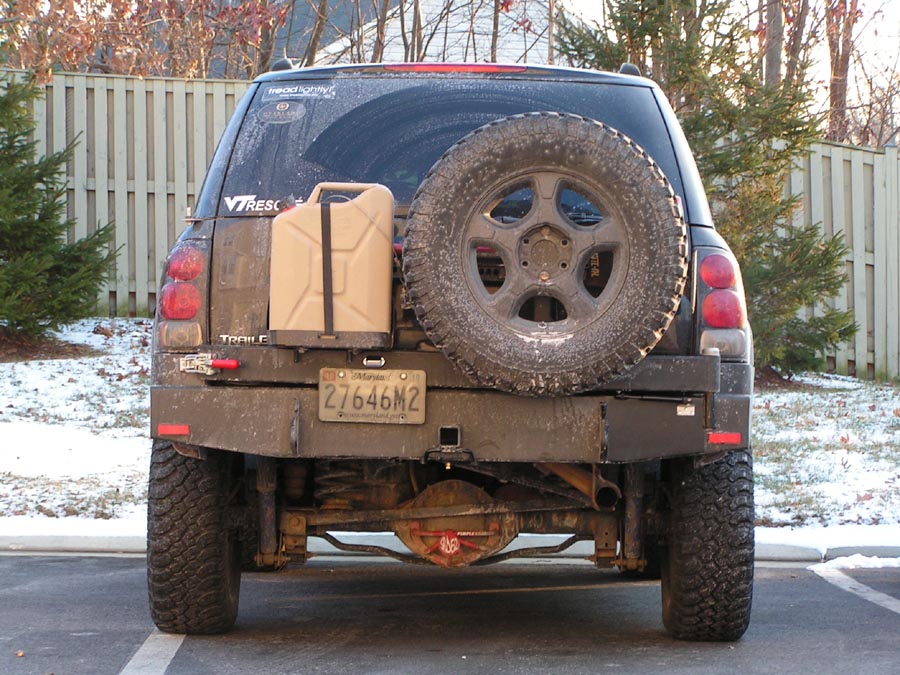
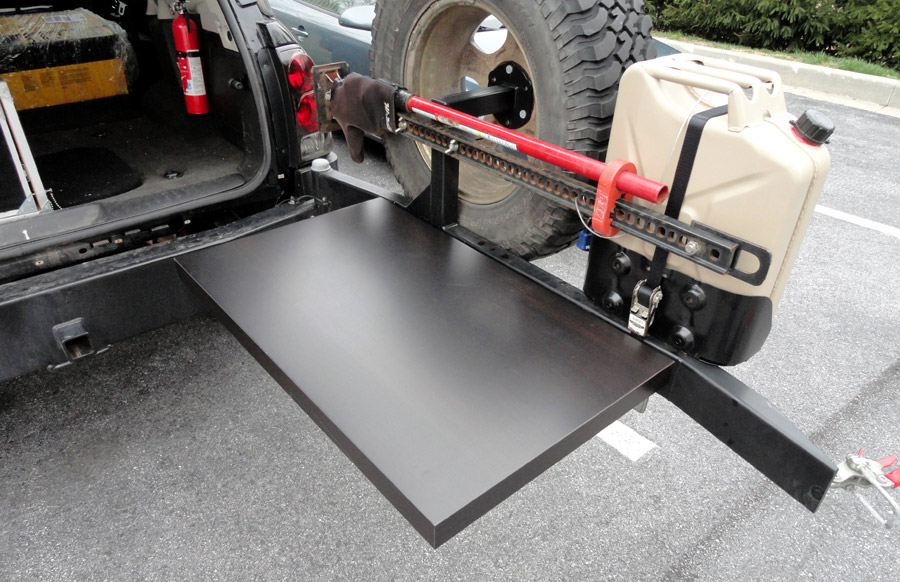
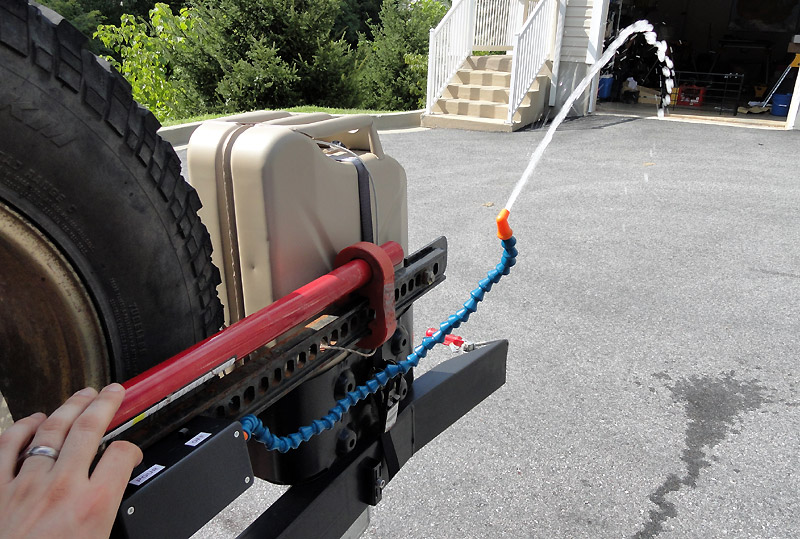
- Custom Rear Swing-Out Bumper - By Freaky Tree Fabrication
- Trasharoo on the Spare Tire
- Roof Top Tent - Homemade by me
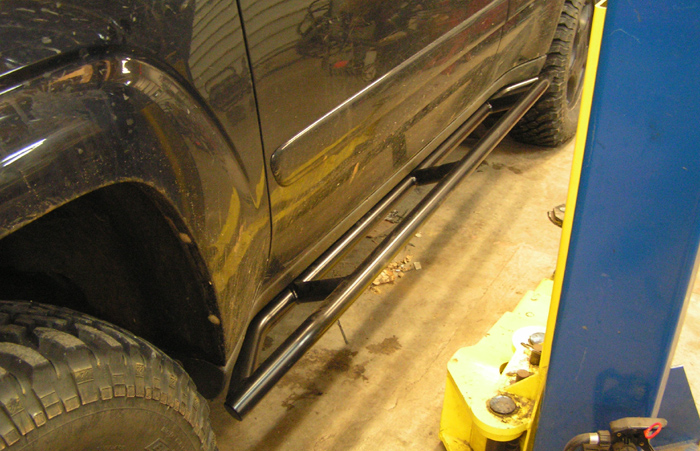
- Custom Rock Sliders - By Freaky Tree Fabrication
- Aluminum Oilpan Skidplate and Custom Radiator Skid Plate - By MDB Fabrication
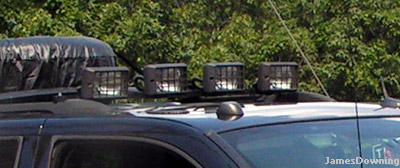
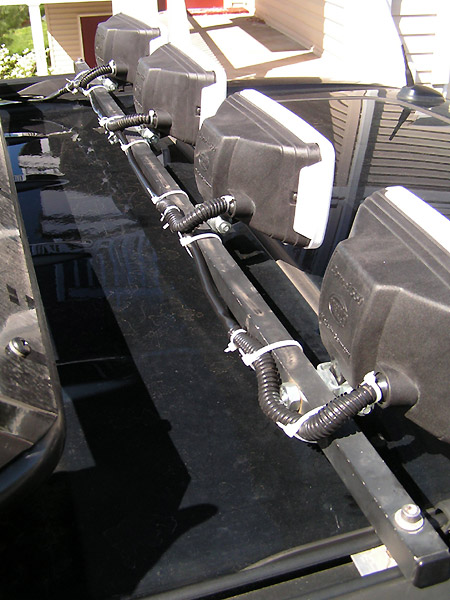
- Half-Roof Rack w/ Bike Rack, Kayak Rack, and Kawell LED Off-Road Lights - Custom
- Diff protector - By Purple Cranium
Engine Modifications:
- Synthetic Motor Oil & Diff Oils
- Removed Exhaust Resonator
- That's it!
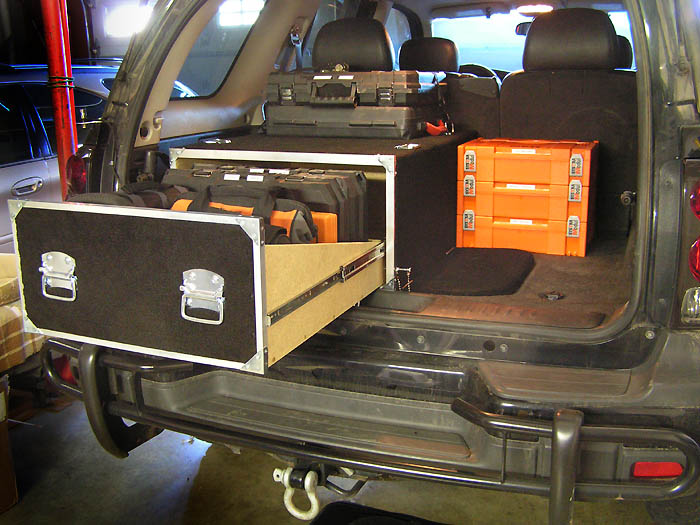
Interior Modifications:
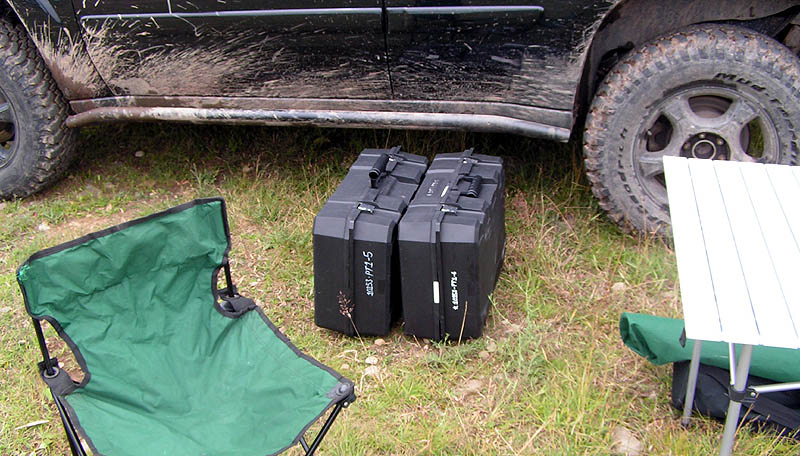
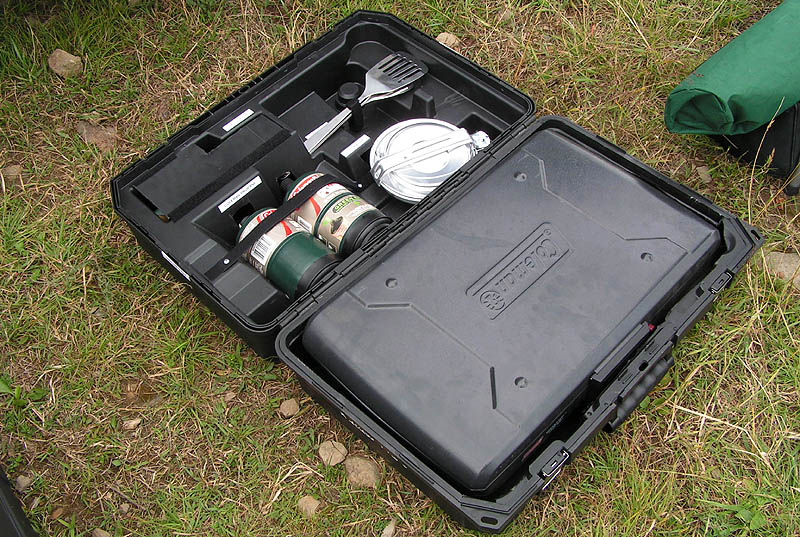
- Custom HD Rear Cargo Drawer & Cargo Cases
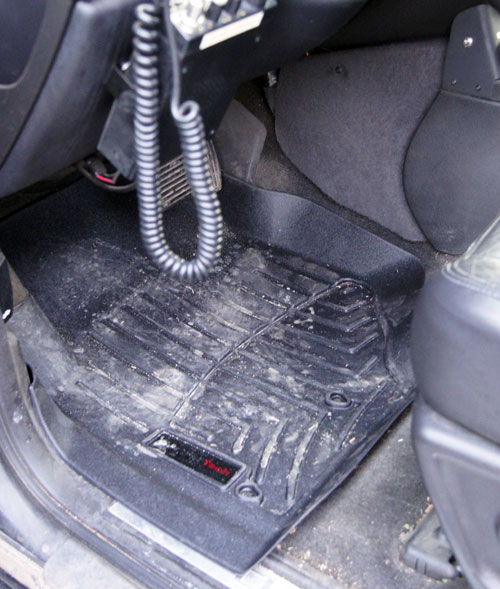
- Weather Tech Floor Mats
- 12V Fridge mounted to...
- Custom Rear Seat Replacement Deck
- Custom Switch Cluster
- Bail-out fire extinguisher
- Red/White Hazard/Emergency LED Strobes (For roadside emergencies)
- Weather Tech DigitalFit Front Floor Mats
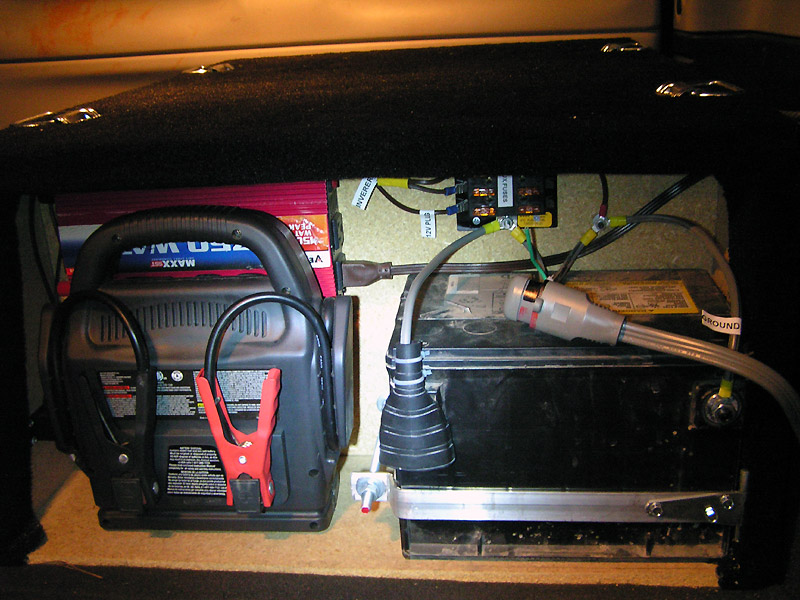
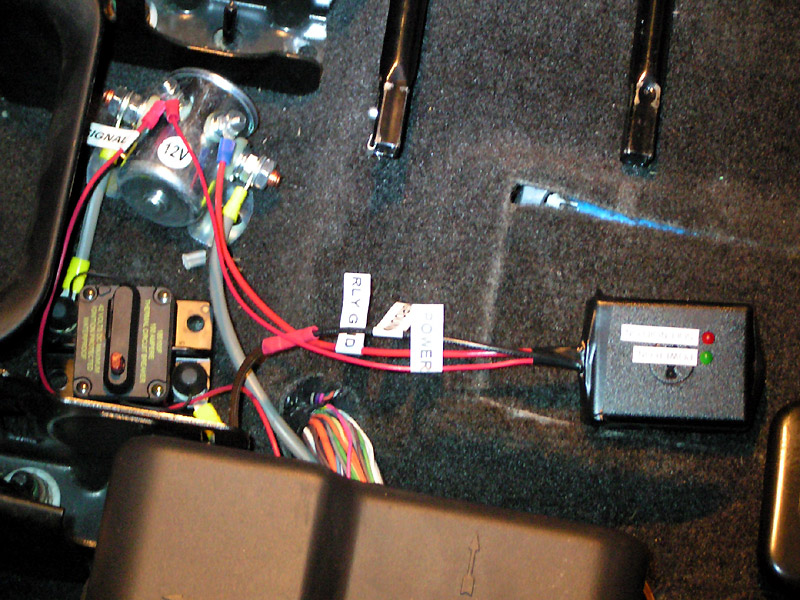
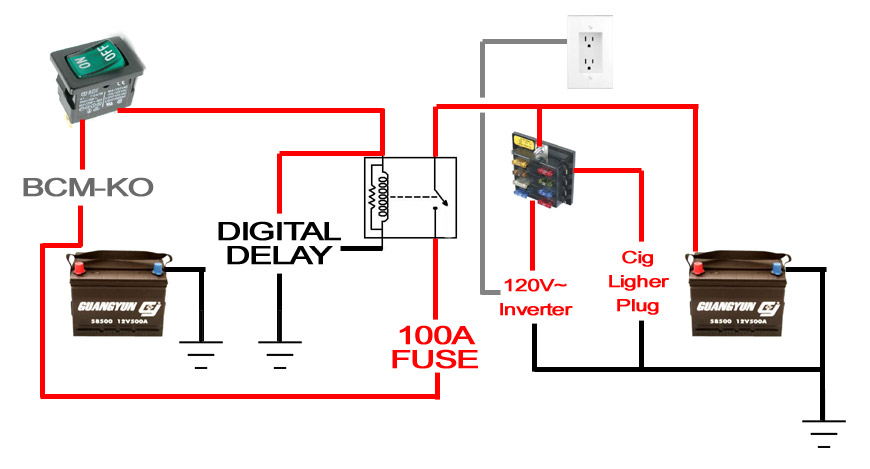
Electrical Modifications:
- Dual Battery Setup - Homemade
- 750 Watt Inverter
- Microsoft Surface Pro 2 w/ Delorme Topo USA
- ProClipUSA Surface Pro Tablet Mount
- Scangauge II w/ Xmount
- Navigon 2100 Max
- Bluetooth GPS Receiver
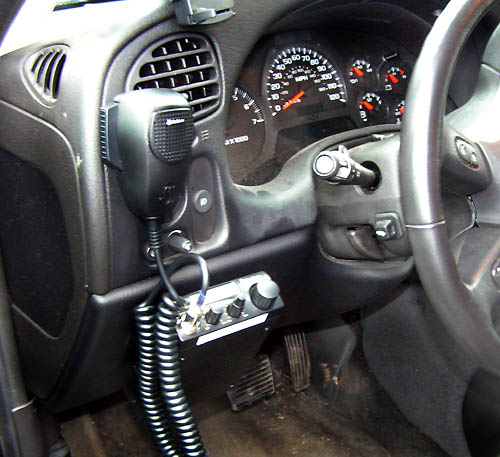
- Cobra 19DX IV CB Radio
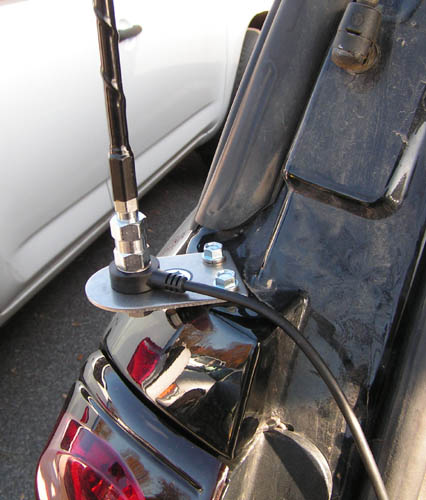
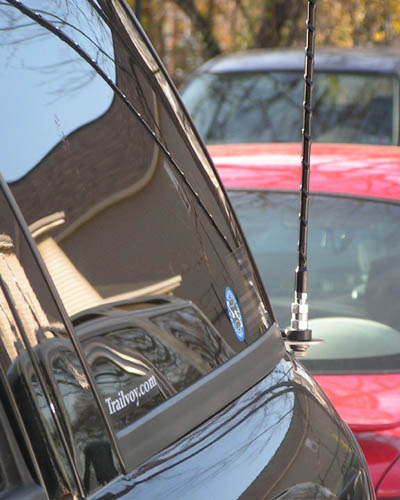
- 3' Firestick Firefly CB Antenna on Custom Mount
- FRS/GMRS Hand-held Radios
- iPod input for factory radio
- Reverse camera
- Sears Diehard Platinum AGM primary battery
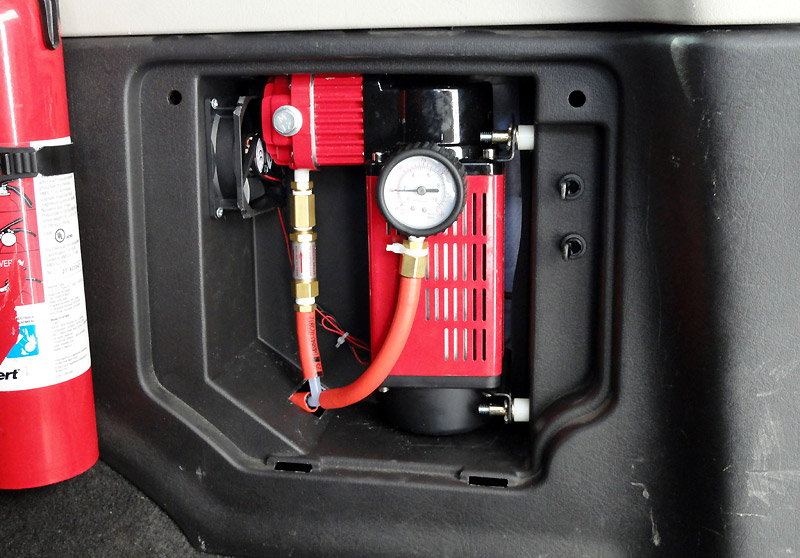
- On Board Air - Viair 400C
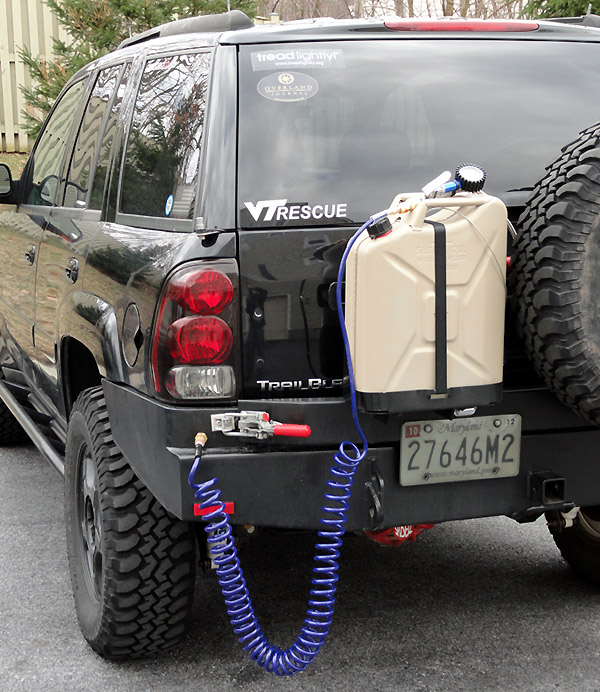
- On Board Water
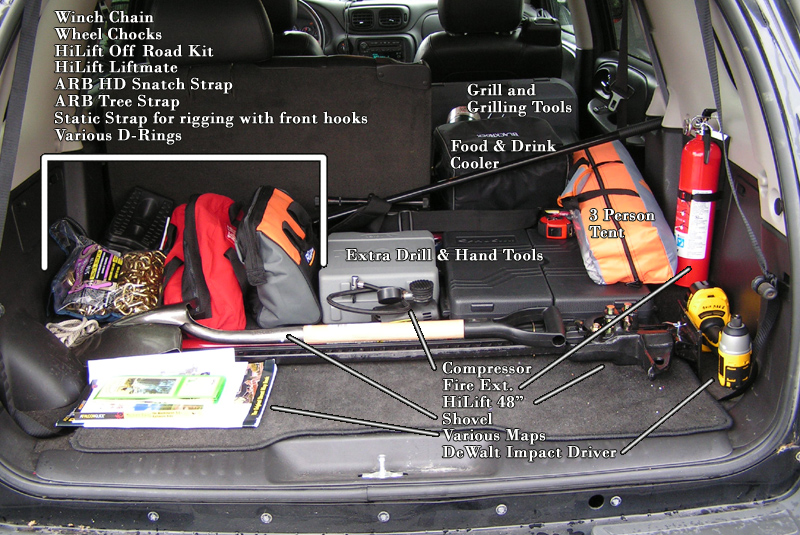
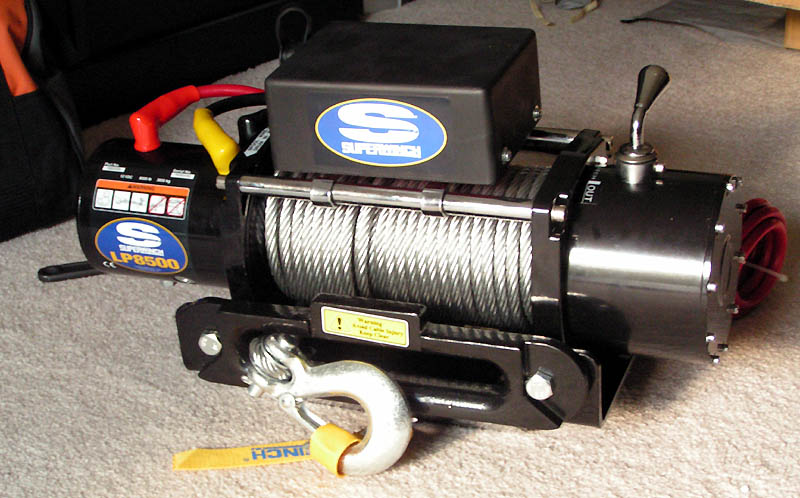
Recovery Equipment:
- Superwinch LP8500 Electric Winch mounted on Curt Receiver Winch Plate - Amsteel Blue Syn line
- Hi-Lift Recovery Jack + Offroad Winch Kit + Lift Mate + O-R Base
- WARN Snatch Block
- Recovery Shackle Receiver Mount
- 30' ARB Recovery Strap
- 10' ARB Tree Strap
- 75' Amsteel Blue Winch Extension Line
- Bridging Ladders
- 20' Static Rigging Strap
- Chain, D-rings, etc
- Staun Tire Deflators
- A ton of tools and survival gear