Offroad Trailblazers and Envoys

MDB Fabrication Bumper and Skidplate Kit How-to and Info...

Products offered by our vendor: BartonMD

Image

Moderator: bartonmd

Forum rules
All posts in this section pertain to our vendor:
Image

by bartonmd » Thu Mar 08, 2018 3:29 pm

This thread is meant as my how-to for the kits, as well as information that I can link to. It is a work in progress.

I'm currently only selling bumper kits that you weld together, because of insurance. You can look through this how-to and see if it's something you'd like to do. Bumper kit prices start at $300 for a standard bumper kit with shackle mounts. PM me for current stock and pricing.

I offer 2 options for covering/coating the skidplates. Standard included in the price is rattle-can that I do just in my shop, and may or may not be any good. You can also get them bare for the same money, so you can do whatever you want with them. I can also have them powdercoated for $25 for an oil pan skid and $75 for a radiator skid.

Shipping on bumpers and bumpers with skidplates is on a pallet, to a business with a dock and or/fork lift; or held for pickup at your nearest trucking service center. Normally Saia, Con-Way/XPO, or Old Dominion. Shipping is between $130 and $175, depending on where you are. PM for pricing and details for your location.

Payments. I take payment via Paypal, Facebook messenger pay, or cashier's check/MO via snail mail. I take payment, full or at least non-refundable $100 deposit for each part, to make it an order, and the rest can be before shipping. This is for Trailblazer bumper kits and in-stock Envoy bumper kits. Envoy bumper kits that I don't have in stock, because I sell so few of them, I need the whole amount for the bumper up front, before I order the parts, and it's non-refundable. On any orders, if you cancel it after placing the order, I keep the $100 deposit as a "store credit" for my time/trouble. The only way you lose it is if you never come back. If you re-order, you can use that $100 credit on anything I sell. I'm not here to take anybody's money, but I'm also not here to spend 2-3 hours talking to somebody about an order, transferring money, ordering parts, etc. to have the rug ripped out from under me for no compensation.

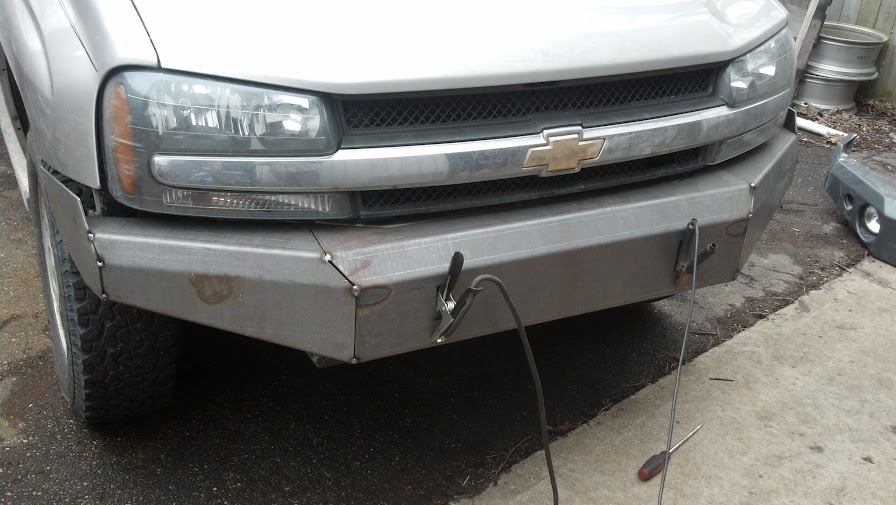
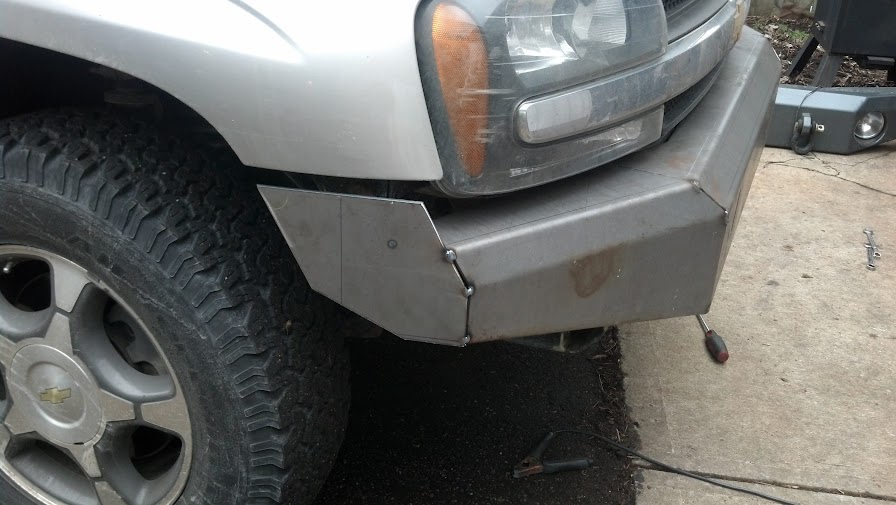
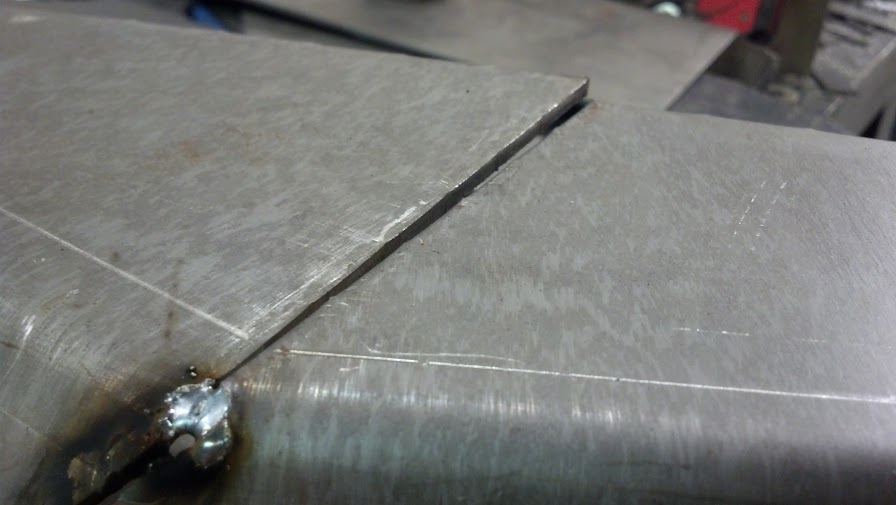
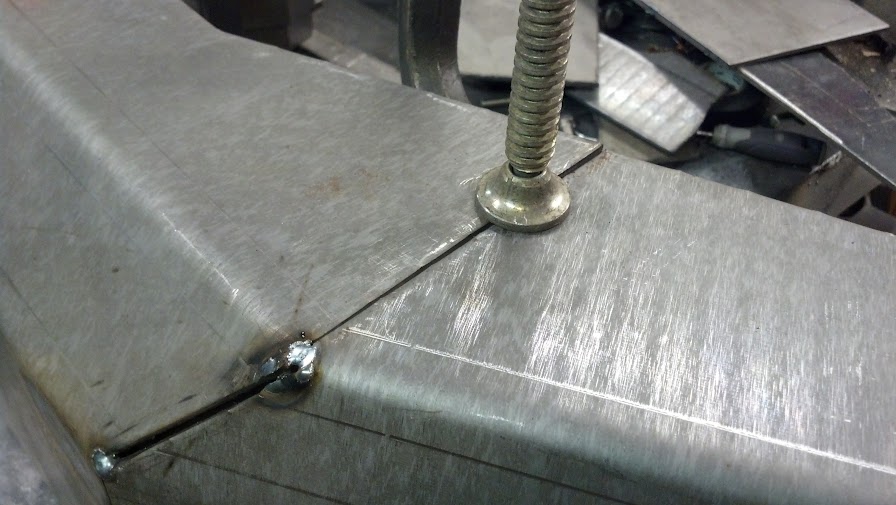
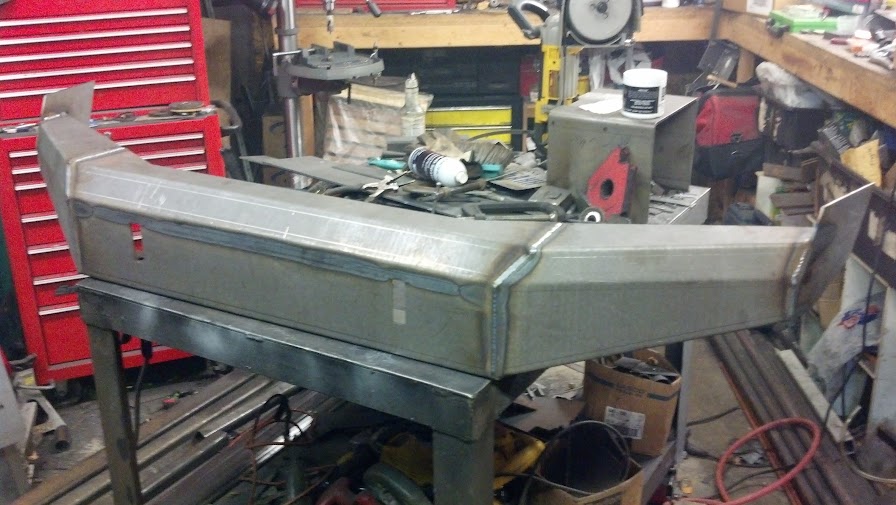
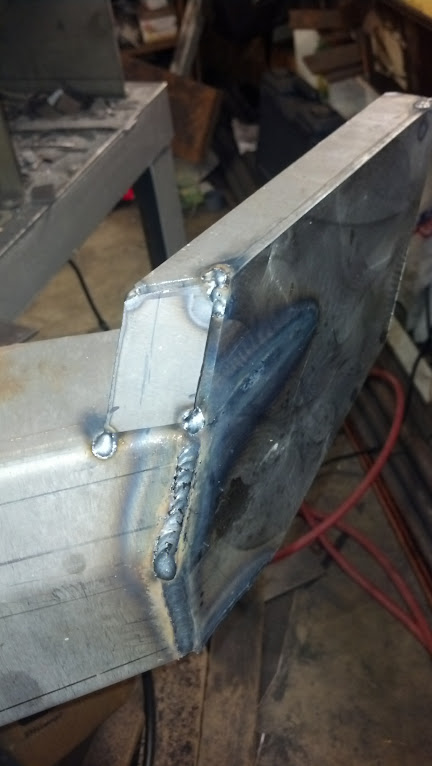
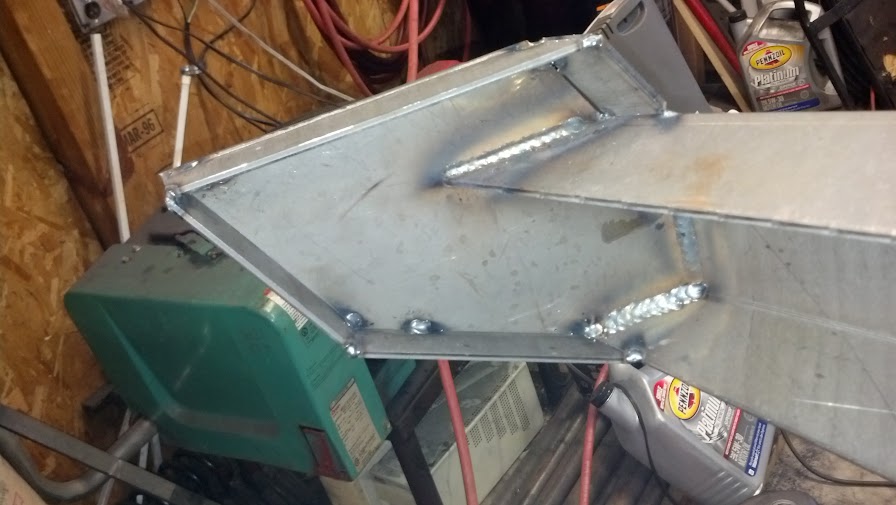
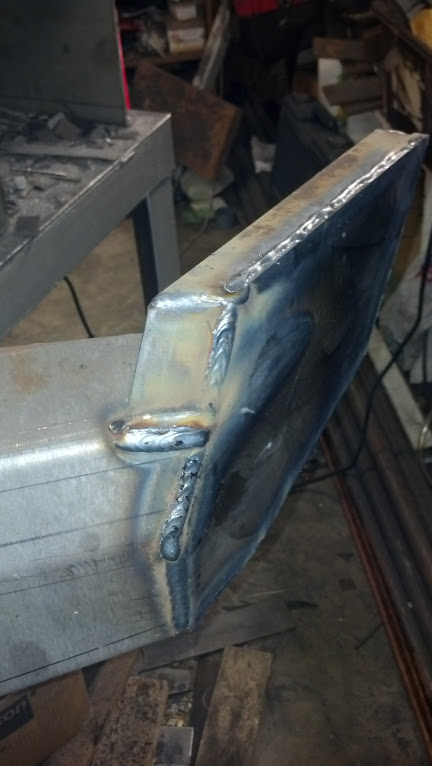
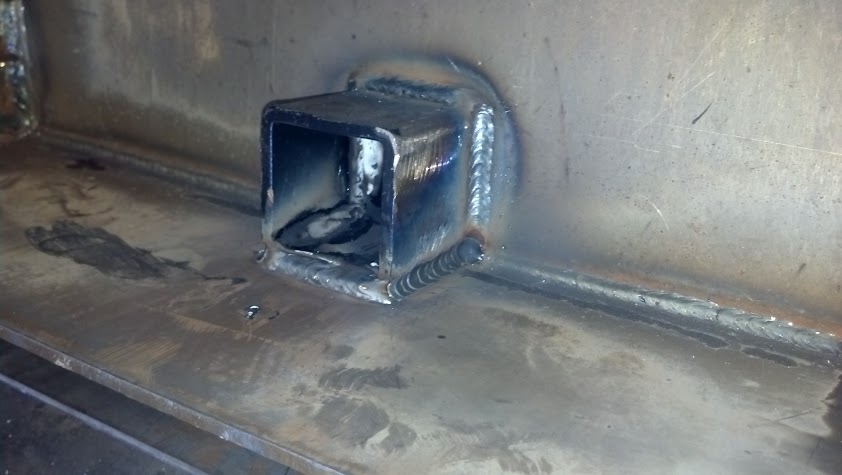
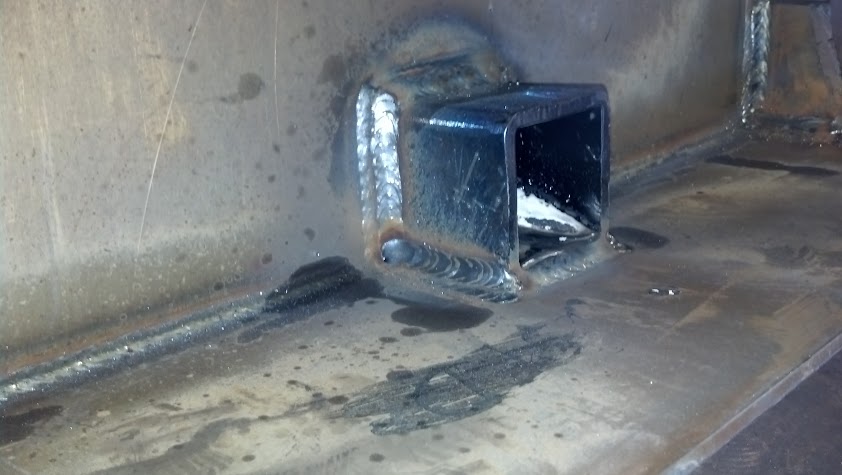
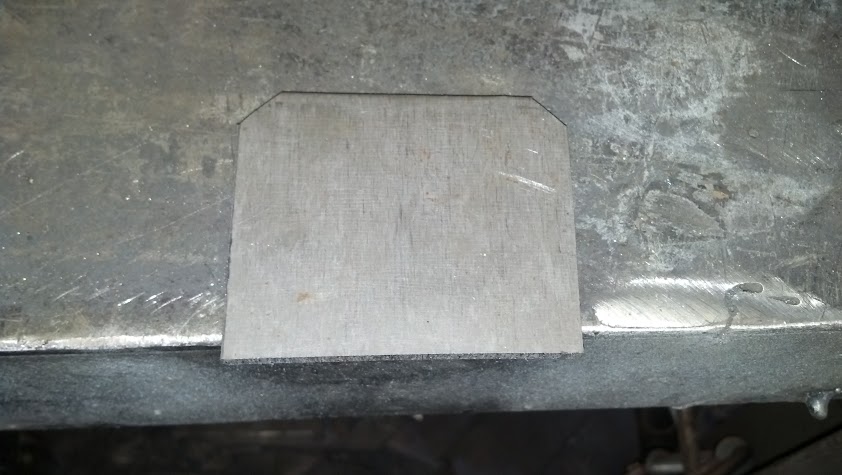
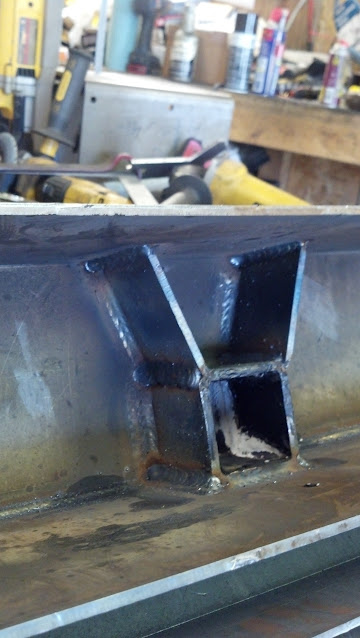
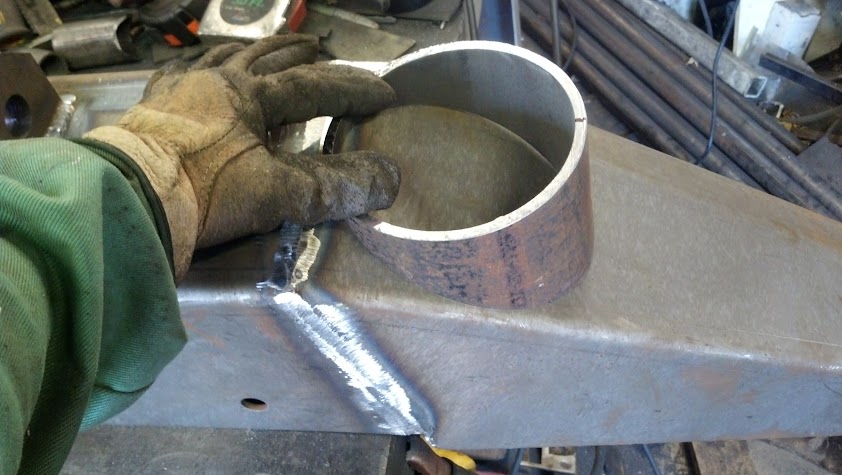
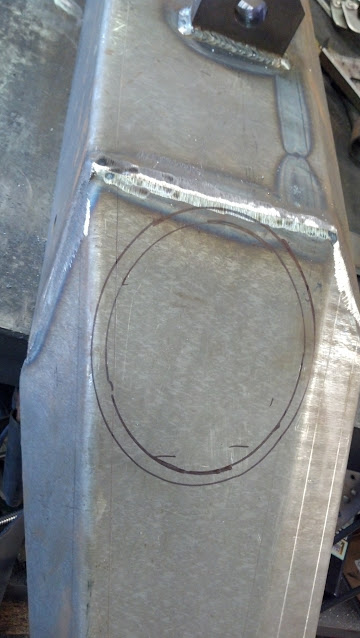
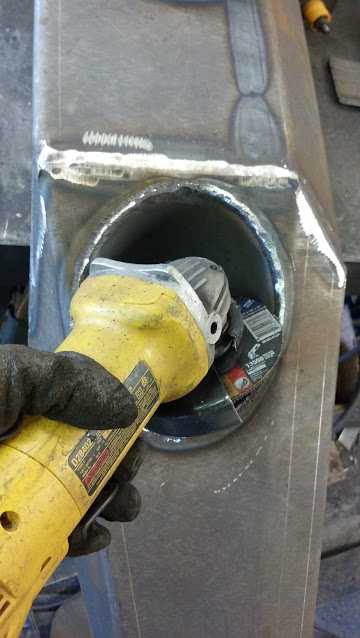
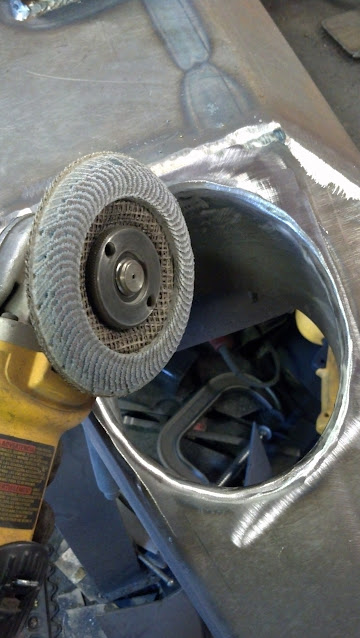
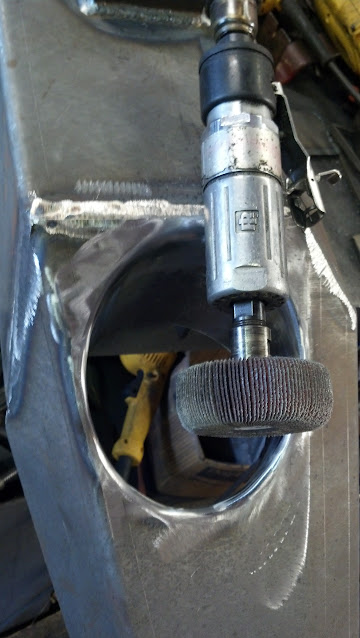
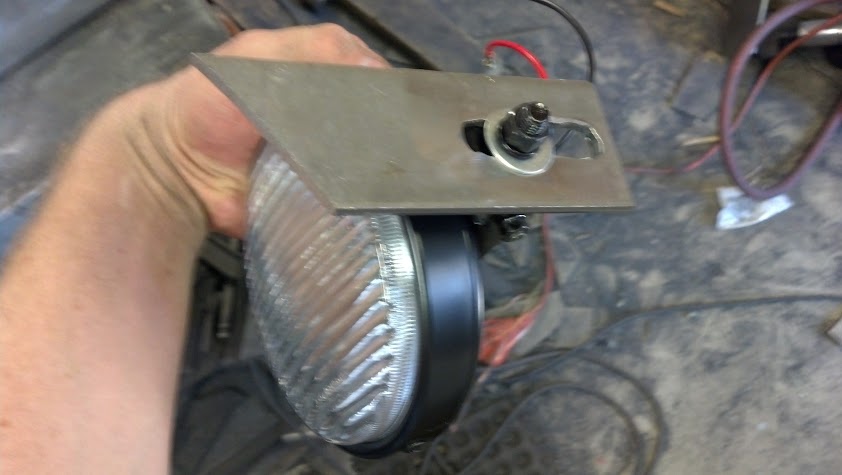
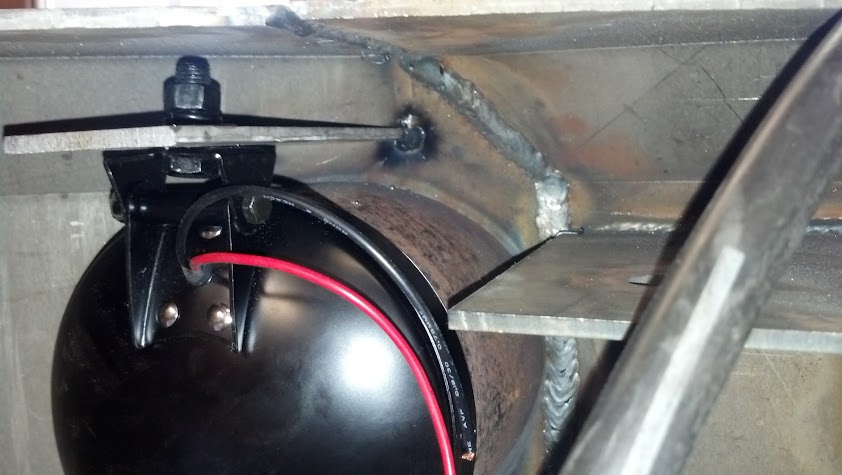
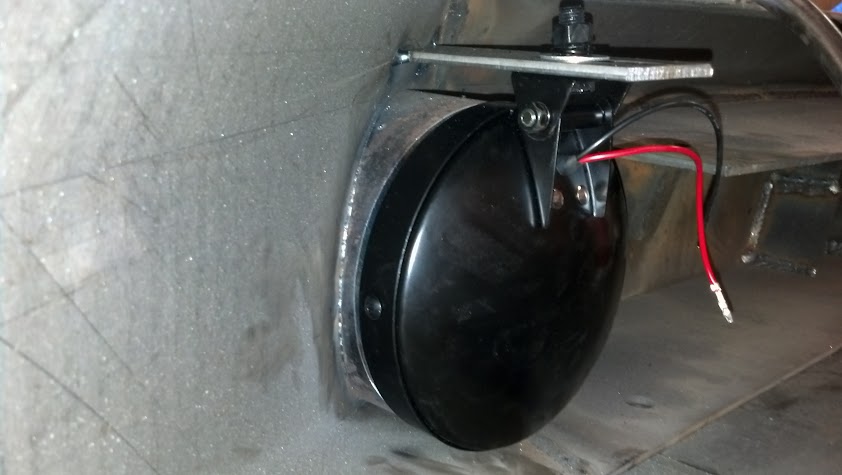
Below are the how-to for the different bumper kits, as noted in each post.

Image
bartonmd
Moderator
 
Posts: 4469
Joined: Wed Sep 09, 2009 9:35 am
Location: IN, Indianapolis
Name: Mike
Vehicle Year: 2007
Vehicle: Chevrolet TrailBlazer
DriveTrain: 4WD w/ G80
Rank: Offroad Rated

by bartonmd » Thu Mar 08, 2018 3:31 pm

Kit picture:

- Center section
- (2) under-headlight pieces
- (2) wings
- Top frame mount
- (2) shackle mounts
- More than enough 1" strip for the wing trim
- More than enough 1.38" strip for the blended front of the wings
- Extra material (for whatever it may be needed to replace. We won't call it "for mistakes")

Image

This is all there is to putting one of these together:

Grind the top of the frame flat
Image

It'll go on easier after it's all welded up if you use a 1/16" shim (which I guess I can include)
Image

Put the upper mount on top of the shims and line up the holes
Image

Put on the center section
Pull everything as far forward as it'll go
tighten the bolts
Image

Put a ~2" weld on top and bottom of the upper mount, at the main center section
Image

Put on the under-headlight pieces. Line up the front corner of the top and the front, and put a tack at top and bottom of the front (vertical) part. (unlike the photo, don't tack the top corner)
Image

2 tacks on the vertical forward portion of the wing, then fine-tune your angles to your liking, and tack the upper corners as shown. There needs to be 3/4" or more of space between the wing and fender, for body-to-frame movement, or it'll rub the paint off or possibly bend your fenders. Even at 3/4", the wing will still touch the fender when you flex out the wheel travel.
(If the fit-up puts the wing back into the wheel well, mark where you want to cut it off while on the vehicle, then cut it off when on the bench)
Image
Image
Image

Take off the bumper and put it on the bench.

Since the angles aren't always perfectly bent to match, sometimes you'll have to use a C-clamp on the top, to get the edges lined up before you tack the back edge. DO NOT DO THIS ON THE BOTTOM, because the bottom is also the mount, and it'll screw up how the mounts fit. Nobody will see the bottom, anyway.
Image
Image

Weld up everything but the top corner of the under-headlight piece, at the wing. This is where the blended piece goes.
Image

Use the 1.38" strip for the front blended pieces, and the 1" strips for the tops/backs/bottoms of the wings, as shown.
Image
Image

Weld inside and out of all the wing pieces. Since there's a bend, I find that I need to put 2 beads next to one another where the 1.38" piece meets the under-headlight bent portion of the bumper, so that it grinds smooth.
Image
Image

Grind it all smooth on the outside.
Image

Shackle mounts, They should be inserted with the long side "up" against the top mount. They stick out 2.5" from the face of the bumper. I tack one corner at the right height, then make sure they're square with the surface, then tack all 4 corners, then seam weld the outside.
Image
Image

On the back side, I weld everything once at the settings that I weld the rest of the bumper at.
Image
Image

Then I weld the second bead around everything, toward the flat material, on the same settings as above.
Image

I then crank it the fack up and burn the third pass in. However, if you do the last one at whatever your welder can do, and do it close enough to the same time as the others, it'll act as pre-heat for the shackle mount, and will penetrate fine.
Image
Image

All that's left after that is running over the whole thing with a flap disk to smooth it out.

From the "kit" form to right there, I have about 4-5 hours in this right now.
bartonmd
Moderator
 
Posts: 4469
Joined: Wed Sep 09, 2009 9:35 am
Location: IN, Indianapolis
Name: Mike
Vehicle Year: 2007
Vehicle: Chevrolet TrailBlazer
DriveTrain: 4WD w/ G80
Rank: Offroad Rated

by bartonmd » Thu Mar 08, 2018 3:33 pm

2" receiver install:

Find the center on the inside, trace the receiver, and cut it out either with a cutoff wheel or torch/plasma/whatever.

Image

Image

Image

Grind paint or powder off of receiver

Image

Tack it in, in the middle of the "top" on the front, at 3.25" from front of bumper to front of receiver, then square left to right, and tack the upper 2 corners, then go inside and tack it flat against the upper bumper mount.

Image

Image

Image

Burn in the front

Image

Burn in the back side, 1-layer all the way around, then do the 2nd and 3rd pass, for a nice big fillet to transfer stress better.

Image

Image

Then cut (2) pieces 3" x 2" and fillet or bevel 2 of the corners on the 3" sides, to clear the weld and bent edge.

Image

Place them in like so, and weld all around

Image

5" lights:

Place the cut tube pieces from me where you want them, and so that they look "forward" (not out to the sides) as shown, and trace inside and outside of the tube, then torch/plasma/jigsaw between the 2 lines. (this is something that I can cut out for you, for a nominal fee, if you don't have any of the above tools).

Image

Image

Image

Image

Put the tube in from the back so that it faces "forward" (long part toward the middle of the bumper), tack it in, then seam weld as shown.

Image

Image

Clean it up roughly with a grinder

Image

Then with a flap disc

Image

Then with a flap wheel on a die grinder, or a sanding drum on a Dremel, as I did the first couple (but a dremel is REALLY slow).

Image

Next, the light mounts. Bolt the light mount tab to the light, then position the light as needed, and tack the mount in. Remove the light, and burn in the mount.

Image

Image

Image

Then run a 4.5" flap disc around everything to smooth it all out, including the cut front edges of the shackle mounts, and you're good to go to paint.

Image

Image
bartonmd
Moderator
 
Posts: 4469
Joined: Wed Sep 09, 2009 9:35 am
Location: IN, Indianapolis
Name: Mike
Vehicle Year: 2007
Vehicle: Chevrolet TrailBlazer
DriveTrain: 4WD w/ G80
Rank: Offroad Rated

by bartonmd » Tue Mar 13, 2018 4:23 pm

The winch bumpers go together more or less the same as the standard bumpers, except for the center section.

The upper frame mount and center section should tack in like this, AFTER you tighten the bumper bolts.

Image


Tack the front angle piece on as shown

Image


At this point, you tack the rest of the bumper together like the standard one, above. Wings and such, as well as the 2.5" triangles at the sides of the fairlead mount.

Image


Before you remove the tacked up bumper, use a square and mark on the top frame mount where at least the body tube is, because you'll need to place the winch box rear plate 3/8" to 1/2" in front of that, to clear it.

Image


Set your winch in there then place and tack in the 1.5" tall and 1" deep fairlead gussets, making sure there's room for the fairlead bolts next to them and the winch body rear of them.

Image


IMPORTANT!! When doing any welding on the fairlead mount or the winch box sides or rear, make sure you have them clamped to a piece of tube or something flat, or it'll warp!

Image

Image


This is the "LT/SS grille mod" on the winch bumpers, but it's the same on the non-winch bumpers, just all the way across. The winch box sides are small here vs. larger without the LT mod, but same basic deal.

Image

Image

Image

Image


Here is one mounted back on the TB, with the standard winch box sides and rear shown.

Image
bartonmd
Moderator
 
Posts: 4469
Joined: Wed Sep 09, 2009 9:35 am
Location: IN, Indianapolis
Name: Mike
Vehicle Year: 2007
Vehicle: Chevrolet TrailBlazer
DriveTrain: 4WD w/ G80
Rank: Offroad Rated

by Trail X » Wed Mar 14, 2018 9:12 am

Awesome explanation Mike. There are a few pictures on that last post that aren't showing up to the rest of us. Looks like it might be a permissions issue?
8-) Build Thread | ExPo Build | YouTube Videos
Not all who wander are lost. -Tolkien
User avatar
Trail X
Founder
 
Posts: 9935
Joined: Mon Sep 07, 2009 10:22 pm
Location: VA, Roanoke
Name: James Downing
Vehicle Year: 2005
Vehicle: Chevrolet TrailBlazer
DriveTrain: 4WD w/ Aftermarket Locker
Rank: Expedition Guide

by bartonmd » Thu Mar 15, 2018 10:17 pm

Thank you! You can see them now, right?

Thanks
Mike
bartonmd
Moderator
 
Posts: 4469
Joined: Wed Sep 09, 2009 9:35 am
Location: IN, Indianapolis
Name: Mike
Vehicle Year: 2007
Vehicle: Chevrolet TrailBlazer
DriveTrain: 4WD w/ G80
Rank: Offroad Rated

by djthumper » Fri Mar 16, 2018 2:43 pm

Awesome write-up! If this doesn't help people with their builds I don't know what will, other than paying someone to do it.
User avatar
djthumper
Moderator
 
Posts: 2702
Joined: Wed Mar 24, 2010 6:04 pm
Location: NV, Las Vegas
Name: Larry
Vehicle Year: 2006
Vehicle: Chevrolet TrailBlazer
DriveTrain: 4WD
Rank: Offroad Rated

by tsmith1156 » Fri Mar 16, 2018 3:01 pm

Nicely done as always Mike! I’ve been dragging my feet, but, hopefully 2018 is the year I get some MDB Fab items!
tsmith1156
Off-Roader
 
Posts: 222
Joined: Thu May 02, 2013 6:04 pm
Location: Batavia, Ohio
Name: Tyler Smith
Vehicle Year: 2005
Vehicle: Chevrolet TrailBlazer
DriveTrain: 4WD


Return to MDB Fabrication