Wow time is running from from my plans a long time ago. So i had to push this a little forward, right?

Sometimes I wish I had some helpful hands on my side , but you guys are a little too far away.. So one of my sons (he is 4 years old) had to help me

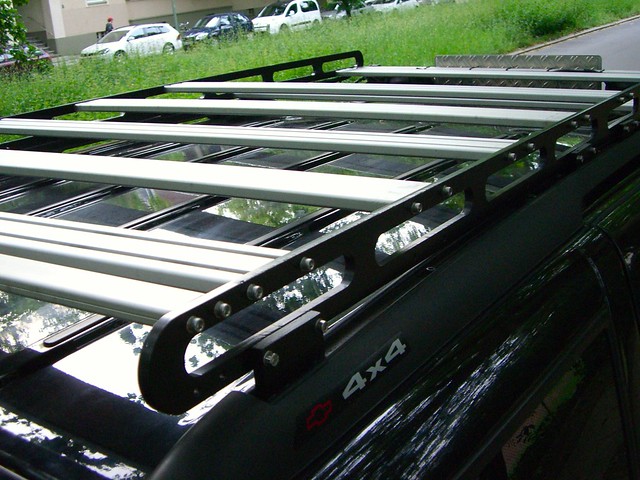
As i have posted above i found a company that has produced the side rails with a water cutting machine. After that, the side rails have been powder coated. I had to cut on each side of the crossbar bosch profiles 0.75mm and after that i had to cut some new M6 screw thread in the bosch profiles because the side rails are much stronger (thicker) now. The holder for the roof rack had to be modified too. All have been done on friday and saturday.
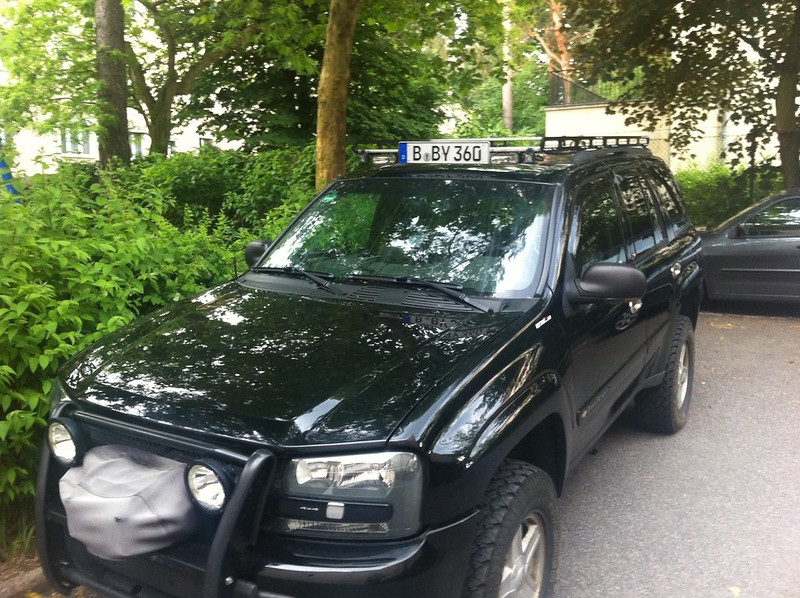
Before shot: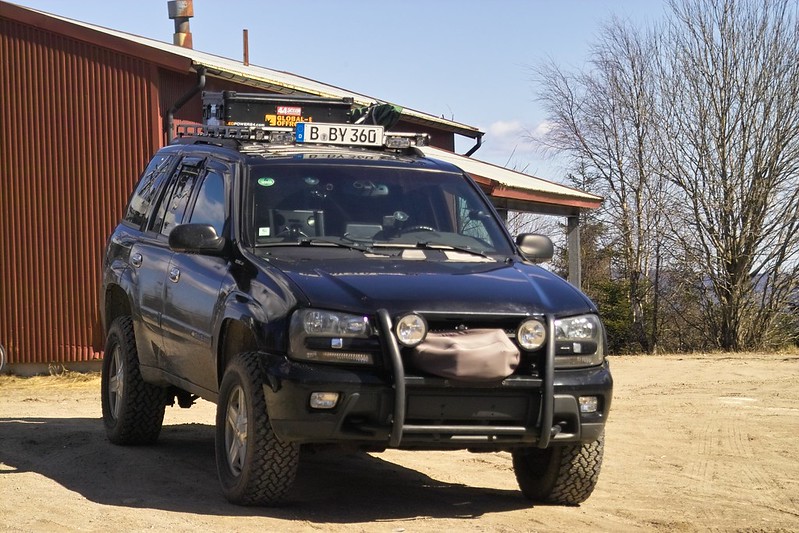 and after shot:
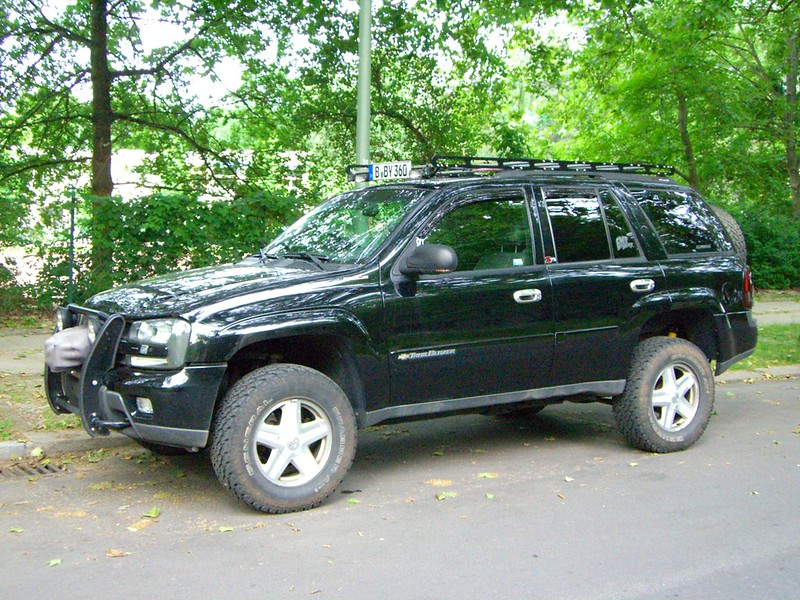
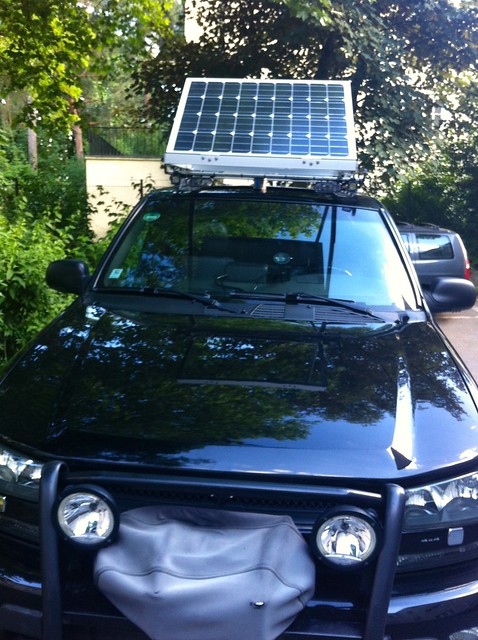
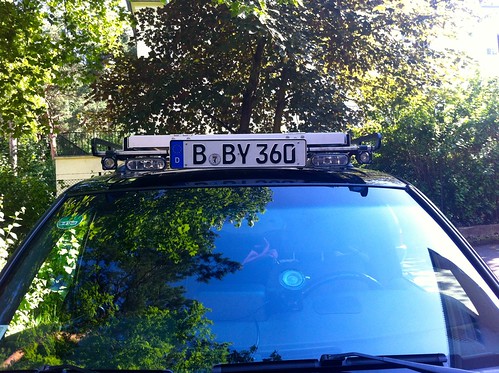
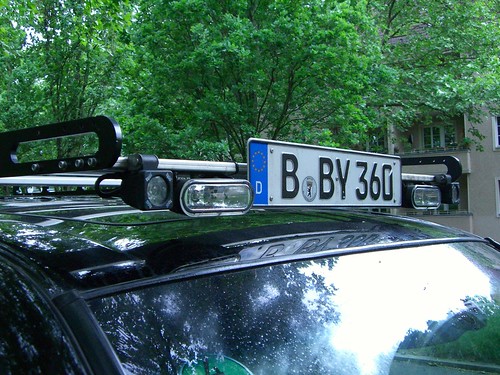
The side rails are now much longer and for the lights on top it is better to have them more towards the windshield positioned.
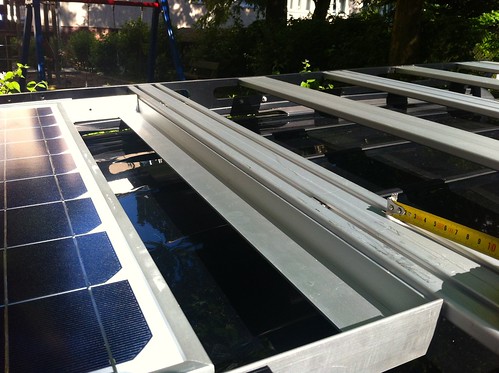
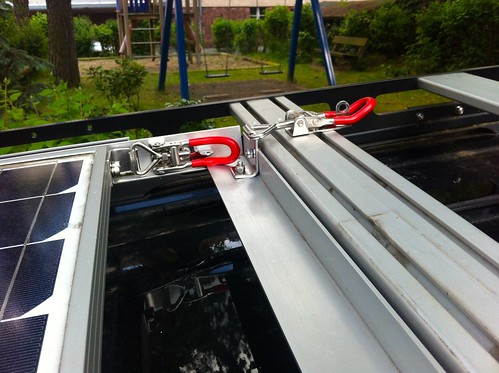
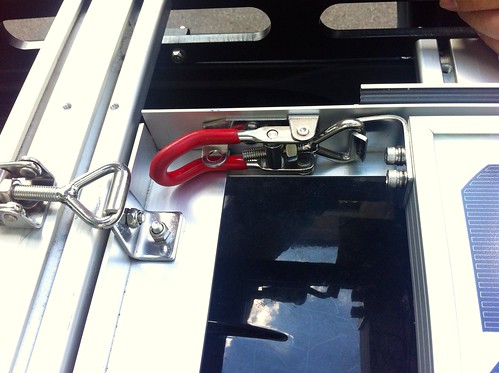
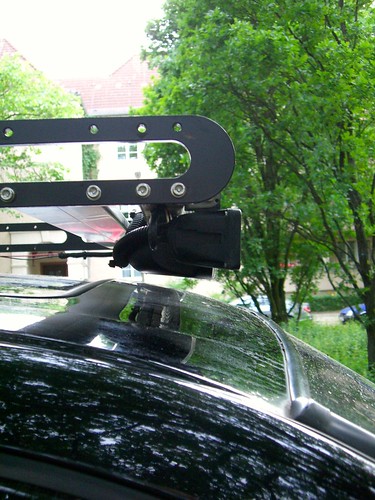
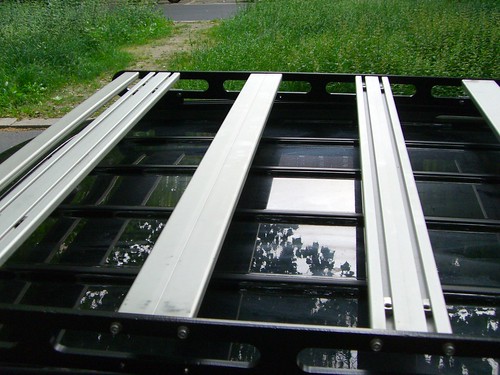
This are some detail shots from the passenger side front:
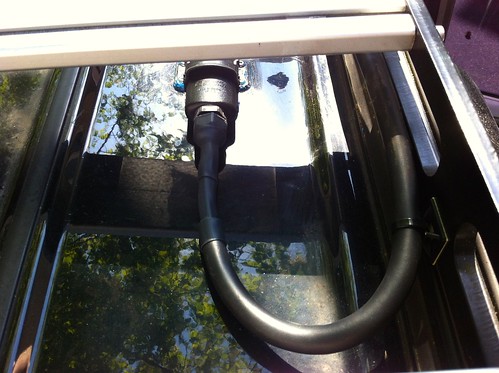
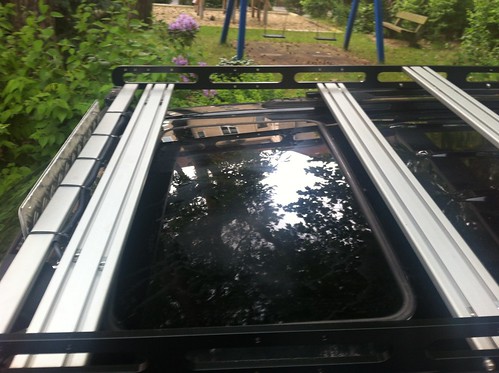
One of the best parts of this design is to have the window in the roof free for opening and cleaning.
I had the problem with this design in the past:

Now it is completely free accessible and i could clean the gasket or climb on the roof:
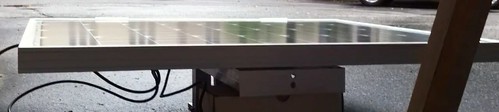
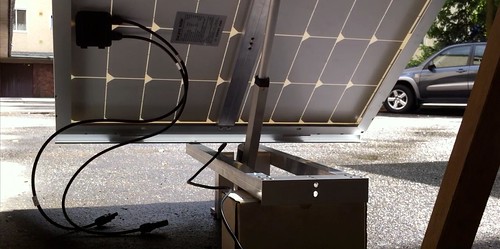
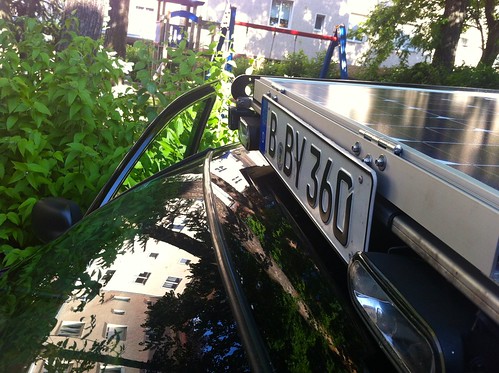
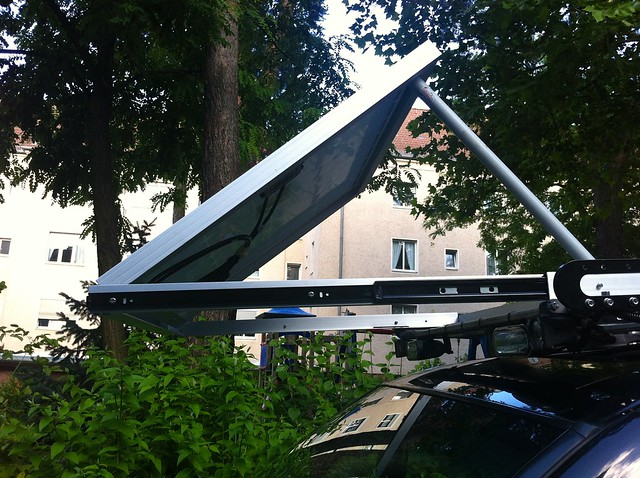
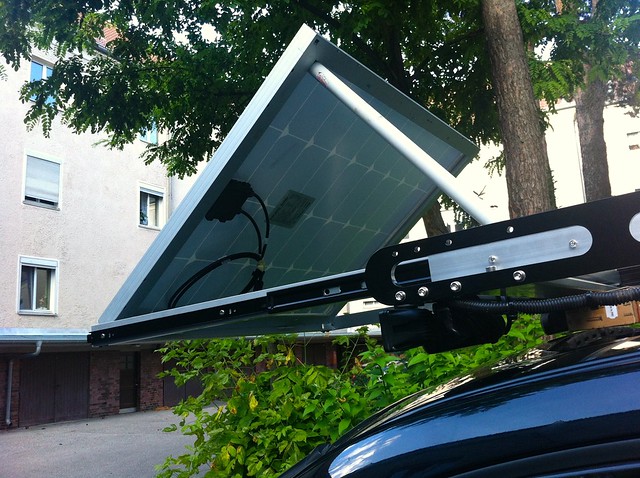
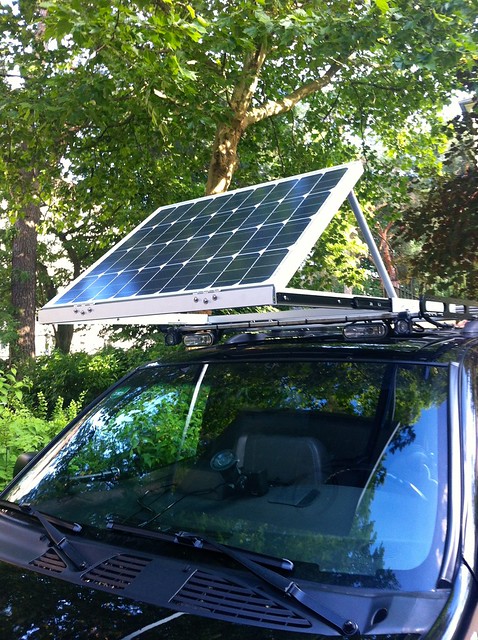
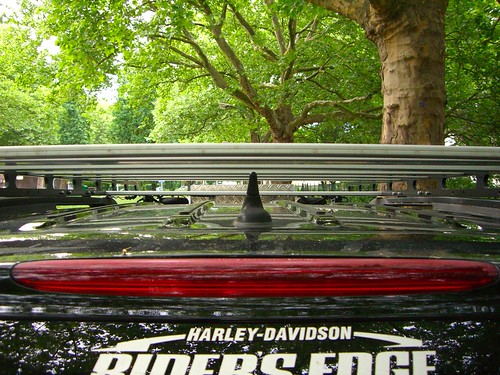
The crossbars are mounted in two different highs, for the front they are mounted lower on the side rails. This has the reason to mount the solar panel above the roof window on the crossbars on some slide rails. So when using the solar panel it slides out and stays above the windshield. Therefore the number license plate had to be mounted on the solar panel holder frame (that part comes later..). A little difficult to explain, but you could see it later. The rear part of the crossbars are mounted in the upper position and they will hold the roof top tent (that part comes later too)

. The RTT could be mounted over the side rails to get the RTT as close to the rear cargo door. These pictures explain what i mean:

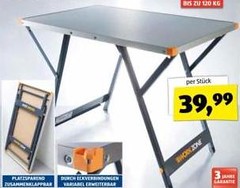
The space left under the crossbars will be used for holding my camping table. Of course i have to remove my antenna. The reason why i have mounted the crossbars on the back upside and downside is that i could mount the holder for the camping table under the crossbars.

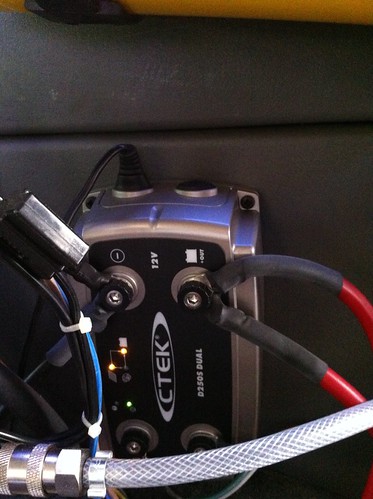
That´s all for the moment. Next steps are drilling holes to the roof for the complete electrical connections and maybe some additional holder on the front of the roof to extend the frame rail function. And after that building the frame for the solar panel holder. Any ideas how to do things better?
Karsten