bartonmd wrote:Eh... There's a reason I did a somewhat solid "pyramid" of stacked up plates... I was concerned about even a 7ga (.179") "box" failing if somebody was going 15mph down a mostly smooth road with rocks in the middle (think the fire trails at TECORE), and smacked the part sticking down on a rock. For normal, slow speed abraision, I'd think it'd be fine, especially given the thin nature of the plate isn't going to take the full weight of the front end, anyway. But then, Bill's plastic skid had a pretty deep and well defined dent in the door from the drain plug, so we know the oil pan will take some weight.
Mike
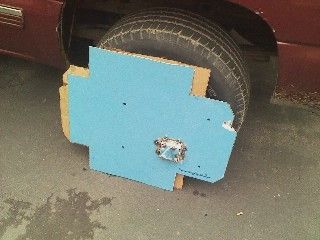
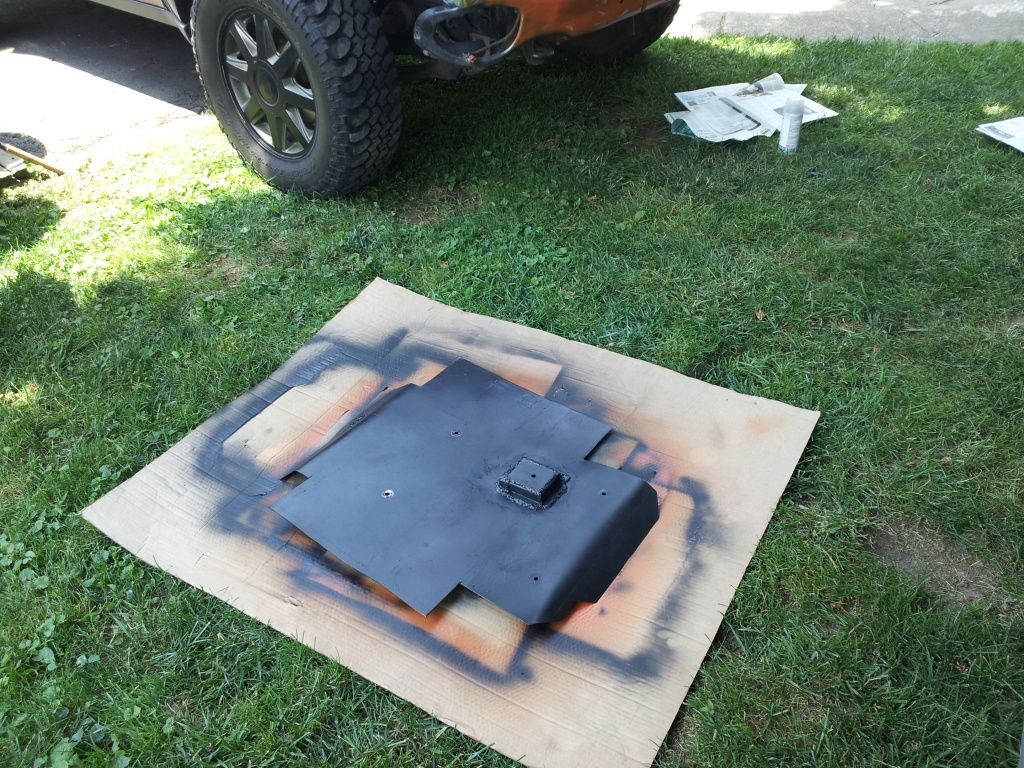
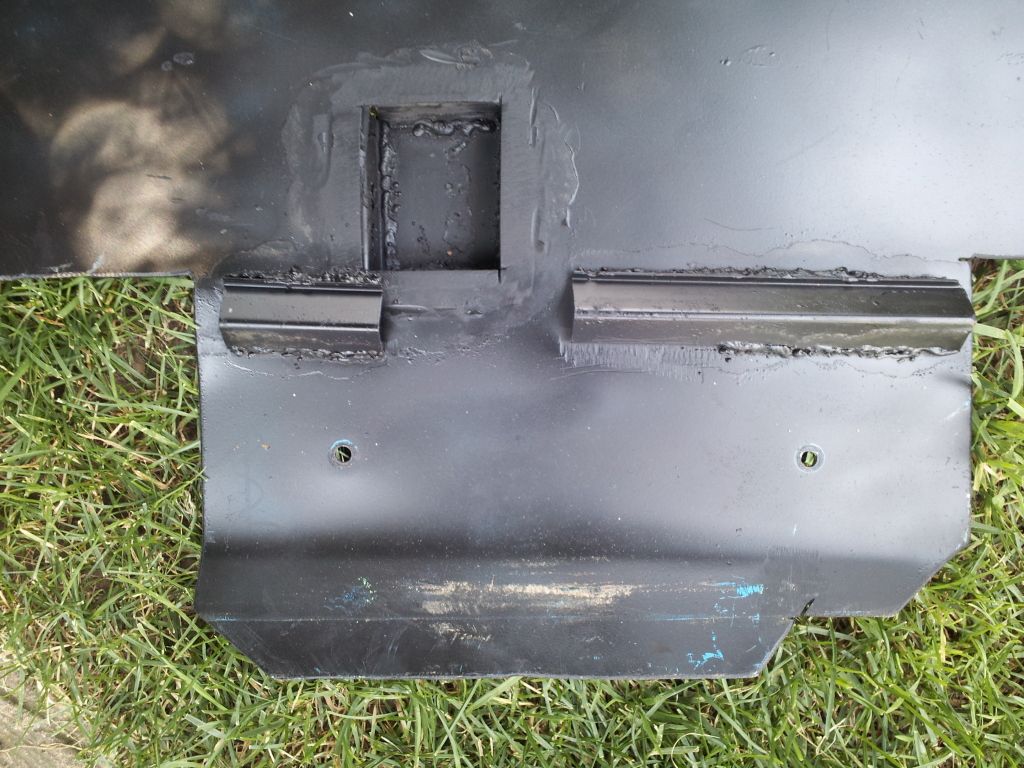
I know exactly why you did the stacked pyramid. It is hands down a better design. The pyramid has that angled edge that will redirect force. This is just what i had available to me, and what my dad was willing to do at work on his breaks. I'm using cave-man technology. And i will add, the TB oil pan does look pretty beefy.
And certainly, if you hit anything like that hard enough it's going to come off. (smacking it off a rock at 15 mph) But a slow speed "rock crawl" abrasion situation, i also think it would be fine, the plate will deflect upwards a little bit and the box may even deform some. But even I was concerned about the box and its strength from the beginning.
The Roadie wrote: Homemade is fine, but as long as you know it's there to make noise to get your attention when you hit a rock at slow speed, and not to come crashing down off a 12" ledge onto it. Just have realistic expectations. You should see the FRAME dents on DirtyBacon's and my trucks, and then you'd understand better the level of threat out there we're trying to survive.
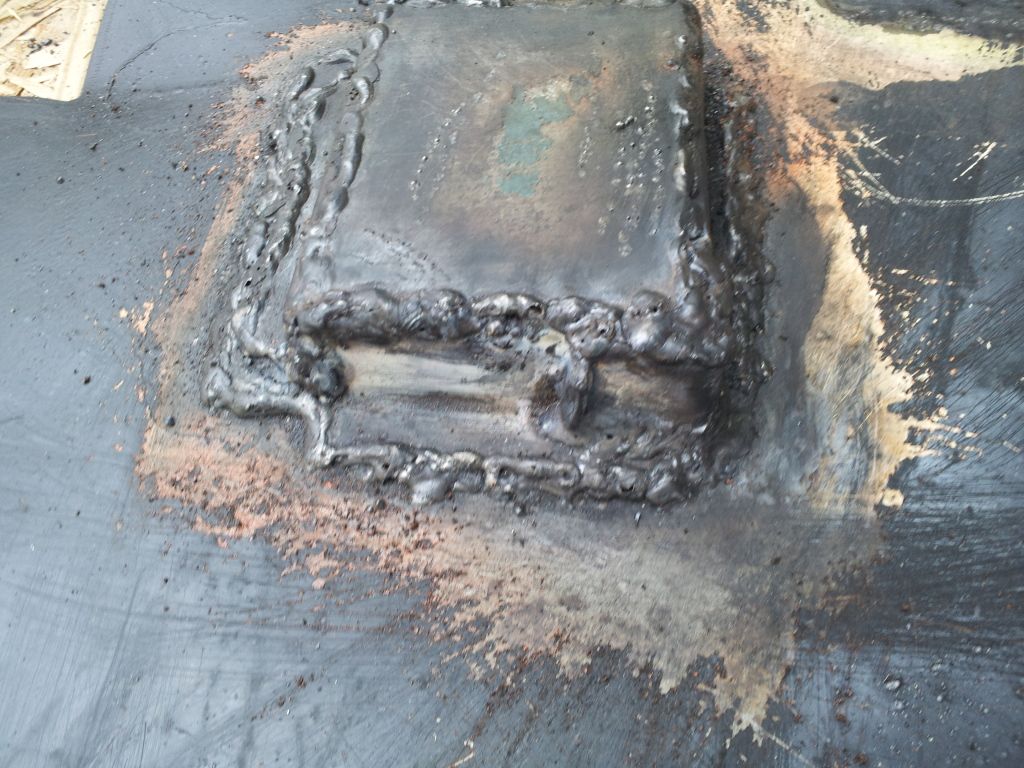
We also scrape our bellies enough to see the benefit of rock washers or welded rings to protect the mounting bolt heads, which you might not need unless you go and commit a lot of scrapeage.
Exactly. In all the wheeling Josh and I have done in the past 3 years, including his first, stock TB, we never did anything that required a skid plate. Now that he has one, we aren't going to set out with the intention of depending on it. It is there for "just in case" and i feel that it will serve that purpose just fine.