However, as an FNG who mainly lurks due to my minimal mechanical/electrical skills, I felt it prudent to add my $0.02
 and intended as a supplement.
I had already purchased the Yakima Mega-mule and affixed it to my factory load bars as seen here;
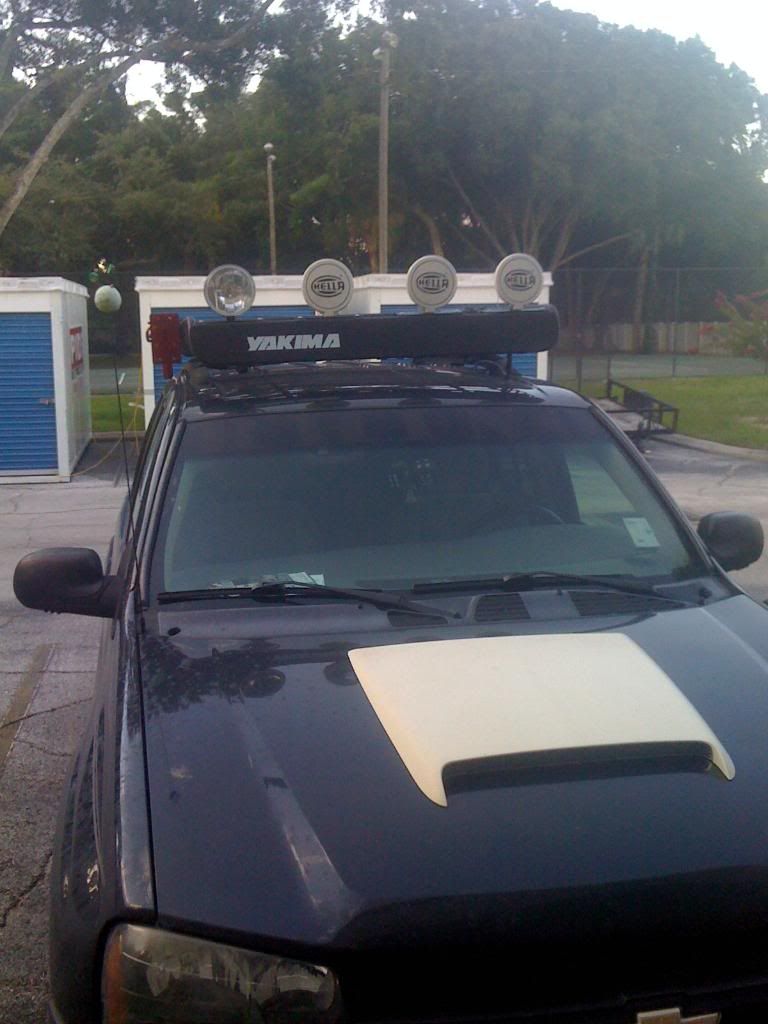 The installation was not documented as I did not have a phone or camera at the time. Yakima sold an expensive ($40.00) bracket for auxiliary lights and it was relatively easy. I'm an idiot and I did it without looking at directions
 To keep things simple, I followed JD's list of supplies and made sure that the additional wire I bought was the same size and color as the wiring harness provided.
DISCONNECTED THE NEGATIVE BATTERY TERMINAL
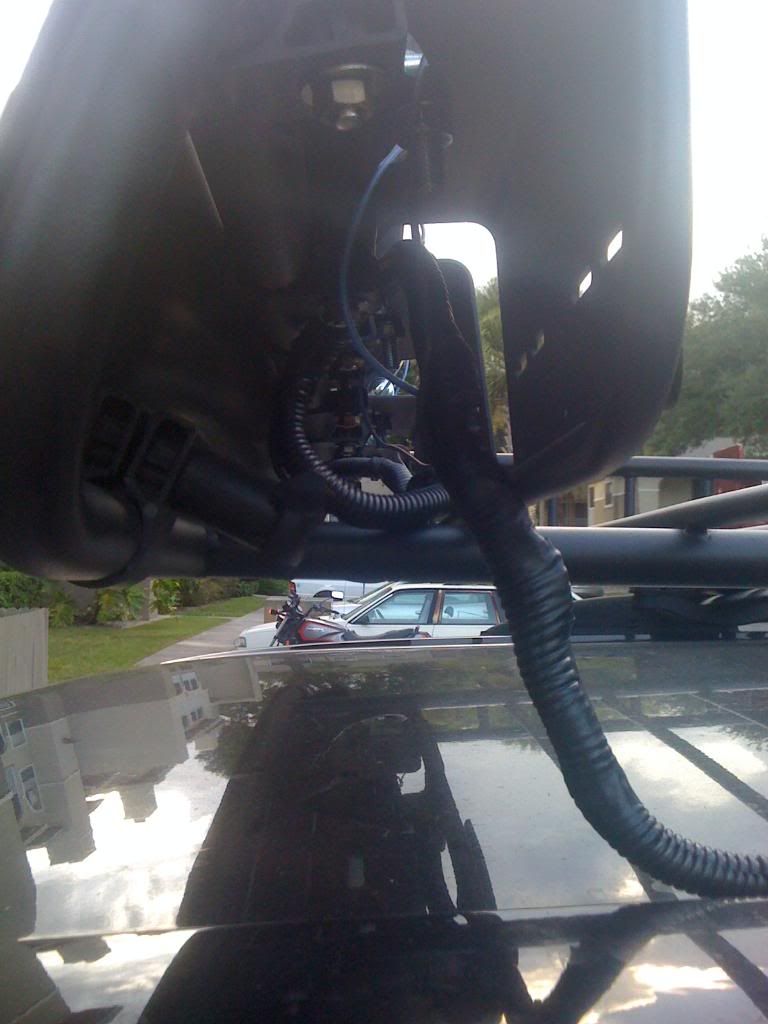
The next step was pulling the wires through the bottom of the bracket as such
I am using Hella 500-FF's and the two wires provided are BLACK and BLUE. Hella did not provide any directions what-so-ever! After disassembling the light, I determined that the BLUE is the GROUND and the BLACK is the "Hot" (?)
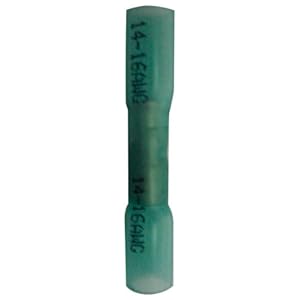
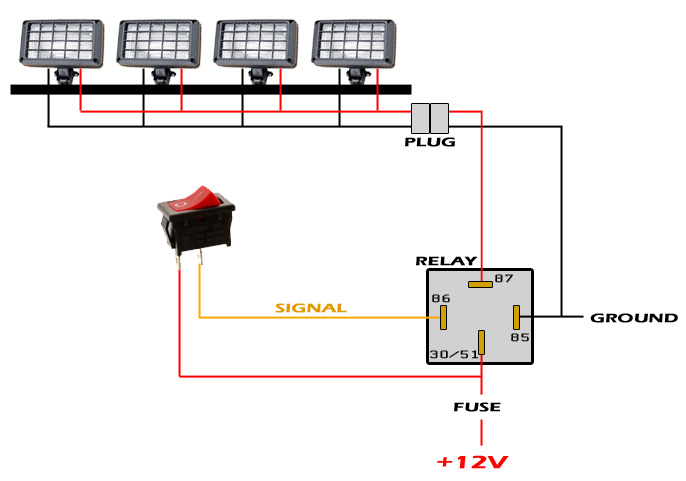
Basically, I started with the BLUE (or GROUND) wires first and strung them up according to JD's diagram; shown here
 in series. This is an image of the first and second BLUE (or GROUND) wires using a wire splice
 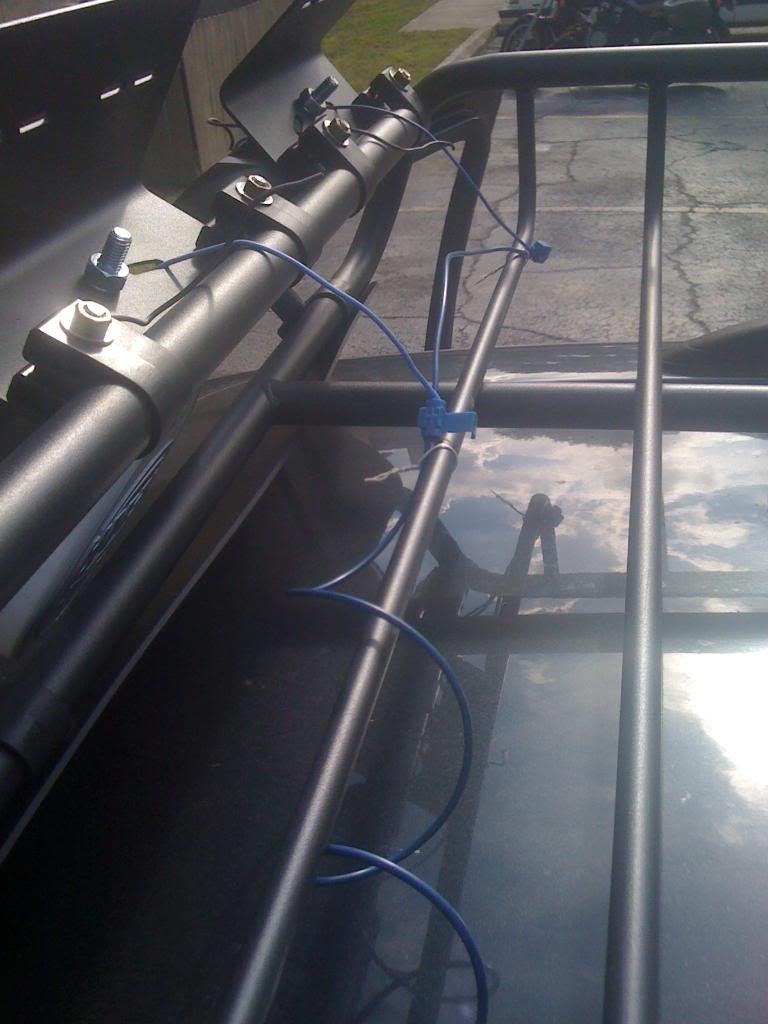 .
. I continued this process until the four BLUE (or GROUND) wires were run to one BLUE (or GROUND) wire and then continued this process SEPARATELY for the BLACK wires seen here
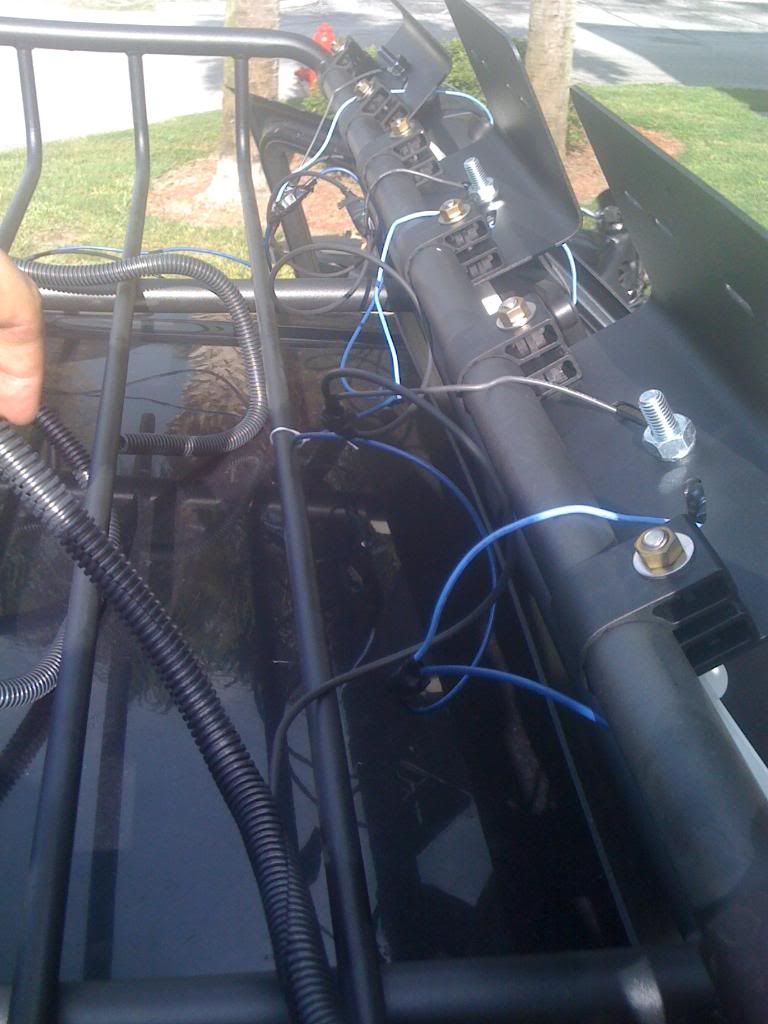
Once both SETS of wires were wired according to JD's diagram I wraped the splices in electrical tape and then the entire harness in a wire wrap
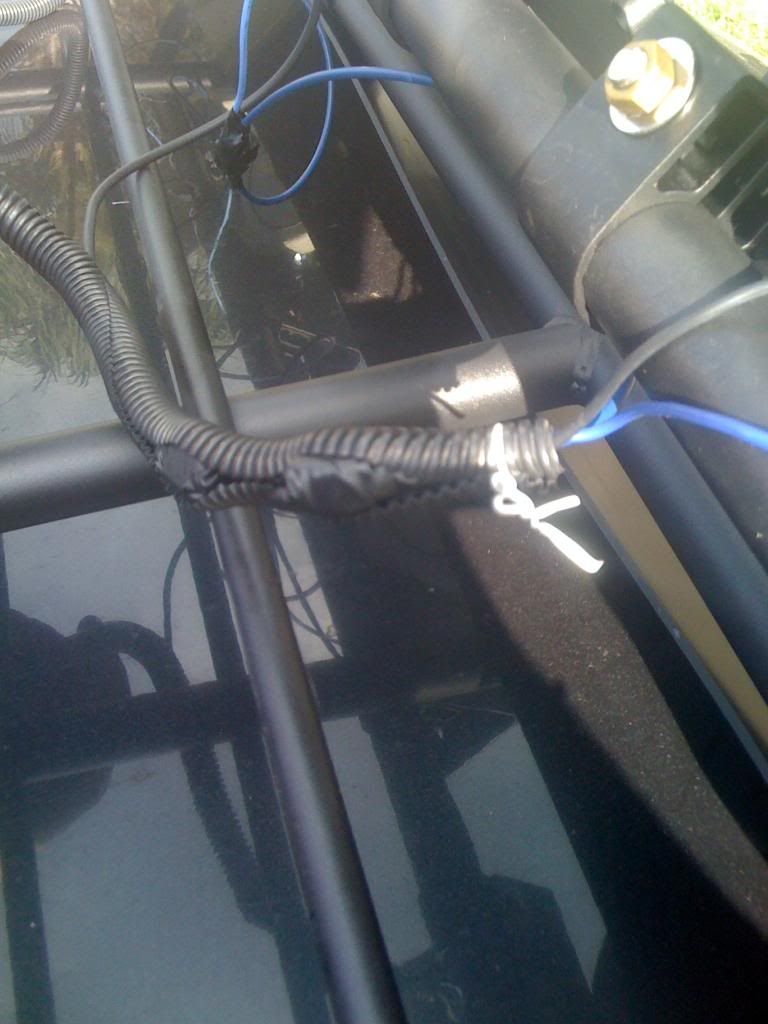
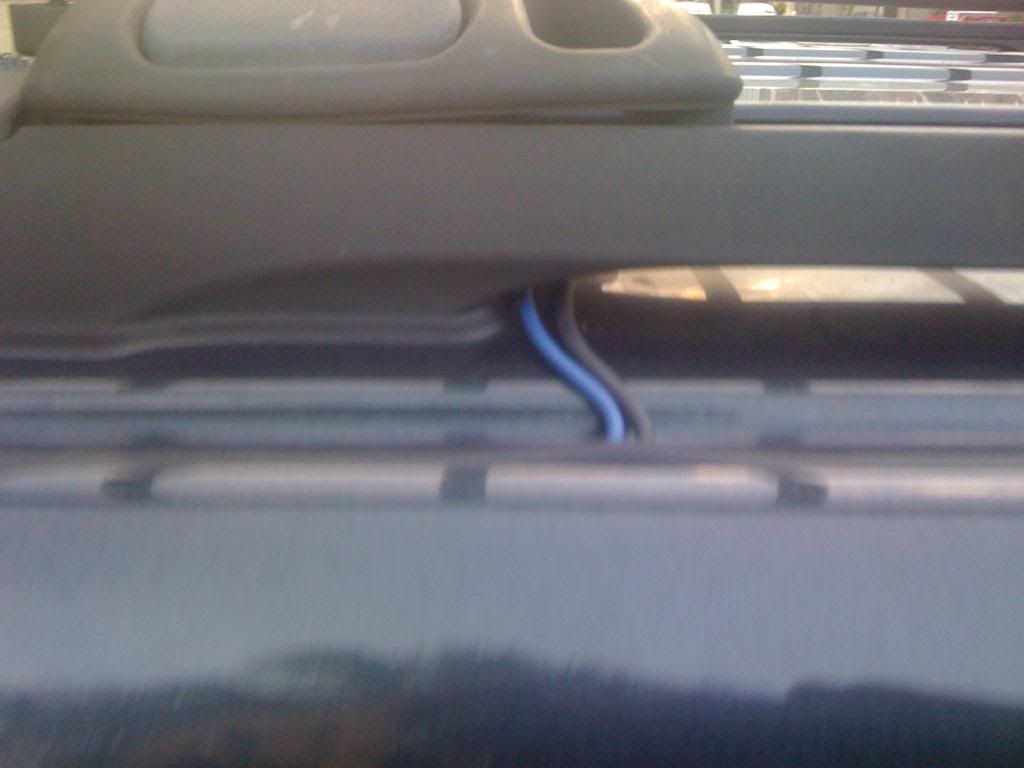
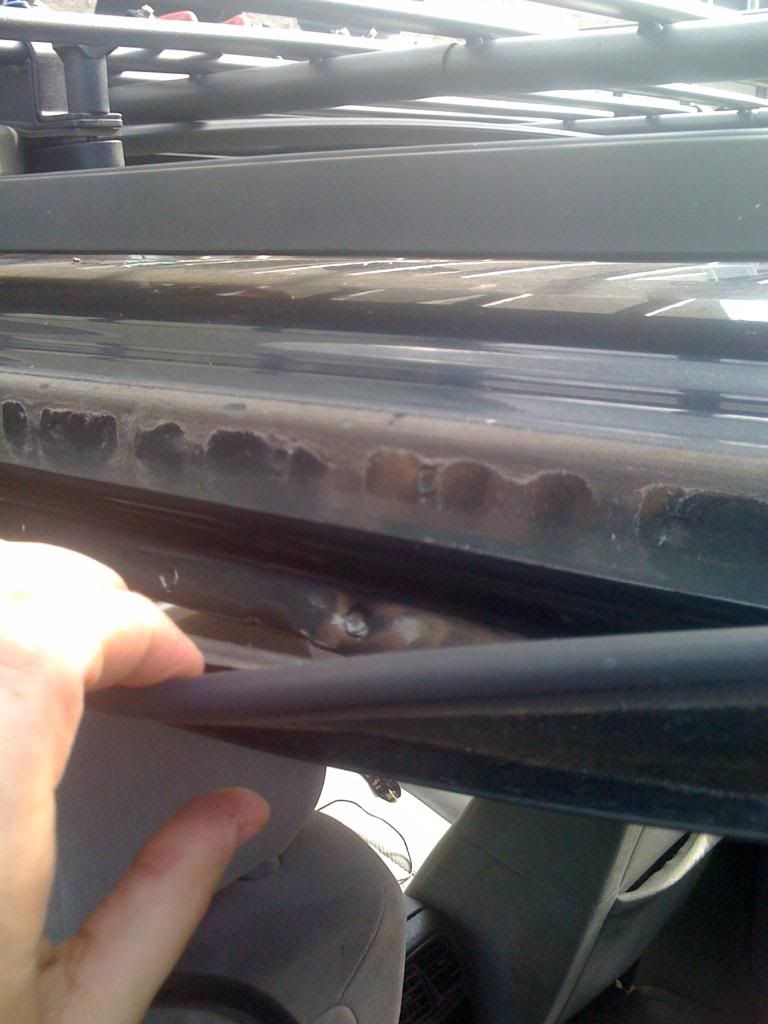
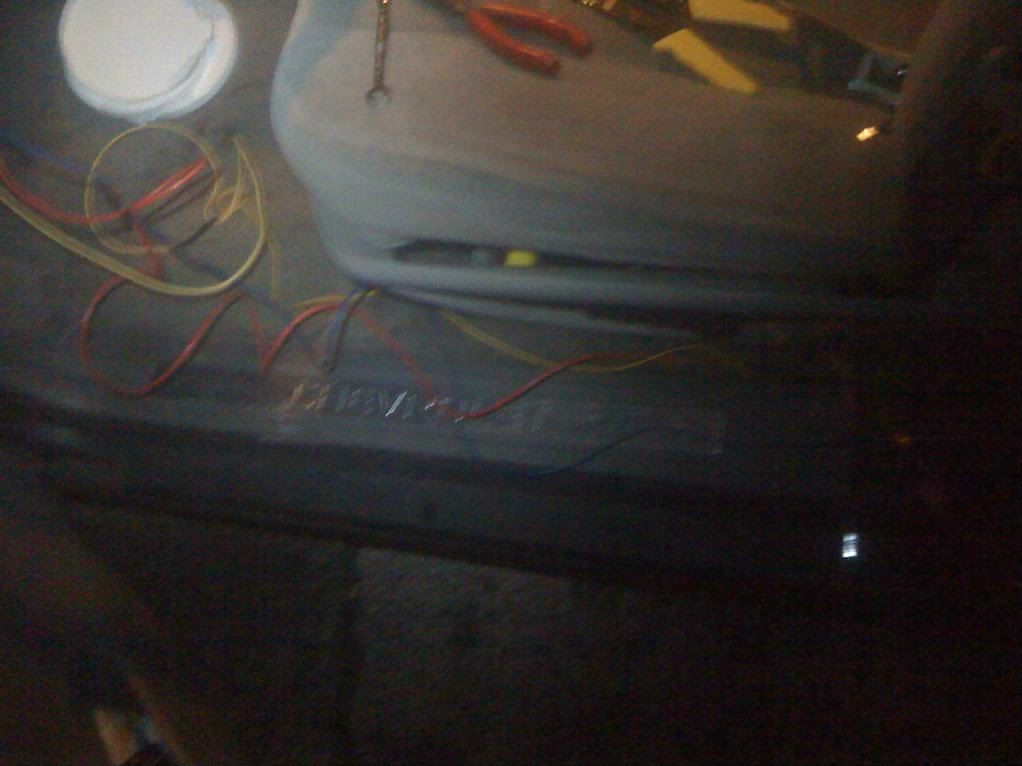
Then I routed the wires under the roof rack toward the rear driver's side door and underneath the two separate weather stripping as such
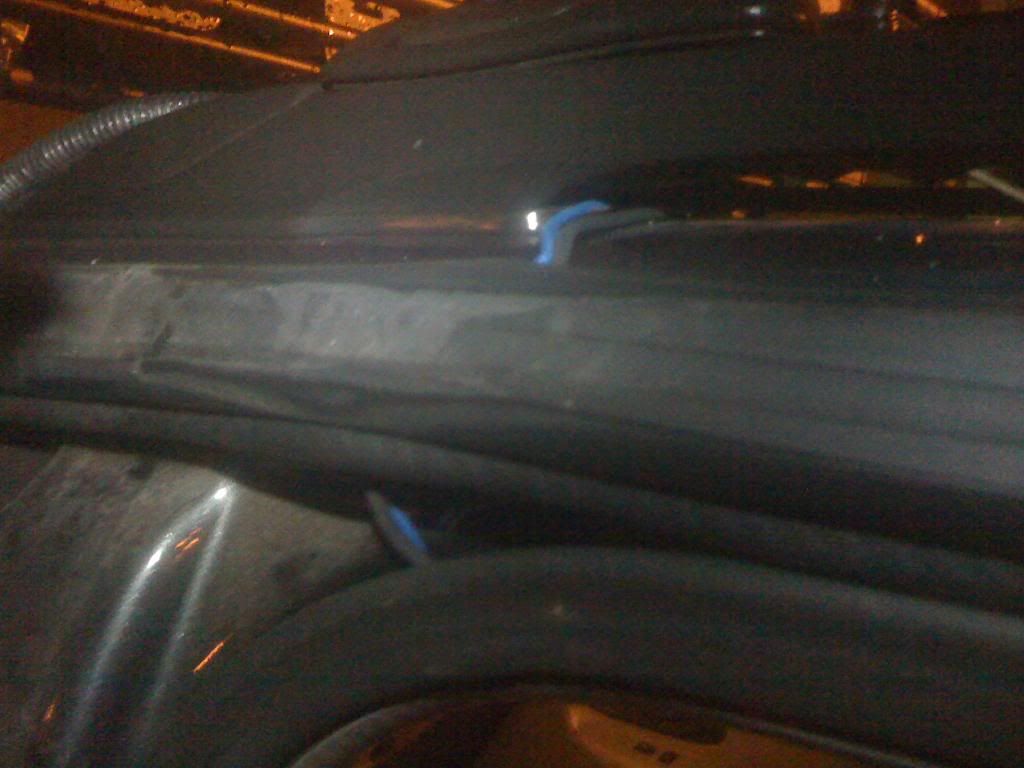
The B-Pillar, in between the Front and Rear Driver's side doors, comes apart in two (2) pieces; top and bottom. I ran the BLACK and BLUE (or GROUND) wires behind the B-Pillar thusly

This is where I had to stop due to the torrential down-pour and re-affirm my plan with JD. Again, his schematic is easy to understand, I just wanted to make sure I wasn't going to blow a fuse or light etc. and my switch had three (3) prongs and his diagram shows only two (2). The switch wires the same but the third wire is a GROUND (*BLUE here*).
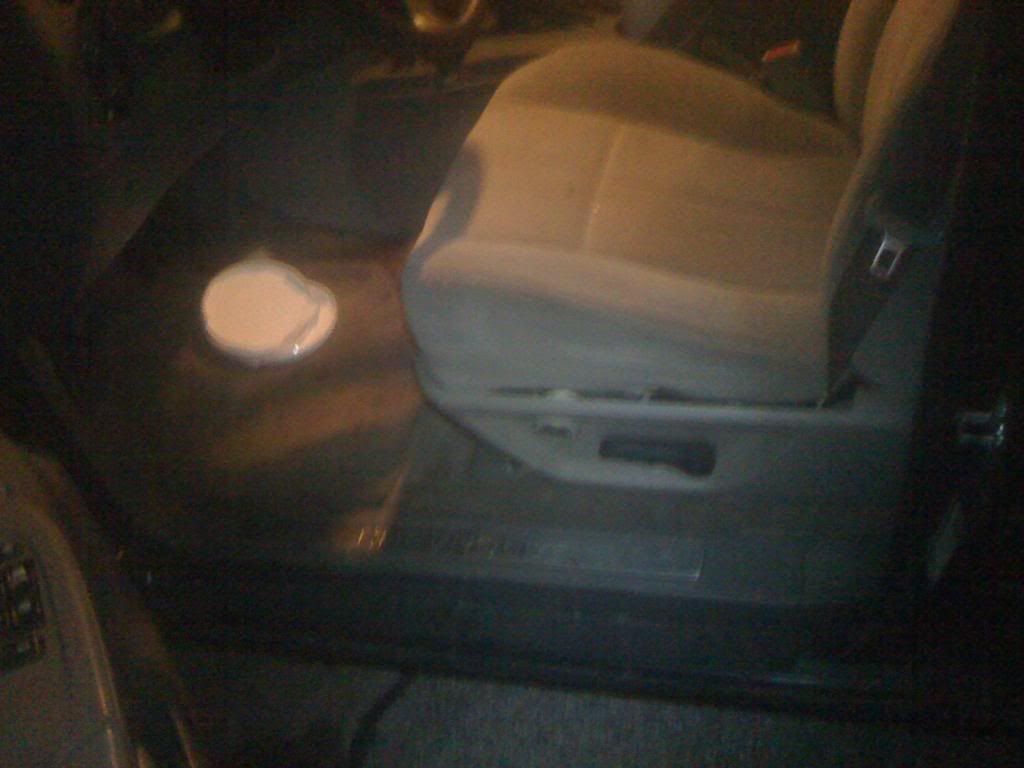
Anyway, after the rain stopped this evening I started here
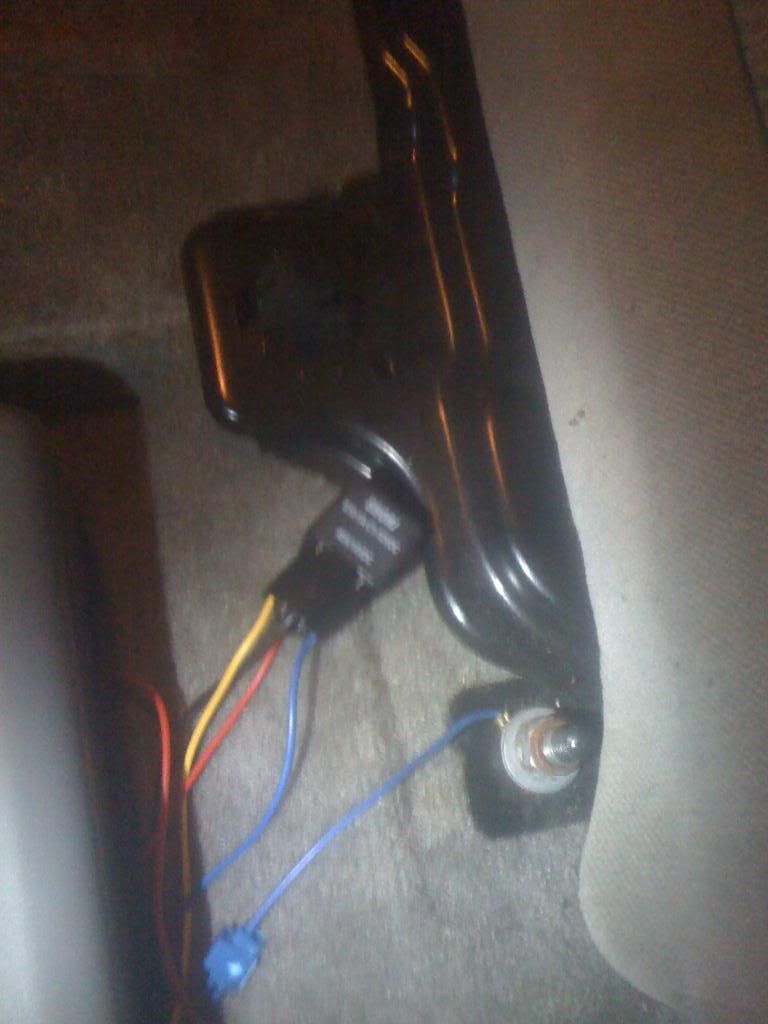 .
.The BLUE is the GROUND and from the wiring harness plugs into the 85. On my Hella harness, the BLUE (or GROUND) wire was short and I just loosened the bolt under the seat and slid the exposed (bare) wire under it before tightening it back down. Then I added another splice, as before, connecting in the BLUE (or GROUND) wire from my lights. For those of you as slow as I am
 This grounds the lights.
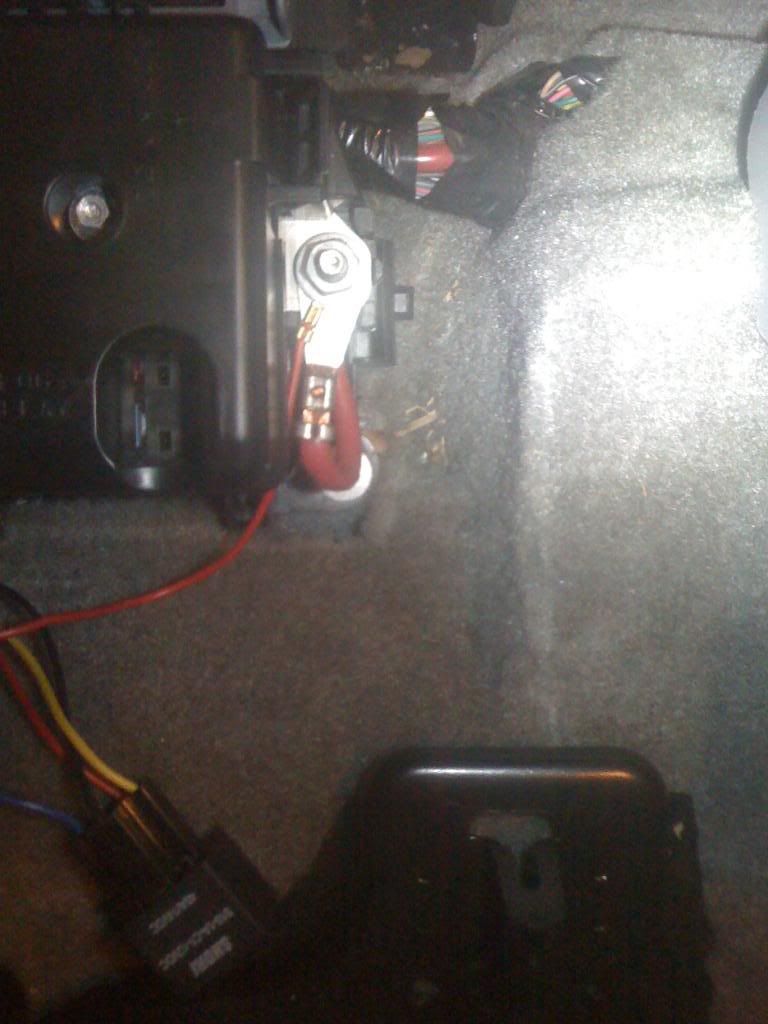
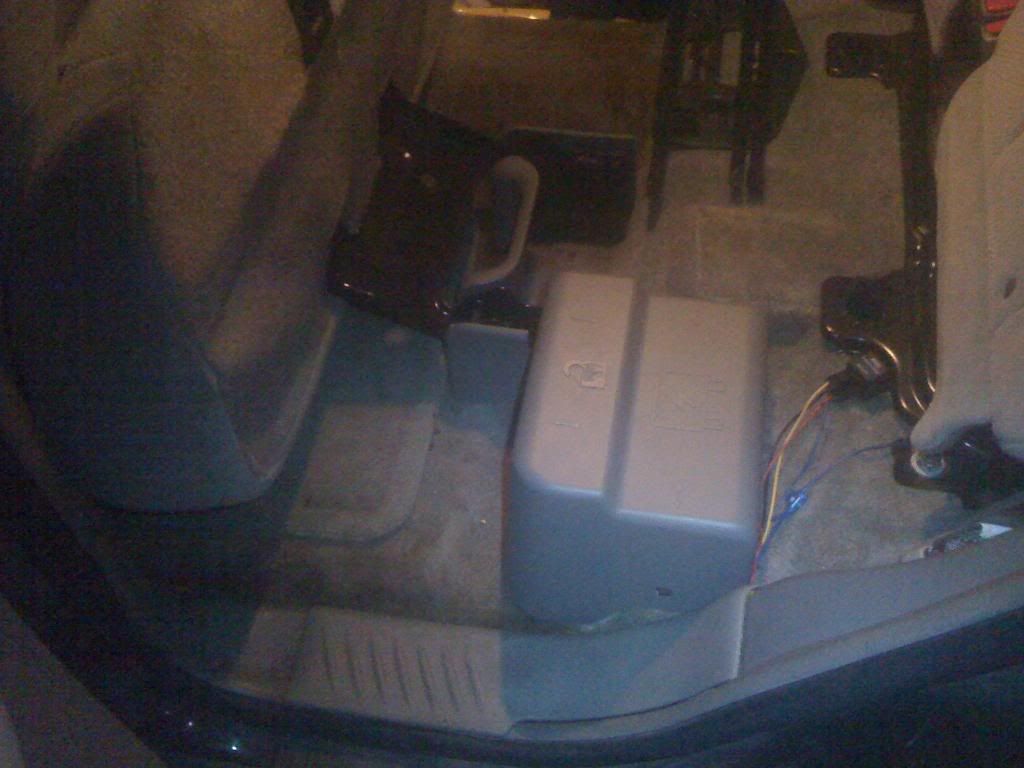
 The RED you see is the POWER and in the harness connects at the 30/51 slot. Under the rear driver's side seat is another fuse box (separate from the one in your engine compartment) and has a large [b]RED[/b] lead, this is where I decided to attach my RED (or POWER) wire as seen here
The BLACK wire is the "Hot" (?) and is the same as from the lights I wired in series earlier. It mates
The fourth and final wire is the YELLOW (or LEAD) wire and is harnessed into the 86. I had to extend it to travel up the inside of the truck to the dashboard.
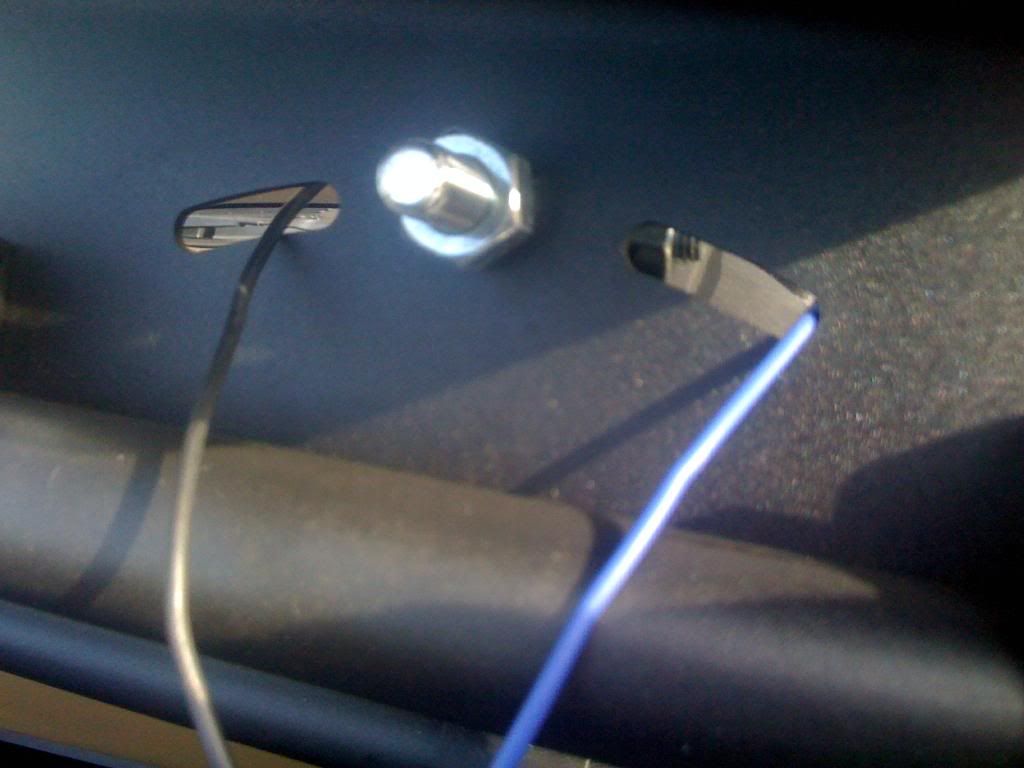
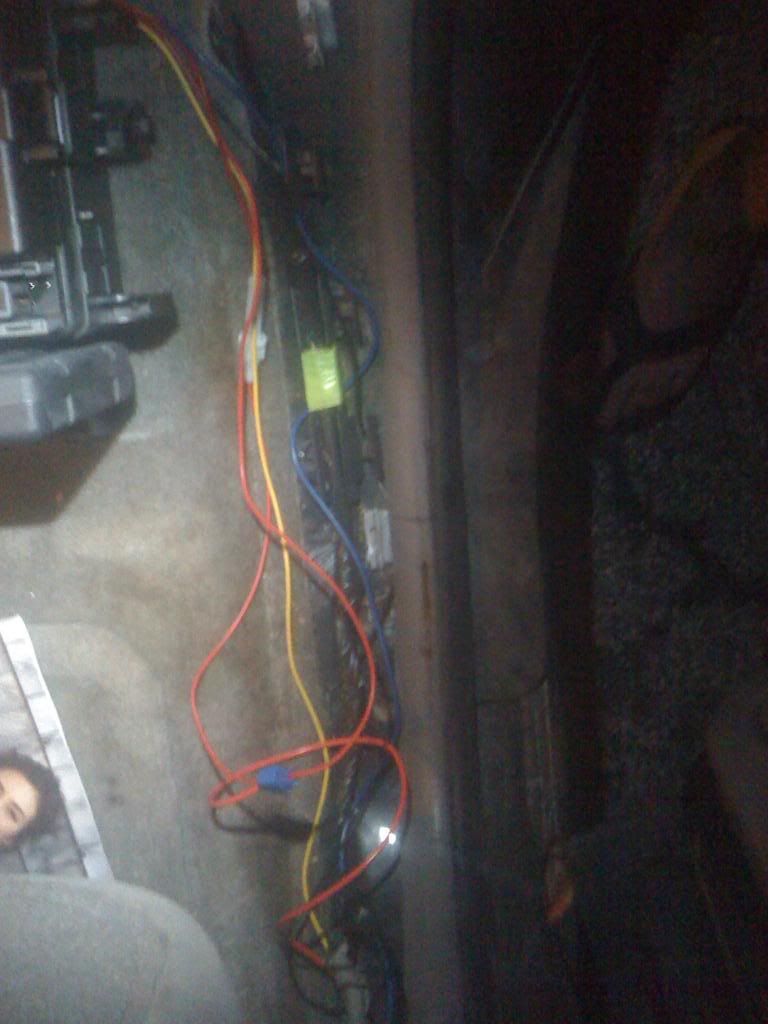
Then I spliced another BLUE (or GROUND) in the BLUE (or GROUND) already at the B-Pillar making sure it reached as far as the YELLOW (or LEAD) and again repeated this separately with the RED (or POWER) from the B-Pilar. Which looked like this mess
The last and final phase of this operation was to wire in the switch. Again, my switch had three (3) prongs (Because it has a light). It wired up from top to bottom as such; BLUE (or GROUND), YELLOW (or LEAD, and RED (or POWER) like this
 .
.So now everything's wired up and ready to go, before I tucked in the wires and made everything look presentable, I reconnected the negative battery terminal under the hood.
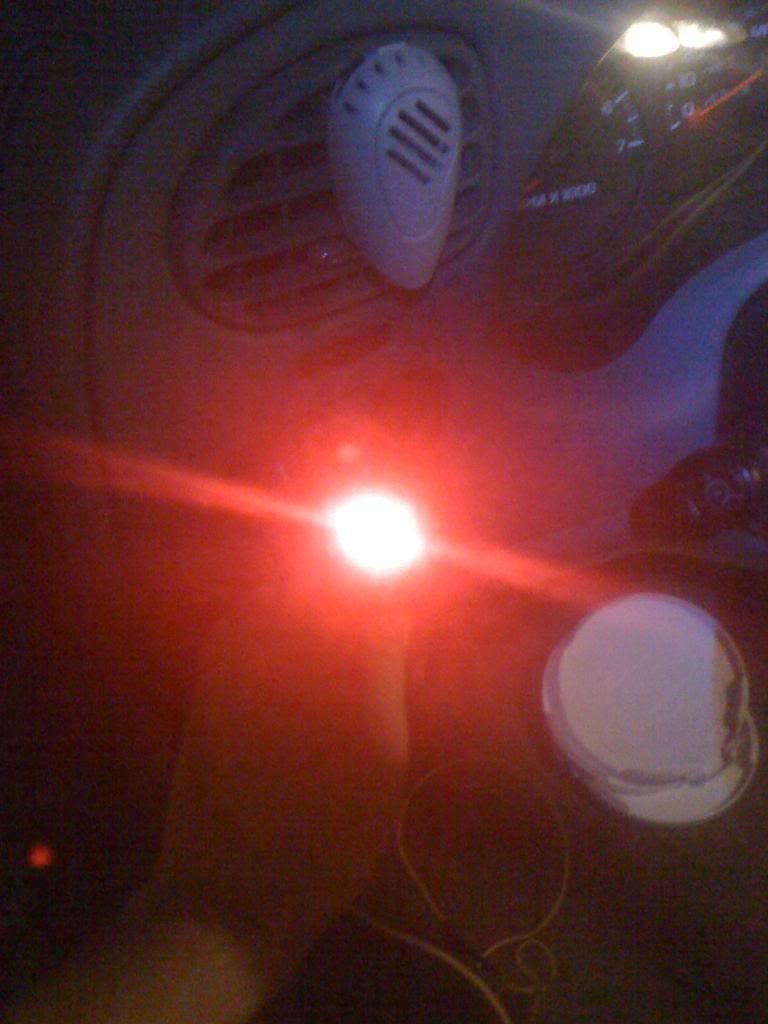
 The switch turns on and...
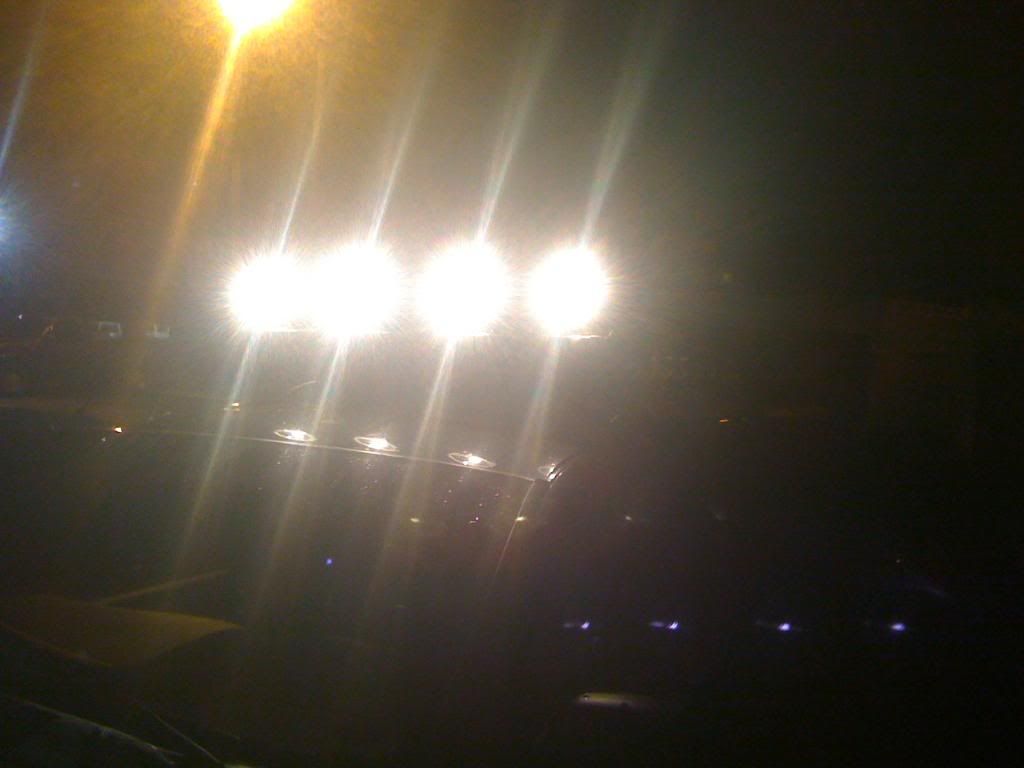 all four (4) lights!!!
Nothing left to do but tuck all the wires and make everything look decent;
 .
. 
Well, It's not completely complete...
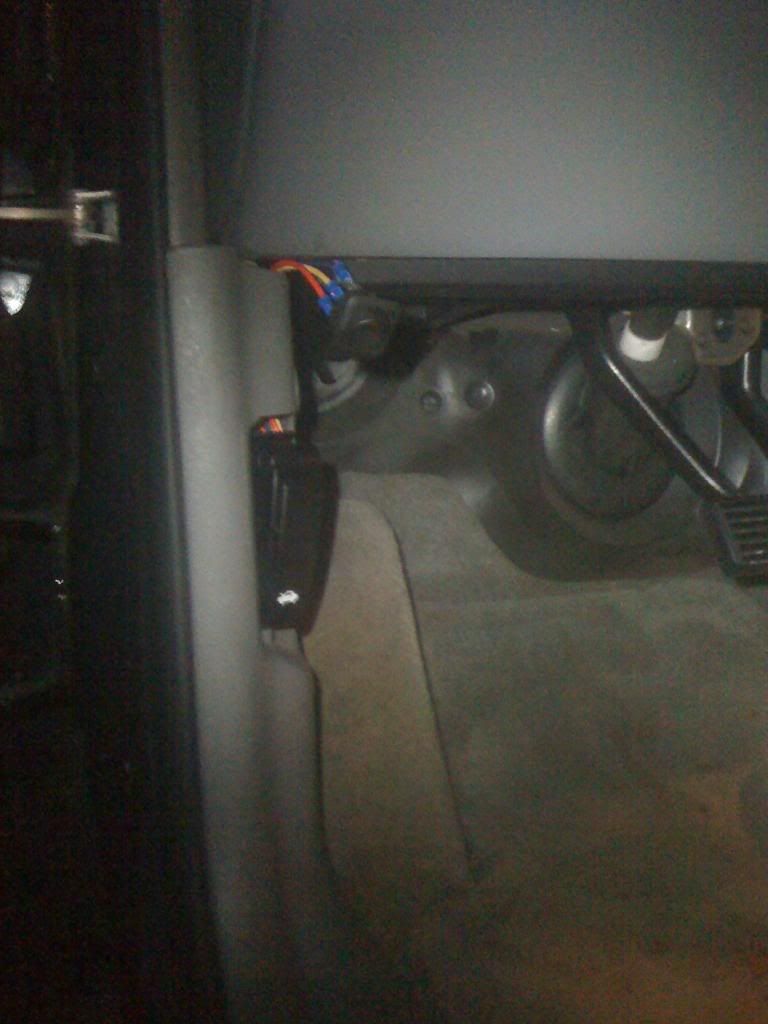 I had to set the switch here under the dash by the hood release latch until I find the right nut driver to remove the dash. Stay tuned TrailVoy fans
  I still have to finalize the switch location and adjust the lights. I'll keep you posted for now, I'm gonna go celebrate my first "Official" mod!
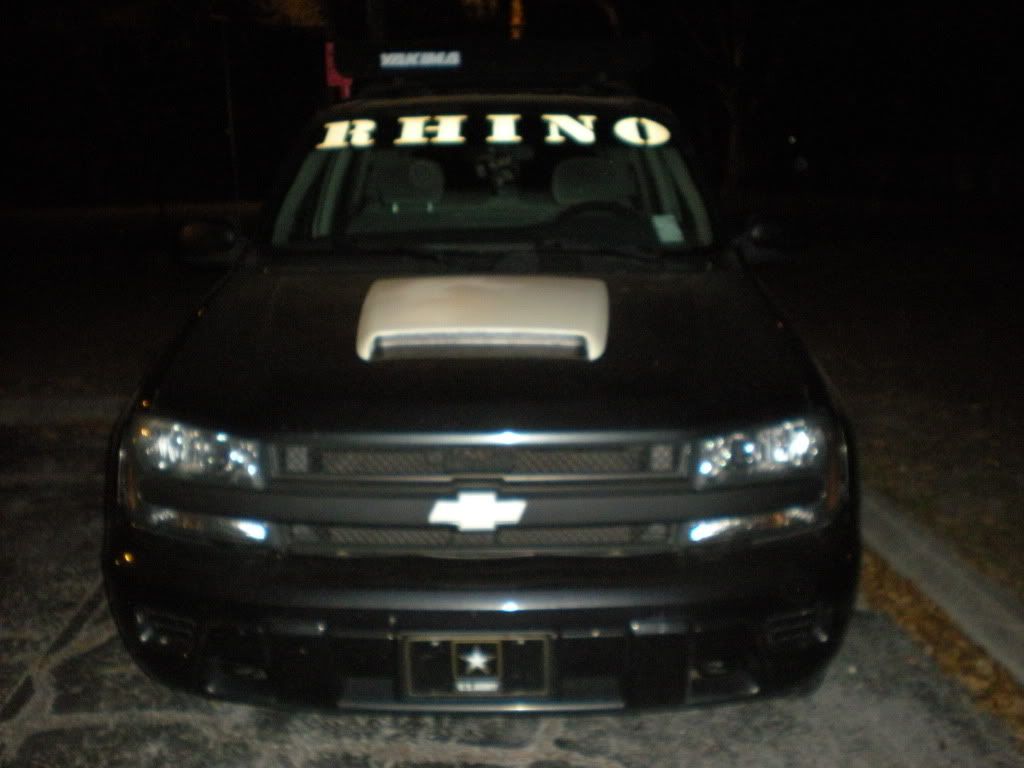
As a side note, Yes I am aware there is a non-functional hood scoop on my trailblazer. It's part of the theme I am going with.