Offroad Trailblazers and Envoys

An idiots guide to light bars

Any special projects involving a decent amount of fab work (bumpers, sliders, roof racks, etc)

by themightysteveo » Mon Jul 25, 2011 2:30 am

Mod's feel free to move, edit or delete as JD has already provided a DIY- Lightbar thread http://forums.offroadtb.com/viewtopic.php?f=27&t=8

However, as an FNG who mainly lurks due to my minimal mechanical/electrical skills, I felt it prudent to add my $0.02 :viking: and intended as a supplement.

I had already purchased the Yakima Mega-mule and affixed it to my factory load bars as seen here; The installation was not documented as I did not have a phone or camera at the time. Yakima sold an expensive ($40.00) bracket for auxiliary lights and it was relatively easy. I'm an idiot and I did it without looking at directions :gimp:
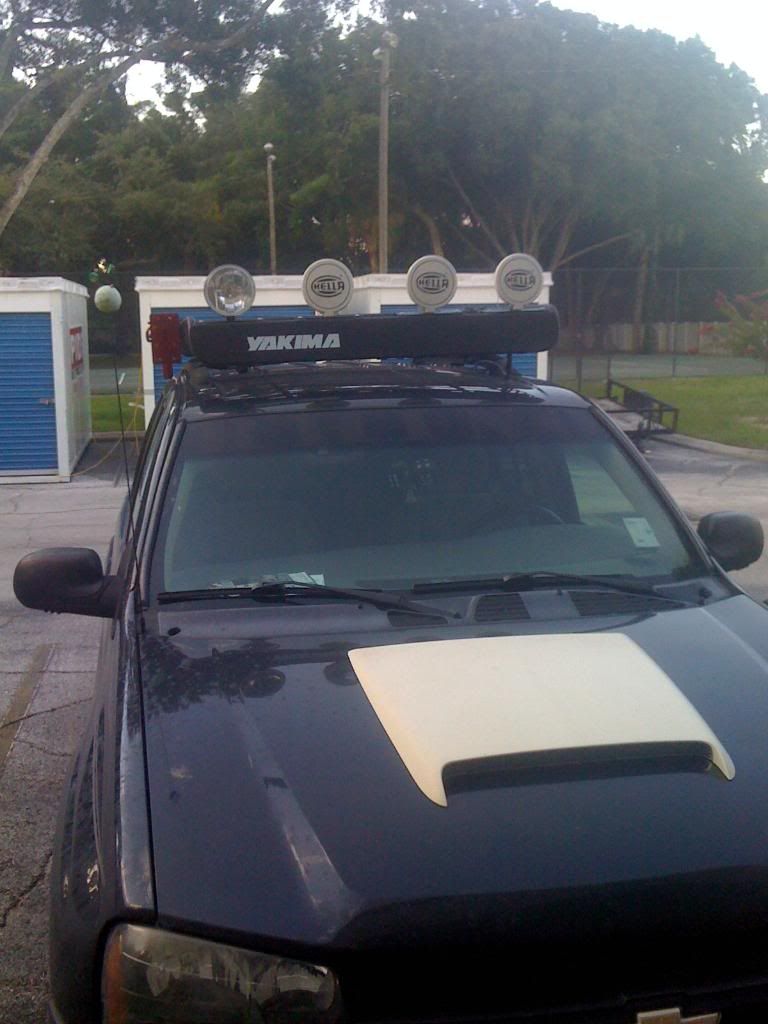
To keep things simple, I followed JD's list of supplies and made sure that the additional wire I bought was the same size and color as the wiring harness provided.

DISCONNECTED THE NEGATIVE BATTERY TERMINAL

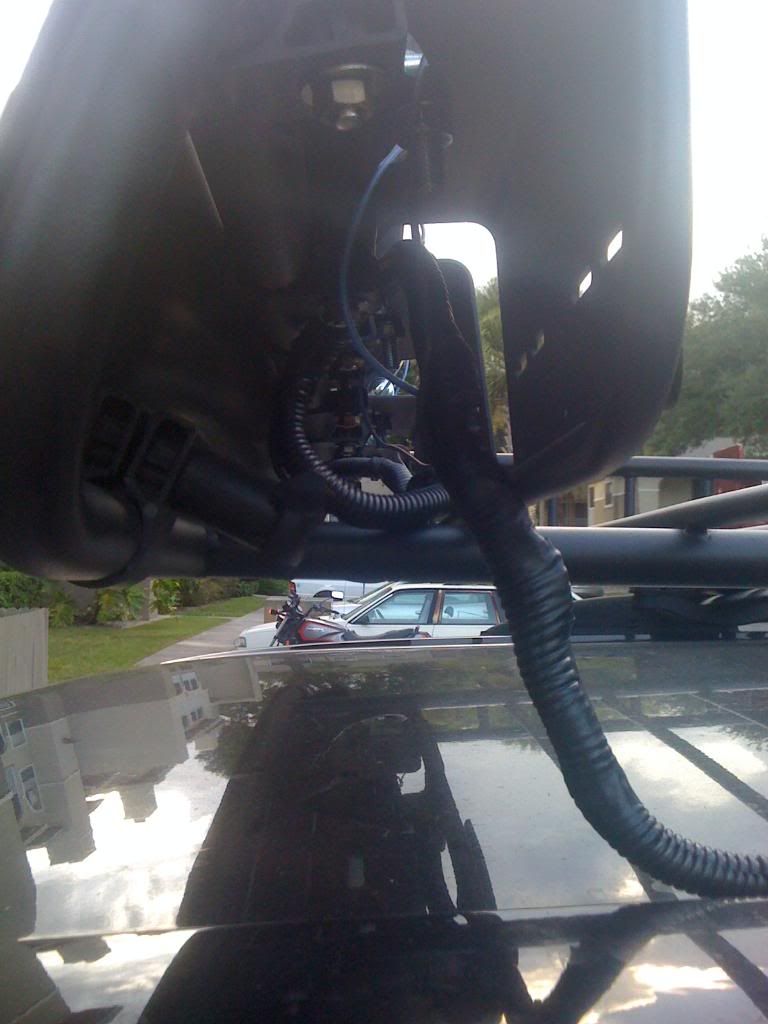
The next step was pulling the wires through the bottom of the bracket as such
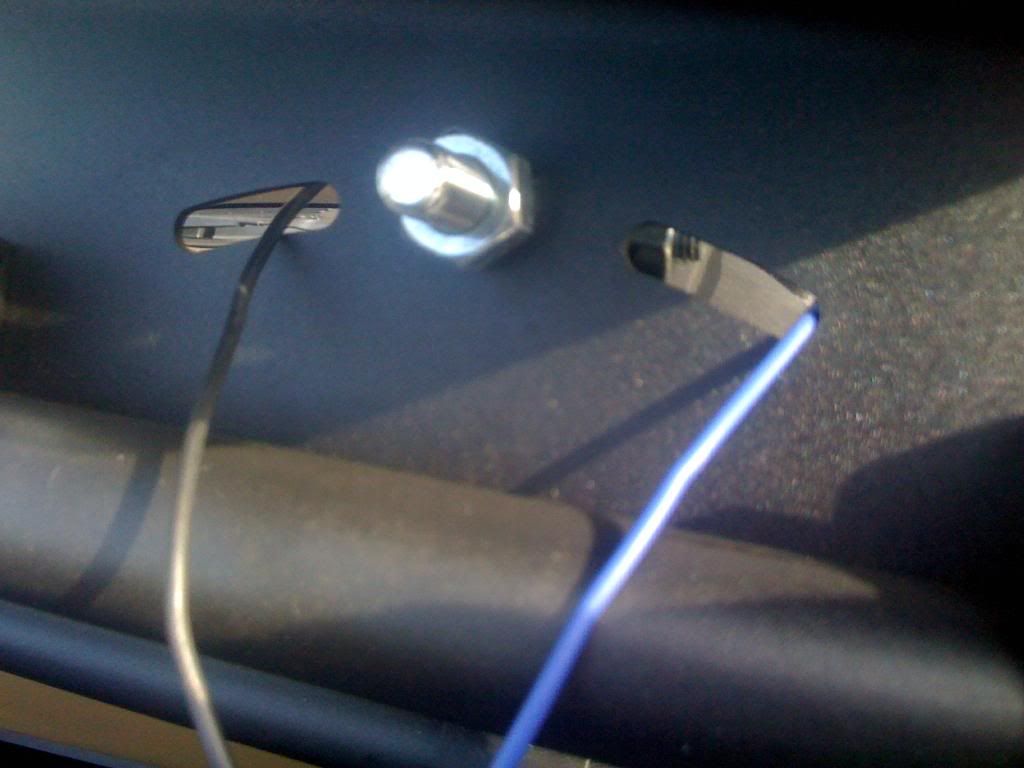
I am using Hella 500-FF's and the two wires provided are BLACK and BLUE. Hella did not provide any directions what-so-ever! After disassembling the light, I determined that the BLUE is the GROUND and the BLACK is the "Hot" (?)

Basically, I started with the BLUE (or GROUND) wires first and strung them up according to JD's diagram; shown here in series. This is an image of the first and second BLUE (or GROUND) wires using a wire splice seen here; .
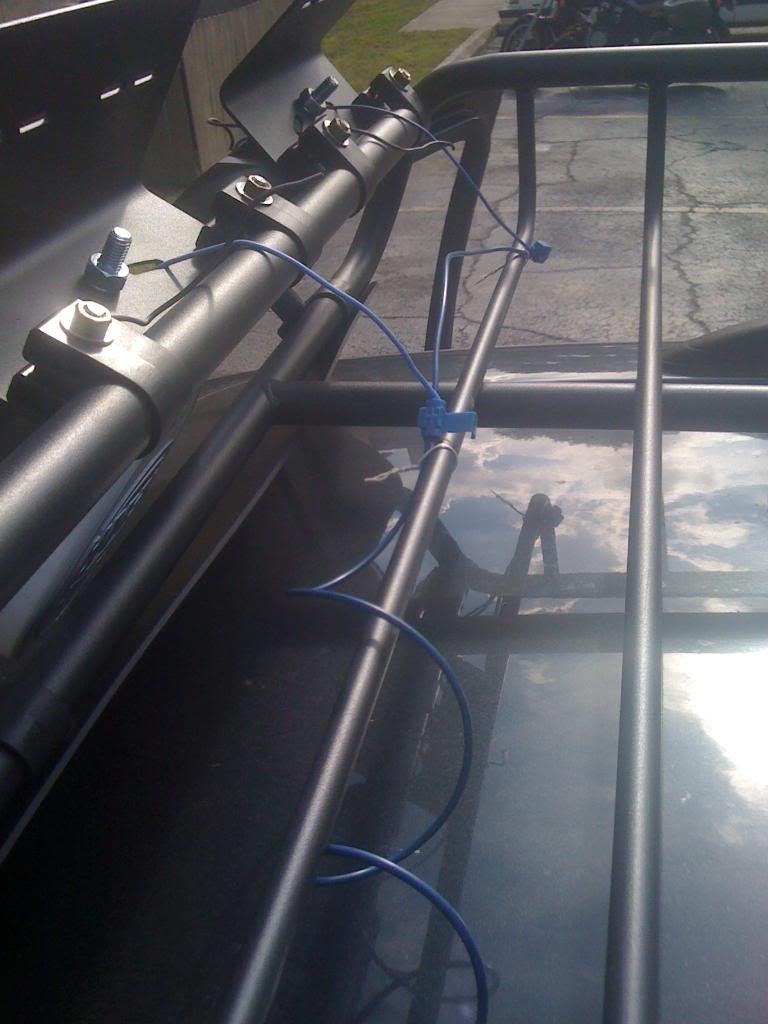
I continued this process until the four BLUE (or GROUND) wires were run to one BLUE (or GROUND) wire and then continued this process SEPARATELY for the BLACK wires seen here
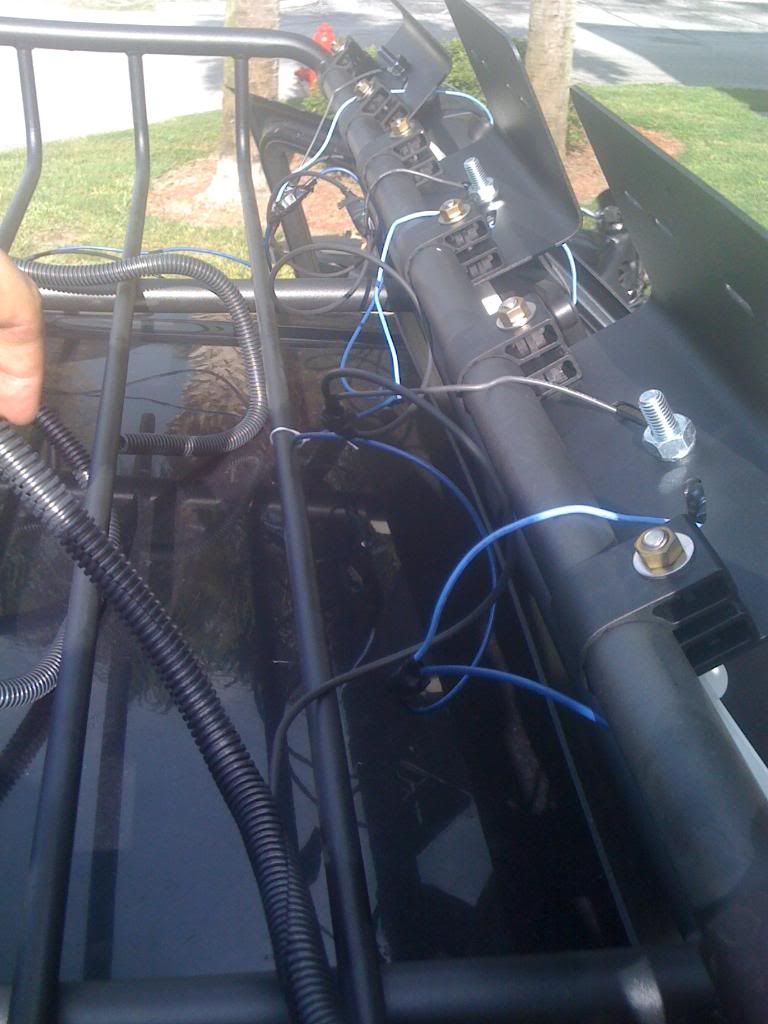
Once both SETS of wires were wired according to JD's diagram I wraped the splices in electrical tape and then the entire harness in a wire wrap Image Image
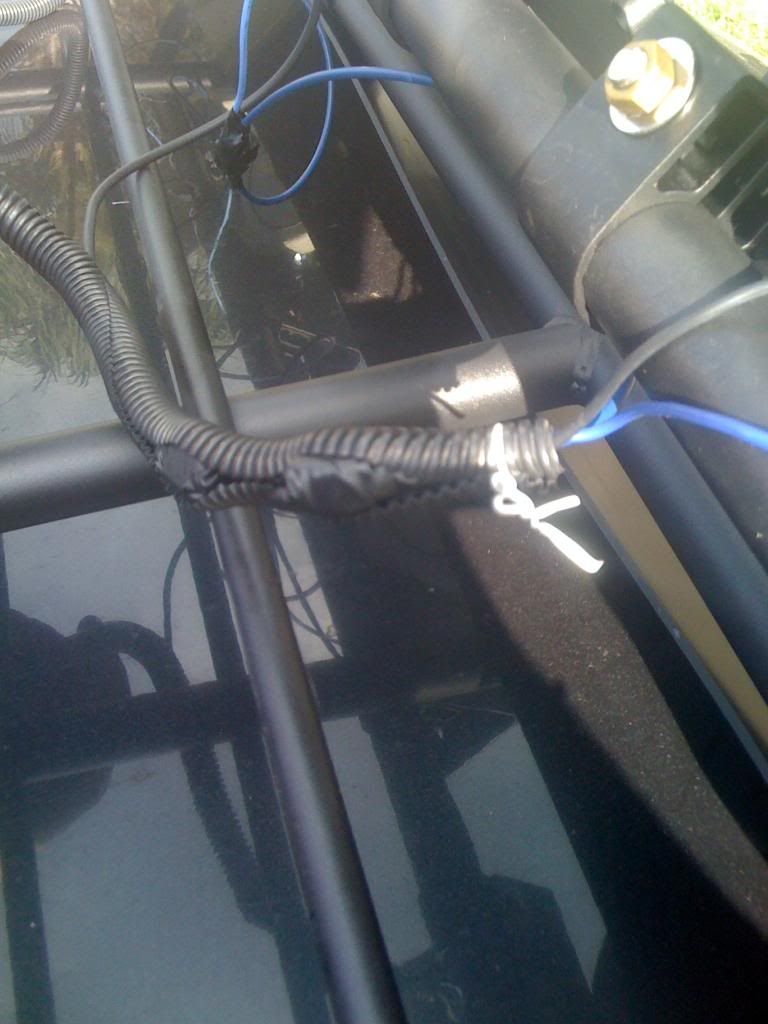
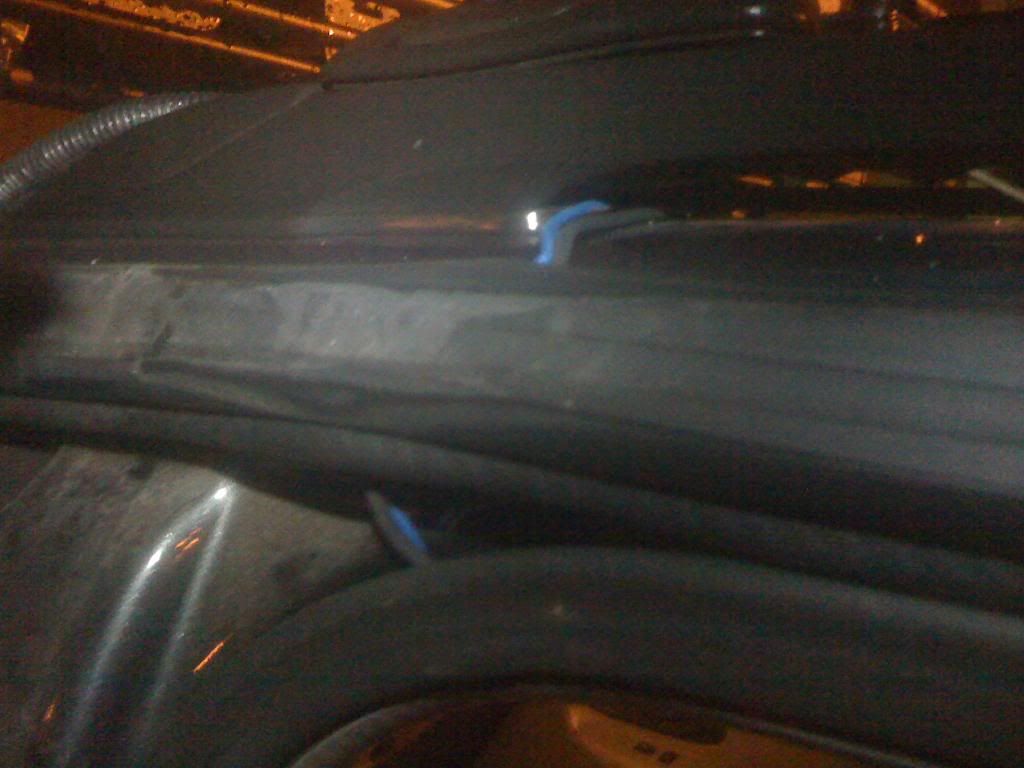
Then I routed the wires under the roof rack toward the rear driver's side door and underneath the two separate weather stripping as such
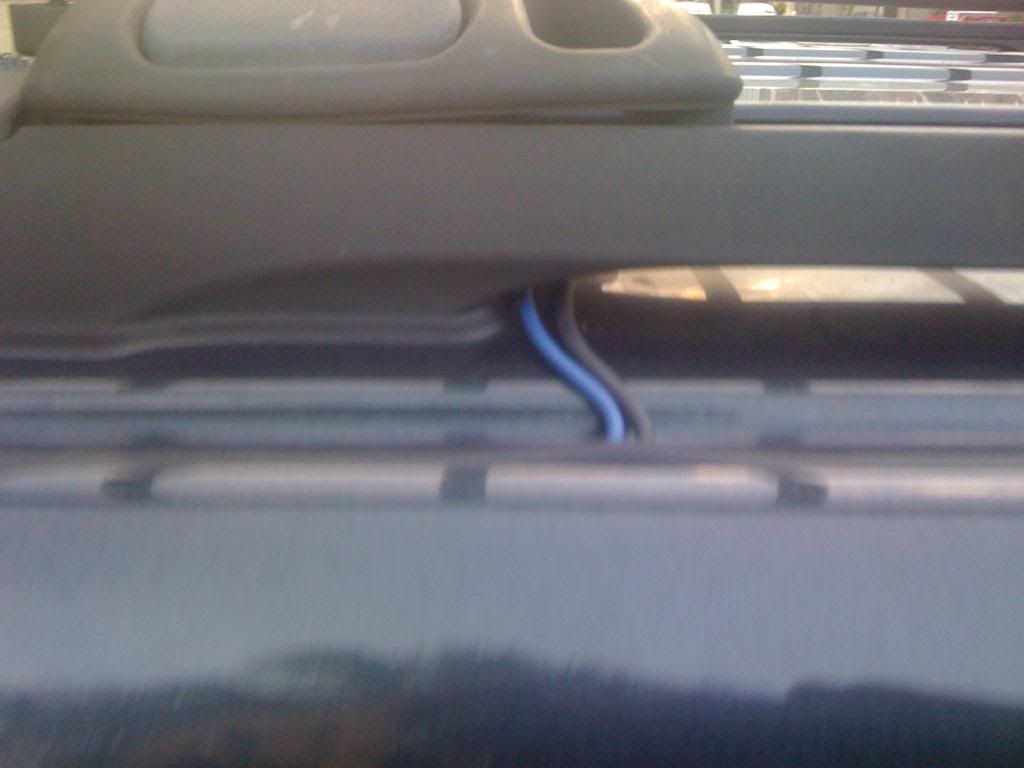
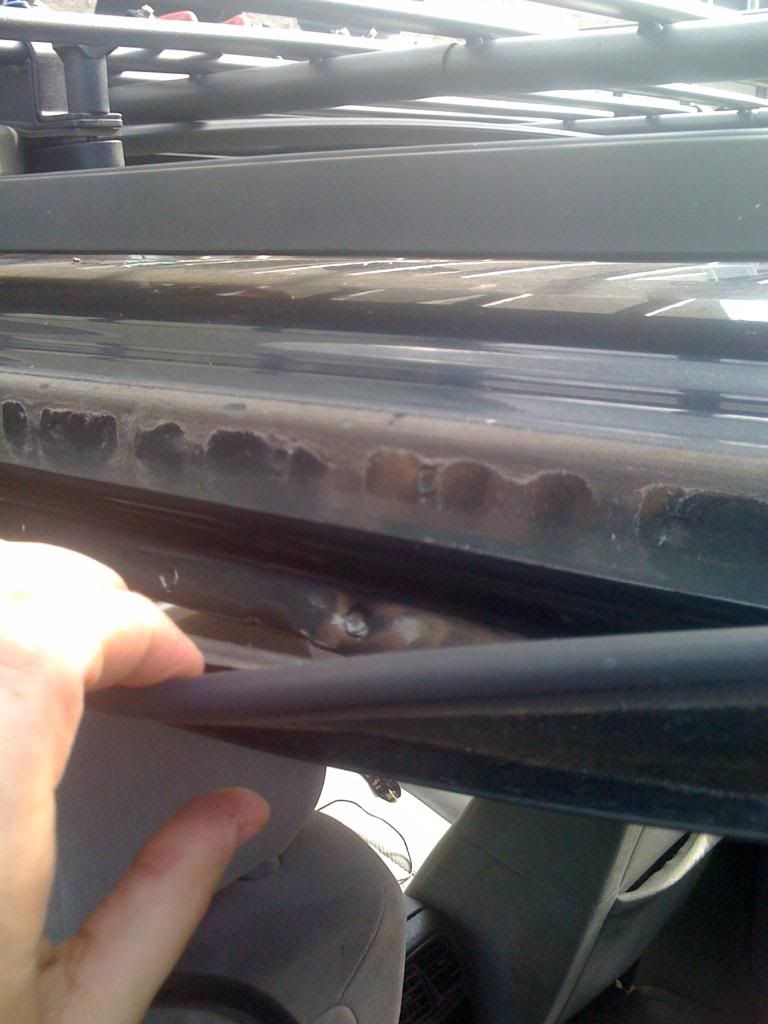
The B-Pillar, in between the Front and Rear Driver's side doors, comes apart in two (2) pieces; top and bottom. I ran the BLACK and BLUE (or GROUND) wires behind the B-Pillar thusly
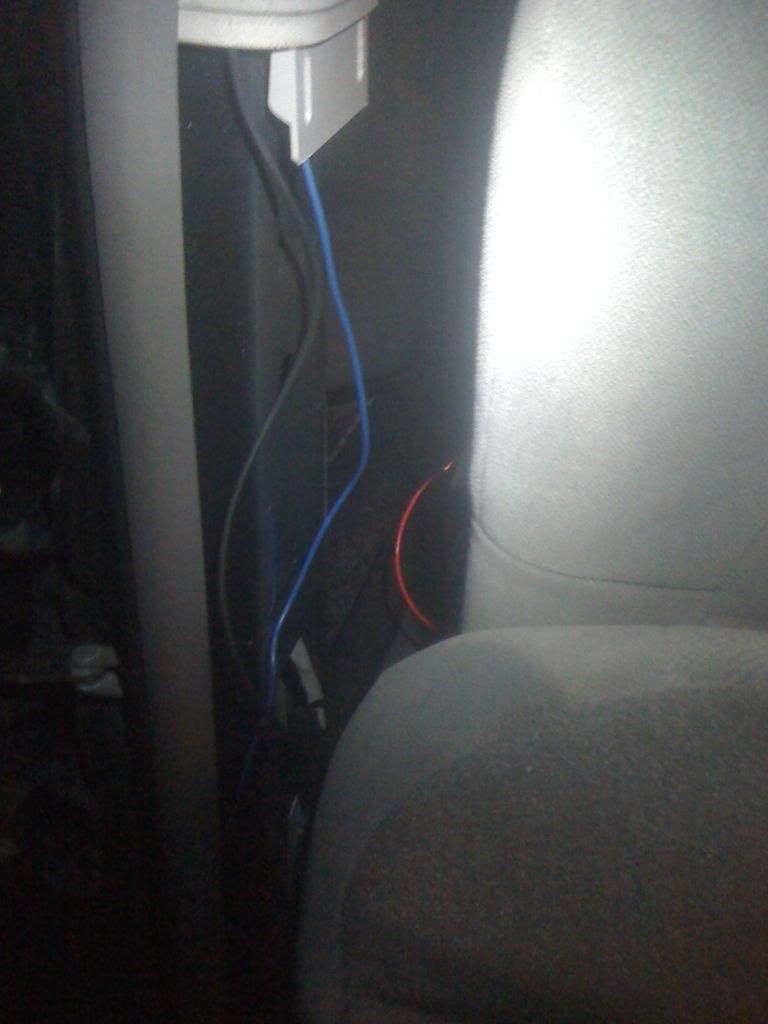
This is where I had to stop due to the torrential down-pour and re-affirm my plan with JD. Again, his schematic is easy to understand, I just wanted to make sure I wasn't going to blow a fuse or light etc. and my switch had three (3) prongs and his diagram shows only two (2). The switch wires the same but the third wire is a GROUND (*BLUE here*).

Anyway, after the rain stopped this evening I started here .
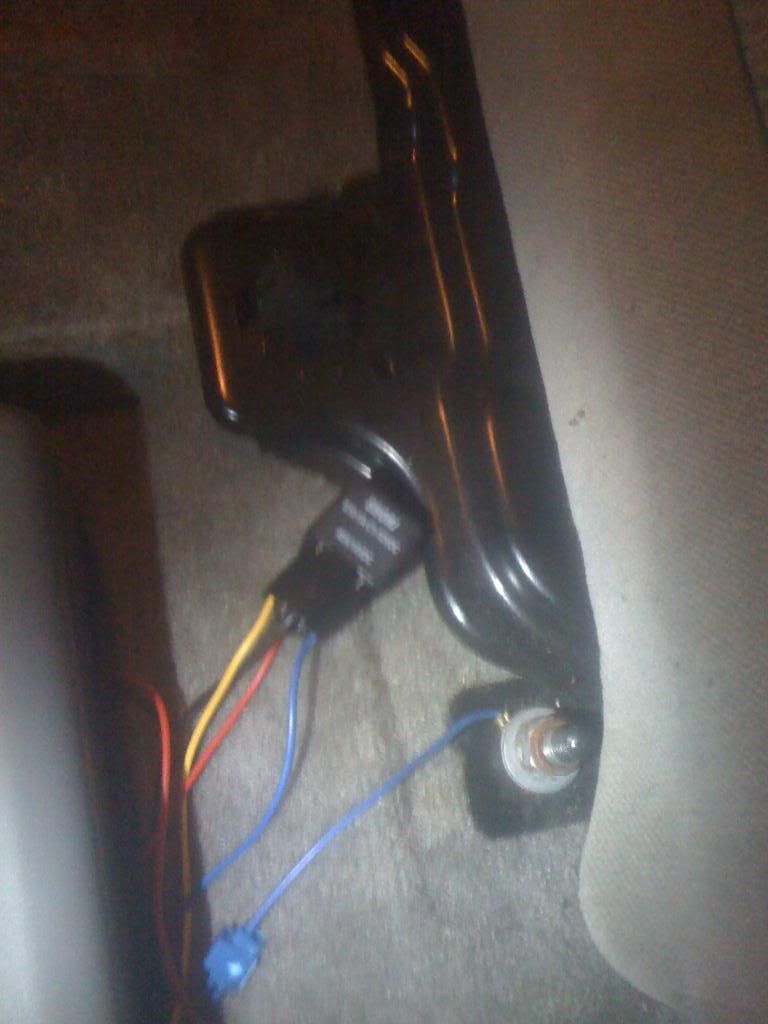
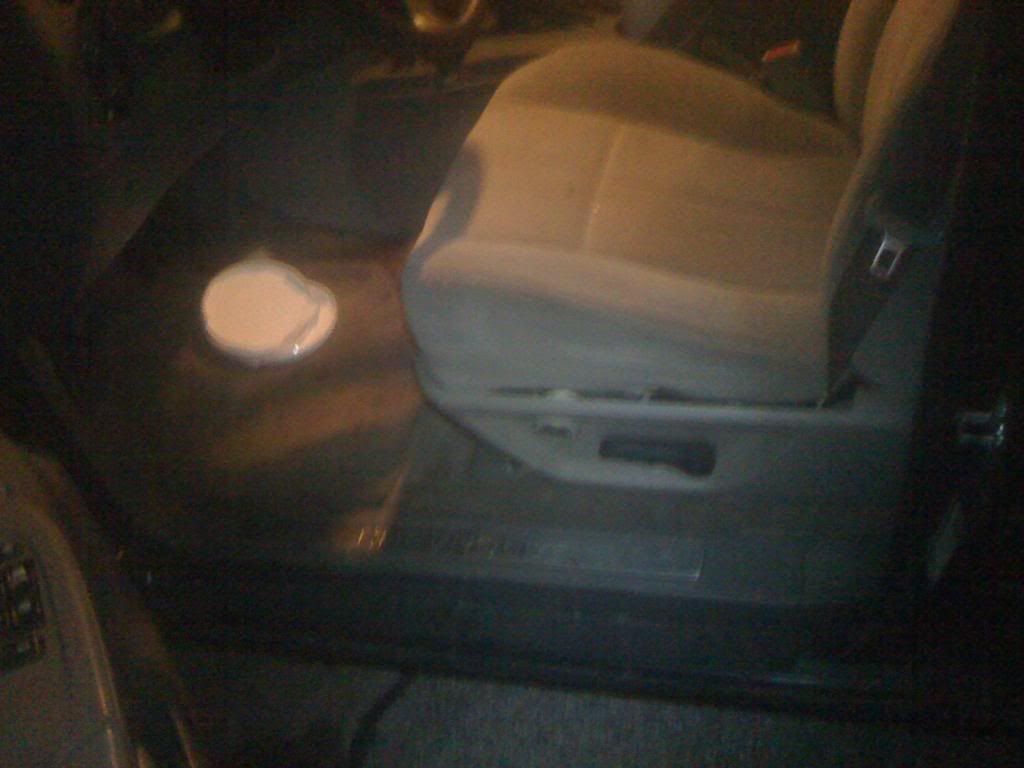
The BLUE is the GROUND and from the wiring harness plugs into the 85. On my Hella harness, the BLUE (or GROUND) wire was short and I just loosened the bolt under the seat and slid the exposed (bare) wire under it before tightening it back down. Then I added another splice, as before, connecting in the BLUE (or GROUND) wire from my lights. For those of you as slow as I am :drool: This grounds the lights.

The RED you see is the POWER and in the harness connects at the 30/51 slot. Under the rear driver's side seat is another fuse box (separate from the one in your engine compartment) and has a large [b]RED[/b] lead, this is where I decided to attach my RED (or POWER) wire as seen here
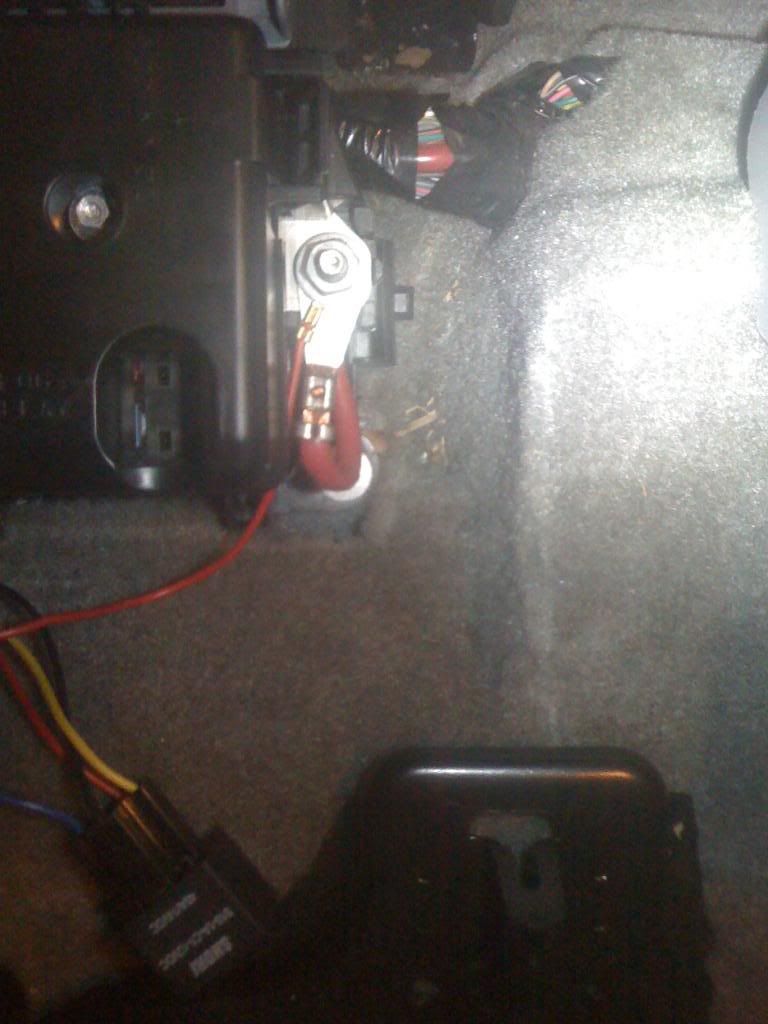
The BLACK wire is the "Hot" (?) and is the same as from the lights I wired in series earlier. It mates :safe: with the 87 in the harness. My Hella harness provided a $#!* ton of BLACK wire which I cut back so that I only had enough to connect the BLACK from the lights to the harness at 87.

The fourth and final wire is the YELLOW (or LEAD) wire and is harnessed into the 86. I had to extend it to travel up the inside of the truck to the dashboard.

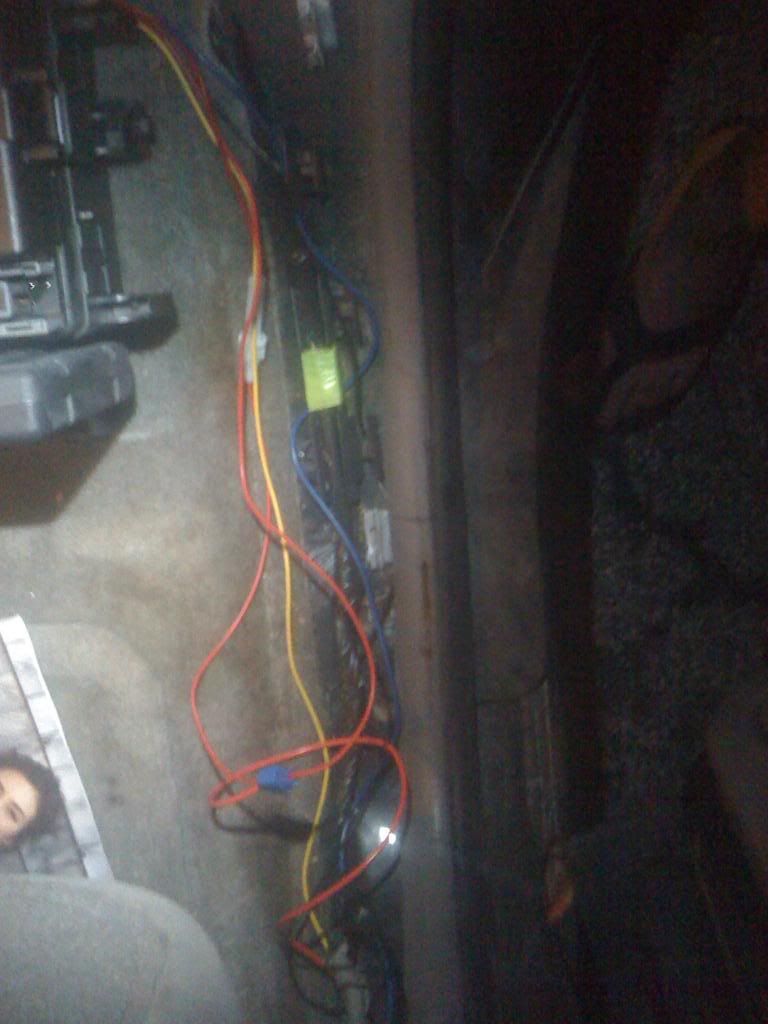
Then I spliced another BLUE (or GROUND) in the BLUE (or GROUND) already at the B-Pillar making sure it reached as far as the YELLOW (or LEAD) and again repeated this separately with the RED (or POWER) from the B-Pilar. Which looked like this mess
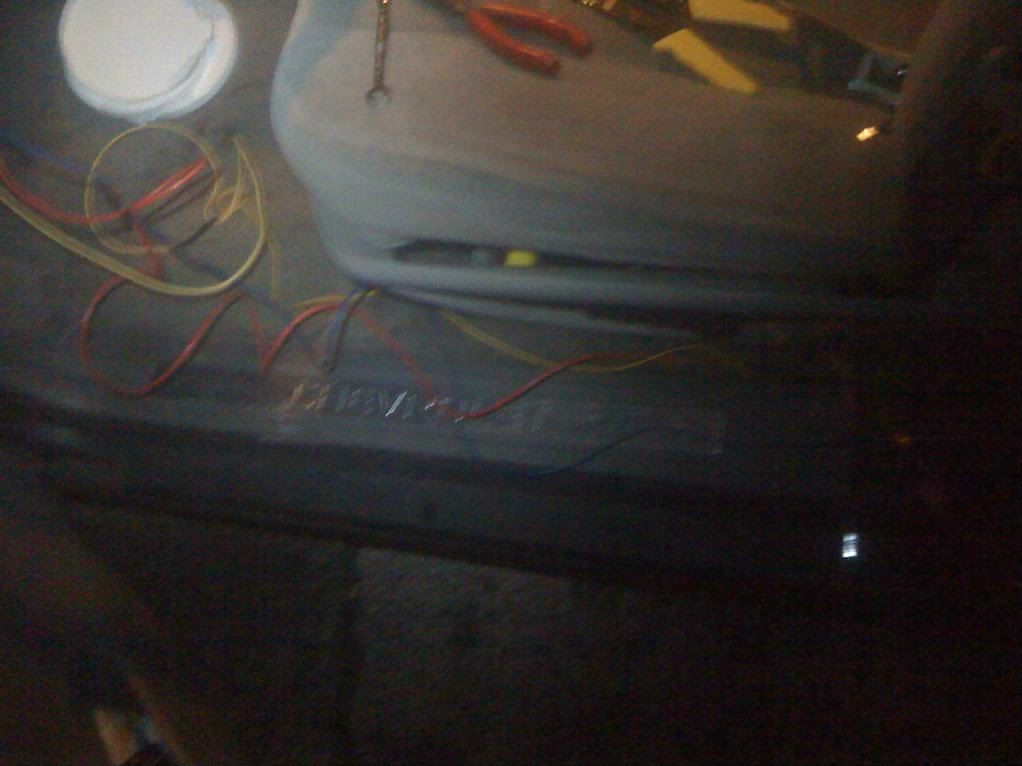
The last and final phase of this operation was to wire in the switch. Again, my switch had three (3) prongs (Because it has a light). It wired up from top to bottom as such; BLUE (or GROUND), YELLOW (or LEAD, and RED (or POWER) like this .
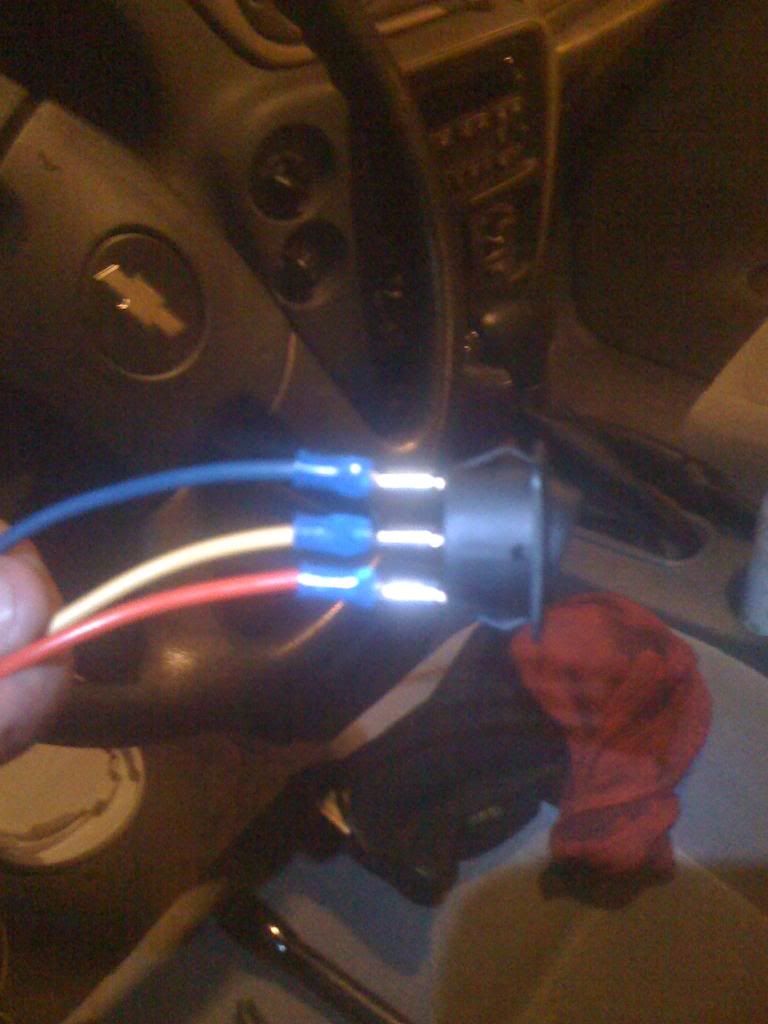
So now everything's wired up and ready to go, before I tucked in the wires and made everything look presentable, I reconnected the negative battery terminal under the hood. :puker: Fingers crossed....
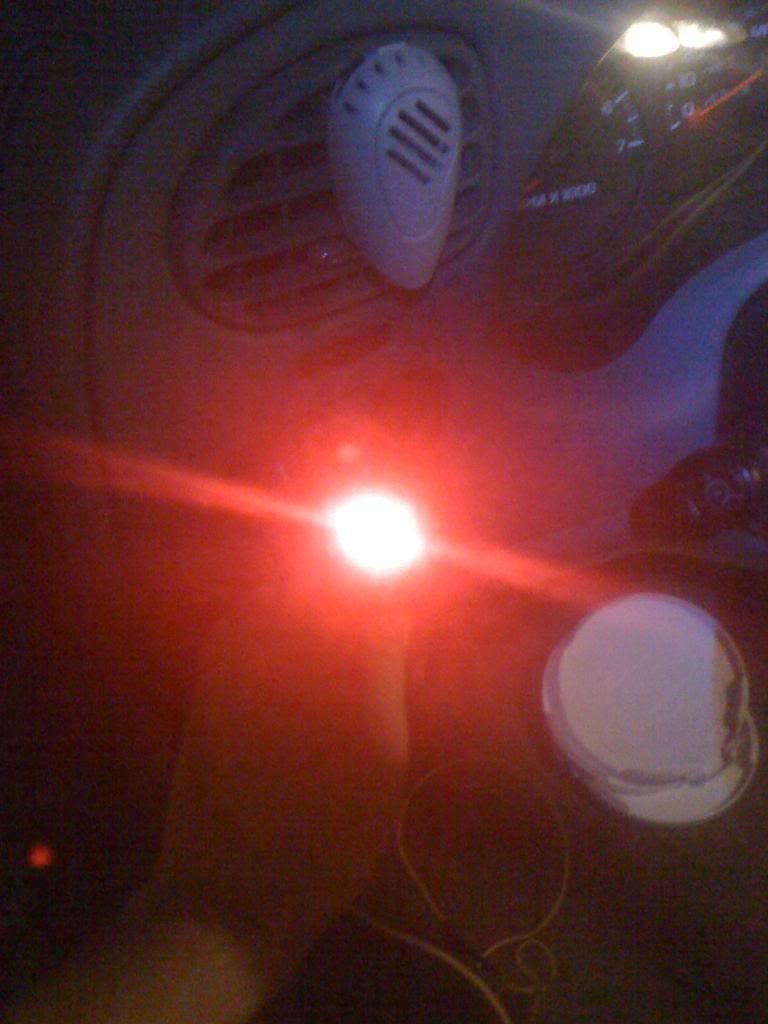
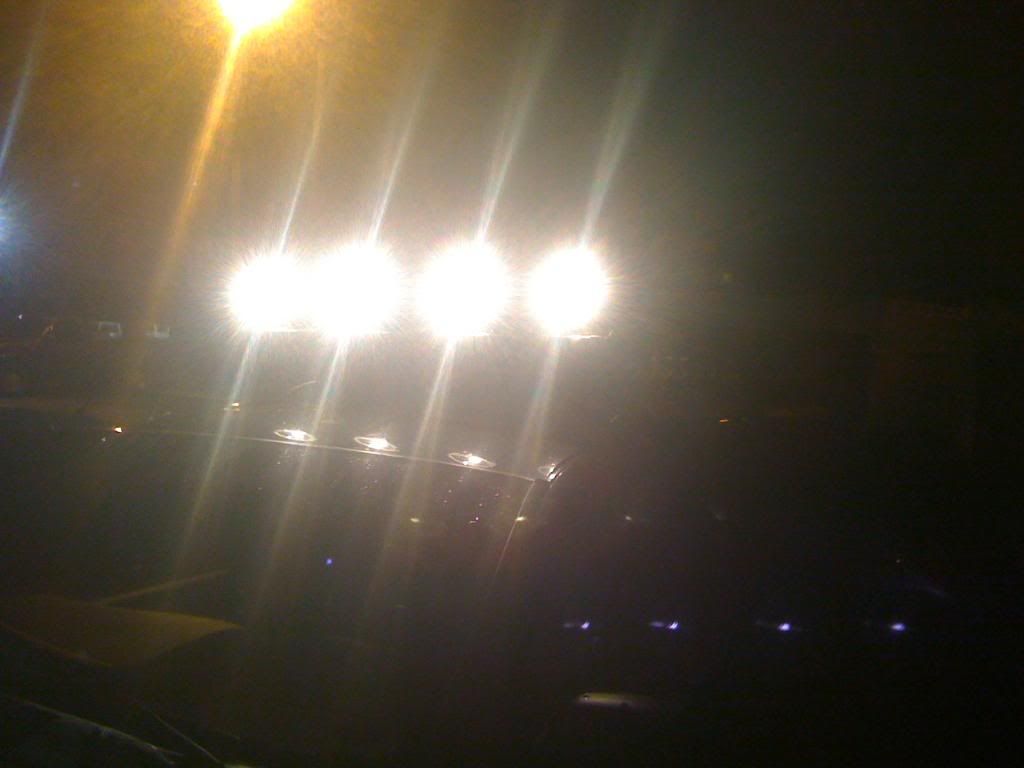
:excited: The switch turns on and... :lurk: all four (4) lights!!! :woot:

Nothing left to do but tuck all the wires and make everything look decent; . :coffee:
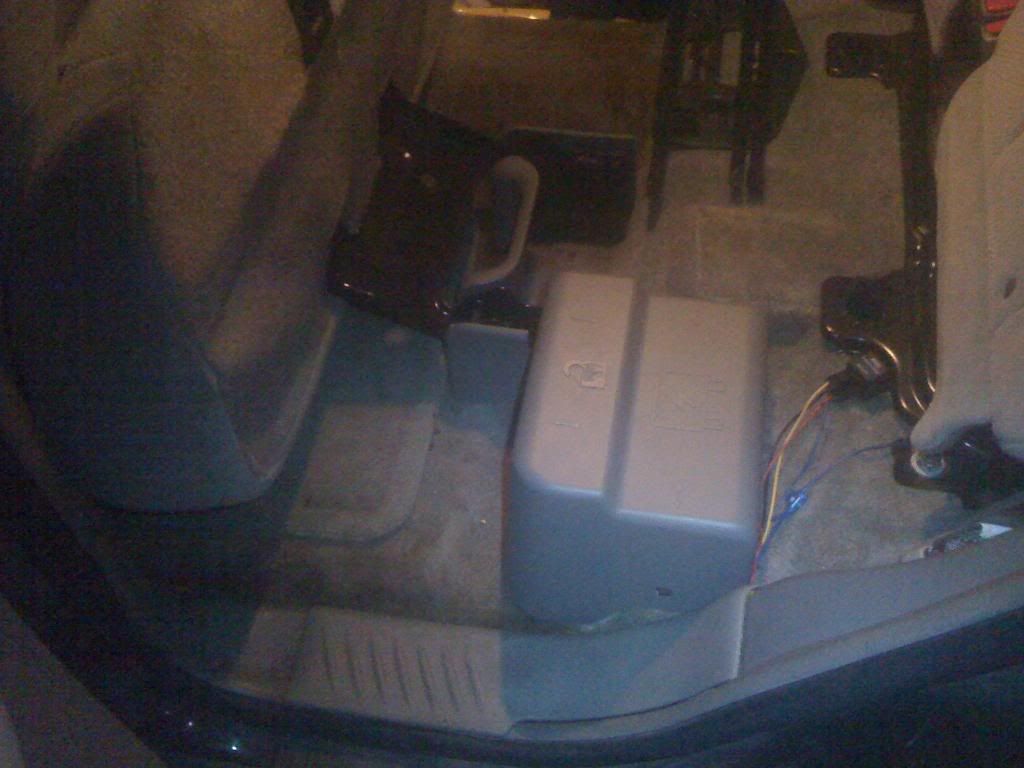
Well, It's not completely complete... I had to set the switch here under the dash by the hood release latch until I find the right nut driver to remove the dash. Stay tuned TrailVoy fans :work: I still have to finalize the switch location and adjust the lights. I'll keep you posted for now, I'm gonna go celebrate my first "Official" mod! :friday:
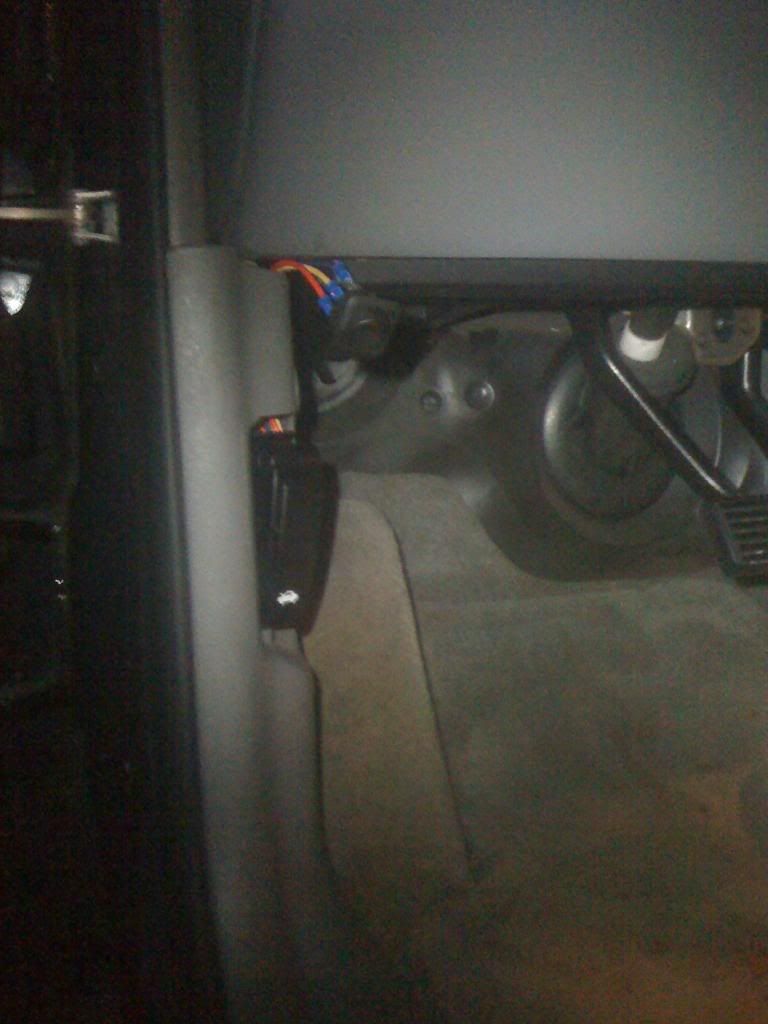
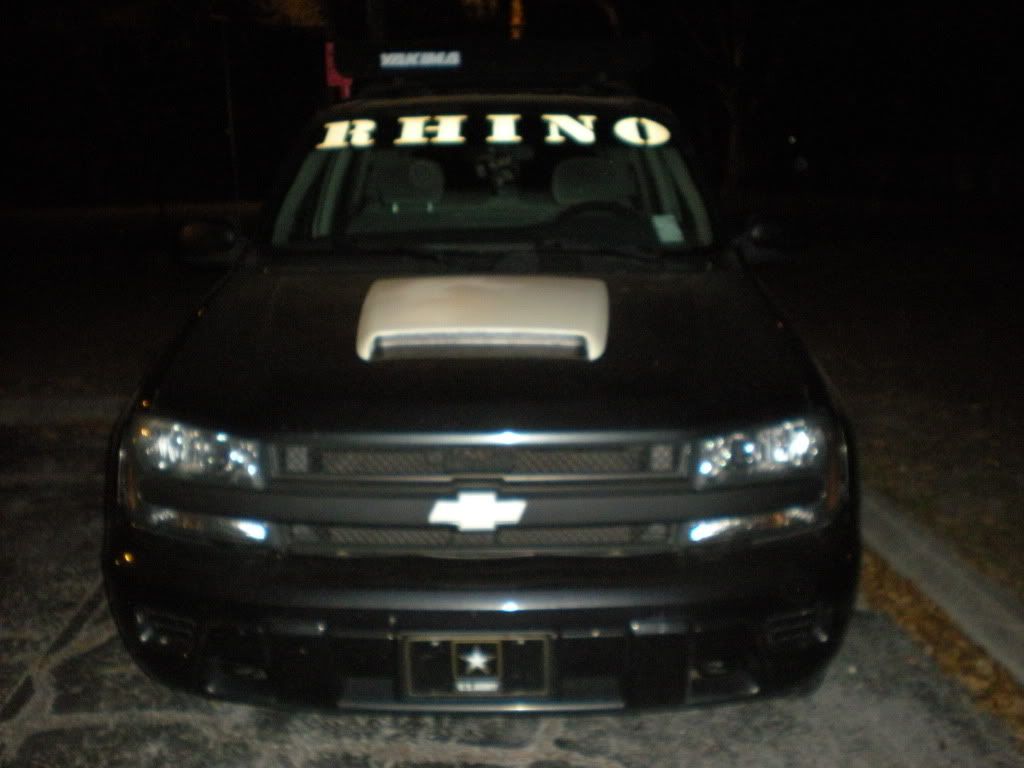
As a side note, Yes I am aware there is a non-functional hood scoop on my trailblazer. It's part of the theme I am going with.
:coffee:
User avatar
themightysteveo
Off-Roader
 
Posts: 115
Joined: Thu Nov 18, 2010 2:40 am
Location: VT, Craftsbury Common
Name: Steve
Vehicle Year: 2005
Vehicle: Chevrolet TrailBlazer
DriveTrain: 4WD
Rank: Trail Ready

by bartonmd » Mon Jul 25, 2011 8:16 am

Looks good!

The only thing you'll want to watch out for is the Scotch Locks in the long term... They don't keep connection for ever anywhere there's any moisture...

Mike
bartonmd
Moderator
 
Posts: 4469
Joined: Wed Sep 09, 2009 9:35 am
Location: IN, Indianapolis
Name: Mike
Vehicle Year: 2007
Vehicle: Chevrolet TrailBlazer
DriveTrain: 4WD w/ G80
Rank: Offroad Rated

by navigator » Mon Jul 25, 2011 9:04 am

Mike, what is a better connection type? I like to strip, solder then heat shrink but that isn't always the fun/easy option. Is there an easier way to get a good connection?
"Please consider a search before posting. Folks on this site PIONEERED functional offroad use of these trucks."
The answer to many common lift questions can be found
here
My Build Thread
User avatar
navigator
Moderator
 
Posts: 4651
Joined: Wed Mar 09, 2011 10:16 am
Location: NC, Winnabow
Name: Chris
Vehicle Year: 2006
Vehicle: Chevrolet TrailBlazer
DriveTrain: 4WD
Rank: Trail Ready

by bartonmd » Mon Jul 25, 2011 9:18 am

navigator wrote:Mike, what is a better connection type? I like to strip, solder then heat shrink but that isn't always the fun/easy option. Is there an easier way to get a good connection?


Heat shrink butt connectors is what I use on stuff like trailer lights, and places where I can't get a soldering iron and/or things that won't kill anybody if they stop working...

They go on and crimp on like a normal butt connector, then you hit it with a heat gun, and it not only shrinks the tubing around the wires, but it's also got a heat activated adhesive in it that really seals everything up...

Image
bartonmd
Moderator
 
Posts: 4469
Joined: Wed Sep 09, 2009 9:35 am
Location: IN, Indianapolis
Name: Mike
Vehicle Year: 2007
Vehicle: Chevrolet TrailBlazer
DriveTrain: 4WD w/ G80
Rank: Offroad Rated

by Trail X » Mon Jul 25, 2011 9:26 am

Getting the first wiring job under your belt is always the hardest. You start to learn what works and what doesn't.

I would recommend soldering your wire connections in the future. As Mike said, that could potentially cause an issue over time. I have a couple splicing yolks in use inside my truck and they've been doing fine. I like what Mike just posted, that's a good option to use if you don't want to solder.

That's pretty crazy that the hella lights use blue as ground... thats dumb in my eyes. Either way, they also should have included a schematic map in the box to aid in identifying colors. Here's the manual that should have been supplied to you: http://www.hella.com/produktion/HellaUS ... ctions.pdf Maybe it will make you feel a bit better about properly choosing blue as ground.

Congrats on getting it all working first try.
8-) Build Thread | ExPo Build | YouTube Videos
Not all who wander are lost. -Tolkien
User avatar
Trail X
Founder
 
Posts: 9935
Joined: Mon Sep 07, 2009 10:22 pm
Location: VA, Roanoke
Name: James Downing
Vehicle Year: 2005
Vehicle: Chevrolet TrailBlazer
DriveTrain: 4WD w/ Aftermarket Locker
Rank: Expedition Guide

by navigator » Mon Jul 25, 2011 9:44 am

thanks Mike, I've never seen those before. For the trailer lights I have always used the normal butt connectors and every couple years I've had to replace them so I started soldering them instead.

I might try to find those next time, they seem to be a good choice.

If I follow it right though they won't really help in this situation where you are trying to splice one butt end onto one whole wire. I think when I do mine I'll build the light bar on the work bench and solder the connections there then mount it on the roof.
"Please consider a search before posting. Folks on this site PIONEERED functional offroad use of these trucks."
The answer to many common lift questions can be found
here
My Build Thread
User avatar
navigator
Moderator
 
Posts: 4651
Joined: Wed Mar 09, 2011 10:16 am
Location: NC, Winnabow
Name: Chris
Vehicle Year: 2006
Vehicle: Chevrolet TrailBlazer
DriveTrain: 4WD
Rank: Trail Ready

by bartonmd » Mon Jul 25, 2011 9:52 am

navigator wrote:thanks Mike, I've never seen those before. For the trailer lights I have always used the normal butt connectors and every couple years I've had to replace them so I started soldering them instead.

I might try to find those next time, they seem to be a good choice.

If I follow it right though they won't really help in this situation where you are trying to splice one butt end onto one whole wire. I think when I do mine I'll build the light bar on the work bench and solder the connections there then mount it on the roof.


You can get them in the automotive electrical section of Wal-Mart, or the electrical section of Lowe's or Menards... They're pretty available if you look for them... Yeah, I use these on trailers all the time (seems like very trailer I have ever borrowed, I've had to do electrical work on), and on lights on cars and stuff, and I've never had one get corrosion and stop connecting internally...

I do stuff like this with them... Just stick 2 wires into 1 end of the butt connector and 1 into the other... So instead of having 1 wire that goes all the way to the end, you have a daisy-chain of wires... Similar to the way you'd do it if you were soldering everything together...

Mike
bartonmd
Moderator
 
Posts: 4469
Joined: Wed Sep 09, 2009 9:35 am
Location: IN, Indianapolis
Name: Mike
Vehicle Year: 2007
Vehicle: Chevrolet TrailBlazer
DriveTrain: 4WD w/ G80
Rank: Offroad Rated

by navigator » Mon Jul 25, 2011 10:02 am

gotcha, almost like if I used wire nuts instead.
I was going to just strip a section of the main wire leaving the copper whole then wrap a couple of wraps from the driving light to it and solder the connection. I haven't done it yet but that is what I was thinking in my head.
"Please consider a search before posting. Folks on this site PIONEERED functional offroad use of these trucks."
The answer to many common lift questions can be found
here
My Build Thread
User avatar
navigator
Moderator
 
Posts: 4651
Joined: Wed Mar 09, 2011 10:16 am
Location: NC, Winnabow
Name: Chris
Vehicle Year: 2006
Vehicle: Chevrolet TrailBlazer
DriveTrain: 4WD
Rank: Trail Ready

by bartonmd » Mon Jul 25, 2011 10:12 am

navigator wrote:gotcha, almost like if I used wire nuts instead.
I was going to just strip a section of the main wire leaving the copper whole then wrap a couple of wraps from the driving light to it and solder the connection. I haven't done it yet but that is what I was thinking in my head.


That's much easier said than done... especially with good quality small-strand wire... I've done it for installing a tach and stuff, but it's just a PITA...

Mike
bartonmd
Moderator
 
Posts: 4469
Joined: Wed Sep 09, 2009 9:35 am
Location: IN, Indianapolis
Name: Mike
Vehicle Year: 2007
Vehicle: Chevrolet TrailBlazer
DriveTrain: 4WD w/ G80
Rank: Offroad Rated


Return to Fab Work