JamesDowning wrote:Sorry you had some issues. They seemed to be good guys, so I hope they will make it right. Gotta ask, why not get the mount drilled to your mounting pattern? If I recall, they did that for my premium unit. Maybe they have streamlined a bit more since then.
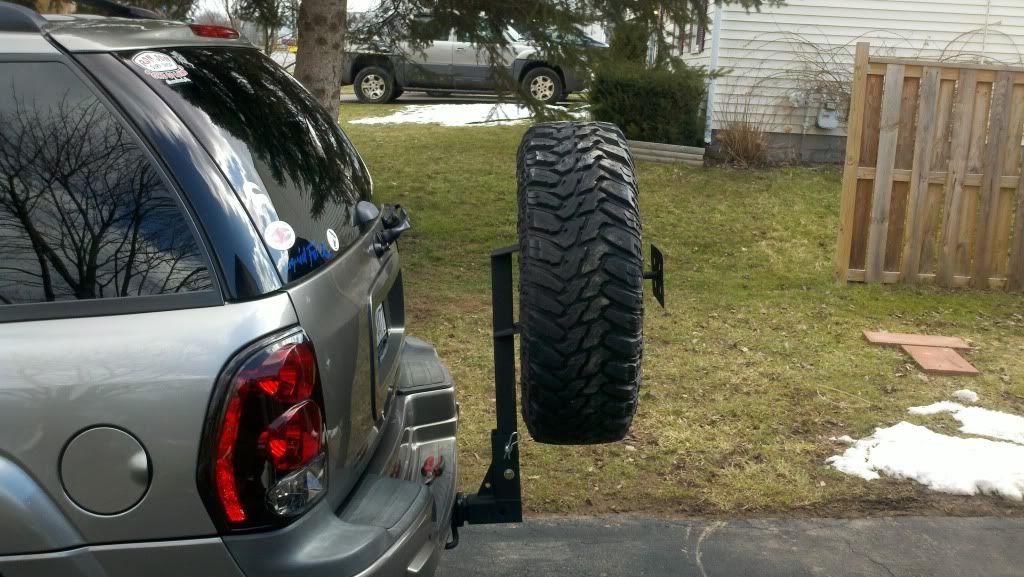
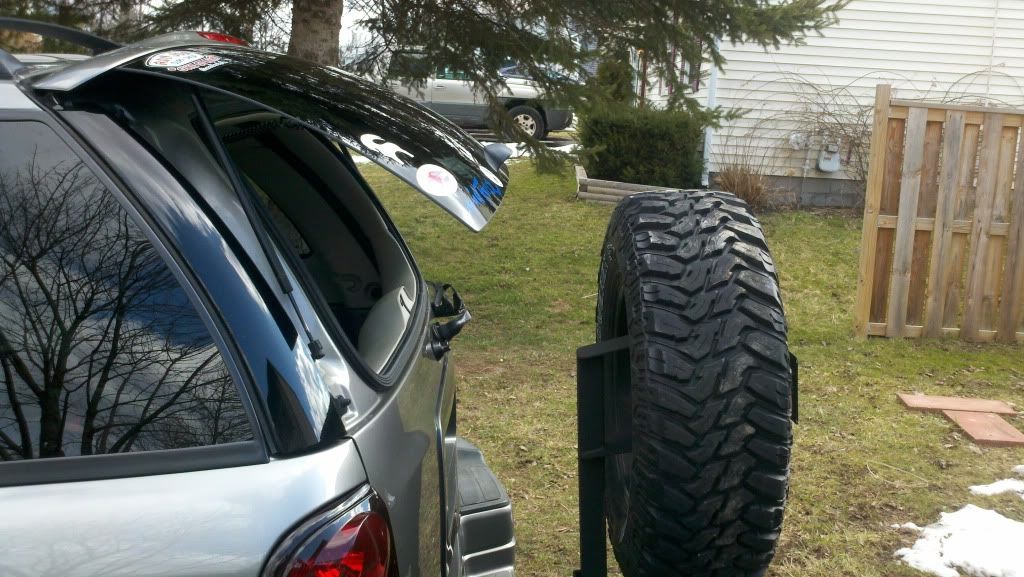
Looking forward to the mounting pictures.
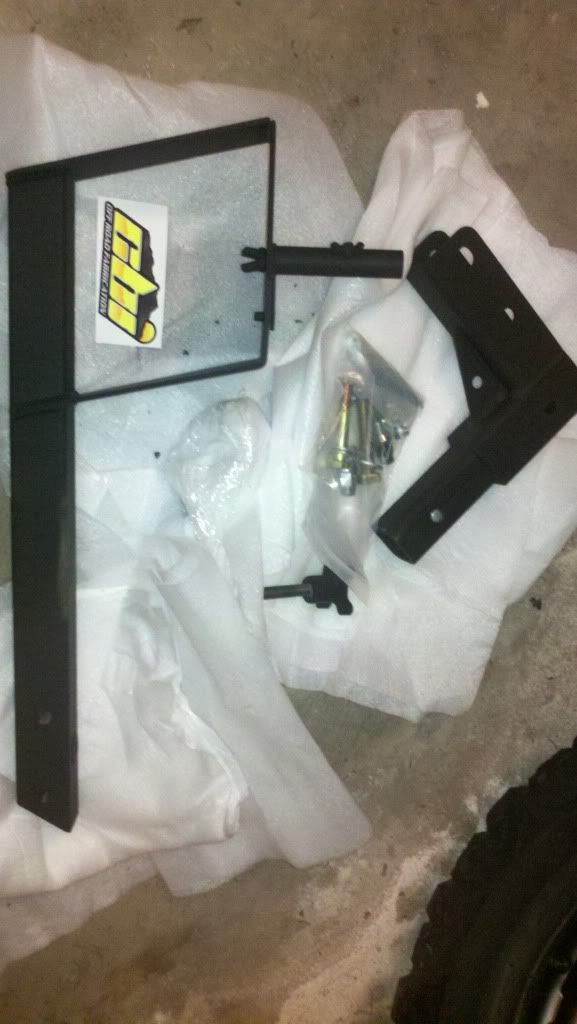
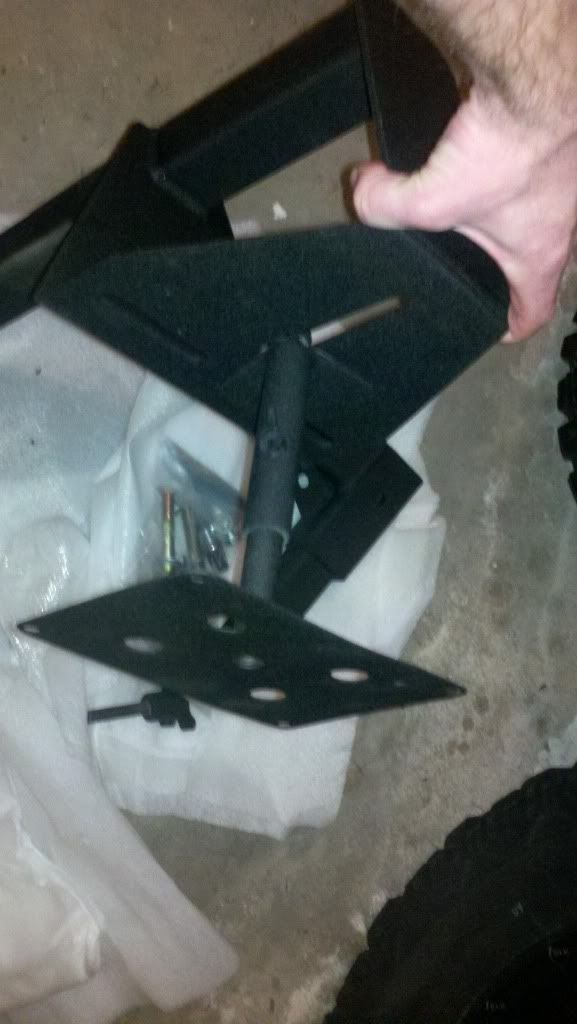
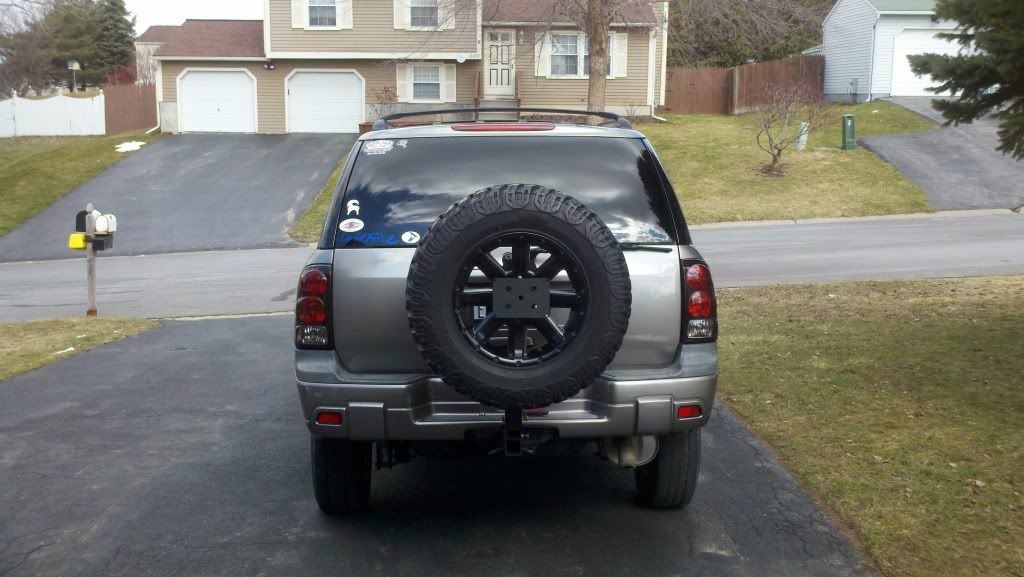
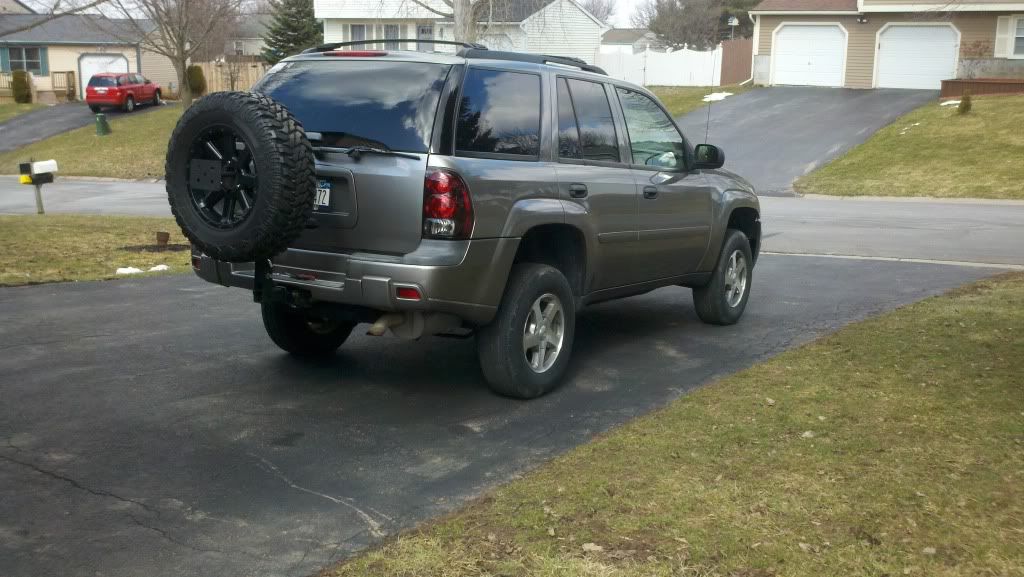
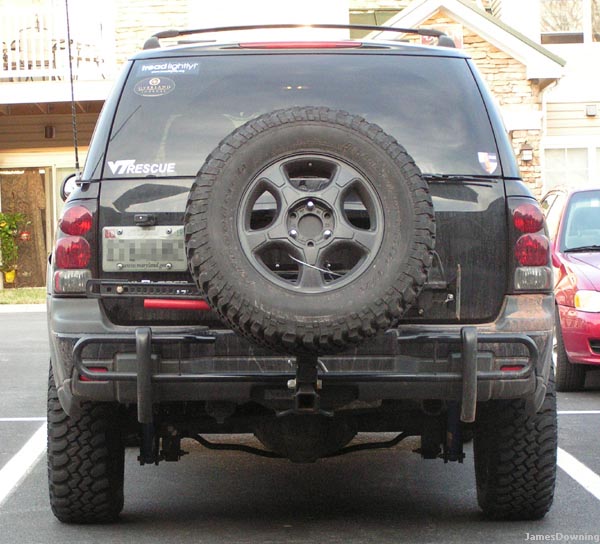
I asked them about the mount and told them my tire size I was running and bolt pattern. They said they used an adjustable mount to get all the different patterns, and allow you to use it on another vehicle.
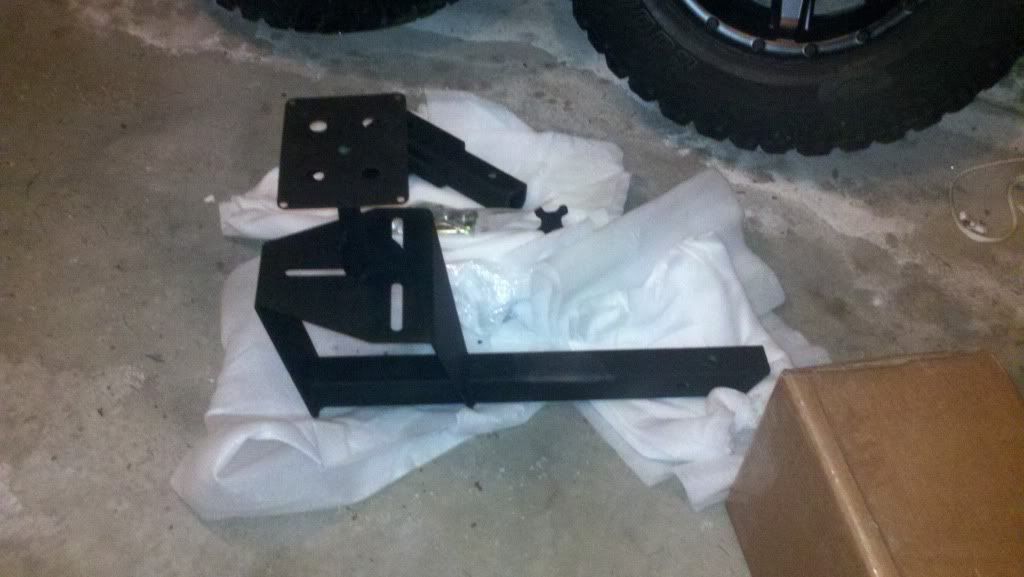
I understand its hard to fab something for a vehicle they aren't use to and is several states away. I use to work in a fab shop myself and consider these things minor hiccups, its going to function as what I wanted it for so I'm not holding it against them. If I end up not liking how the plate goes through the center of the wheel, I can mount it a different way after seeing how everything goes together.
As for the light, I am just going to use a 7 way round plug to flat 4 with a good length of cable and tap into that for my power and make it plug n play. Similar to the photos on their site.
Edit: well, I seem to have more issue as something just caught my attention. They gave me 12mm x 1.5 lugs and bolts... My wheels take 14mm lugs. 14mm lugs don't go through their pre-drilled holes.
 I totally bypassed this thread!

 Pine Barrens Wheelin!