Offroad Trailblazers and Envoys

Philberto's Build - 2006 Chevrolet Trailblazer

These are lifted trucks and have posted trip reports showing travel on non-stock passable trails.

Moderator: navigator

by Philberto » Sun Sep 20, 2009 1:54 am

2006 Chevrolet Trailblazer
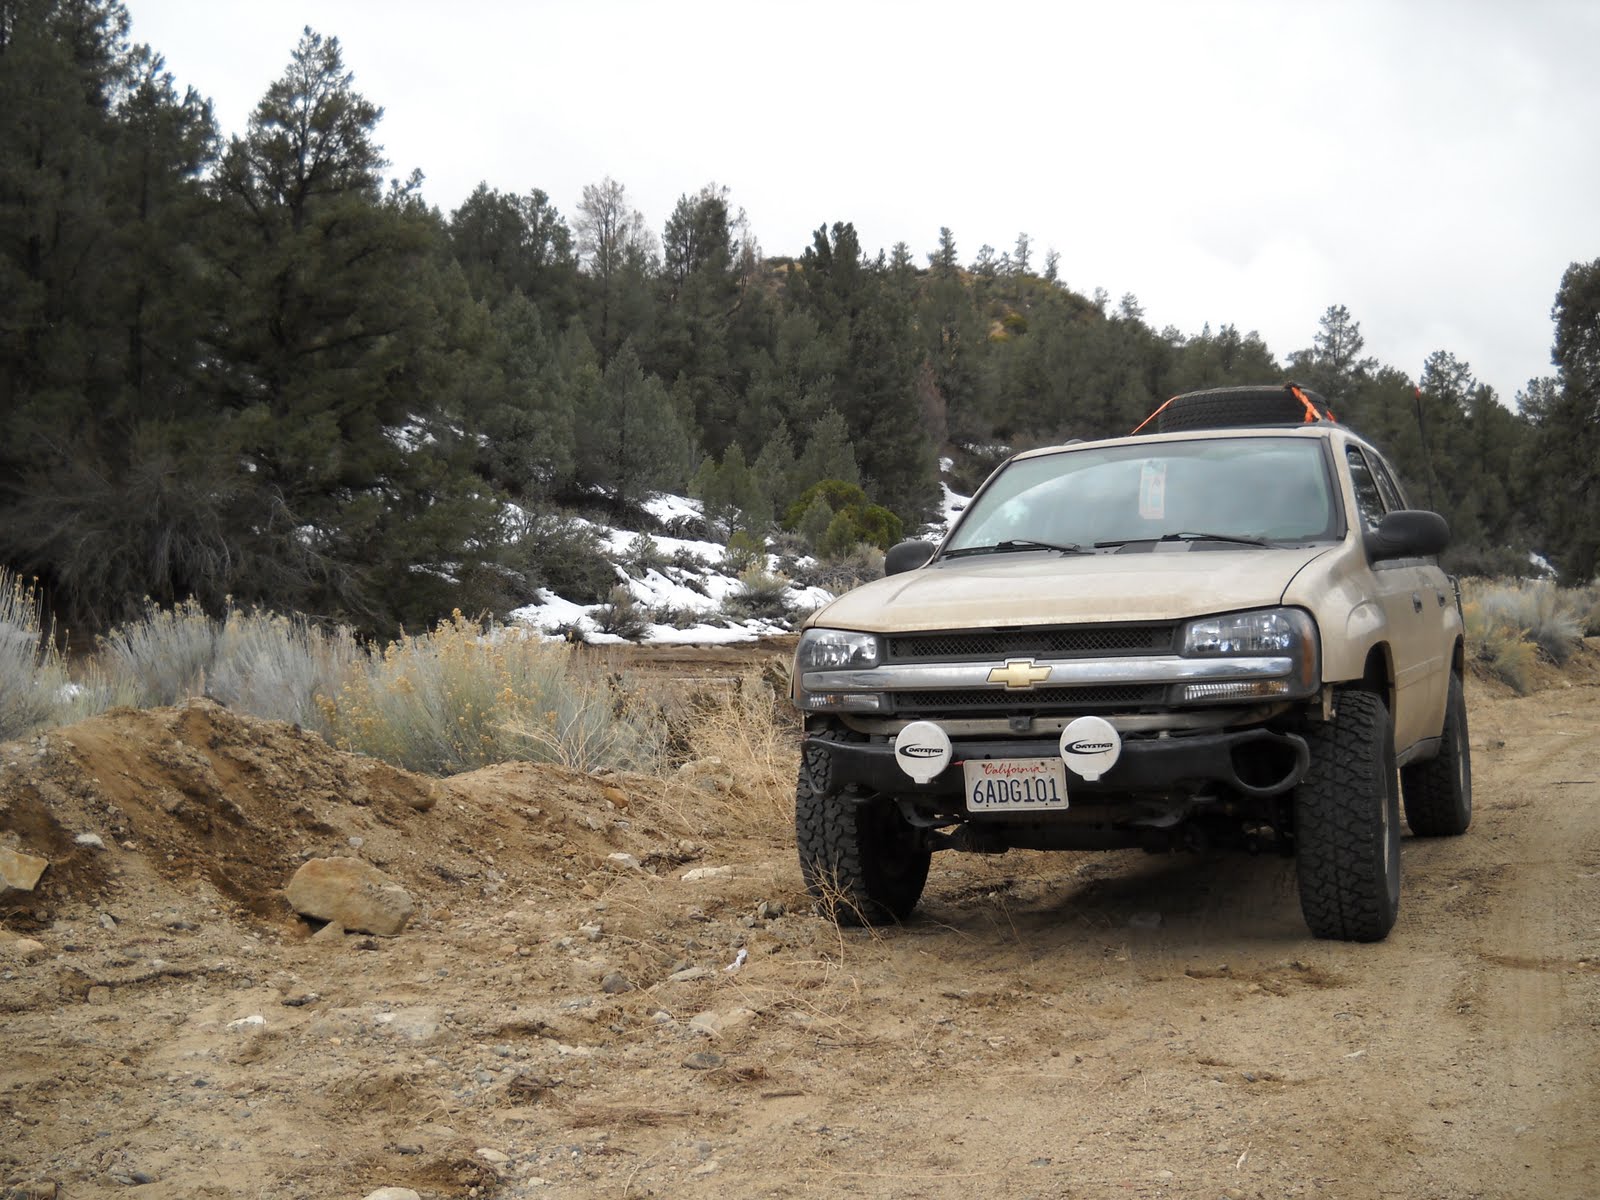
4WD no G80 | 4.2L I6 70000 mi

Suspension Modifications:
2.5" Liftmeister Full Kit, Bilstein HD shocks front, z71 shocks and springs rear

Exterior Modifications:
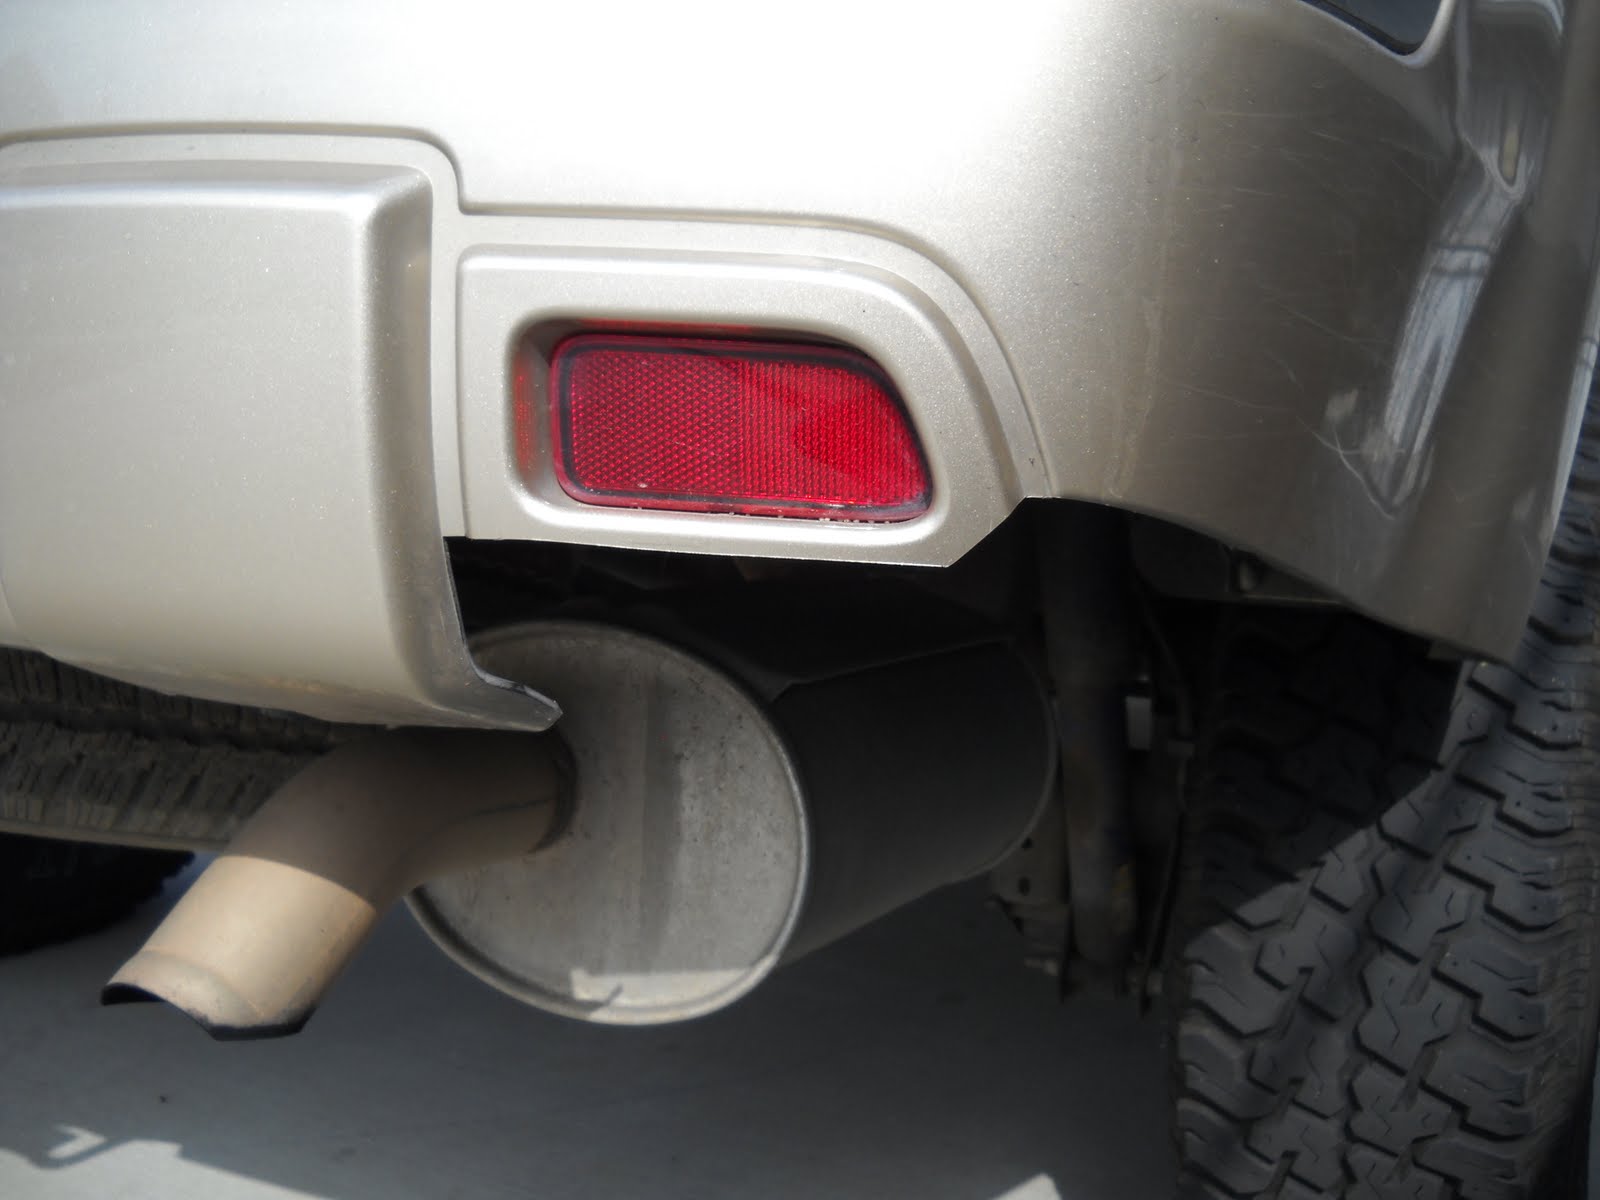
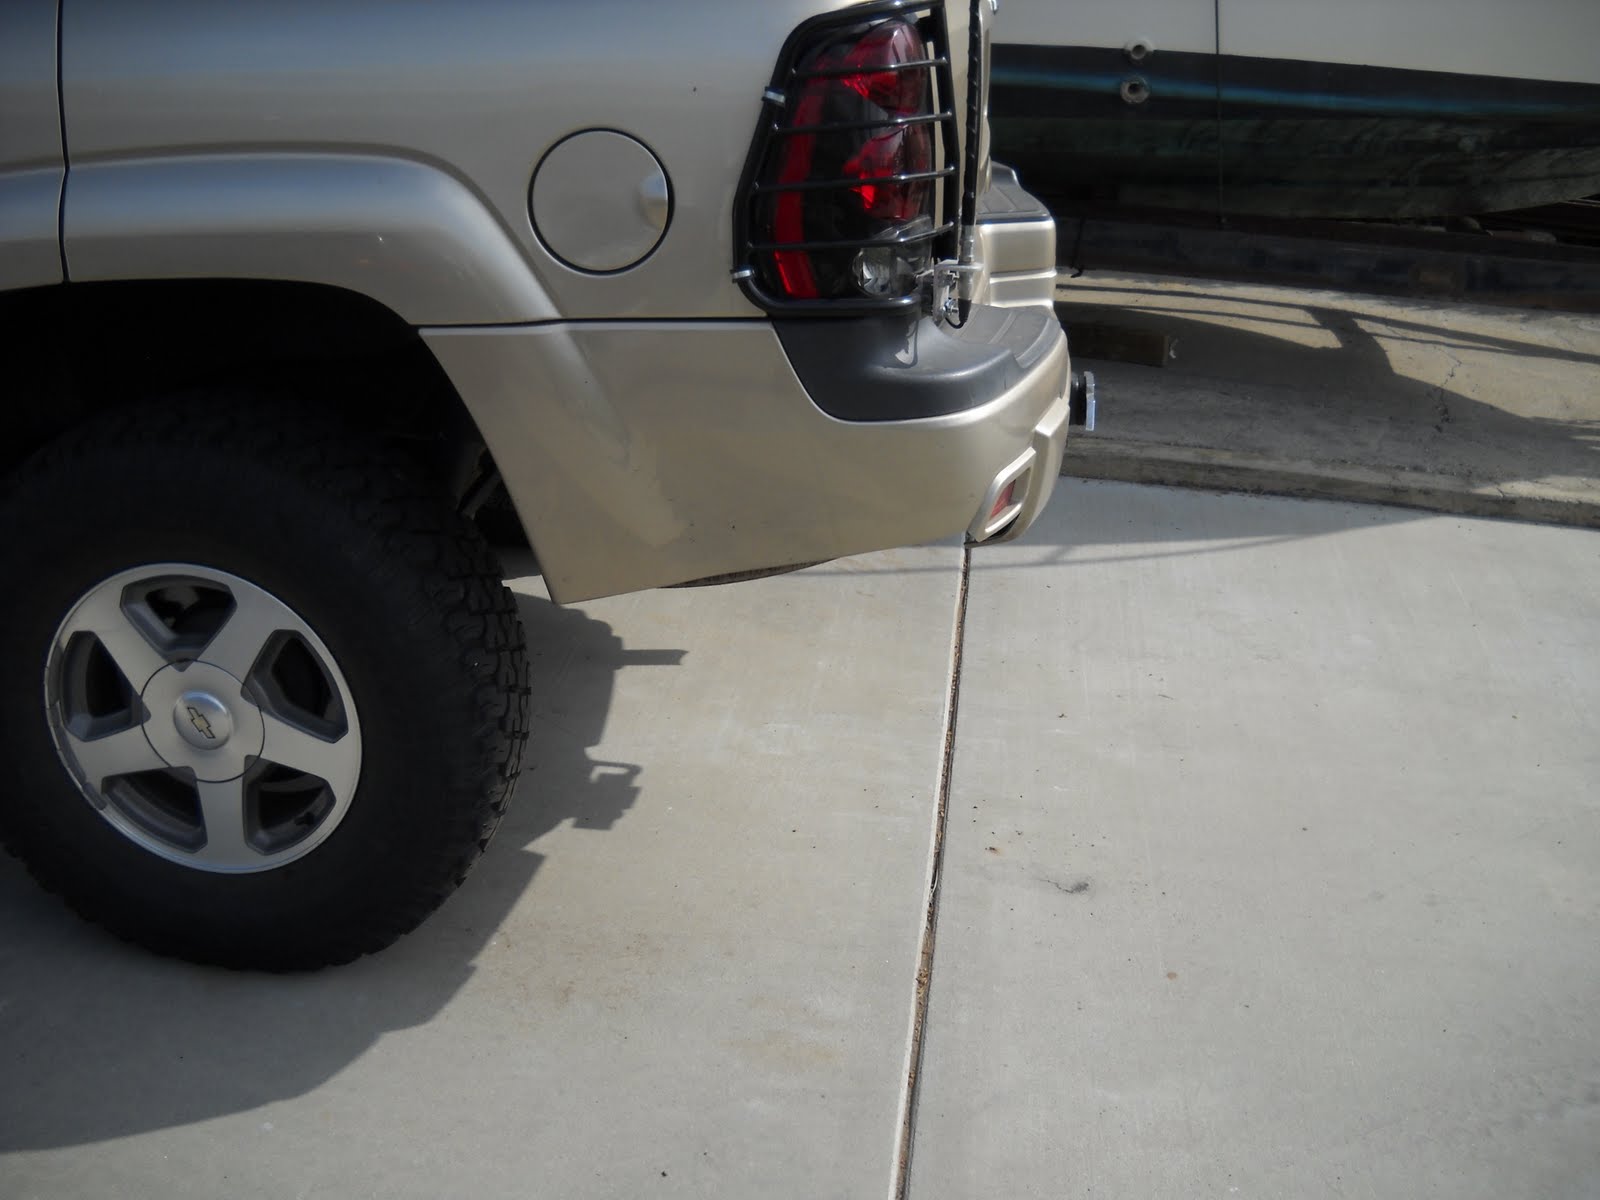
Removed bumper cover, front auxiliary lights installed, tow hooks added, portable misting system, 265/75/16 Cooper Discoverer S/T tires installed with 1.3" eBay wheel spacers, trimmed rear bumper cover, front wheel well liners modified, exhaust resonator deleted.

Engine Modifications:
PCM4Less tune ordered

Interior Modifications:
Pet seat cover made, 15-gallon water capacity with 50psi RV water pump installed, tap added.

Recovery Equipment:
none yet purchased... plans in the event of getting stuck are to wait it out and camp if necessary.

Electrical Modifications:
Front Auxiliary lighting on front bumper support, RV water pump wired in, Midland 5001z CB with 4' Firestik II antenna

Future Modifications Planned:
Rock Sliders, CampingLab Rooftop Tent with Changing Room and Awnign, Rear storage drawers, Roof Rack, Aux lights (lots of them), Dual battery system, Tubular Front bumper, Skid plates, Snorkel, EXT rear end with G80, 4.10 gears, Tubular Rear bumper w/ Spare tire storage and foldout cooking surface, hitch-mounted winch, Offroad Electronic Traction Control System, Solar Panels, Integrated CarPC or Laptop mount for GPS, OBDII diagnostics, and Entertainment, In-Cabin Air Filter.

Current Picture:
Image
Image
Image
Last edited by Philberto on Sat Mar 27, 2010 1:02 pm, edited 8 times in total.
My Build Thread | 2006 Trailblazer LS Desert Camping Edition **SOLD**
2013 Nissan Xterra S "ReXterra"
User avatar
Philberto
Lifer
 
Posts: 2046
Joined: Fri Sep 11, 2009 5:30 pm
Location: CA, Oxnard
Name: Philip Cruz
Vehicle Year: Other
Vehicle: Other Vehicle
DriveTrain: 4WD
Rank: Offroad Rated

by Philberto » Mon Sep 21, 2009 8:20 pm

Here's what my trailblazer looked like when I started my modifications:

Image

It was purchased as an '06 TB LS 4x4 from Bunnin Cadillac in Oxnard, CA with 60k miles for 12000.

I was originally shopping for an 01 or 02 Tahoe z71, but when I couldn't find any in decent condition, I started looking at xTerras, 4runners, and jeeps, but settled on the trailblazer when I found the price I wanted for a very new vehicle.

A few days after I bought the Trailblazer, I found our sister site, trailvoy.com, and saw that there was a very dedicated group of individuals who had brought reasonably priced and versatile modifications to the GMT360 platform, and my descent into modding madness began. :viking:
My Build Thread | 2006 Trailblazer LS Desert Camping Edition **SOLD**
2013 Nissan Xterra S "ReXterra"
User avatar
Philberto
Lifer
 
Posts: 2046
Joined: Fri Sep 11, 2009 5:30 pm
Location: CA, Oxnard
Name: Philip Cruz
Vehicle Year: Other
Vehicle: Other Vehicle
DriveTrain: 4WD
Rank: Offroad Rated

by Philberto » Mon Sep 21, 2009 8:55 pm

After many weeks lurking around on Trailvoy and Expedition Portal, another site introduced to me by the roadie and James Downing, I decided I wanted to begin the first of my modifications. I purchased a FloJet Triplex Diaphragm pump,
Image
a Harbor Freight toggle switch,
Image
various wires and hoses, an add-a-tap,
Image
and the piece de resistance, a portable mister setup:
Image

After tapping into an unused area of the rear fuse block,
Image
I mounted the pump under the rear passenger seat using some bolts, washers, and good old JB weld (no drilling into the metal)
Image
and you can also see where the switch is mounted for the pump. The whole setup still allows a passenger to sit on that seat, with about 1" of clearance from the pump to the seat:
Image

One hose has a garden hose thread on it, which connects to the mister setup, and the other hose acts as an intake for the water (the pump is self-priming up to 9ft). The mister setup gets clipped onto the rear hatch that acts like a shade when opened. This setup should be relocated after other modifications are complete.

The mister system comprises one small part of a larger planned plumbing system, which can be seen in this diagram for anybody curious:

Image
:coffee:
My Build Thread | 2006 Trailblazer LS Desert Camping Edition **SOLD**
2013 Nissan Xterra S "ReXterra"
User avatar
Philberto
Lifer
 
Posts: 2046
Joined: Fri Sep 11, 2009 5:30 pm
Location: CA, Oxnard
Name: Philip Cruz
Vehicle Year: Other
Vehicle: Other Vehicle
DriveTrain: 4WD
Rank: Offroad Rated

by Philberto » Wed Dec 02, 2009 4:52 pm

Copied from another post here, I decided to remove my bumper cover and add some lights:

Image

The lights are Daystar #KU80002 lights, 55-watt halogens, and are super-cheap, made even cheaper by the fact that I got them for $20 for 2 from Craigslist.

Image


I mounted them into existing holes on the bumper support, and the simply had a threaded stud that mated with a nut and lock washer on the other side.

Because of the slope of the bumper support, I had to use washers to space the lights away enough to aim them sufficiently upward to provide the desired lighting angle.

Image

They're currently wired through a relay to a toggle switch in a temporary location near the pedals.

Image

All wiring on the lights is covered with heatshrink, and the wiring going into the engine compartment is covered in wiring loom as well.

Image
My Build Thread | 2006 Trailblazer LS Desert Camping Edition **SOLD**
2013 Nissan Xterra S "ReXterra"
User avatar
Philberto
Lifer
 
Posts: 2046
Joined: Fri Sep 11, 2009 5:30 pm
Location: CA, Oxnard
Name: Philip Cruz
Vehicle Year: Other
Vehicle: Other Vehicle
DriveTrain: 4WD
Rank: Offroad Rated

by Philberto » Wed Dec 02, 2009 4:54 pm

I also picked up some rubber, 265/75/16 (31.55") Cooper Discoverer S/T's

The review for them is elsewhere in the tire forum.


Image
Image
Image
Image
Image
Image
My Build Thread | 2006 Trailblazer LS Desert Camping Edition **SOLD**
2013 Nissan Xterra S "ReXterra"
User avatar
Philberto
Lifer
 
Posts: 2046
Joined: Fri Sep 11, 2009 5:30 pm
Location: CA, Oxnard
Name: Philip Cruz
Vehicle Year: Other
Vehicle: Other Vehicle
DriveTrain: 4WD
Rank: Offroad Rated

by Philberto » Wed Dec 02, 2009 5:04 pm

I also organized my rear cargo area and strapped a spare tire to the roof, since it won't fit underneath the vehicle anymore.

Went from this:
Image


To this:
Image
My Build Thread | 2006 Trailblazer LS Desert Camping Edition **SOLD**
2013 Nissan Xterra S "ReXterra"
User avatar
Philberto
Lifer
 
Posts: 2046
Joined: Fri Sep 11, 2009 5:30 pm
Location: CA, Oxnard
Name: Philip Cruz
Vehicle Year: Other
Vehicle: Other Vehicle
DriveTrain: 4WD
Rank: Offroad Rated

by Philberto » Mon Dec 28, 2009 6:34 pm

Documentation of CB install:
Image

Image

After deliberating on how to install my 4' antenna, I decided to mount it to the taillight guard after I strengthened it using the insulator clamps a la Roadie and many others. I ended up using a mirror mount from Fry's for around $6 and picked up 18' of cable as well. Using my newly-bought SWR meter, I tuned the antenna (gotta love tunable tips) to 1.2 on ch 1 and 40. Wire runs under the panels on the driver's side, the mount itself is grounded with a strap to the car, and the whole thing is very solid.
Image

Image

Here is the mounting location for the radio itself. It doesn't interfere with my legs too much, and is nice and easy to access. The radio draws power from the cigarette lighter.
Image

Finished product:

Image
My Build Thread | 2006 Trailblazer LS Desert Camping Edition **SOLD**
2013 Nissan Xterra S "ReXterra"
User avatar
Philberto
Lifer
 
Posts: 2046
Joined: Fri Sep 11, 2009 5:30 pm
Location: CA, Oxnard
Name: Philip Cruz
Vehicle Year: Other
Vehicle: Other Vehicle
DriveTrain: 4WD
Rank: Offroad Rated

by Philberto » Tue Feb 16, 2010 6:01 pm

Wanting something a little more permanent, I decided to build a water manifold for my water containers.

Image
Here is the manifold attached to my aquatainers, the individual elbows are cemented together with food-rated cement, and the connecting pipe is just friction-fitted. No leaks have occurred, as the water pressure is purely from suction.

Image
The 3/8" reinforced vinyl hose is routed under the seat back to the pump.

Image
Everything terminates and fits nicely under the passenger rear seat. Note the dual coupler, which allows me not only to connect two devices at once (water hose and misters), but also lets me turn on/off the valves to prevent leaks into the car. This whole setup was revised after my Borrego trip revealed some weaknesses of my previous setup.
My Build Thread | 2006 Trailblazer LS Desert Camping Edition **SOLD**
2013 Nissan Xterra S "ReXterra"
User avatar
Philberto
Lifer
 
Posts: 2046
Joined: Fri Sep 11, 2009 5:30 pm
Location: CA, Oxnard
Name: Philip Cruz
Vehicle Year: Other
Vehicle: Other Vehicle
DriveTrain: 4WD
Rank: Offroad Rated

by Philberto » Tue Feb 16, 2010 6:17 pm

I've also finally got some pictures of my mister system in action:

Mister hooks up to hose coupler:
Image

Clips on to the top of the liftgate when opened, and that's it!
Image

A moving blanket keeps things from getting too wet
Image

There are a total of 4 nozzles, each using .3 gph, so 1.2 gallons per hour when it's on, and I have 15 gallons of storage.
Image
My Build Thread | 2006 Trailblazer LS Desert Camping Edition **SOLD**
2013 Nissan Xterra S "ReXterra"
User avatar
Philberto
Lifer
 
Posts: 2046
Joined: Fri Sep 11, 2009 5:30 pm
Location: CA, Oxnard
Name: Philip Cruz
Vehicle Year: Other
Vehicle: Other Vehicle
DriveTrain: 4WD
Rank: Offroad Rated

by Philberto » Thu Mar 25, 2010 7:51 pm

To improve clearance and reduce rubbing, I further trimmed my wheel well liners in the front, and my bumper cover in the rear.

The wheel well liner is actually attached to the body now, as opposed to being attached to the bumper support in the front.


And here's my rear bumper, thanks to bgwolfpack:

My Build Thread | 2006 Trailblazer LS Desert Camping Edition **SOLD**
2013 Nissan Xterra S "ReXterra"
User avatar
Philberto
Lifer
 
Posts: 2046
Joined: Fri Sep 11, 2009 5:30 pm
Location: CA, Oxnard
Name: Philip Cruz
Vehicle Year: Other
Vehicle: Other Vehicle
DriveTrain: 4WD
Rank: Offroad Rated


Return to Offroad Rated Builds