Drivetrain Specs:
143,XXX miles
4.2L I6 - 270hp (replaced at 105,000 miles)
Gearing:?
Selectable 4WD
No Locker
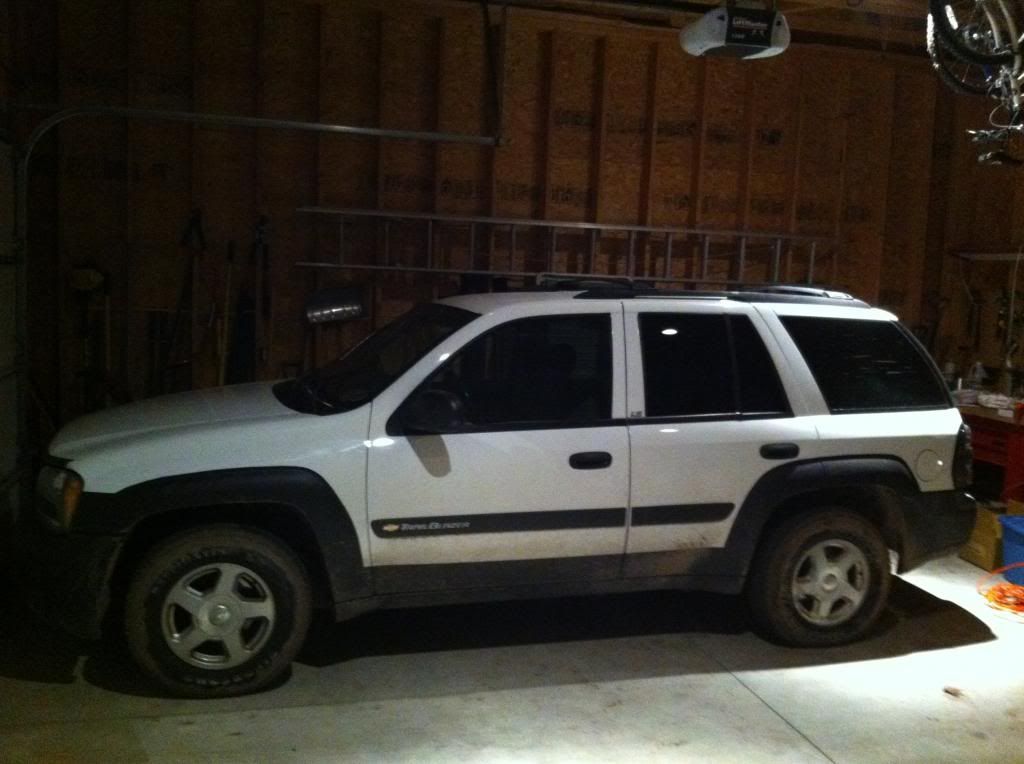
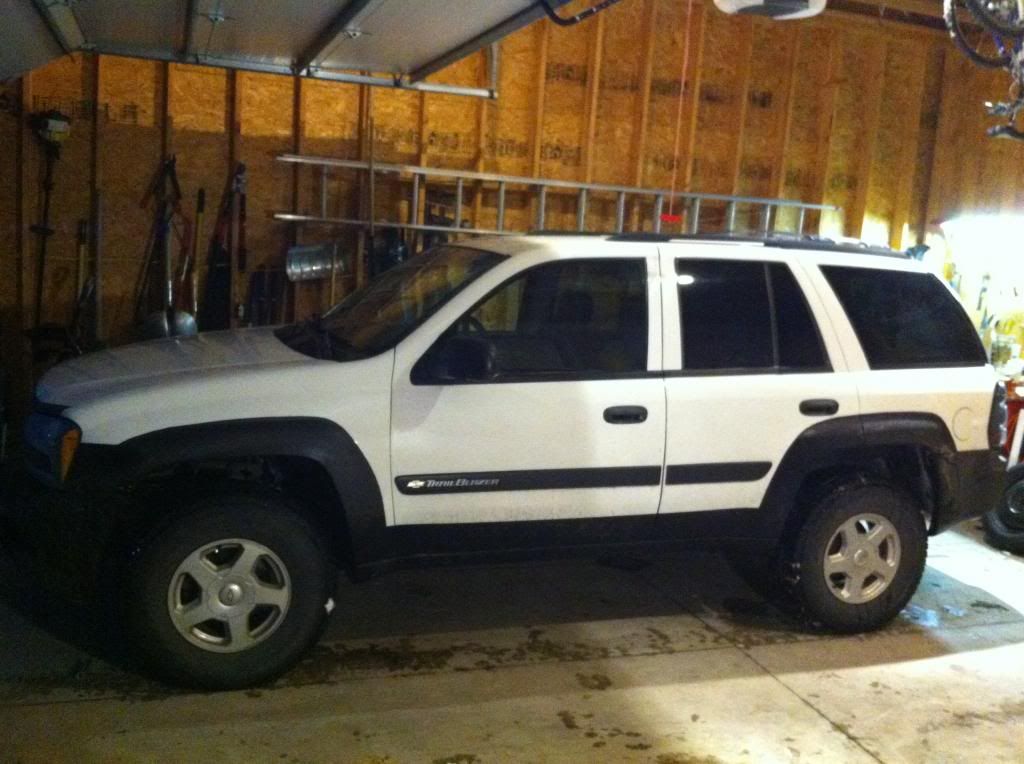
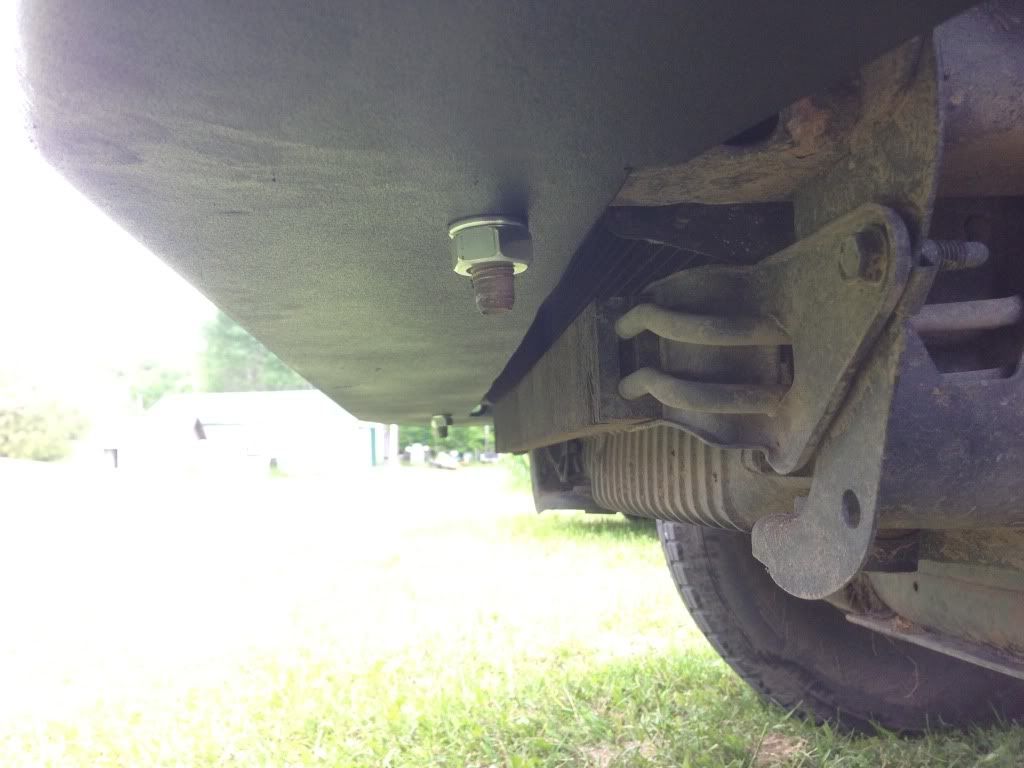
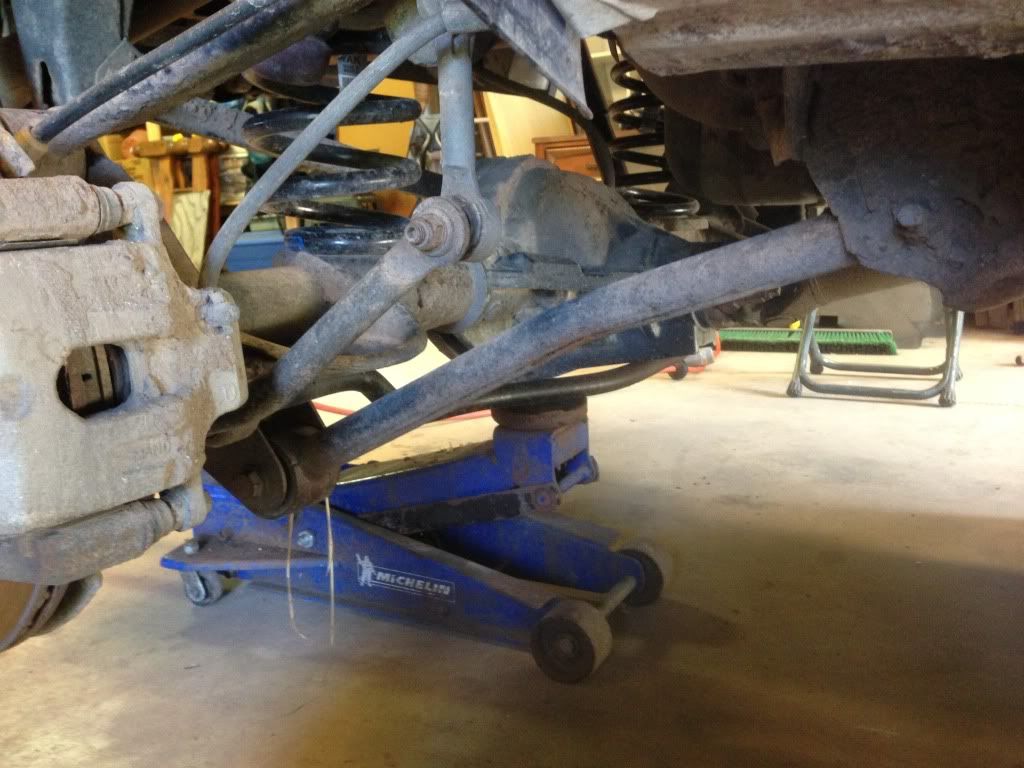
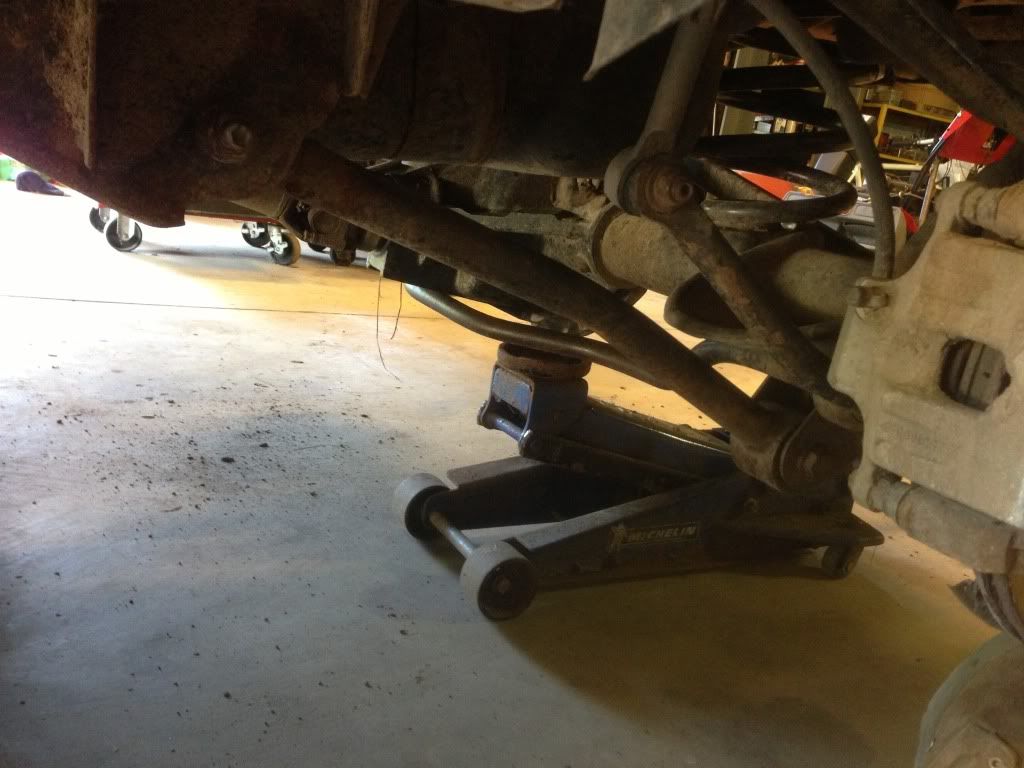
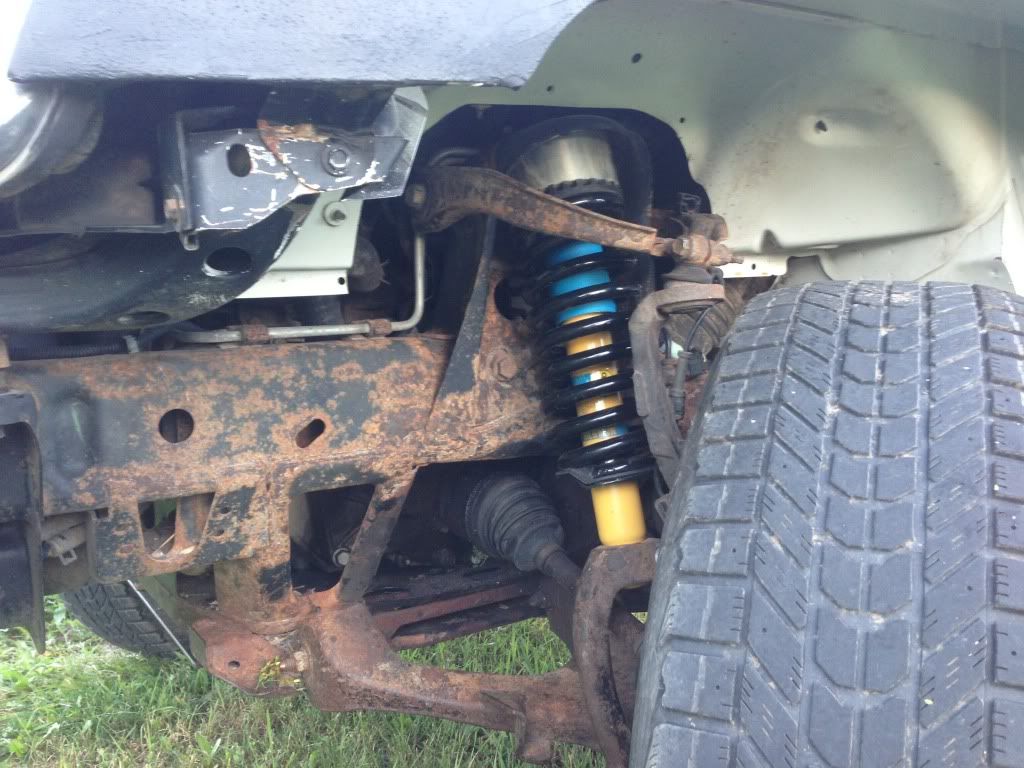
Suspension Modifications:
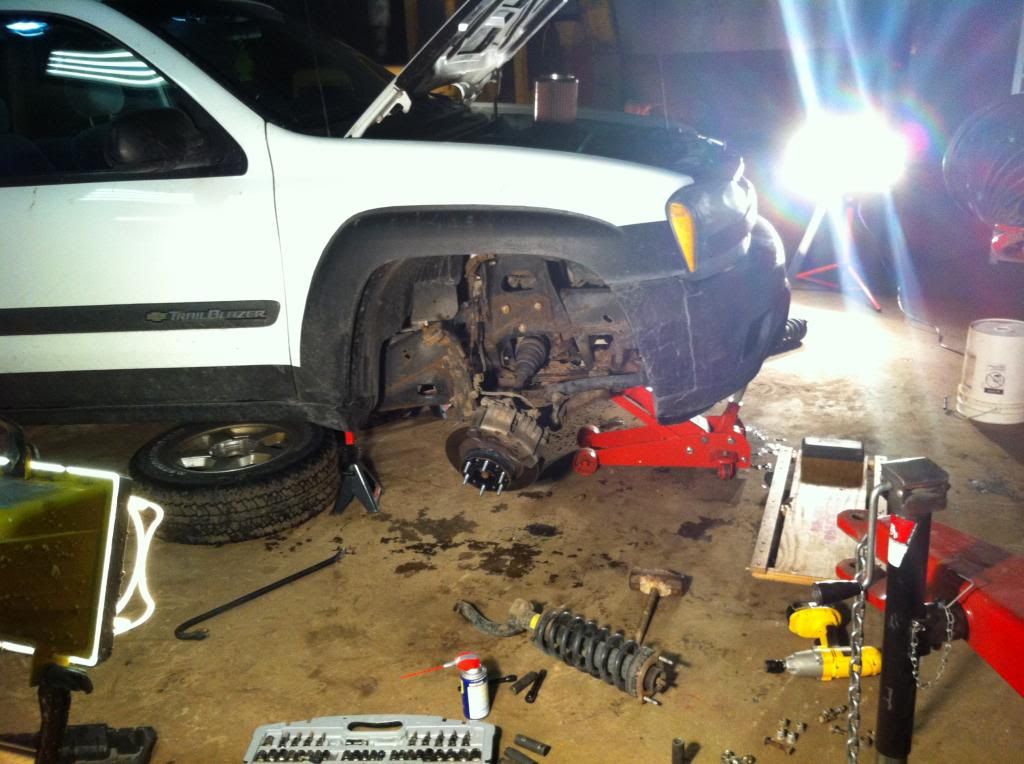
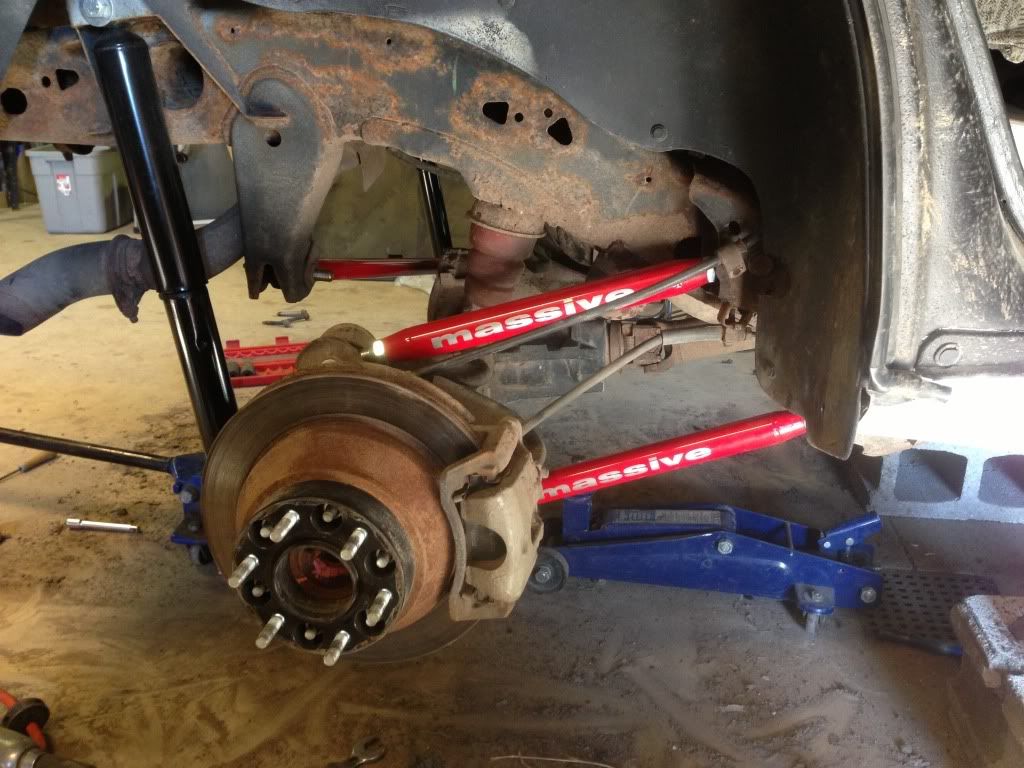
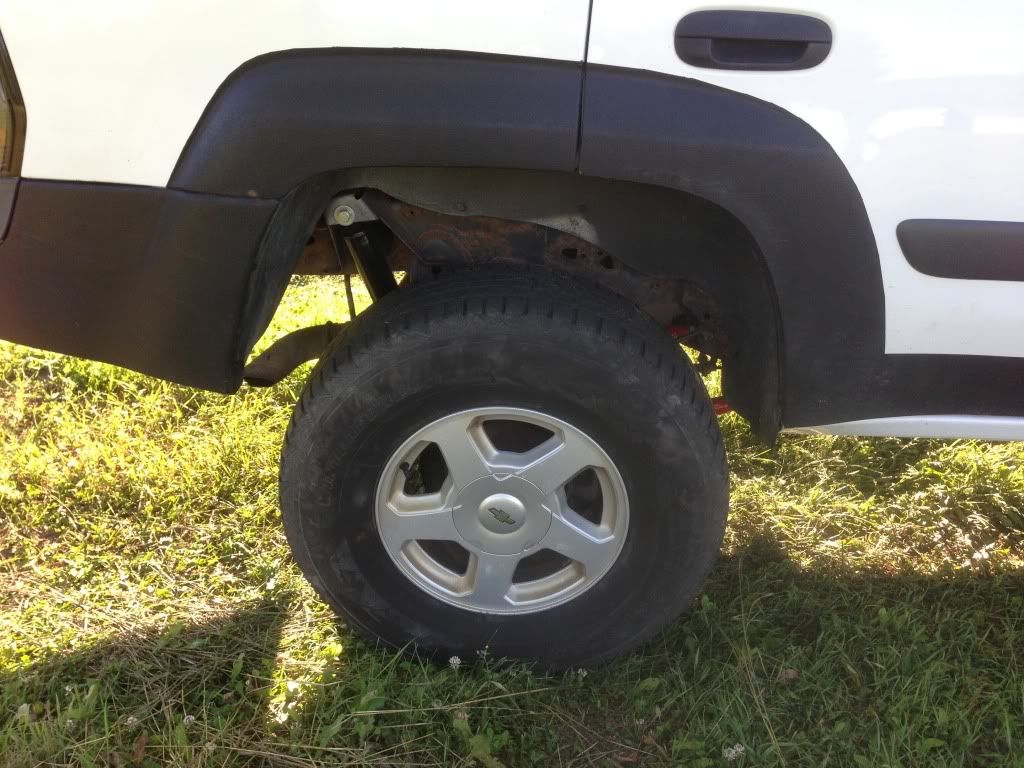
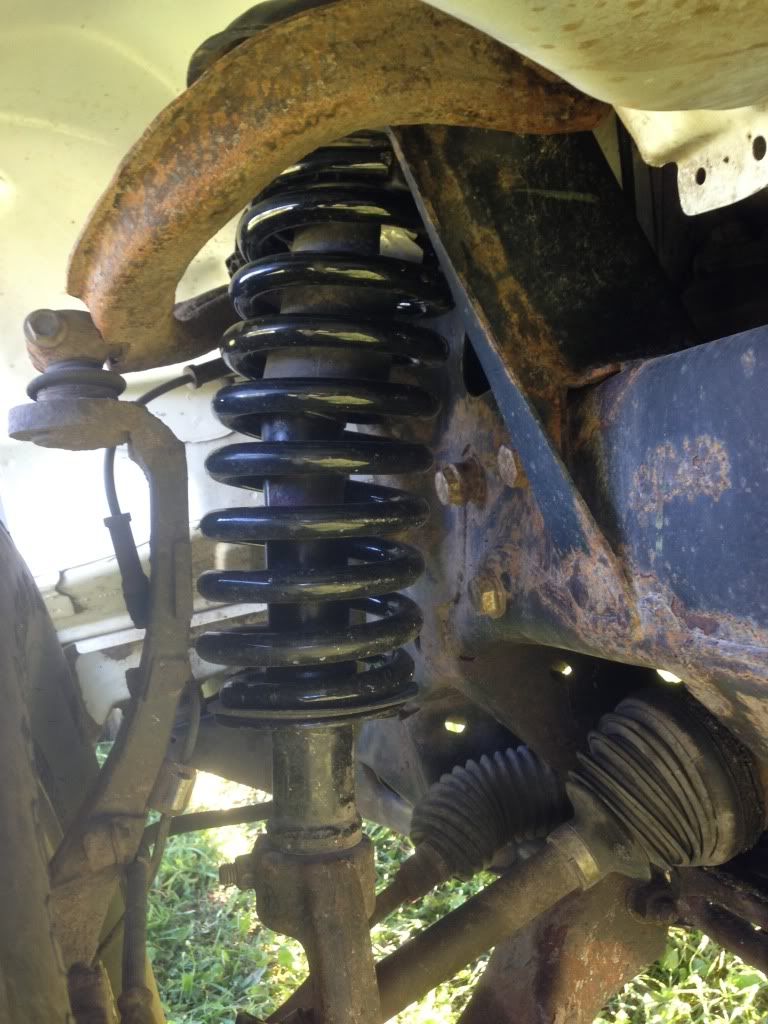
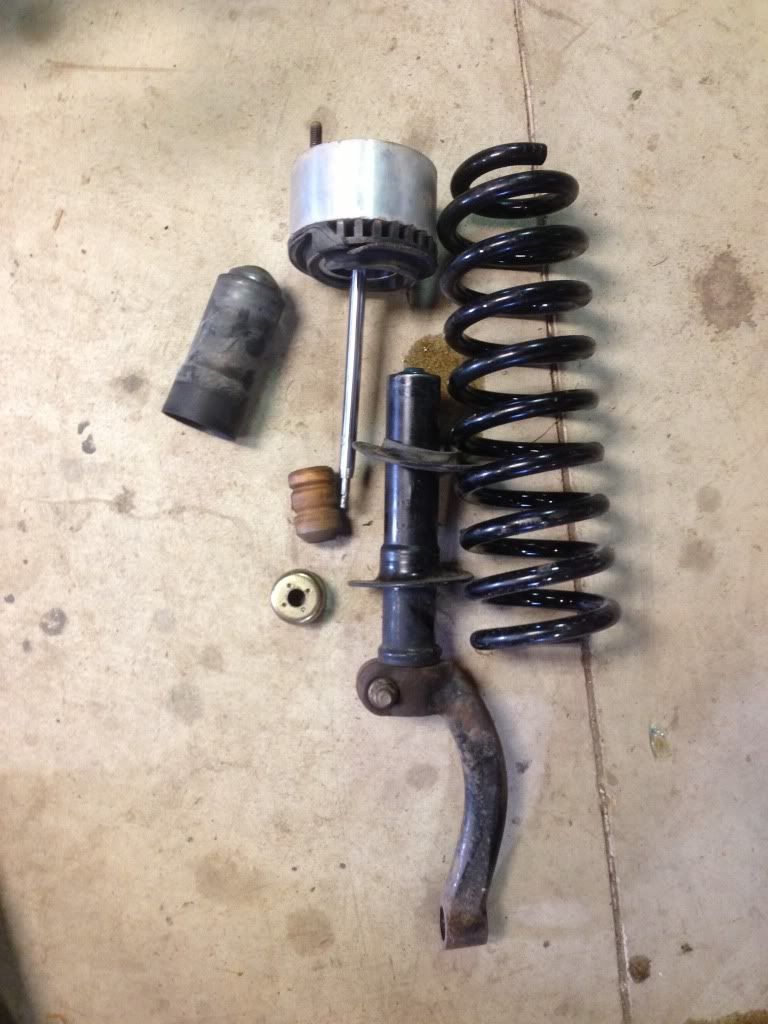
Front:
88 Springs
Bilstein HD struts
MarkMC 3" lift
Total front suspension lift - 3"
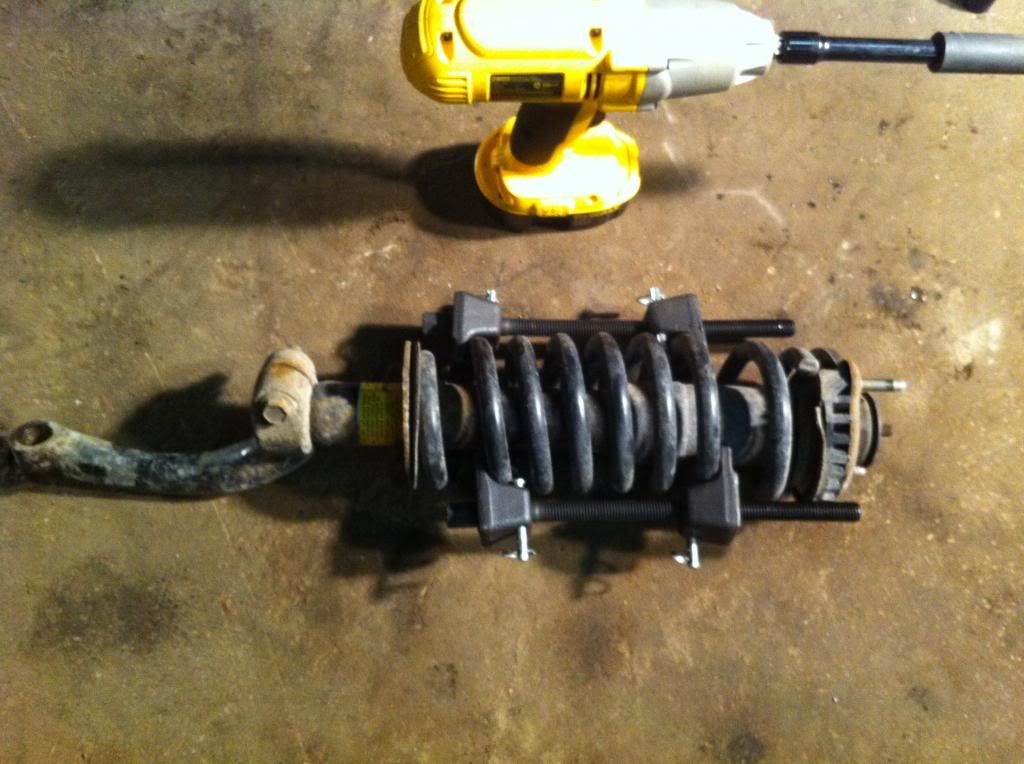
Rear:
Z71 Springs
16"-26.5" Monroe Sensatrac Shocks
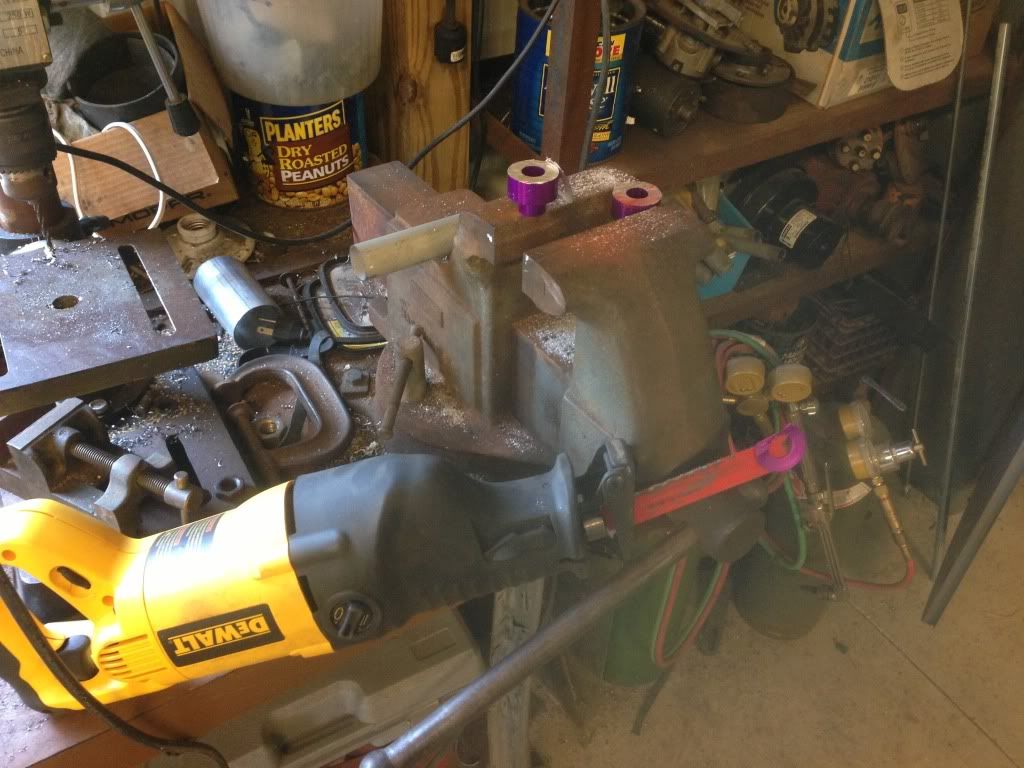
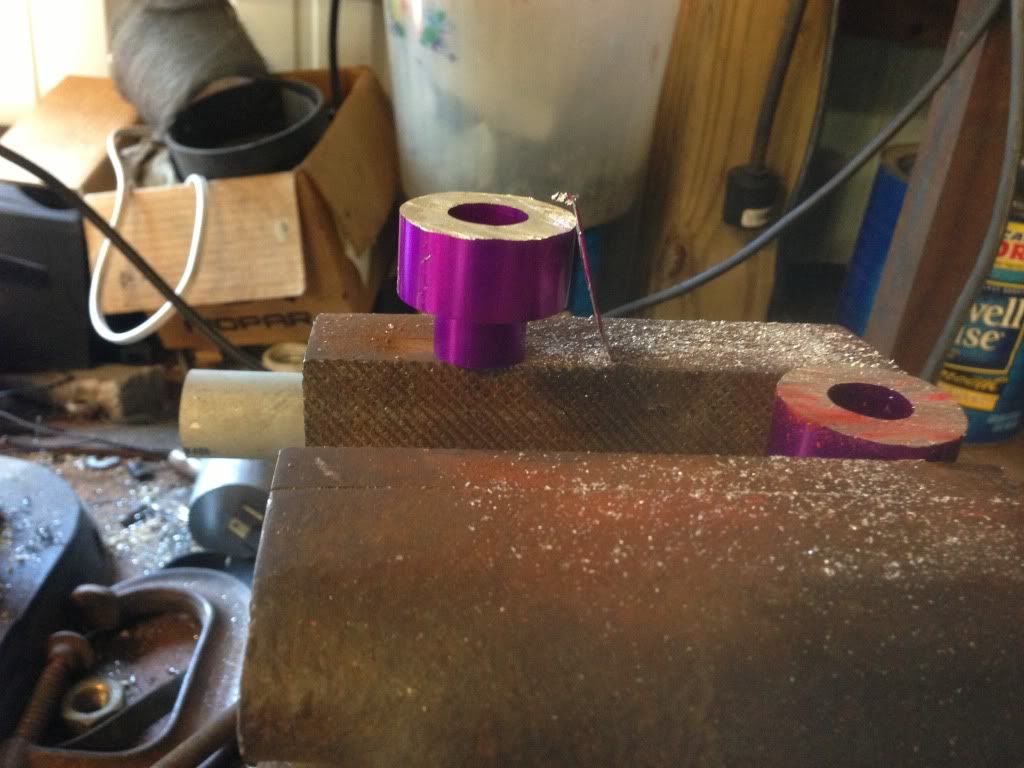
3" Machined aluminium spacer
Total rear suspension lift - 3"
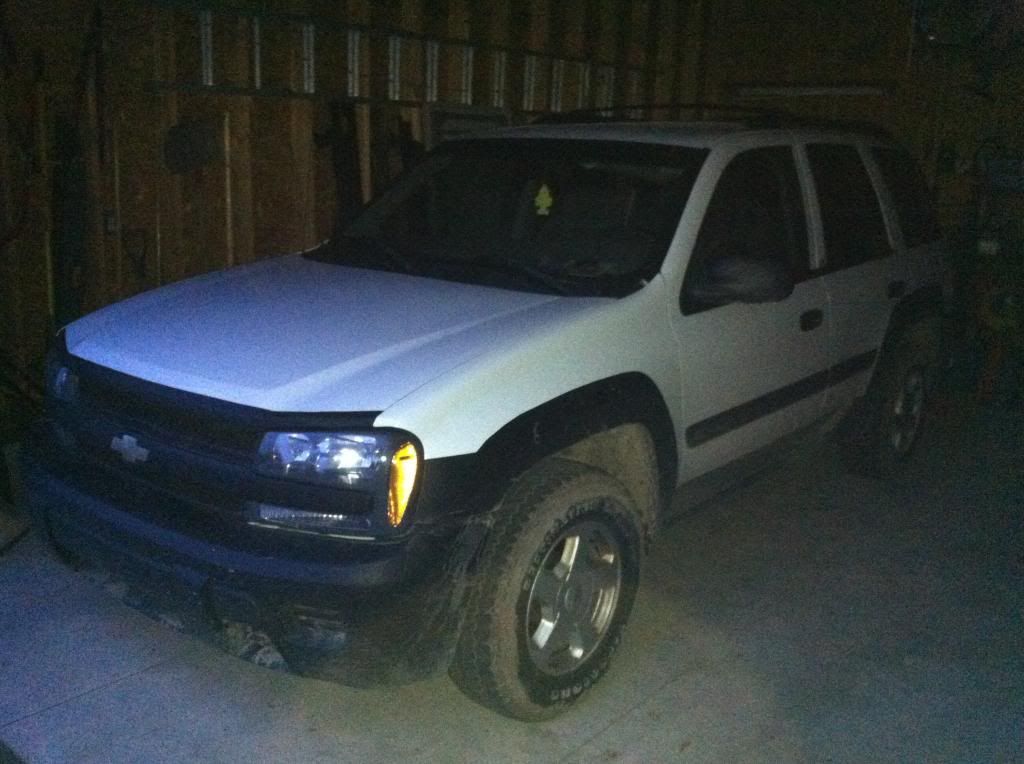
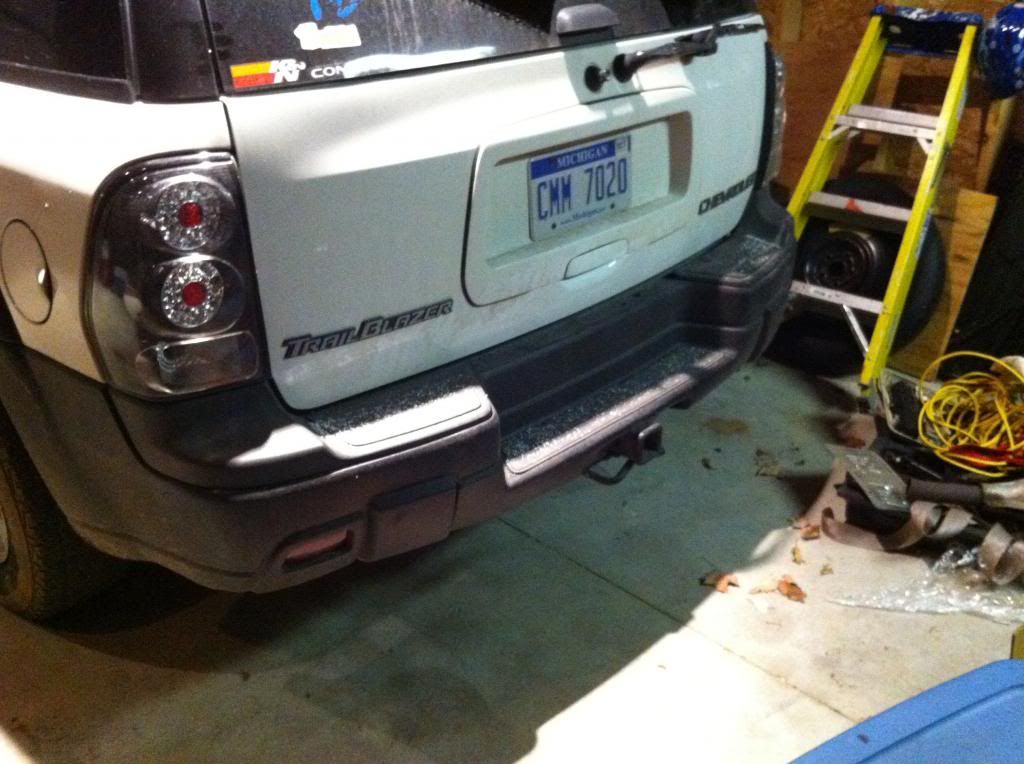
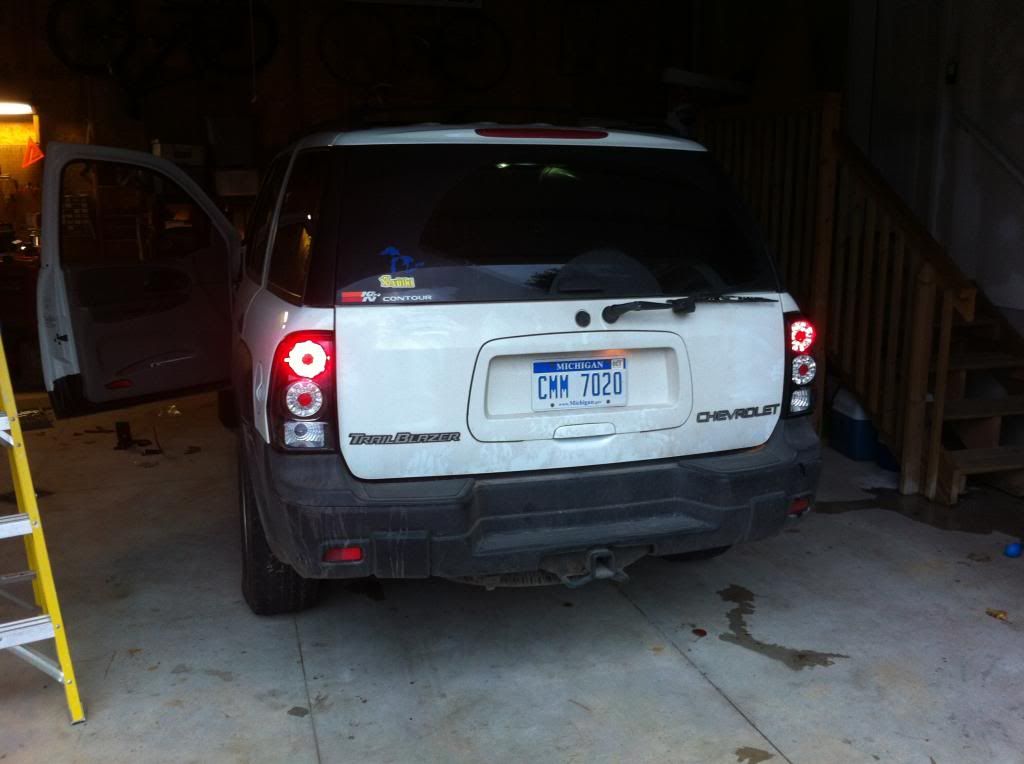
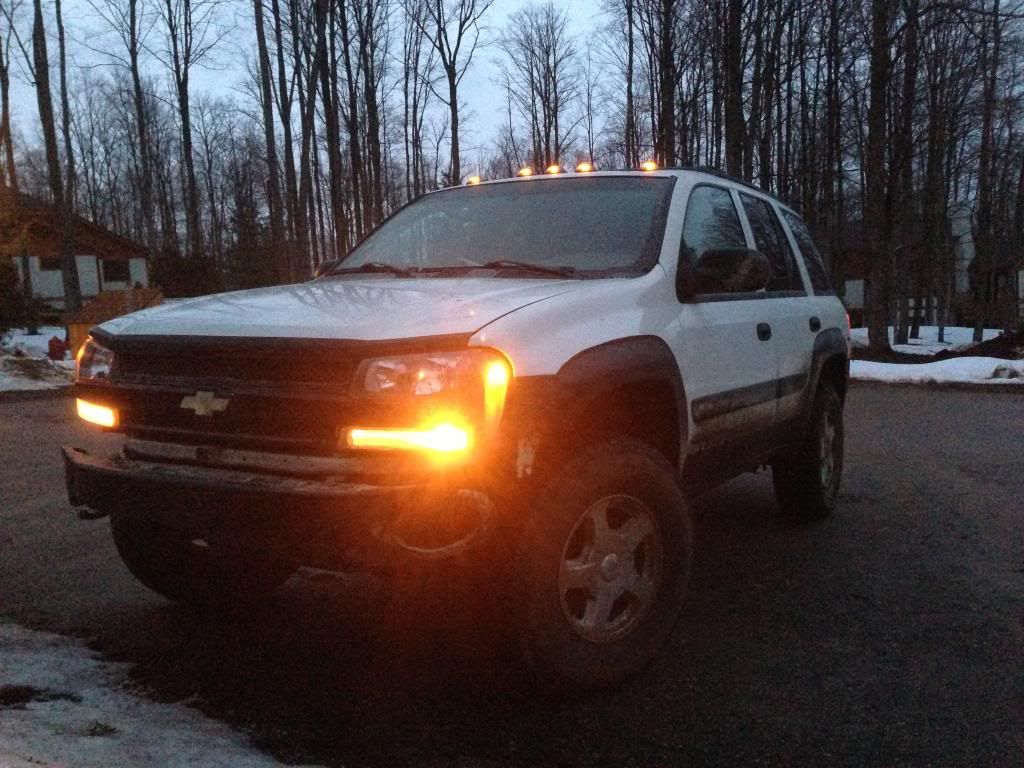
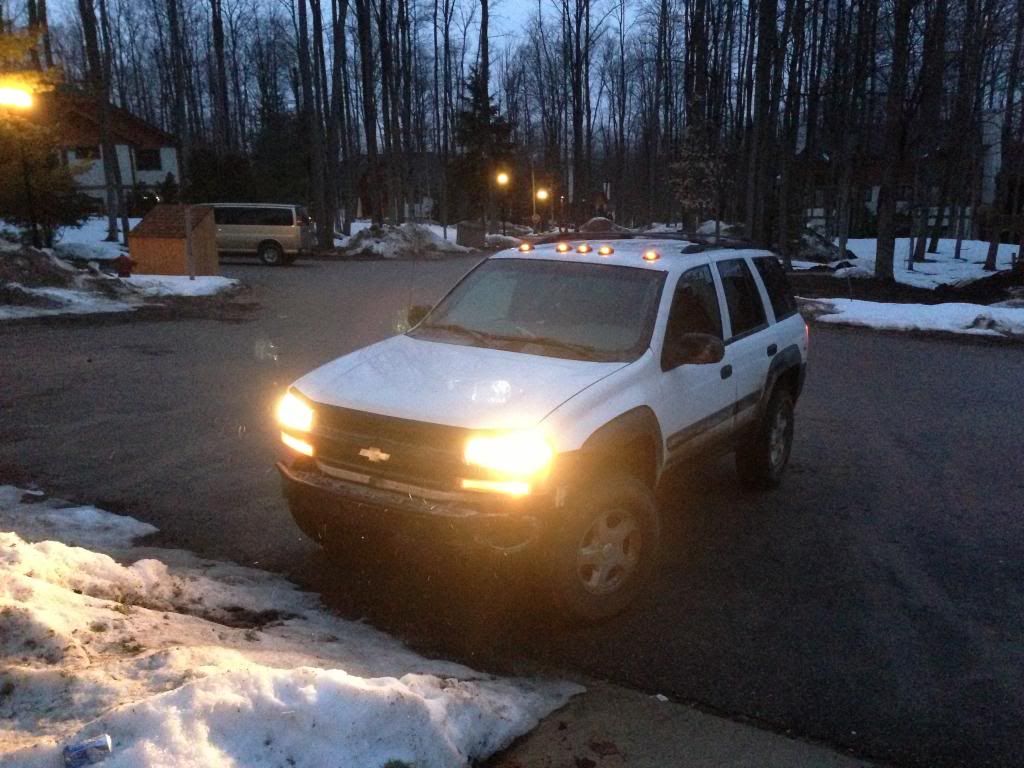
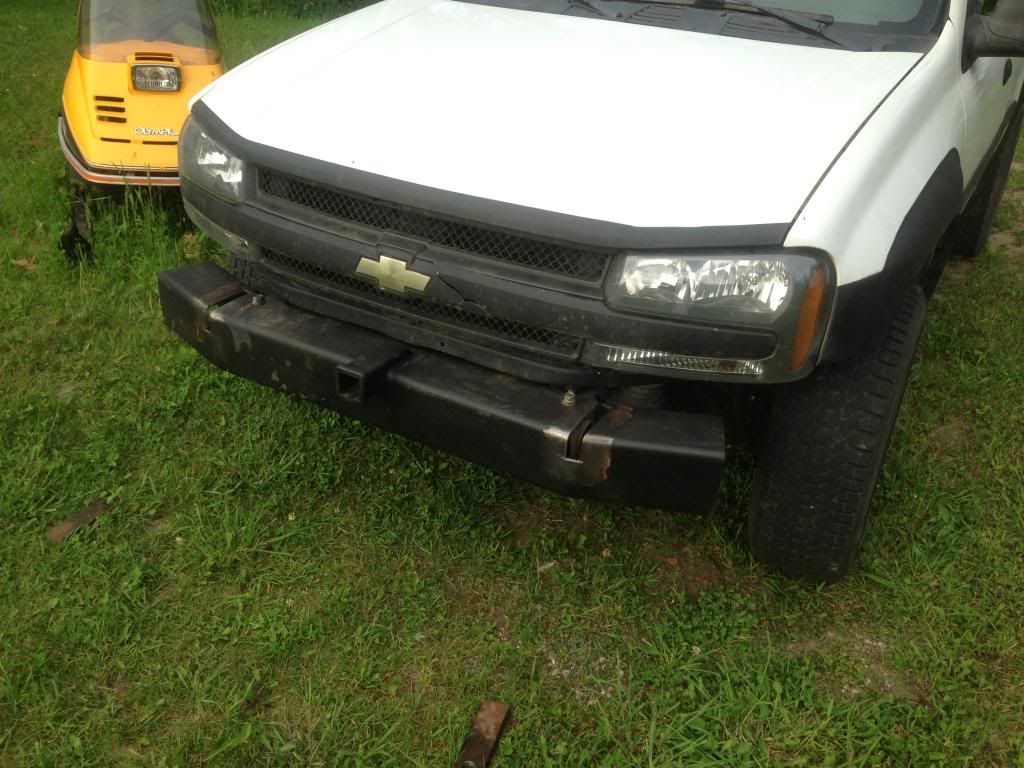
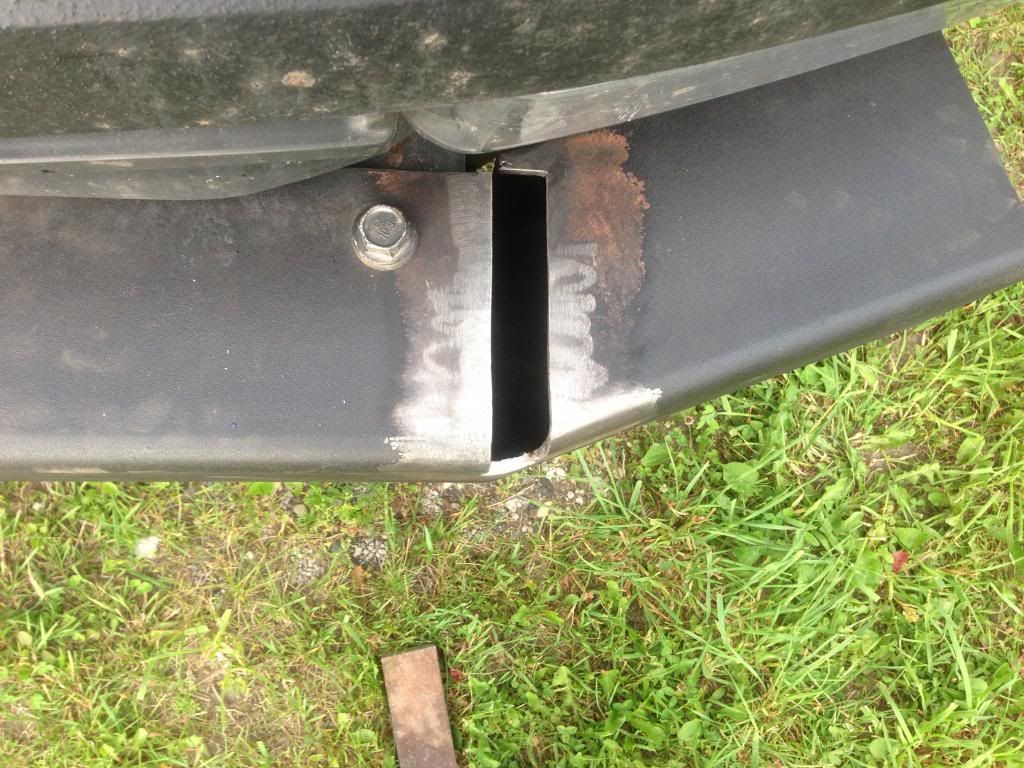
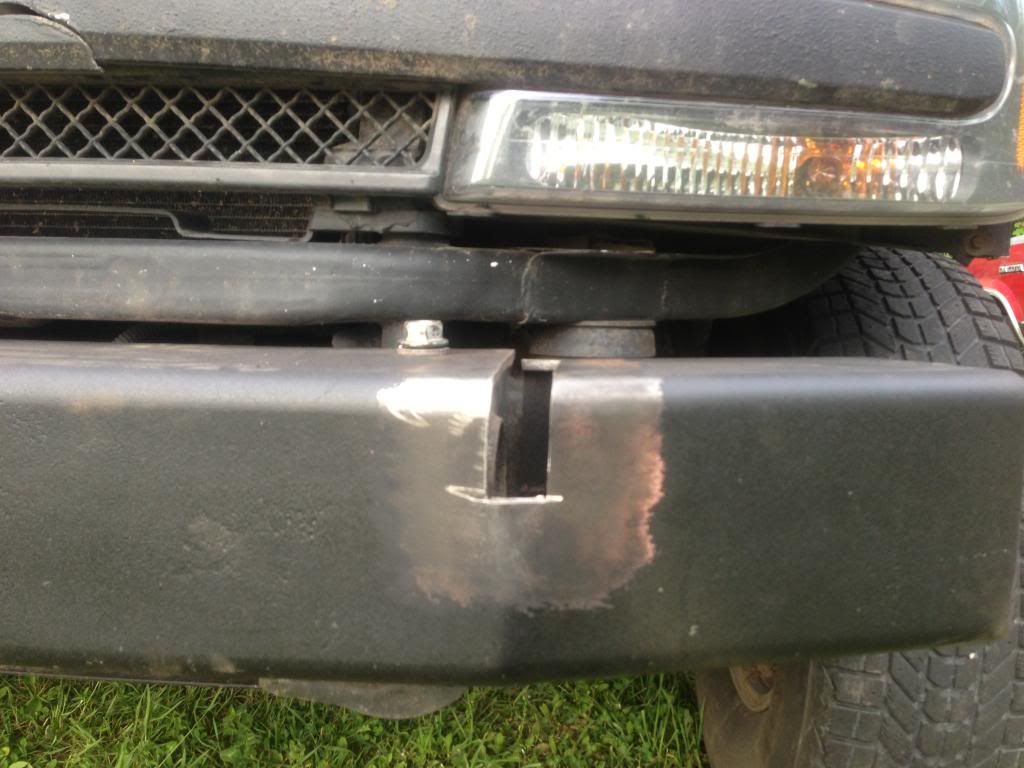
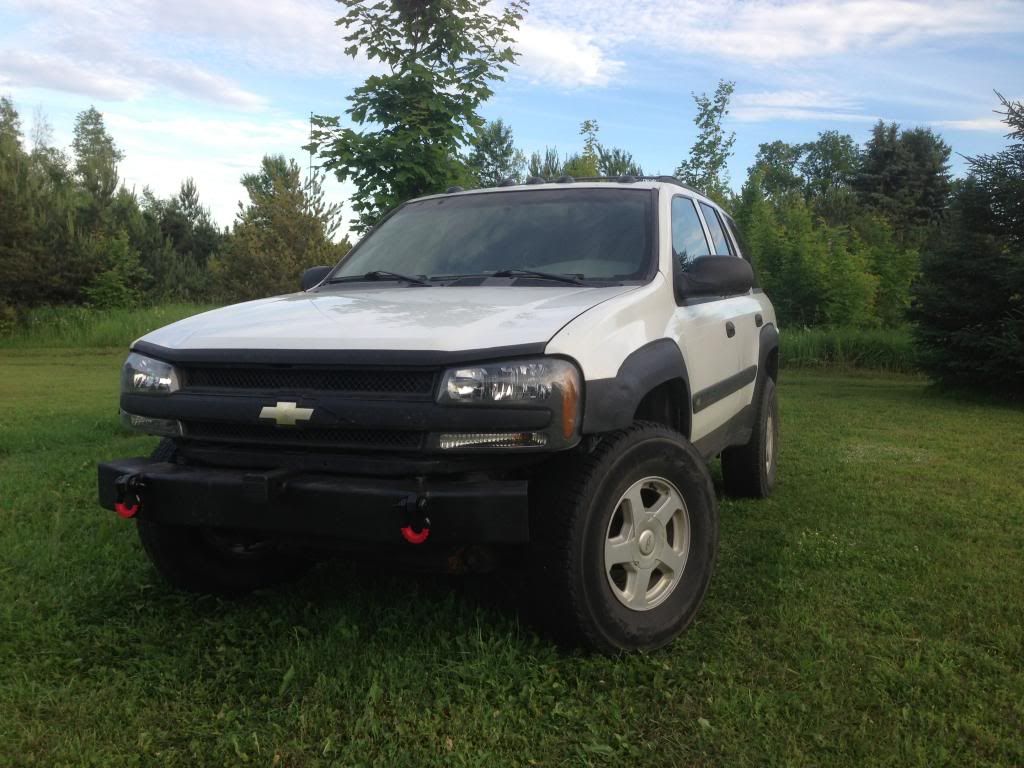
Exterior Modifications:
Bed-liner paint job
LED roof running lights
LED tail lights
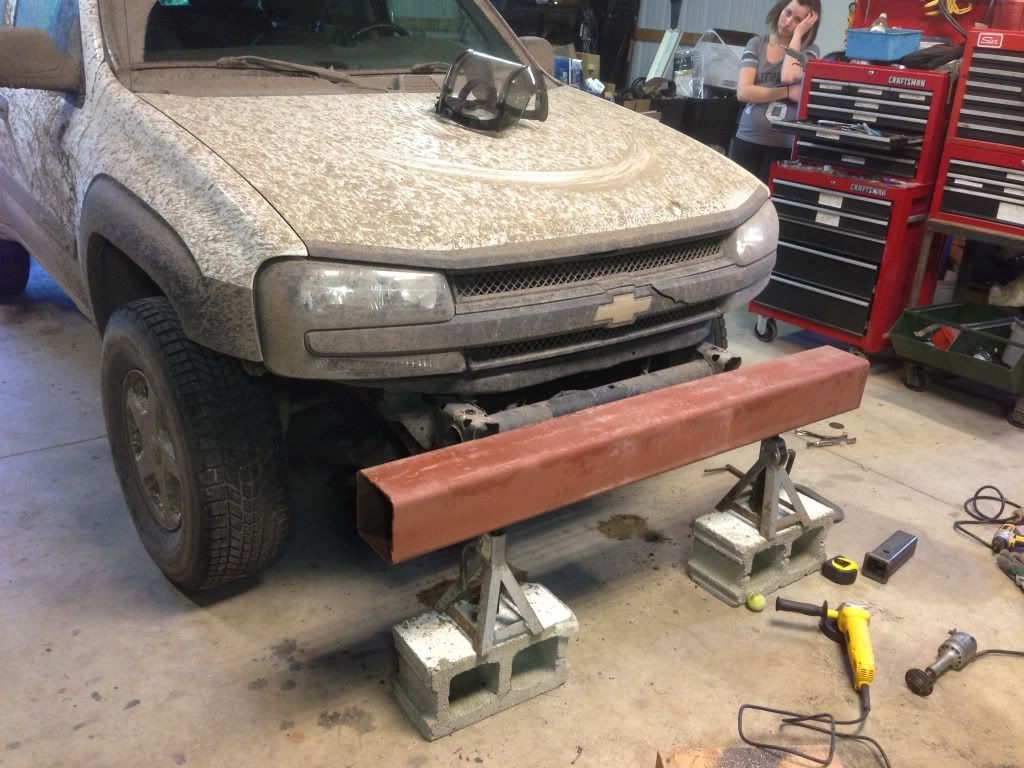
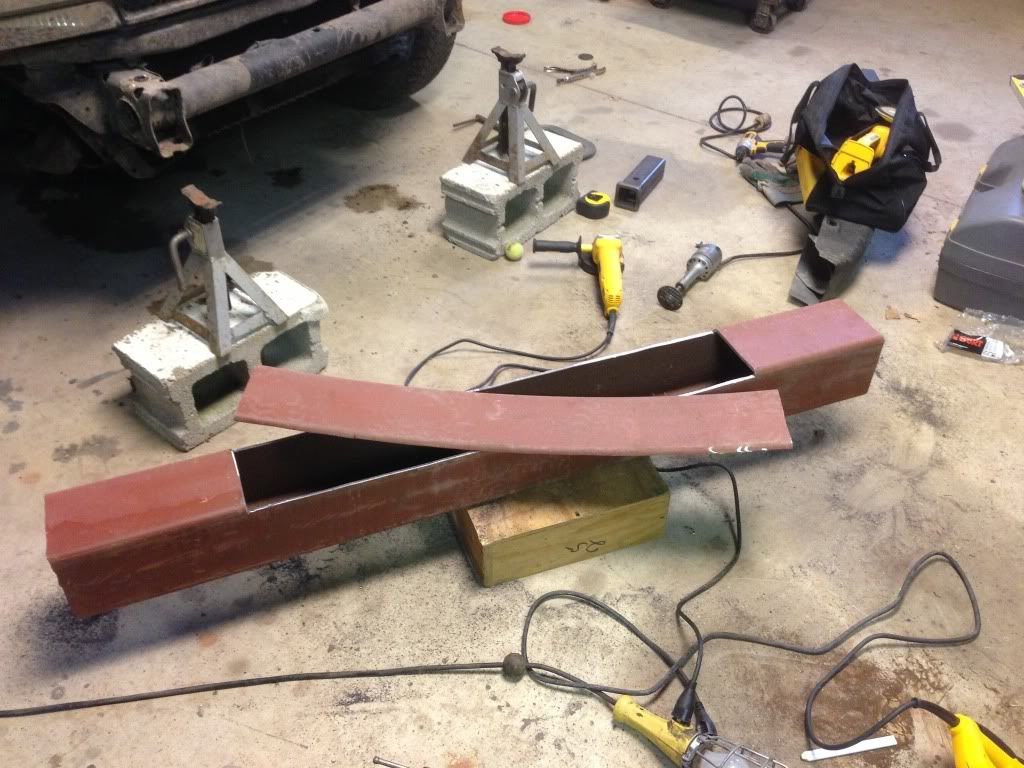
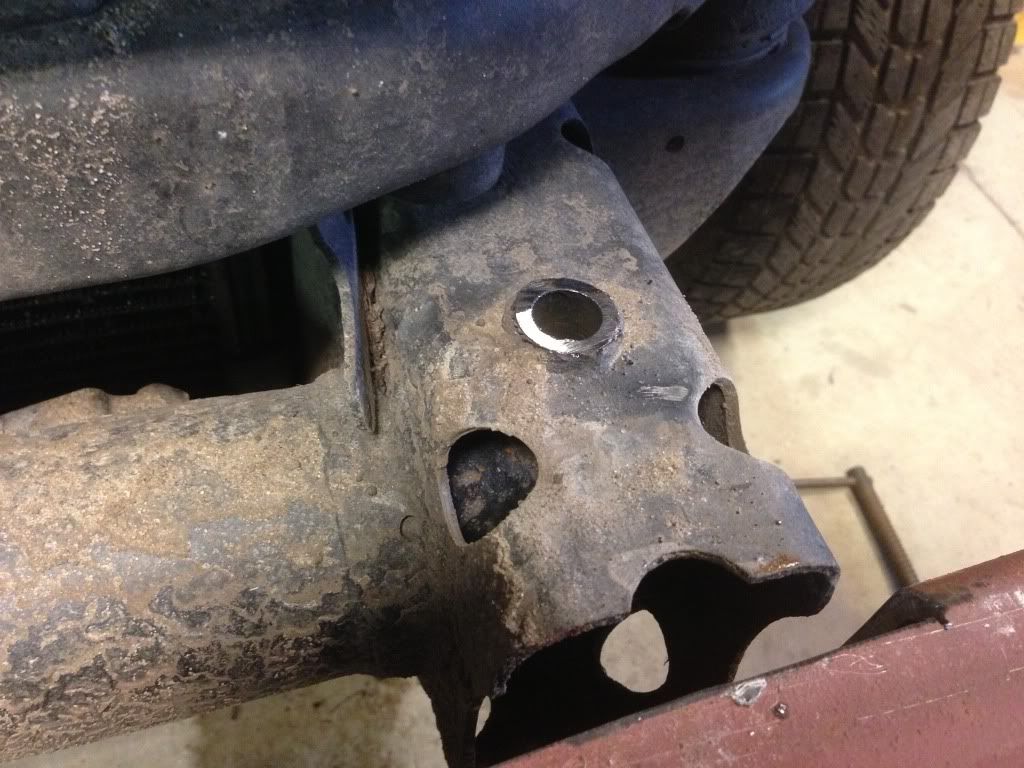
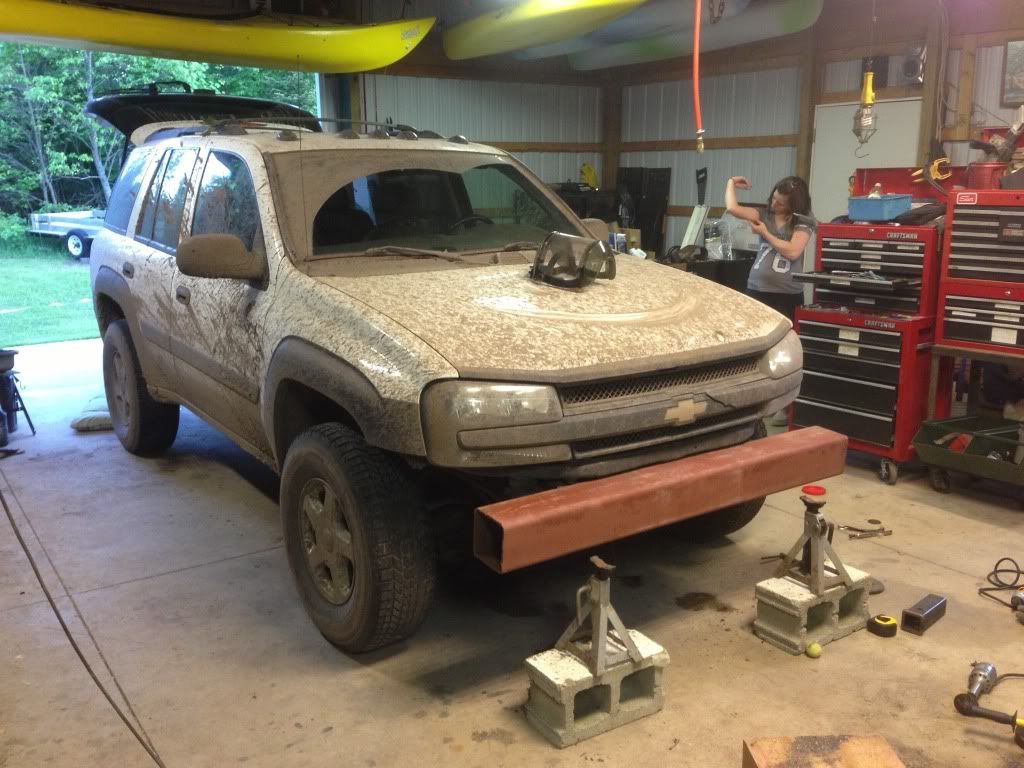
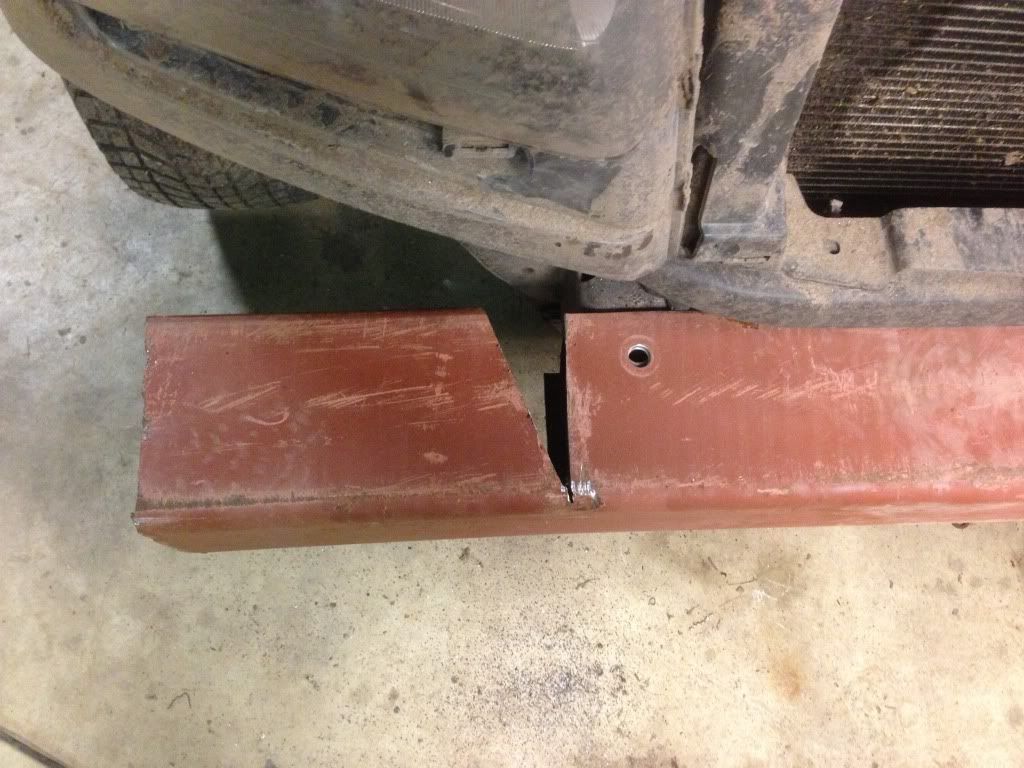
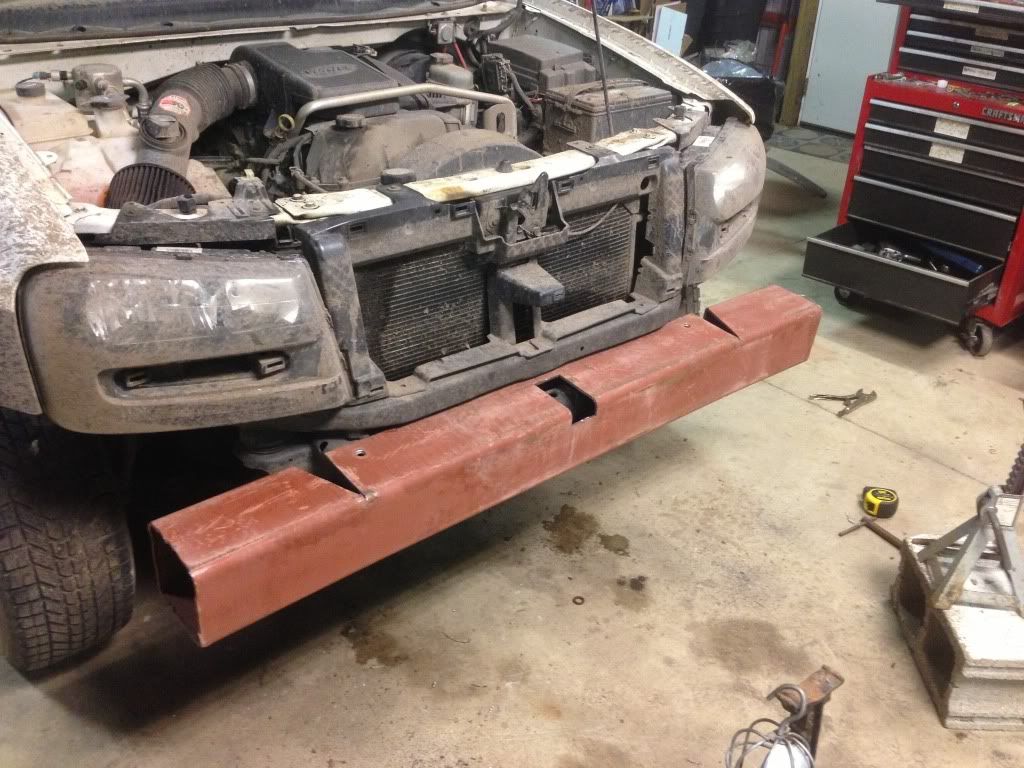
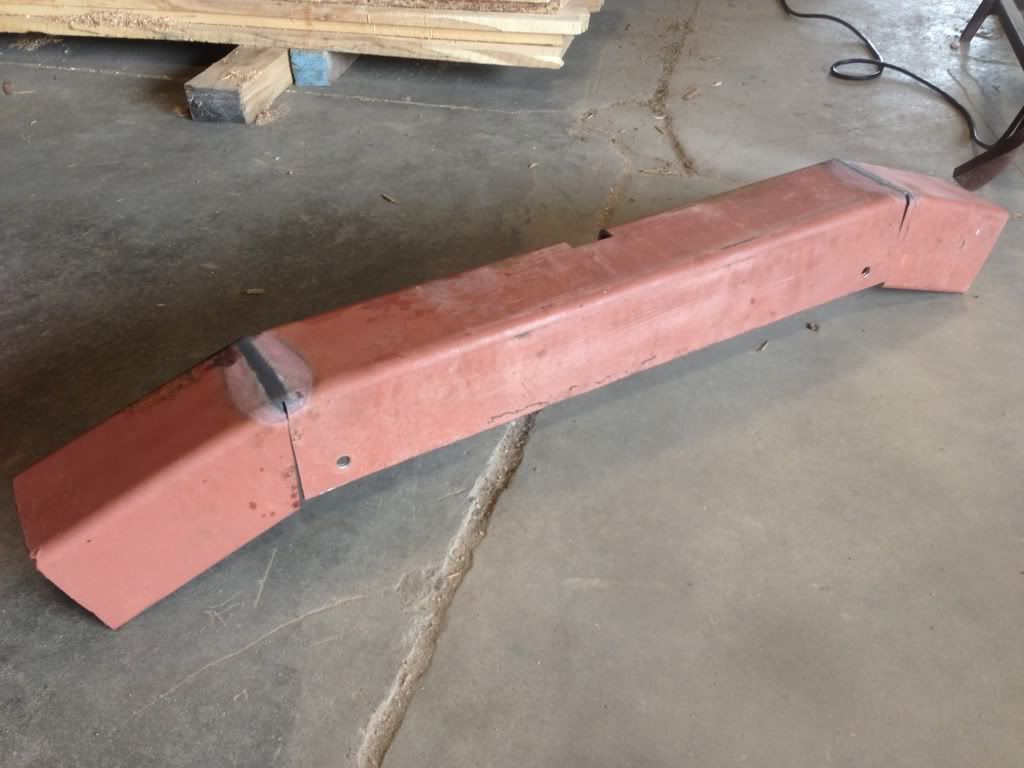
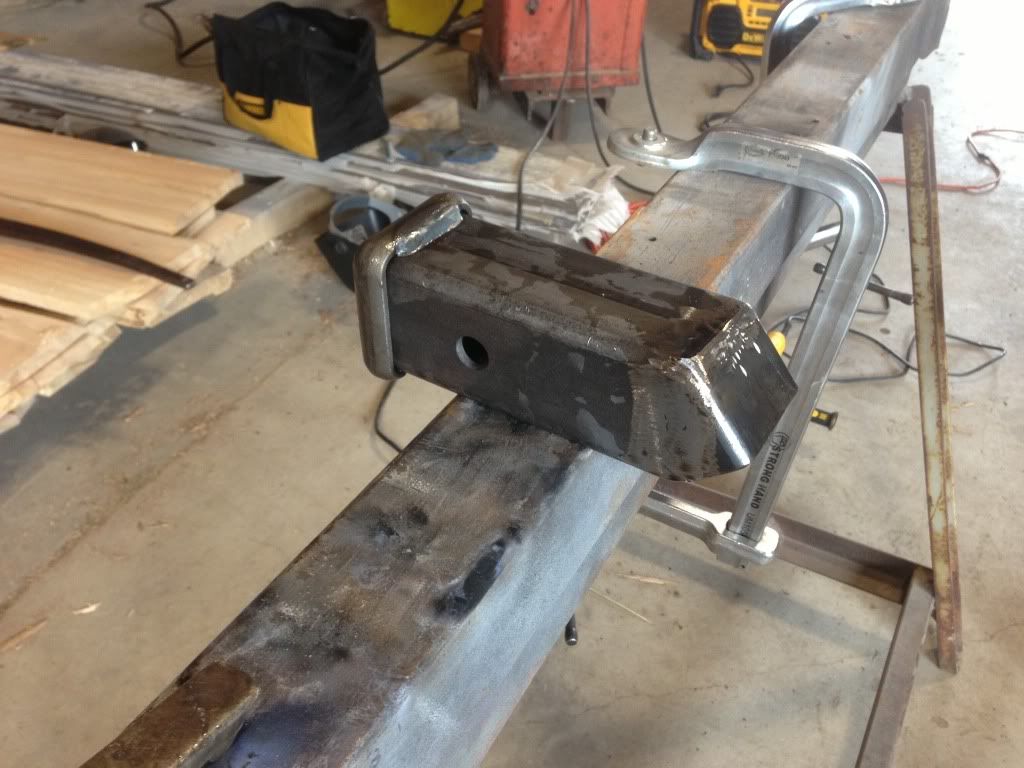
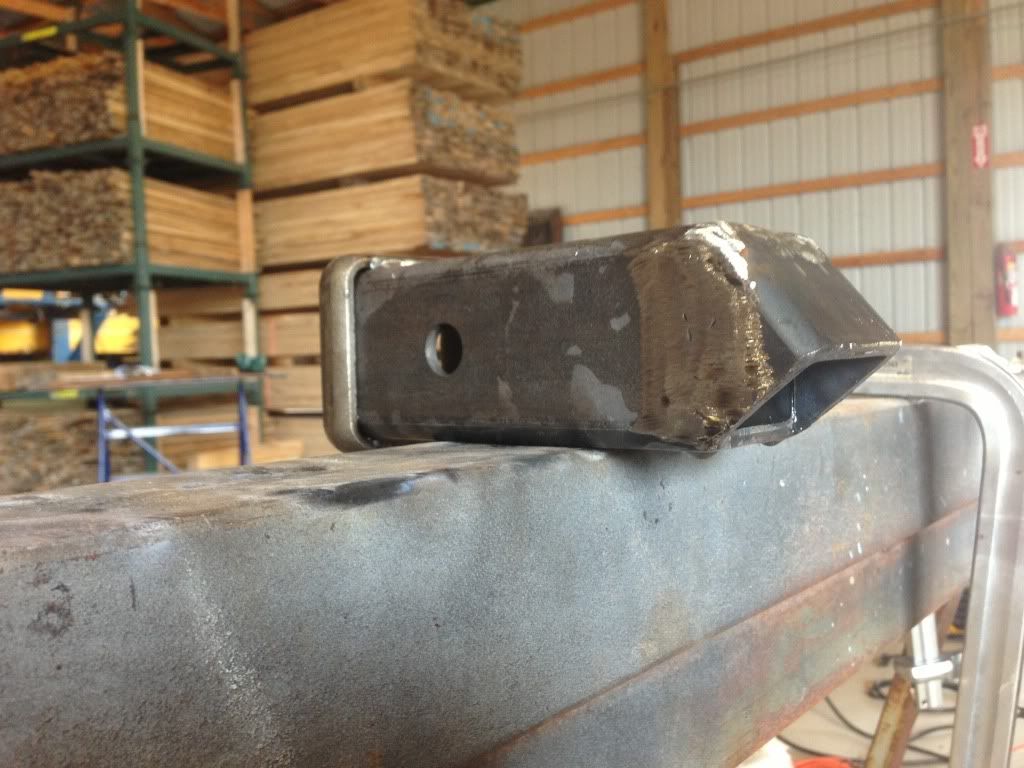
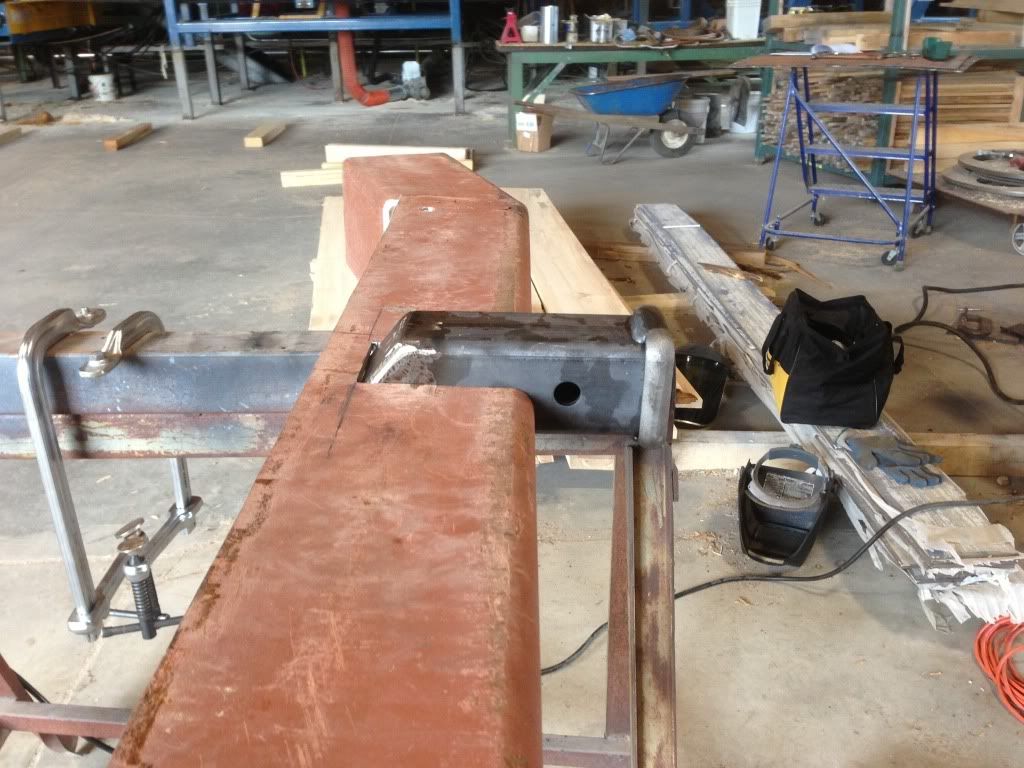
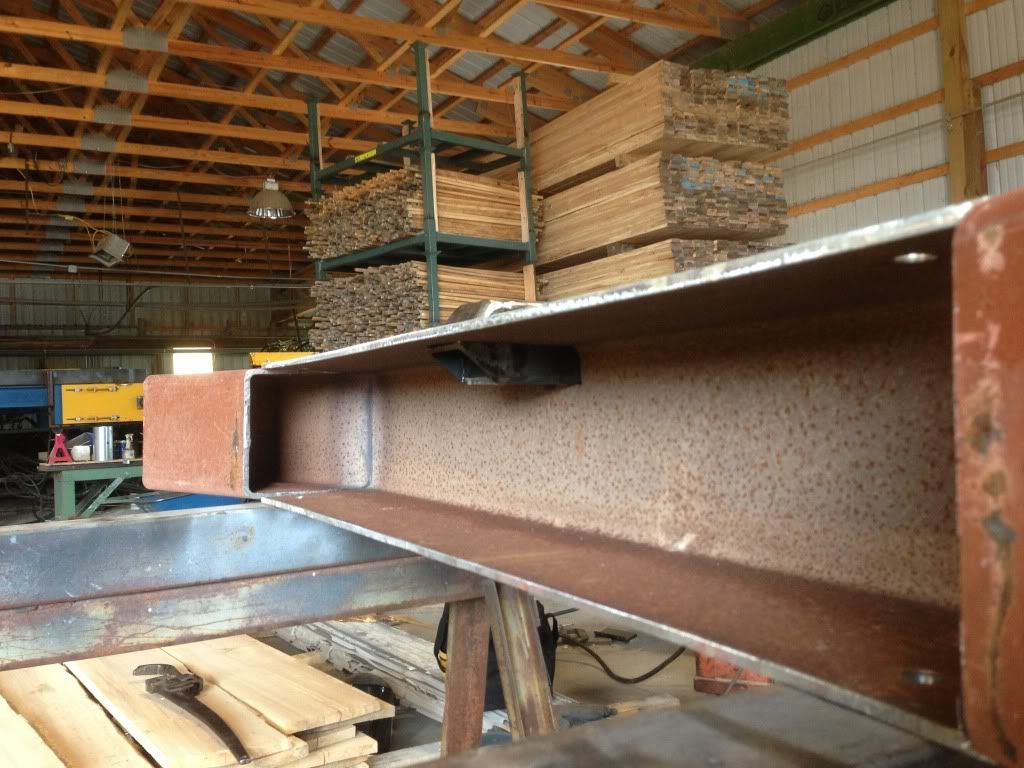
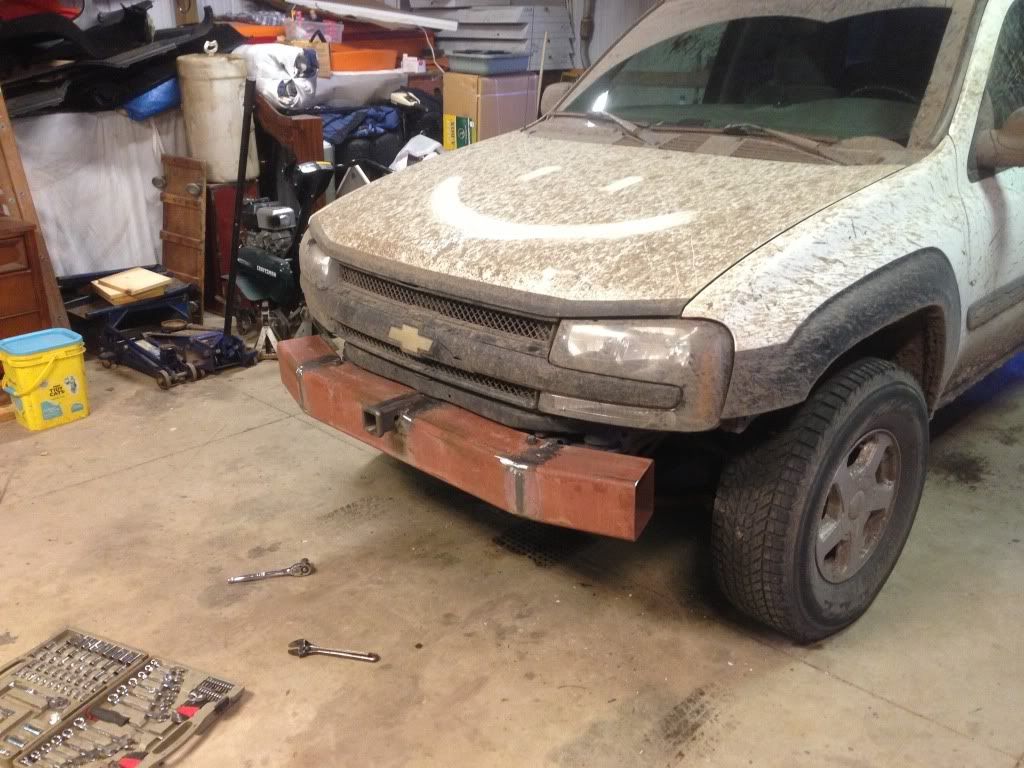
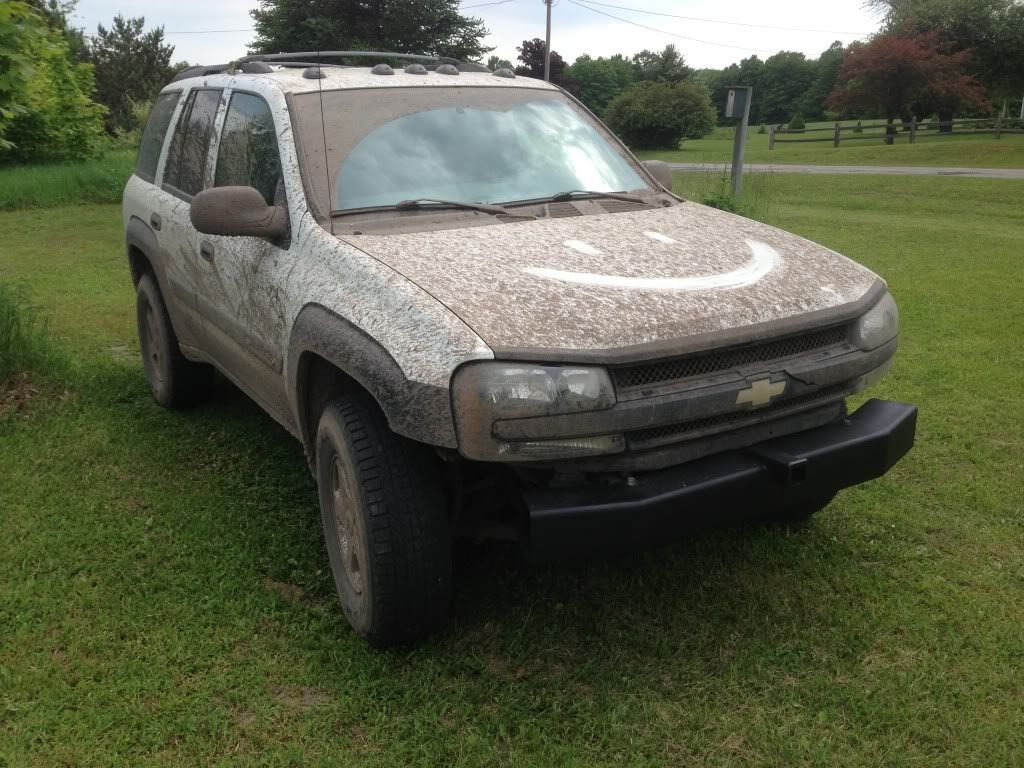
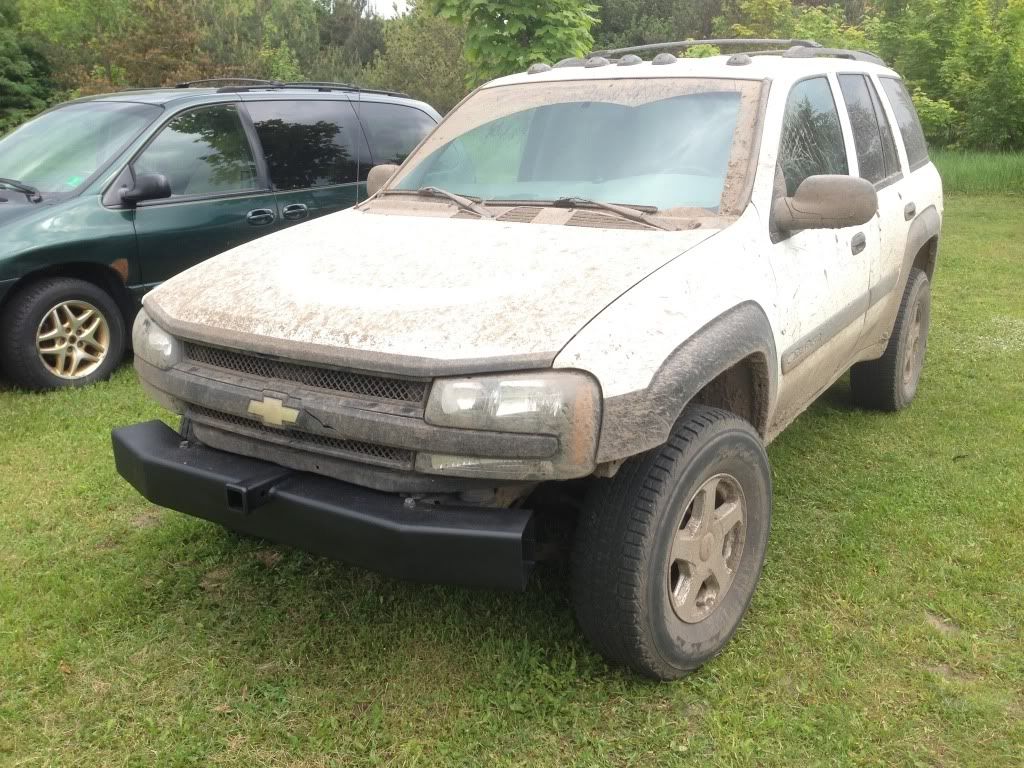
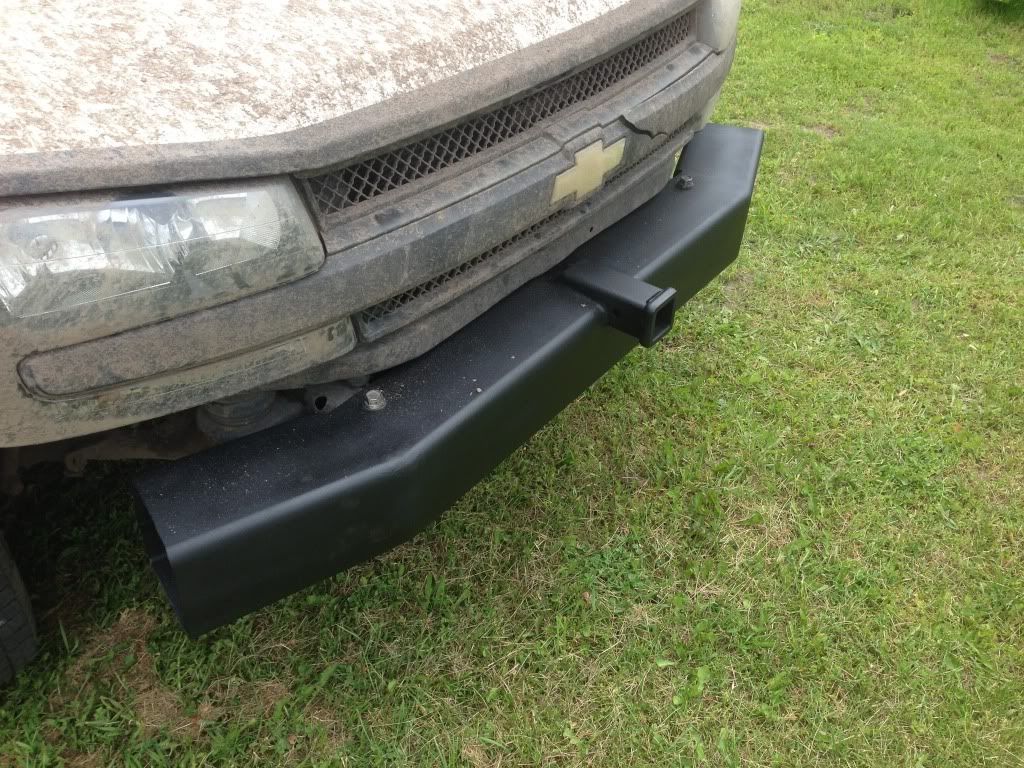
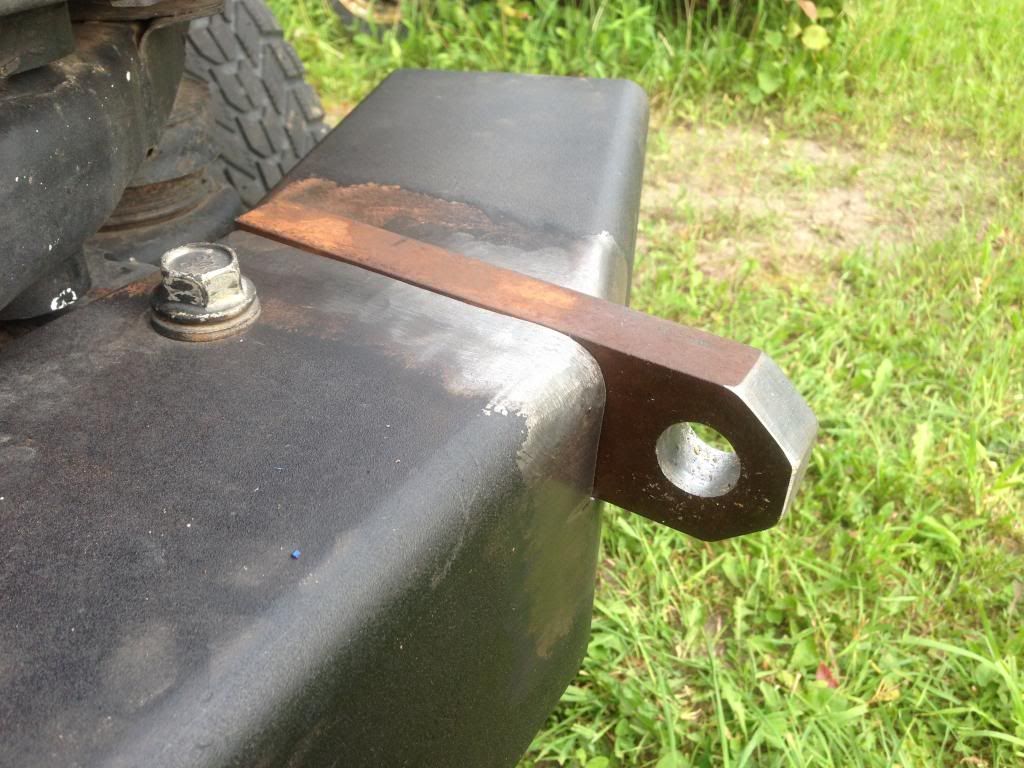
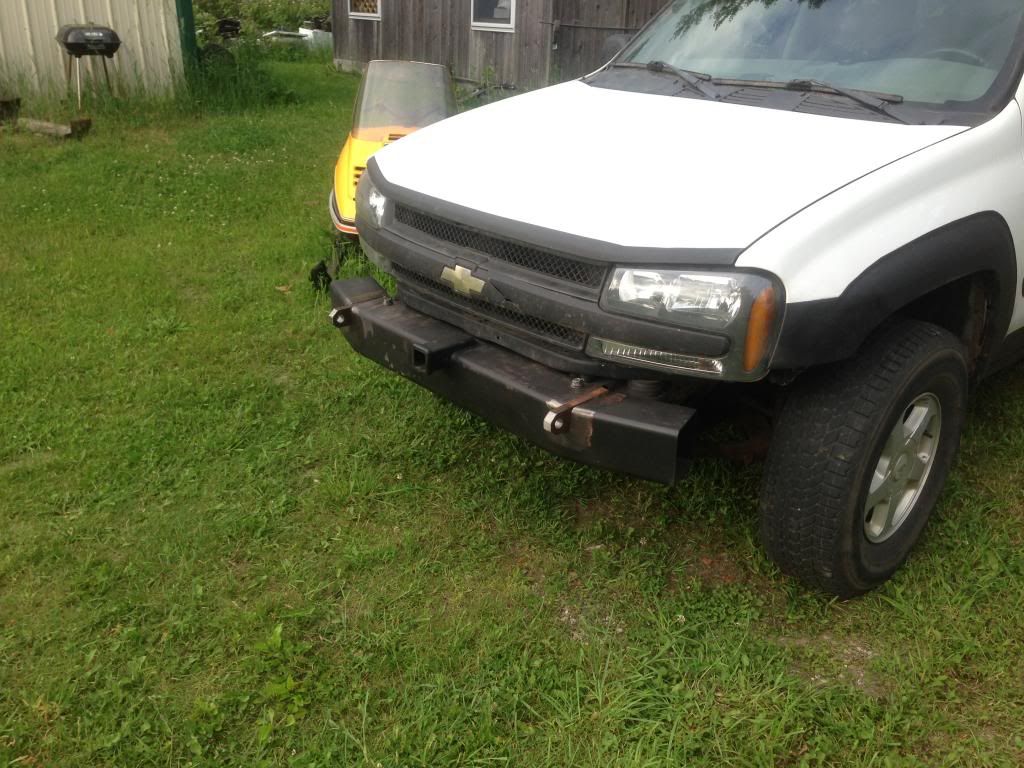
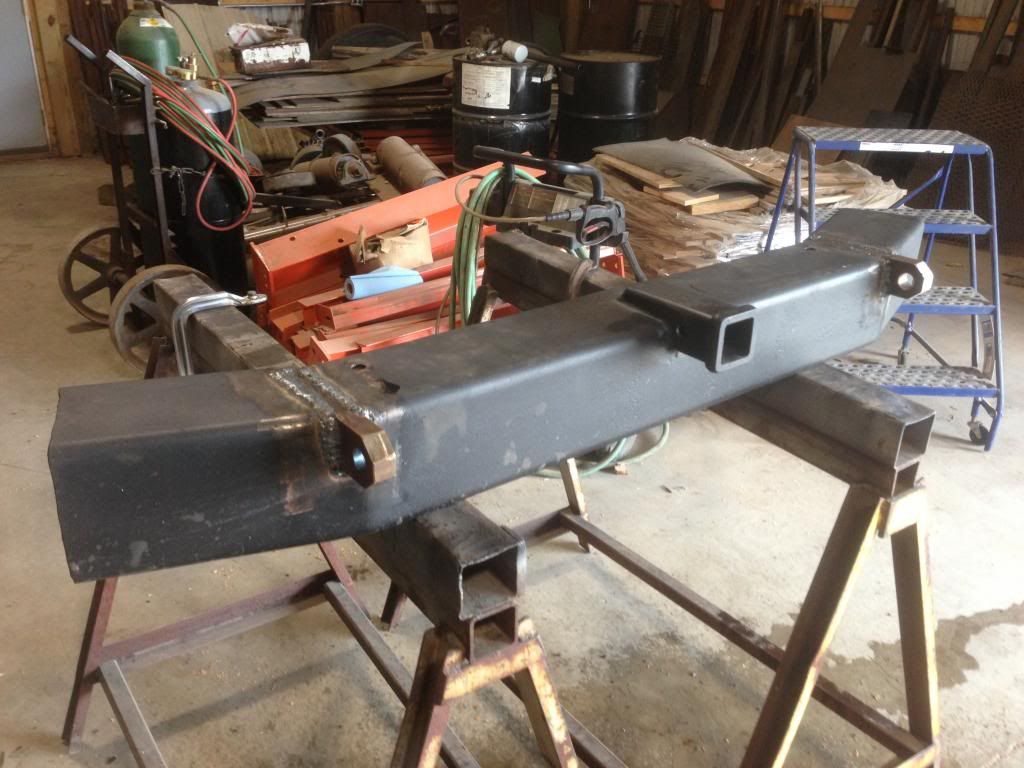
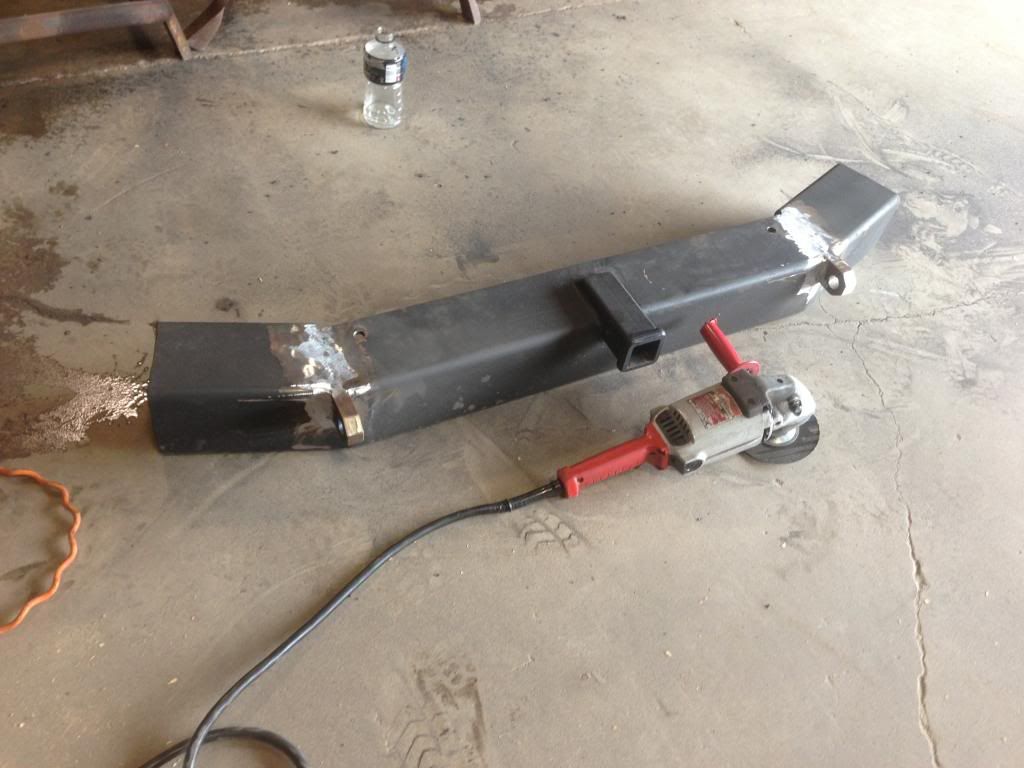
Front receiver bumper
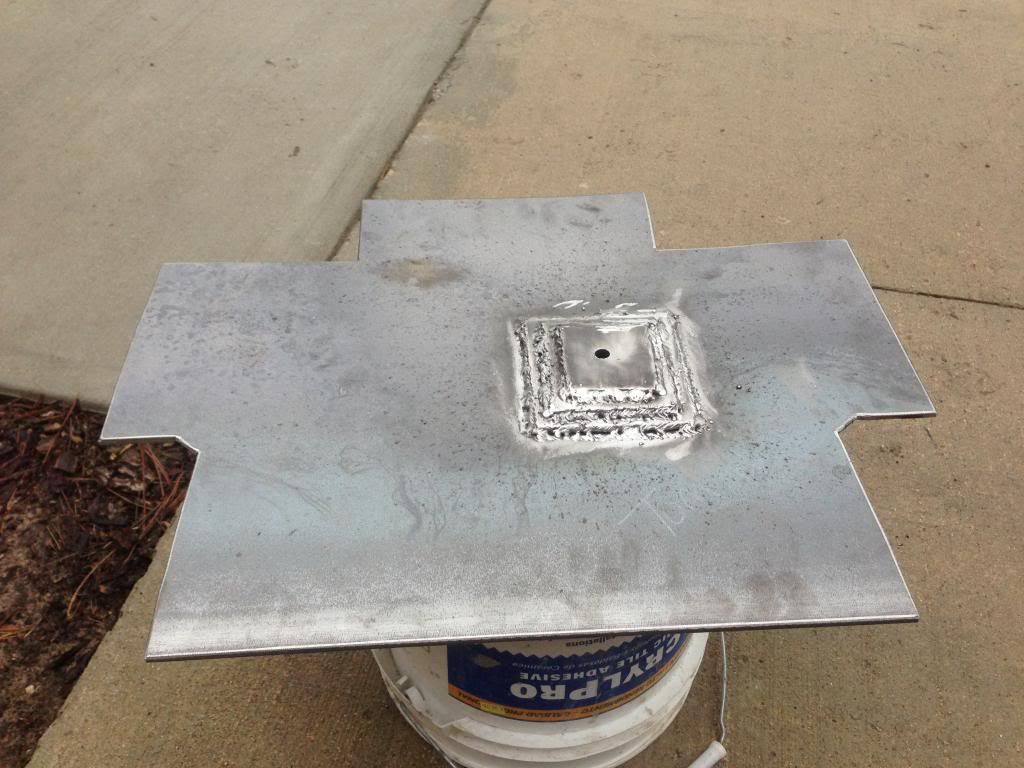
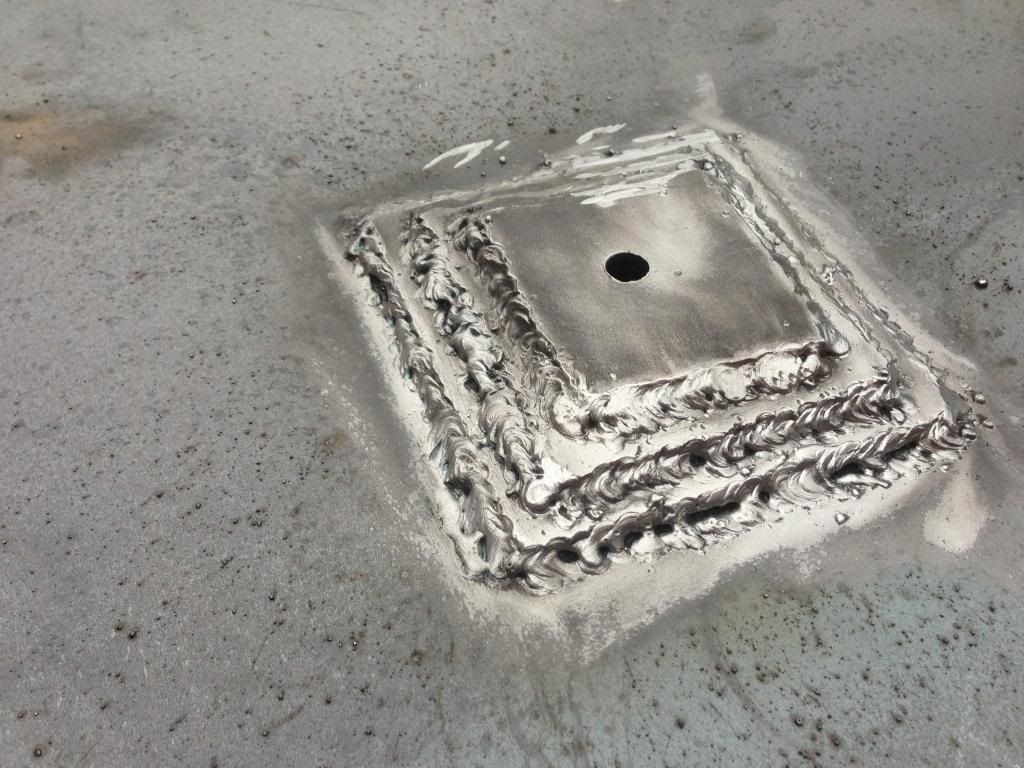
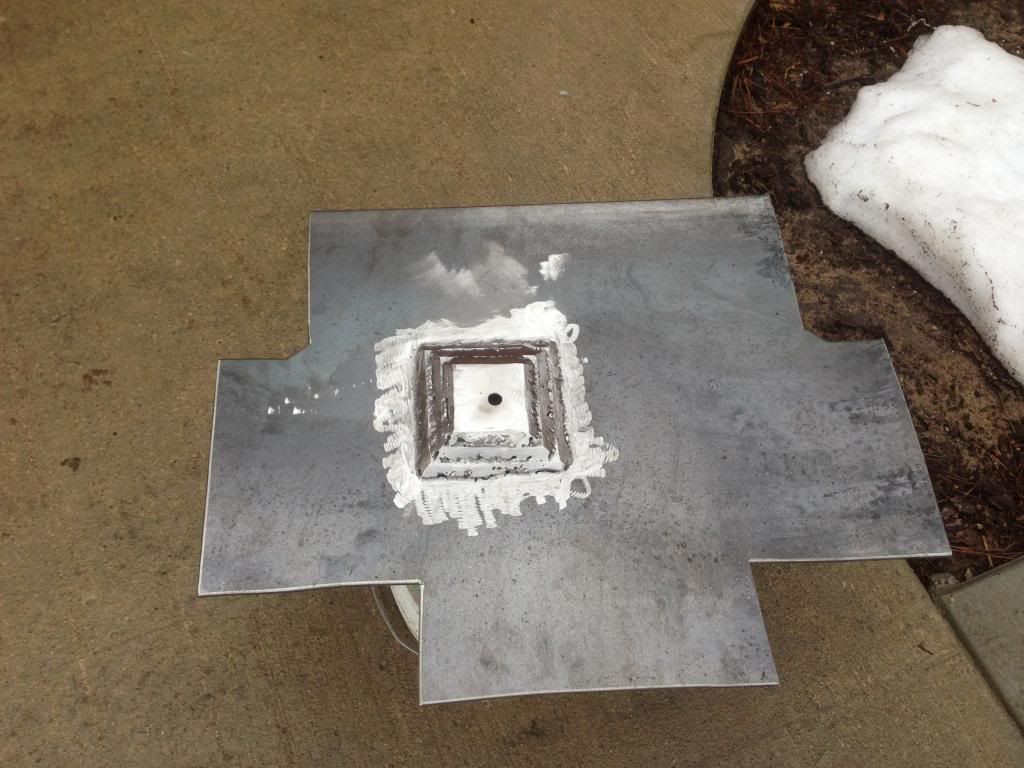
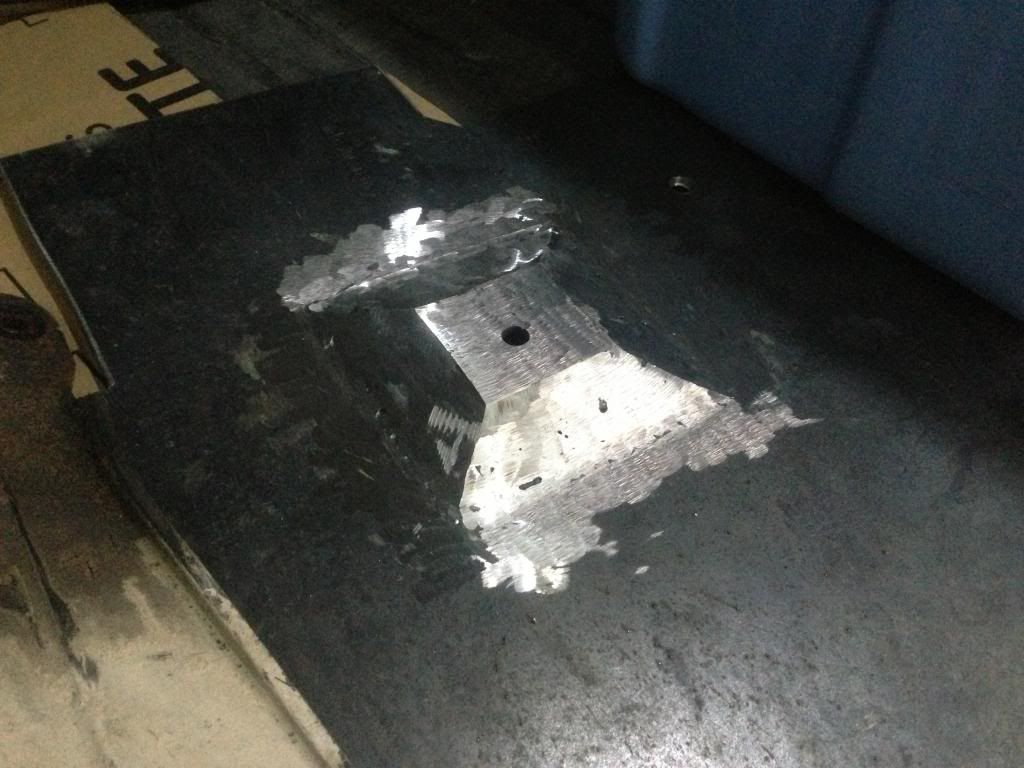
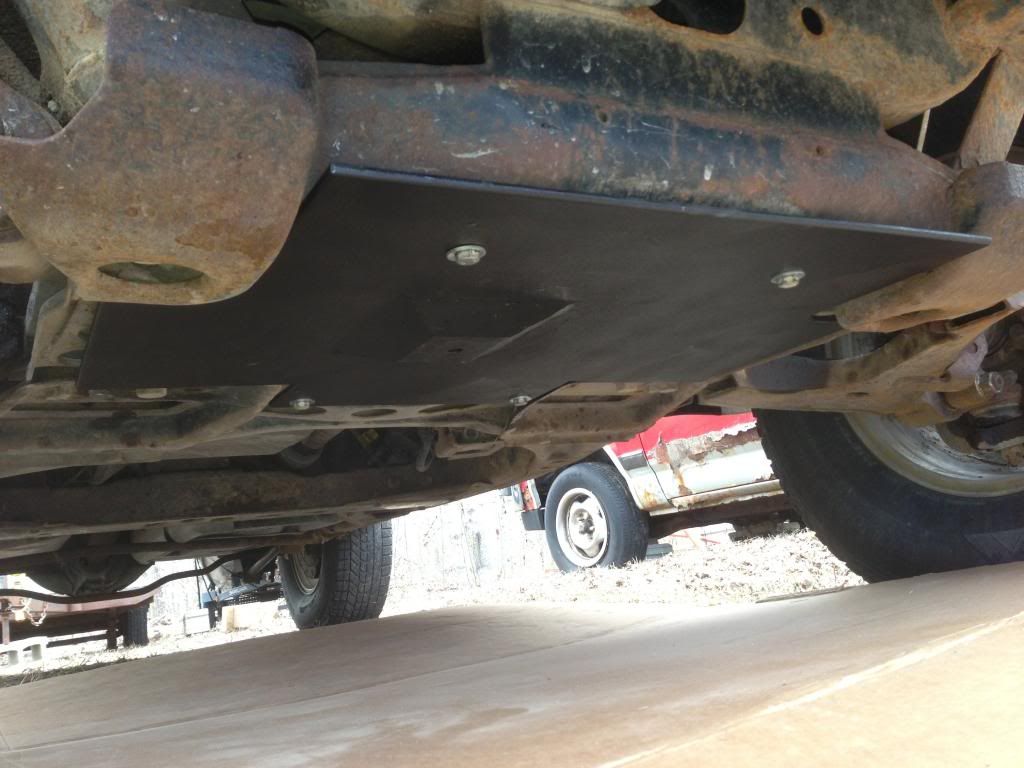
Oil skid
Tires: 265x75-16 winterforce snow tires
Engine Modifications:
K&N air filter
Resonator Delete
Interior Modifications:
Mag Light mount
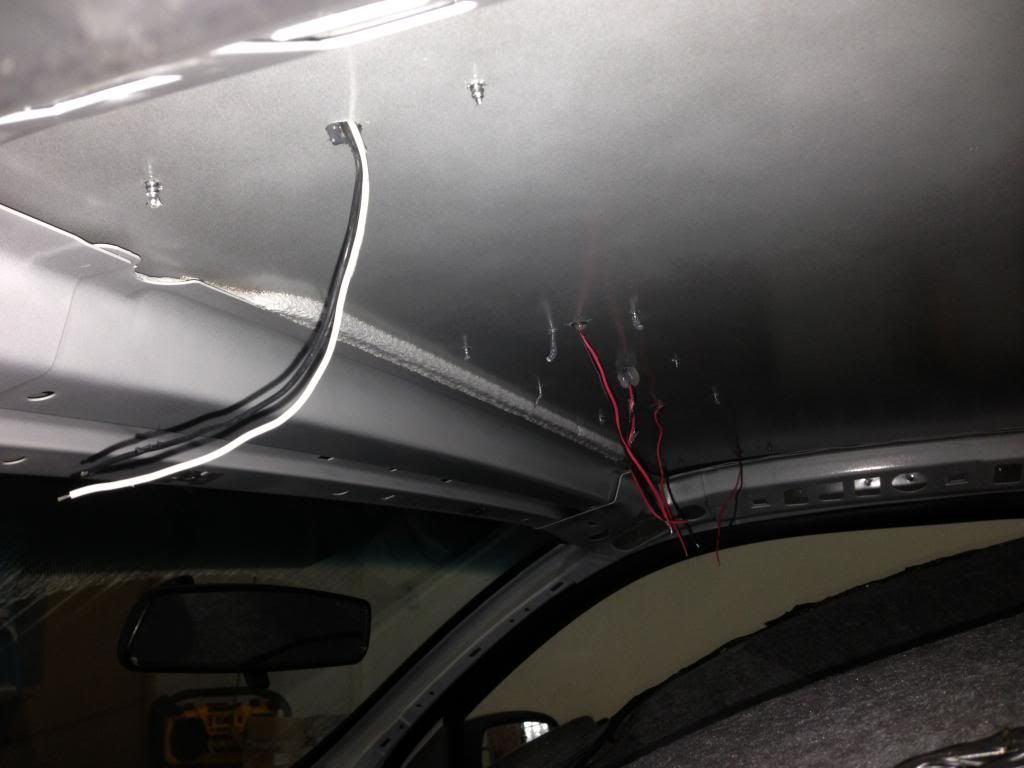
White Led interior lights
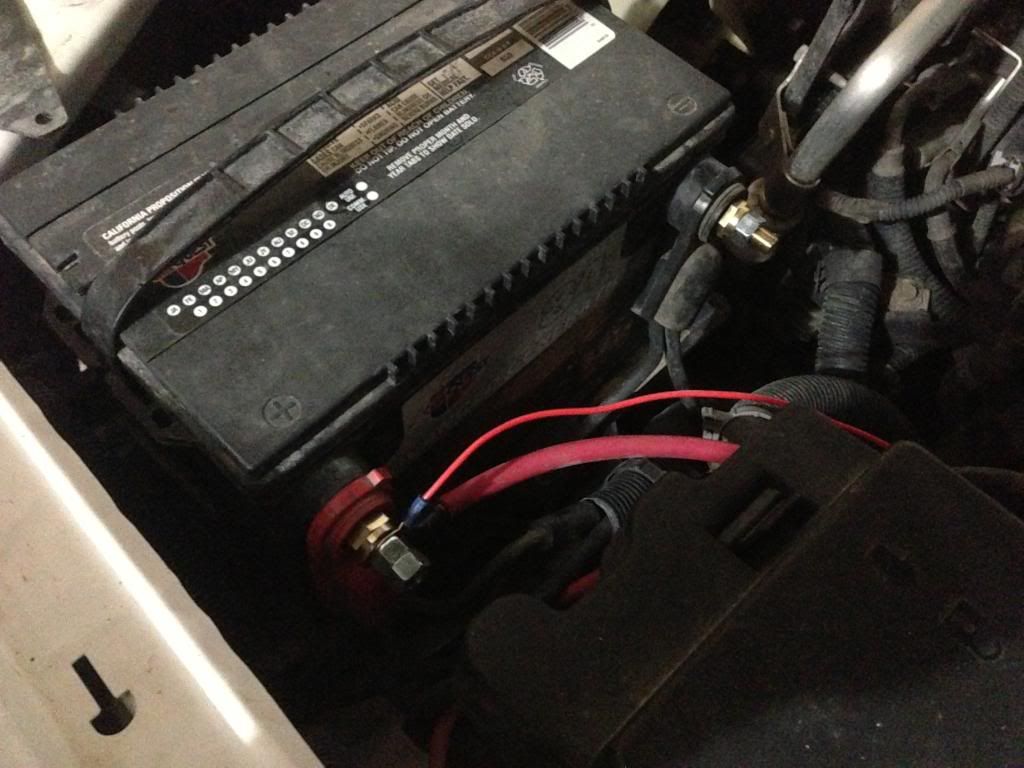
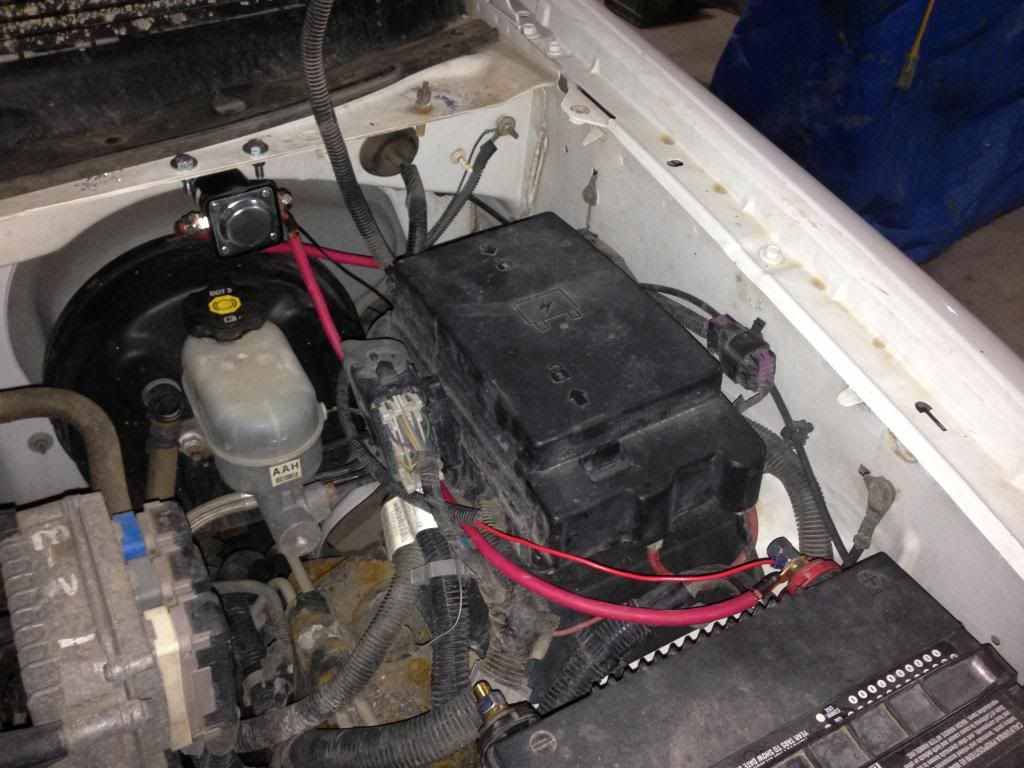
Electrical Modifications:
Selectable 4 button on/off 4 12v outlet splitter
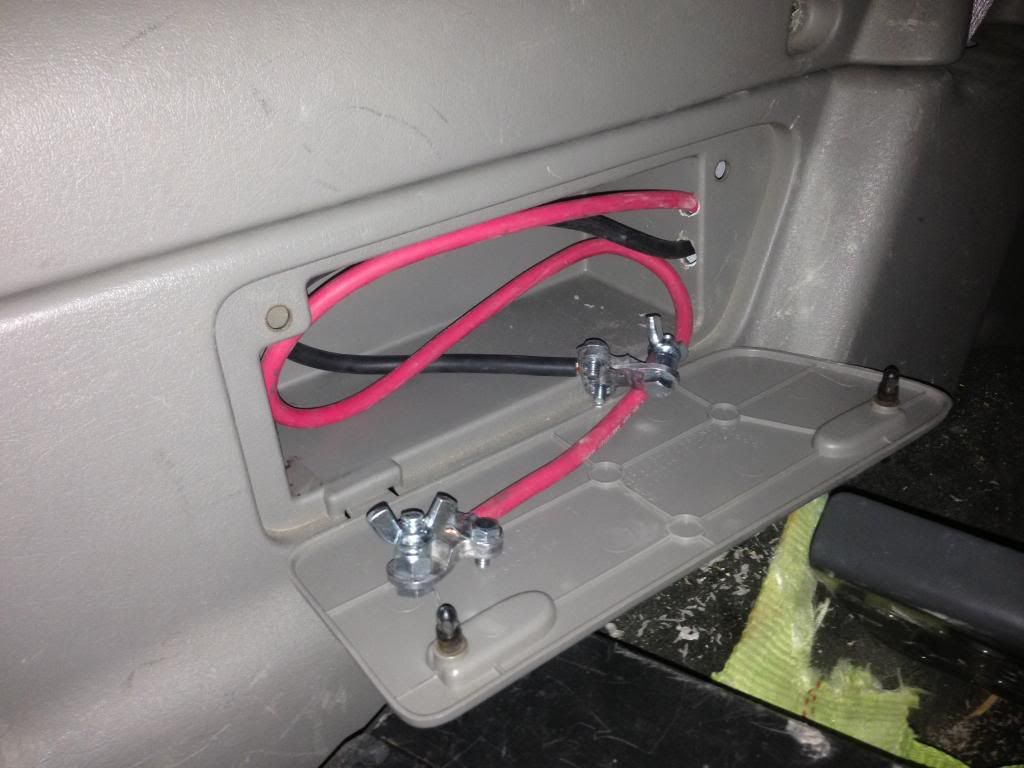
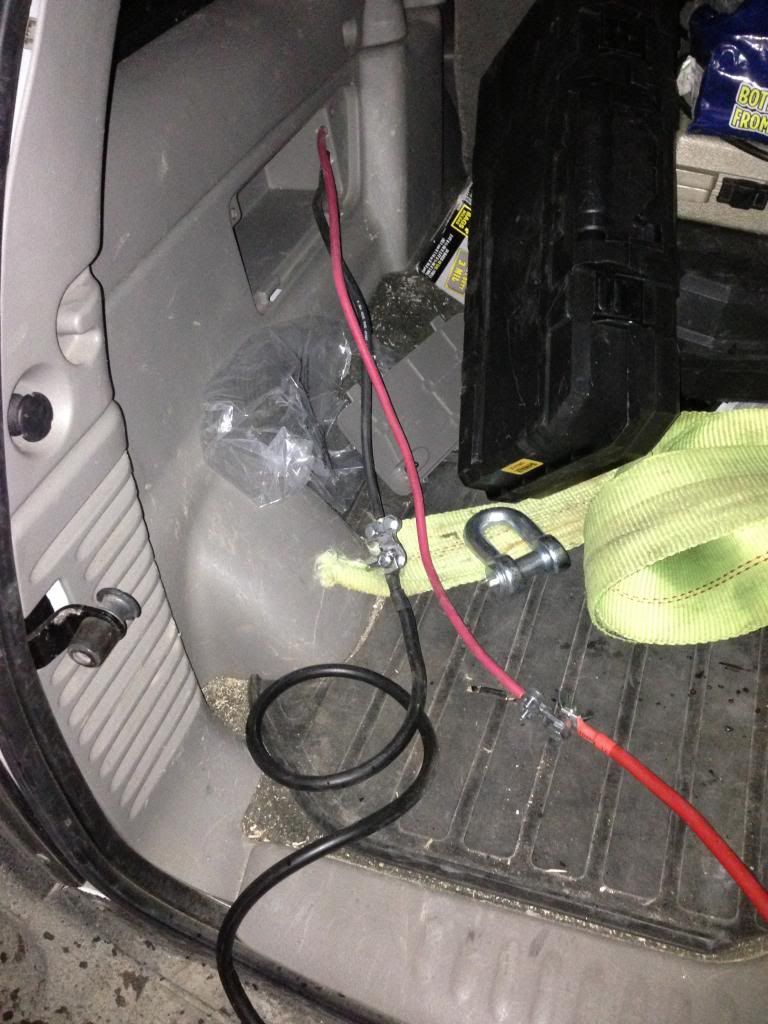
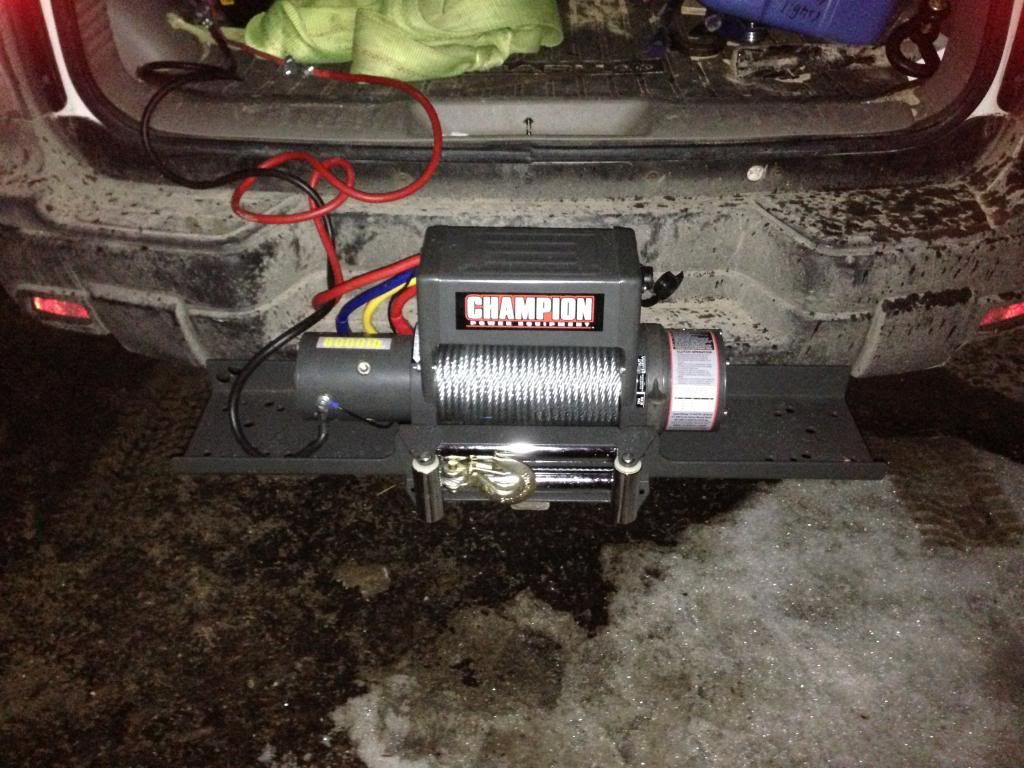
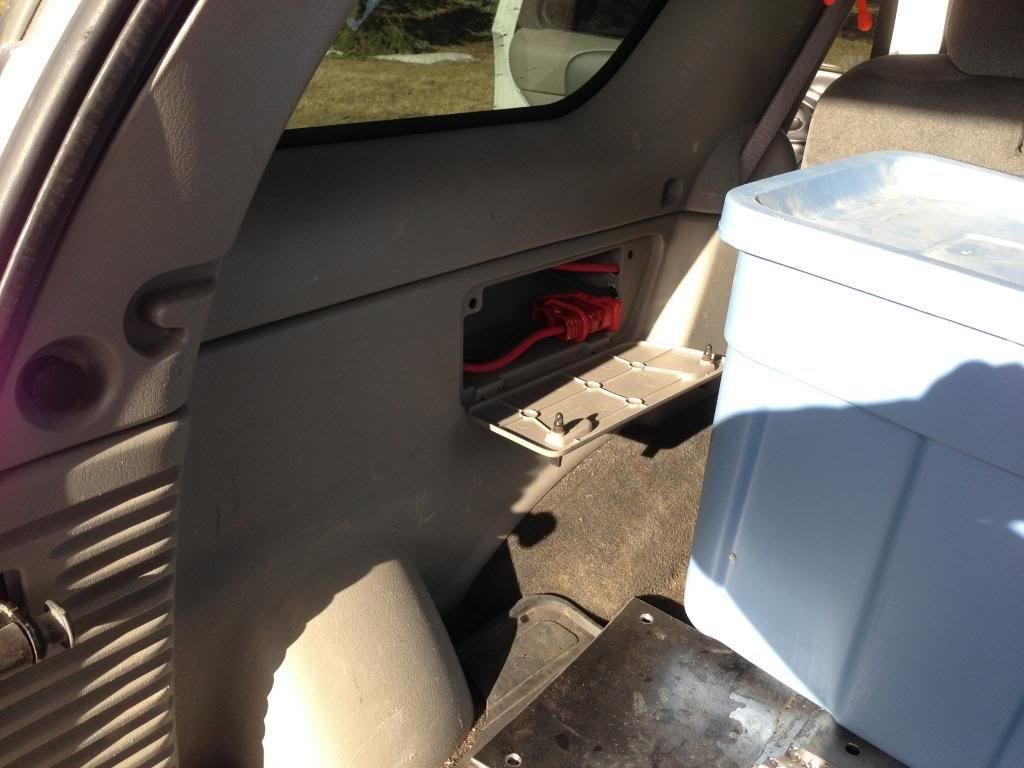
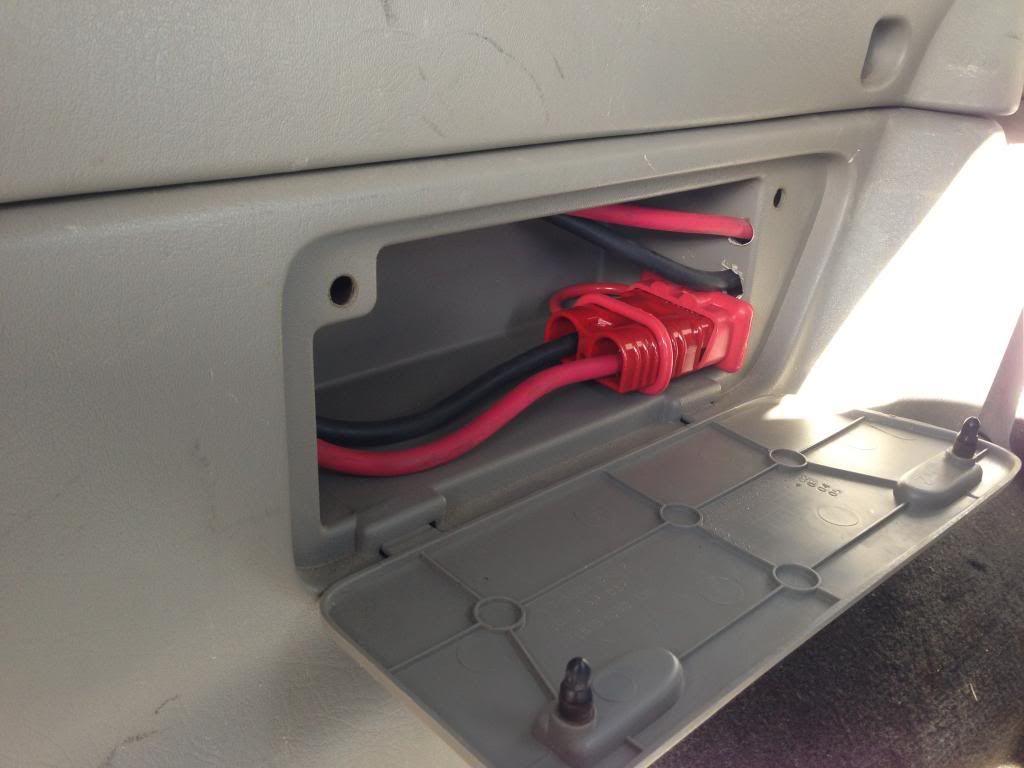
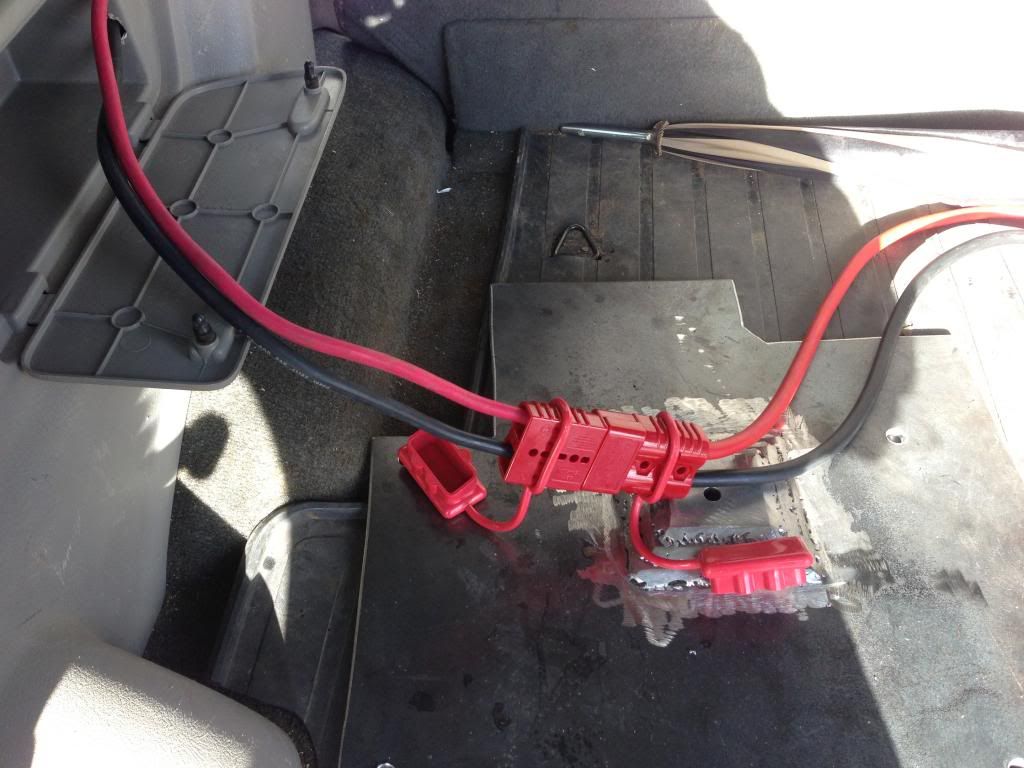
4 gauge pos wire to front & rear for winch w Warn Connectors & relay shutoff at source
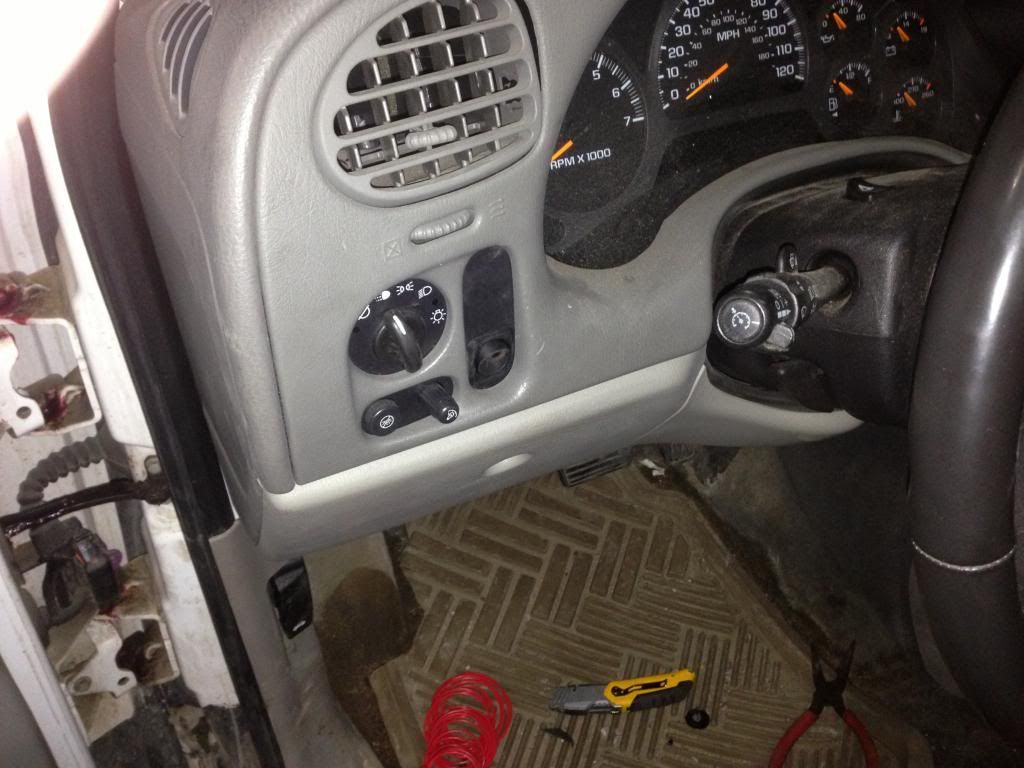
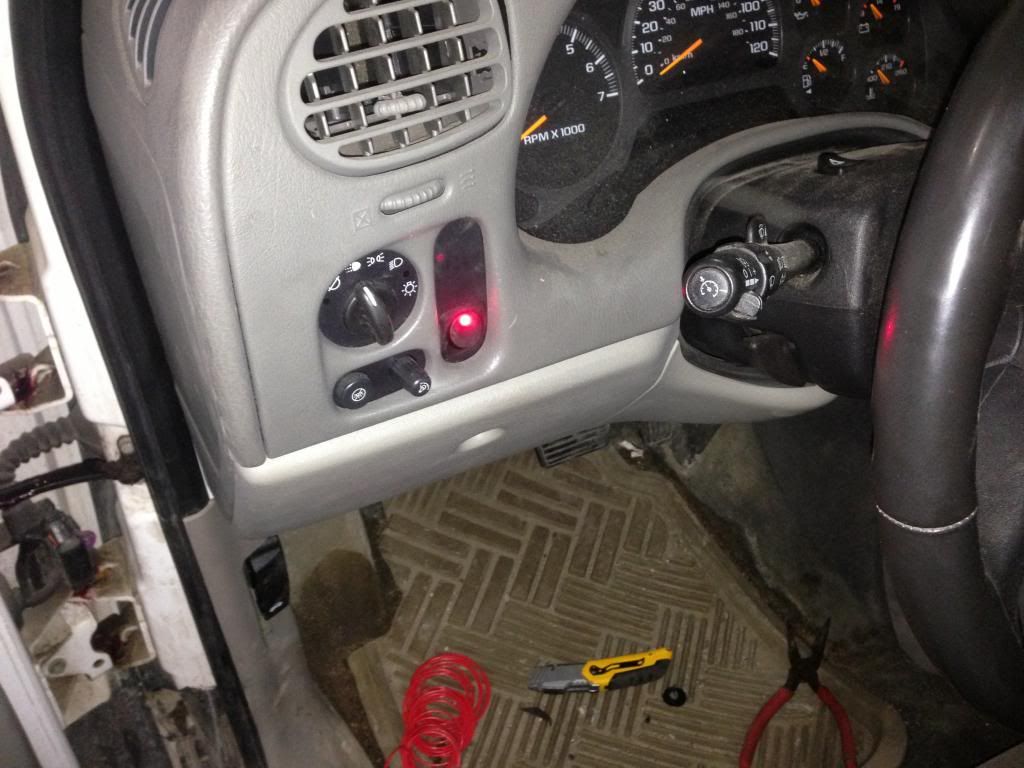
Viper-rattler remote start
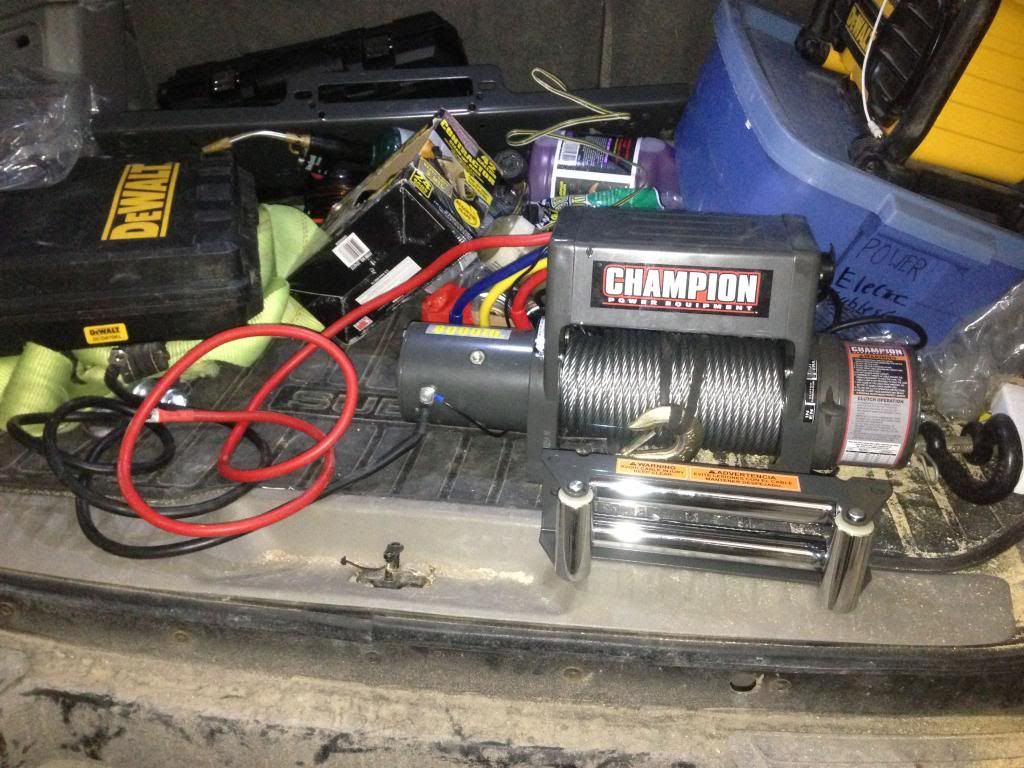
Recovery Equipment:
Champion PE 8000# winch w 95' 3/8" aircraft cable/receiver mount
Old Faithful (80,000#x30' strap)
4' Chain
Shackles
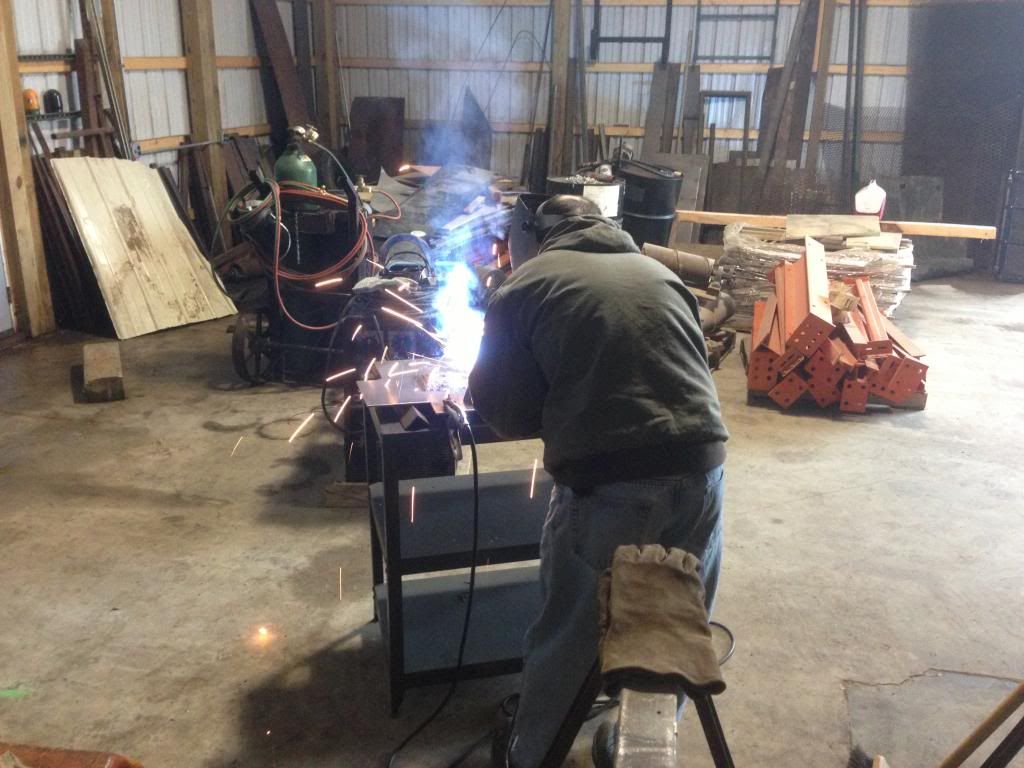
Current Projects:
285-75-16 Guard Dog Tires on stock rims w Full Size Spare
FRONT BUMPER (done...ish)
RAD SKID
OIL SKID PLATES (done)
Z71 Tahoe springs (done)
"89" front springs (done)
new rear shocks, 16"-26.5" (done)
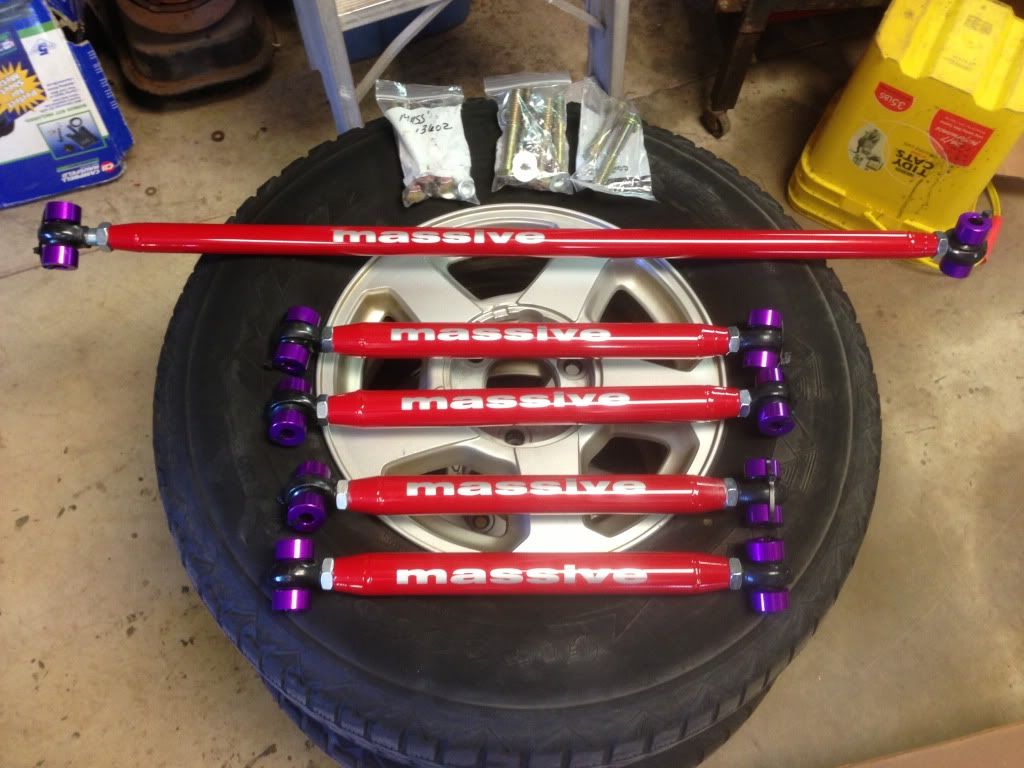
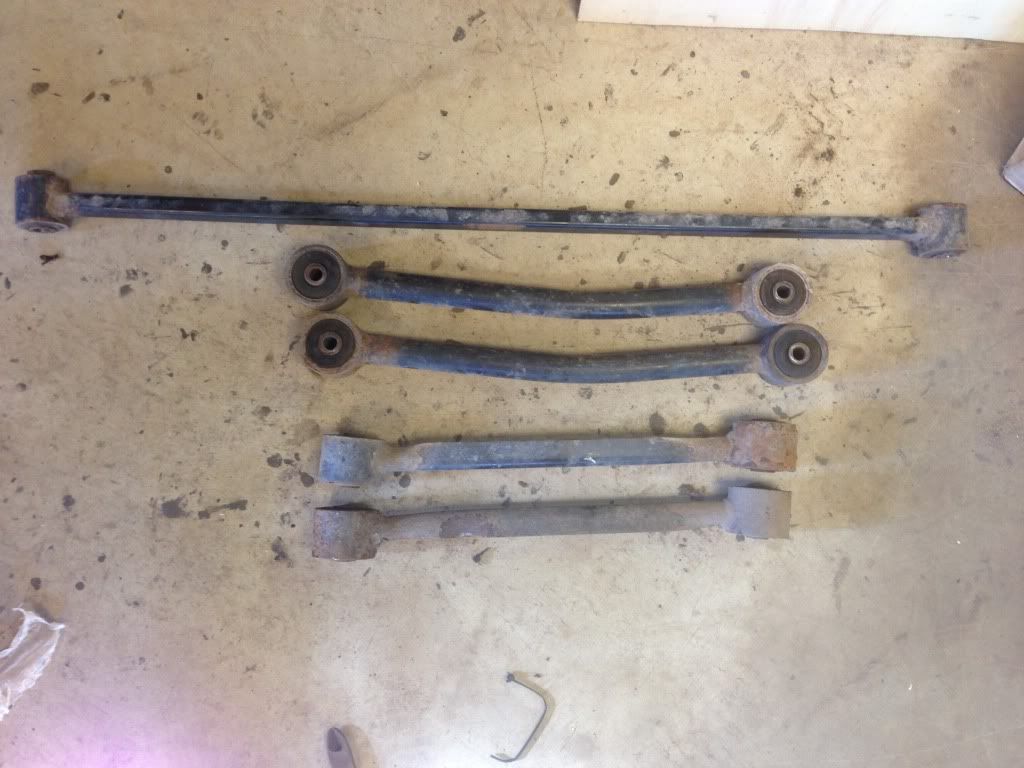
massive control arms (Done)
massive panhard bar (done)
Blisten HD's (Done)
Future Projects:
REAR BUMPER
Front push/brush guard addition to front bumper
3" BODY LIFT
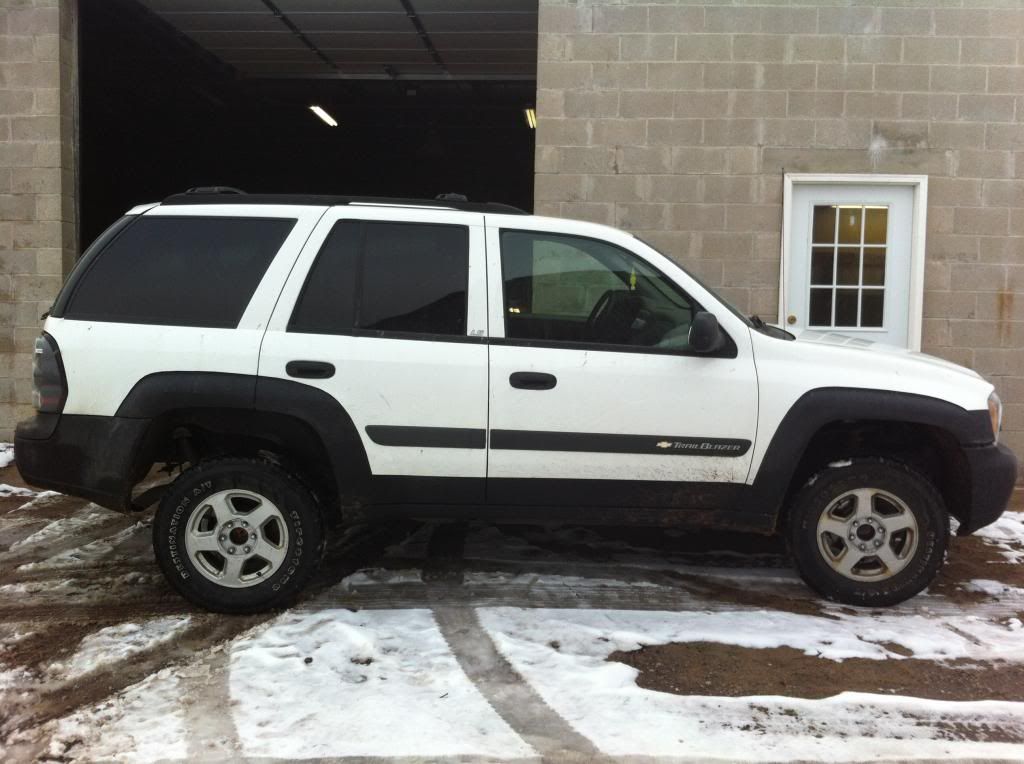
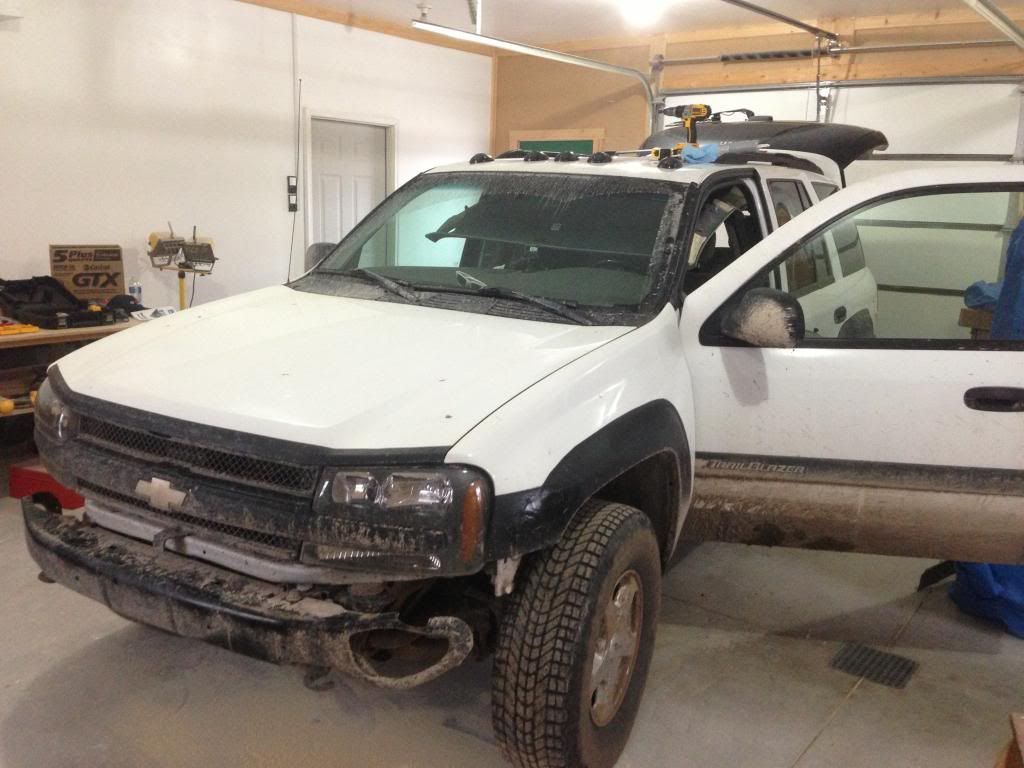
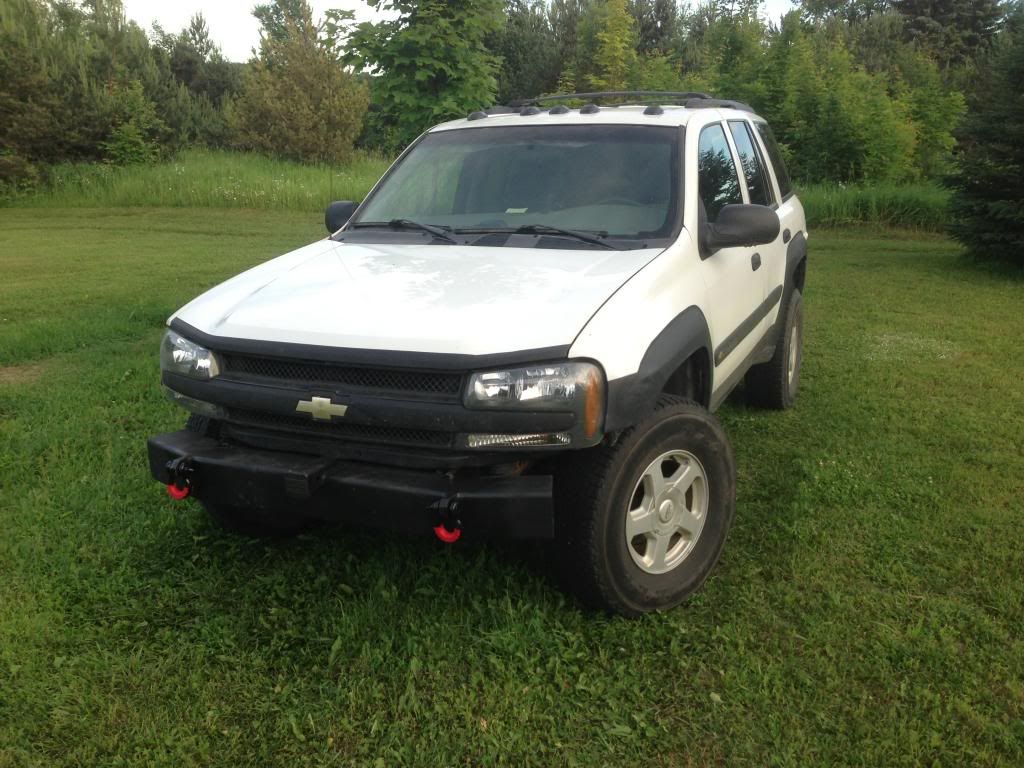
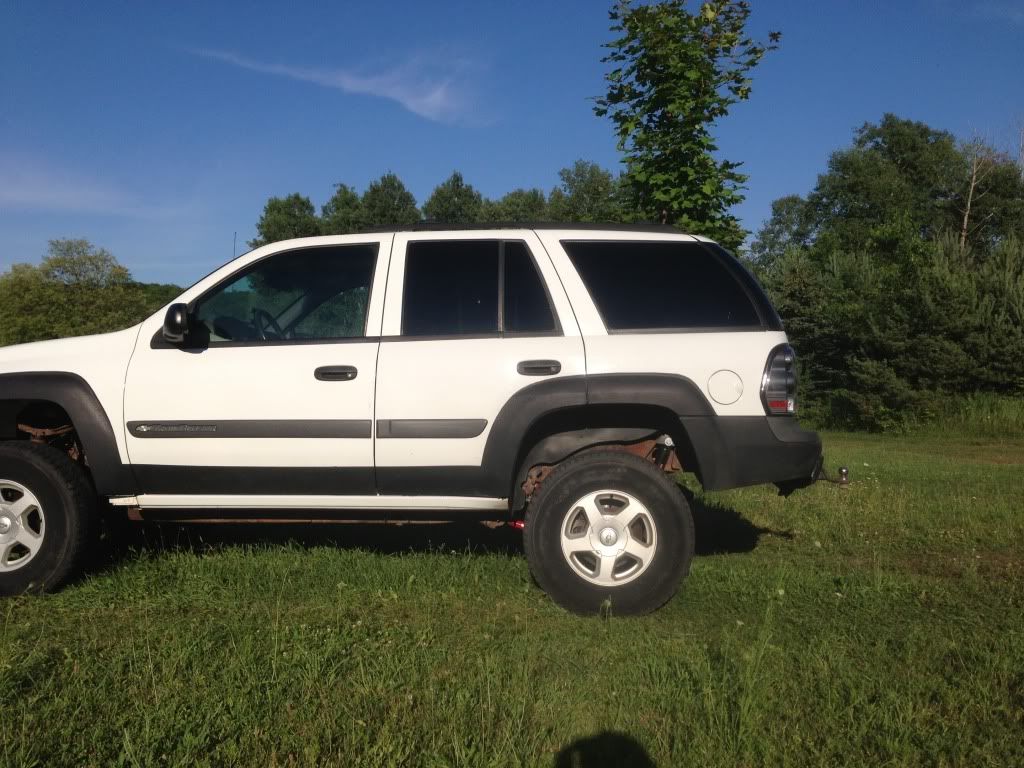
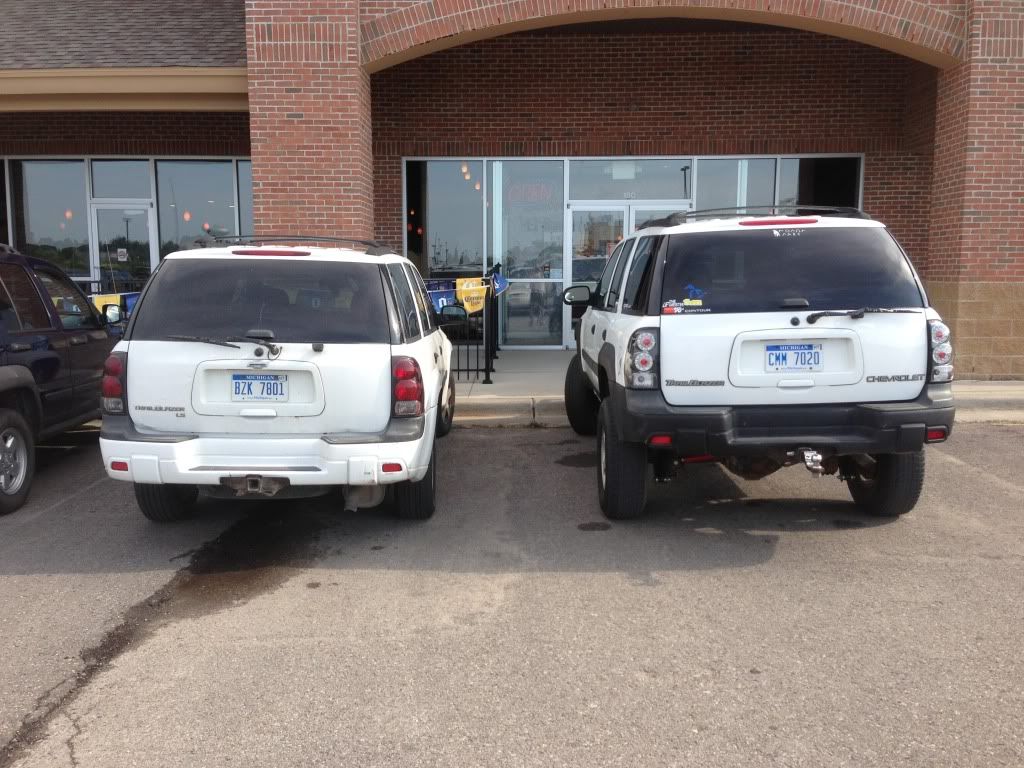
Current Pic:
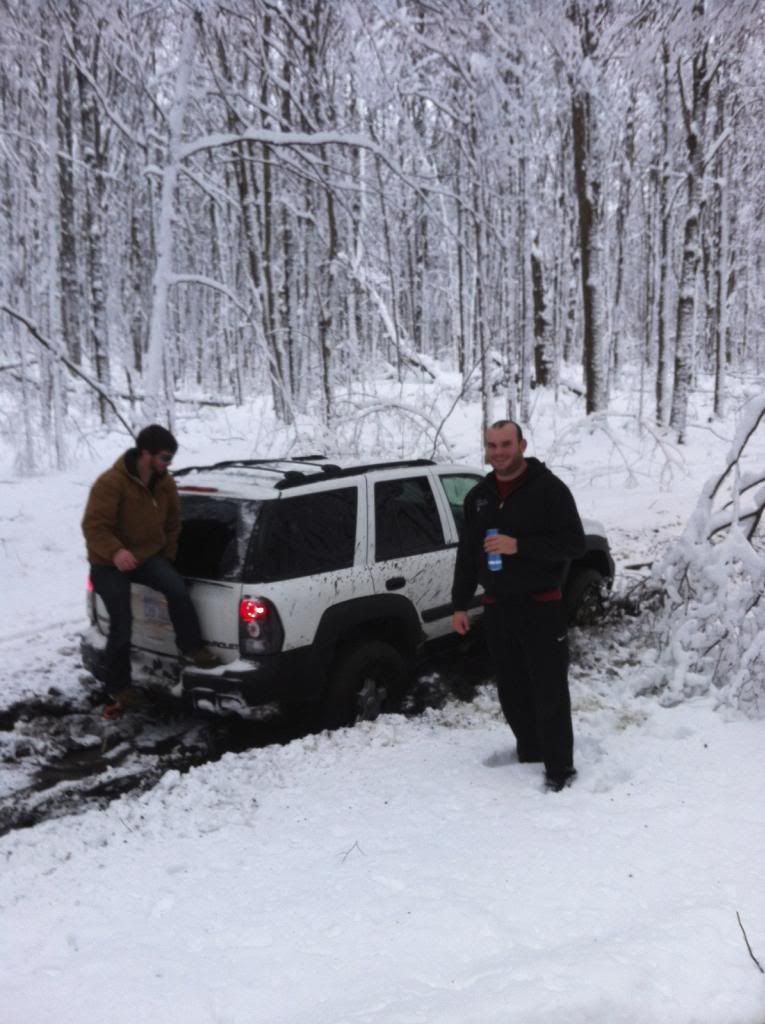
Highest Trail Difficulty Completed: White Rd. Trails (ORTB Trail Rating Guide: 3.5)