November 16, 2012
Breather Relocation
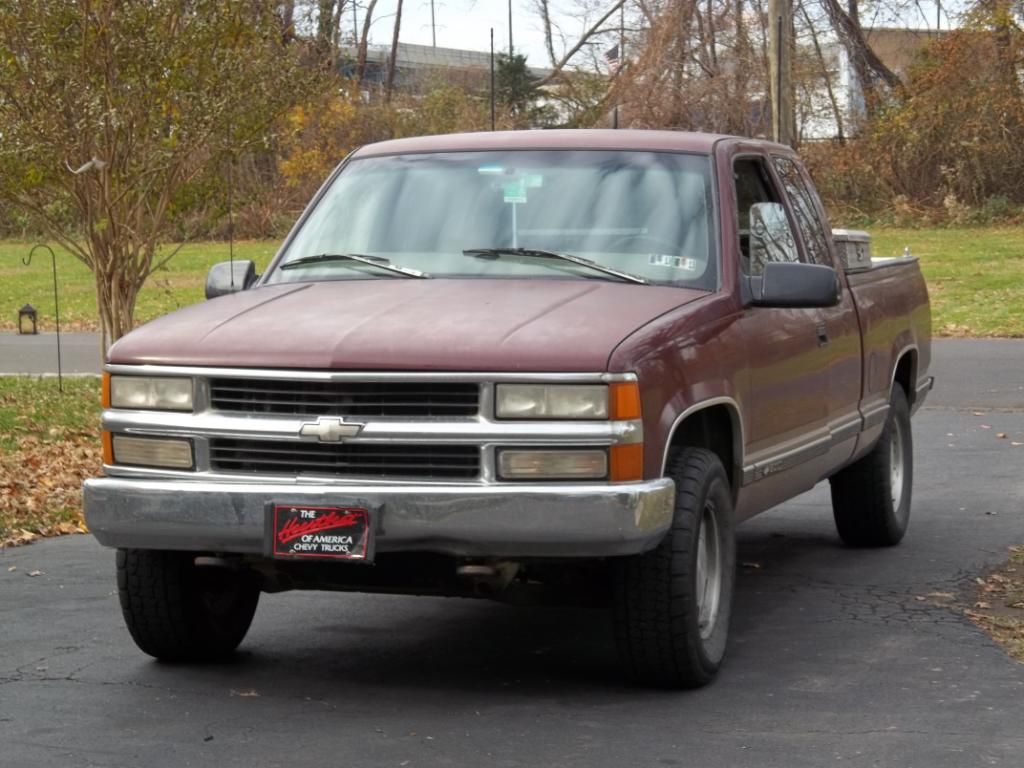
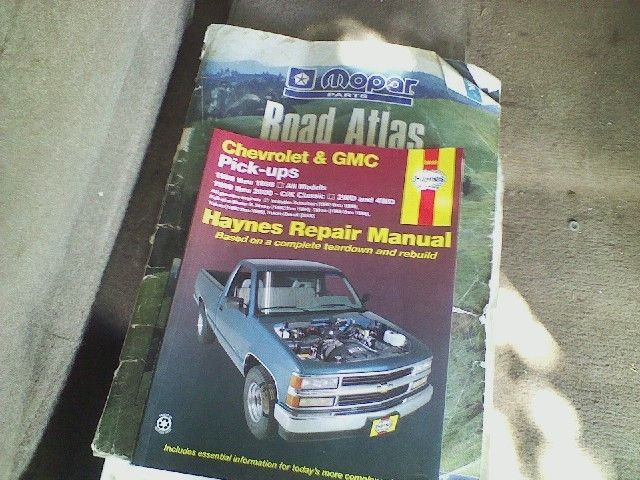
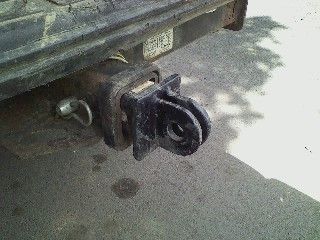
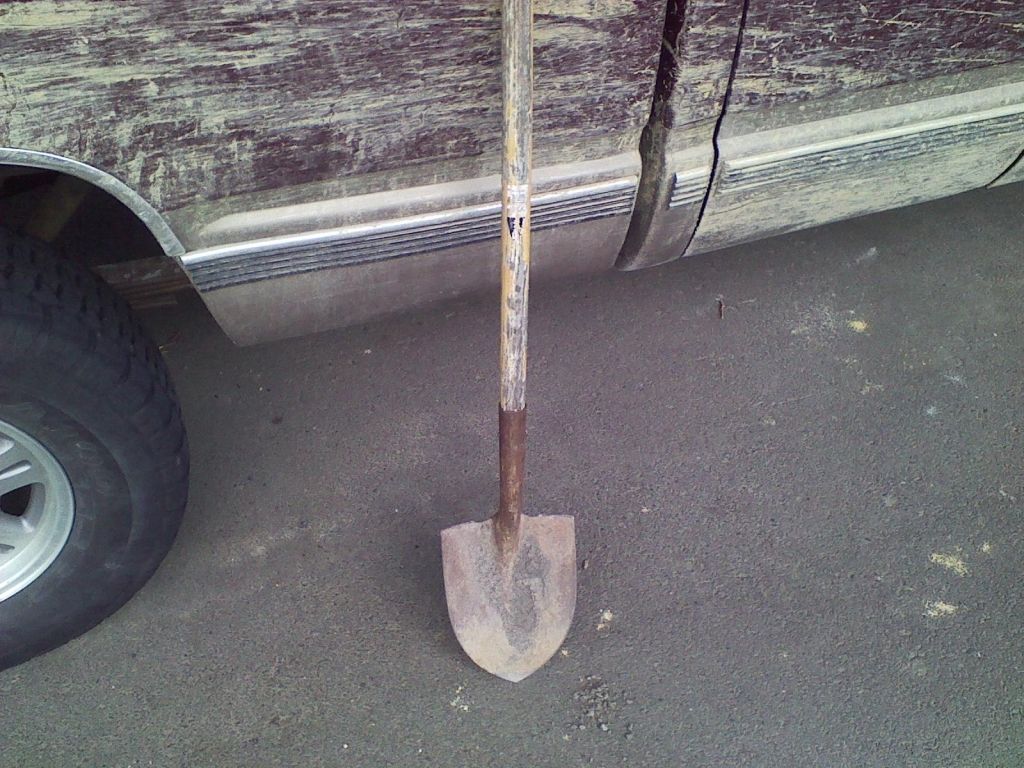
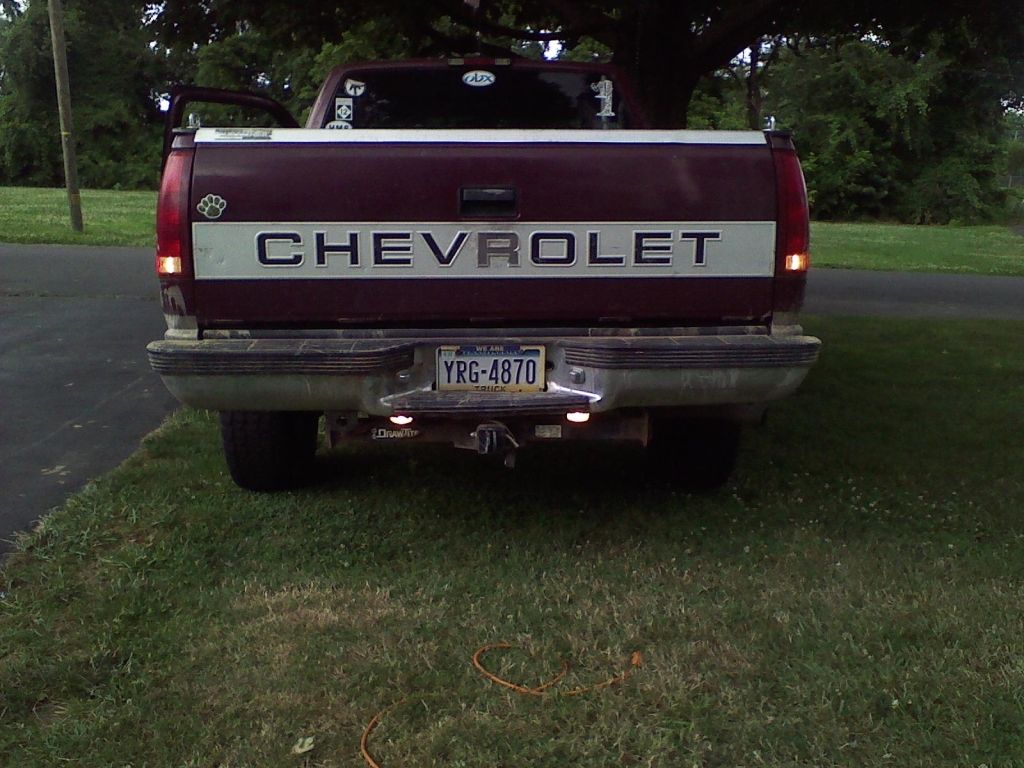
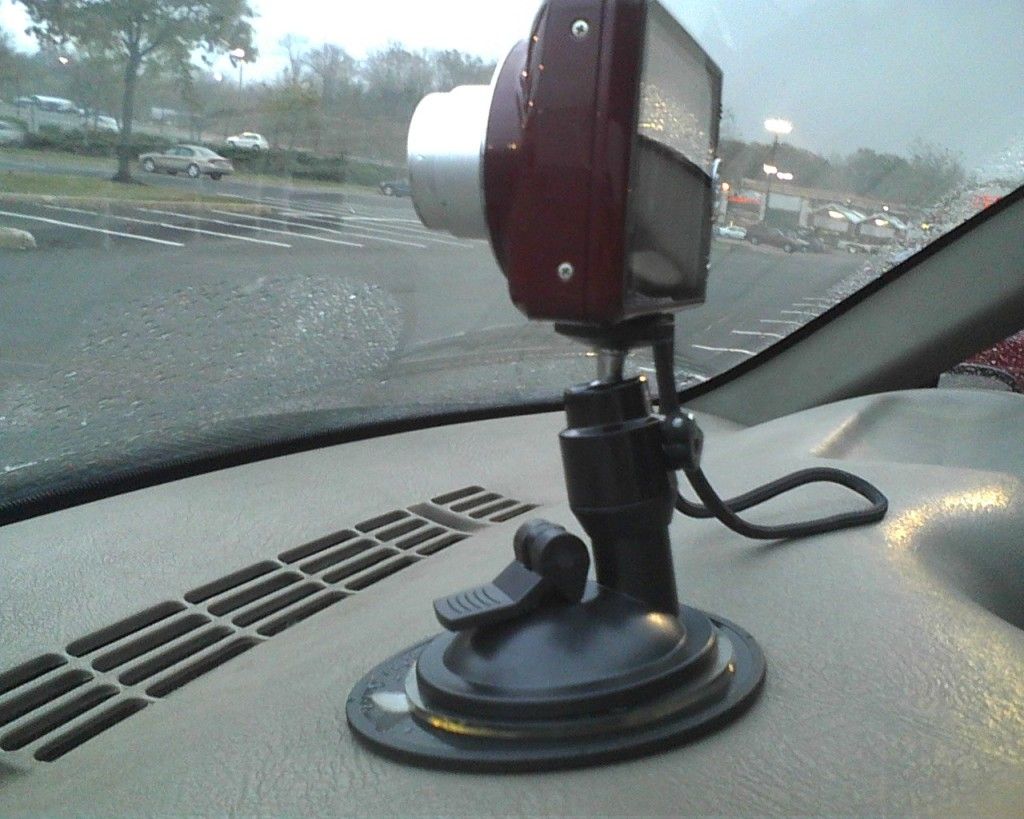
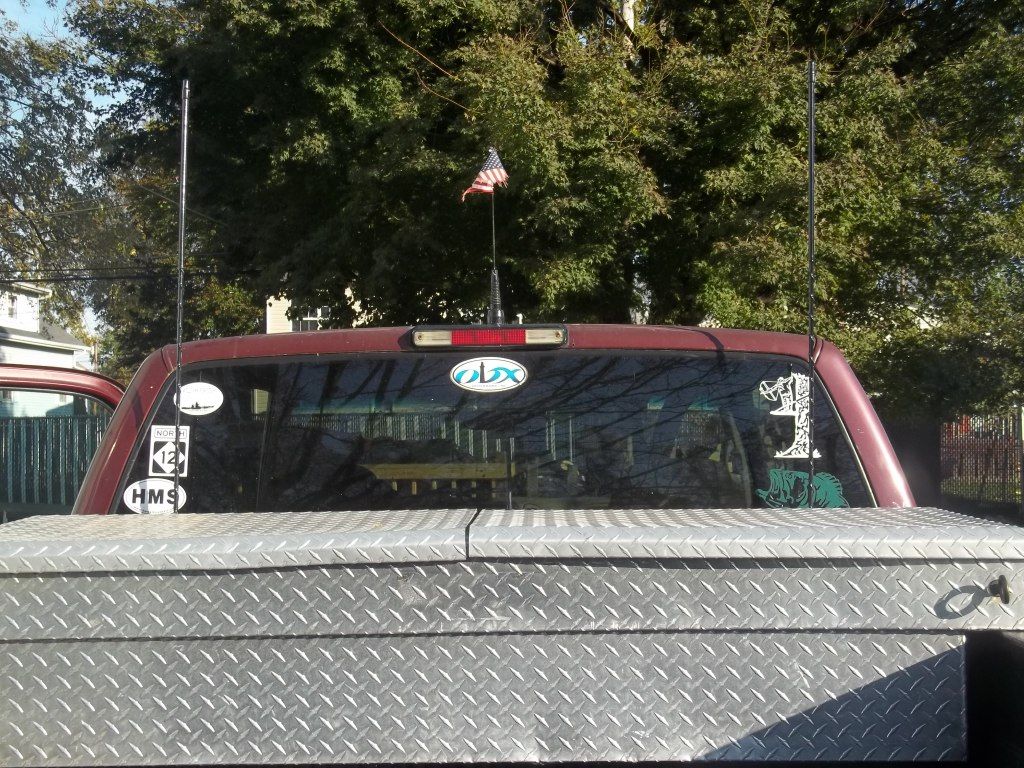
http://www.gmc4x4.com/topic/520-breather-relocation/The truck:
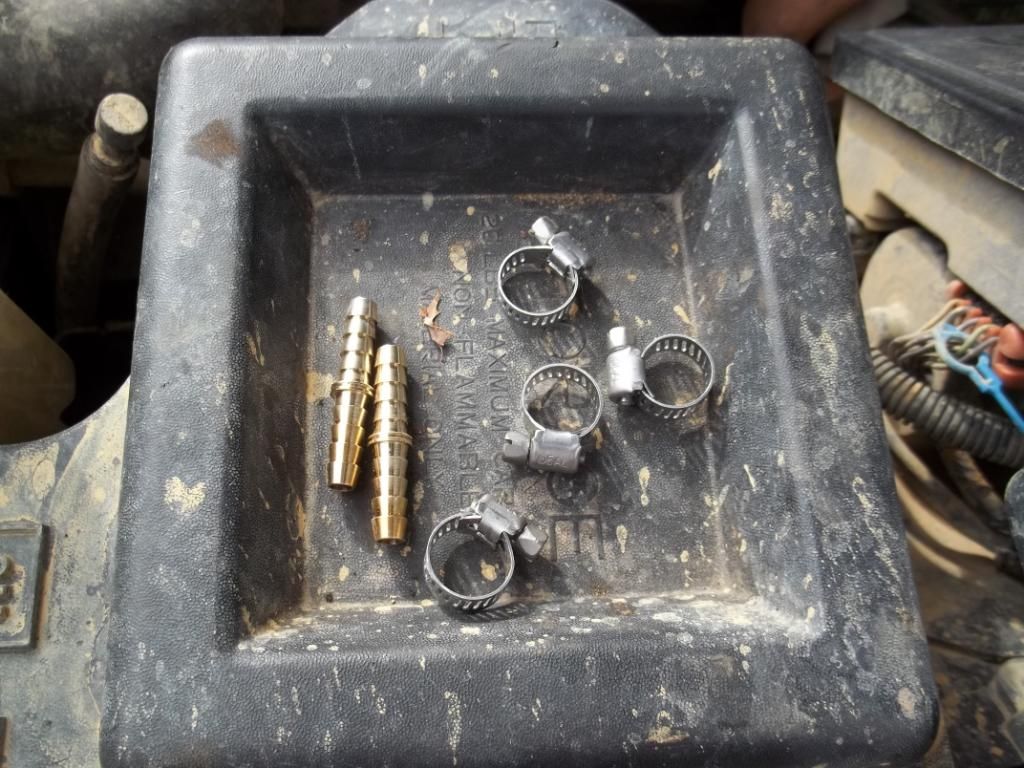
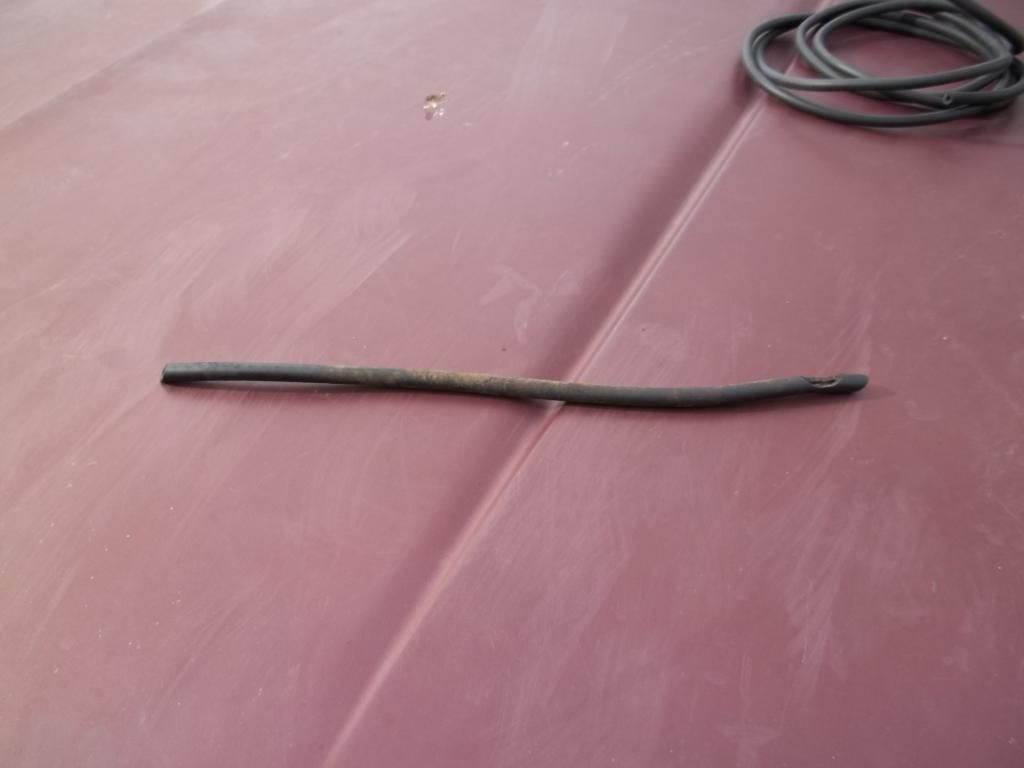
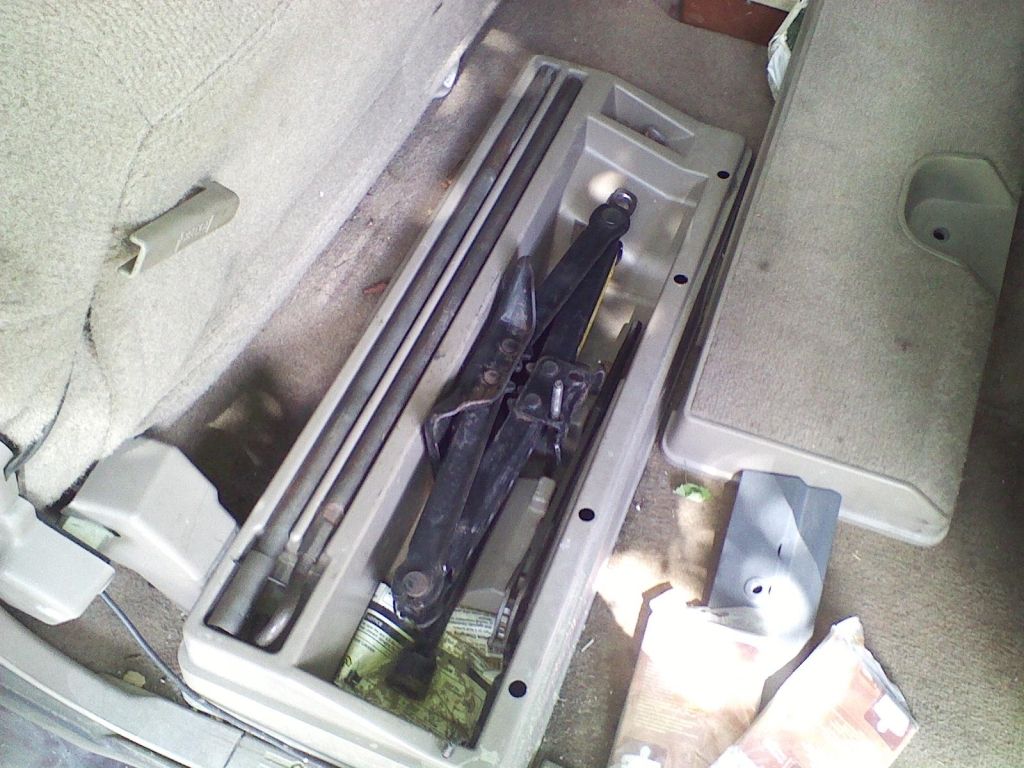
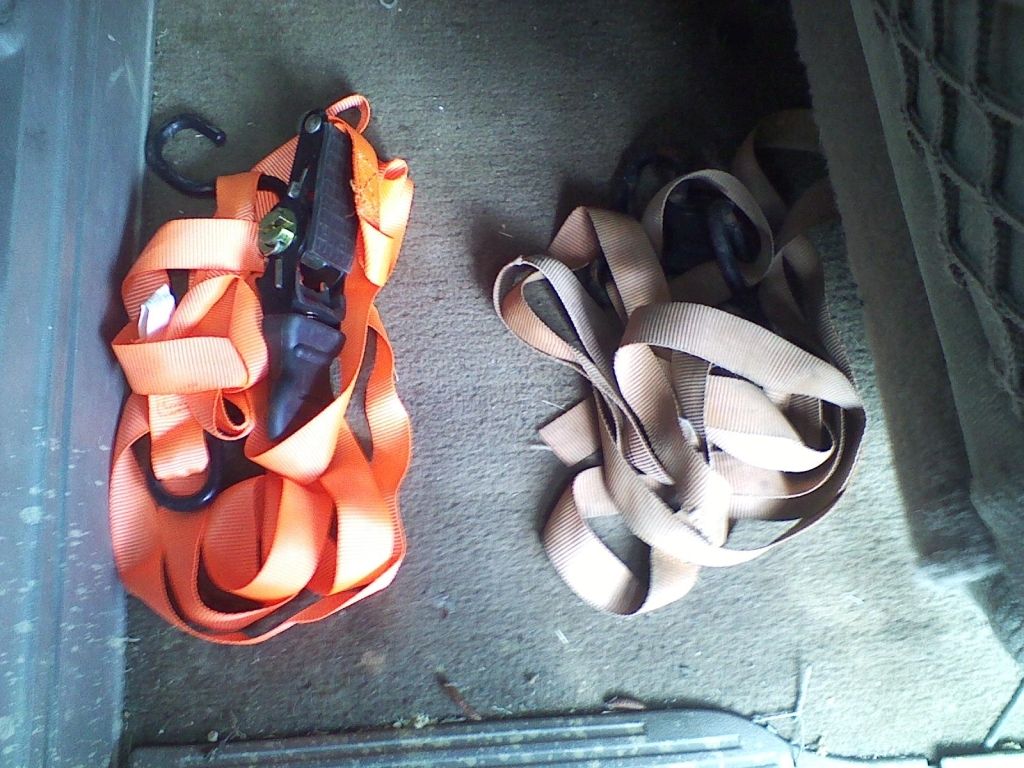
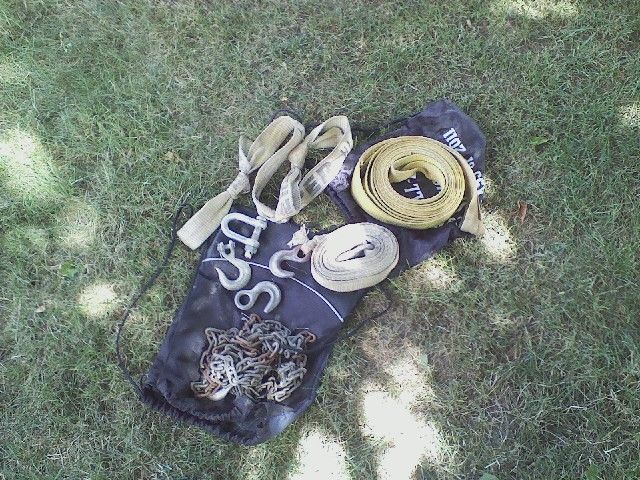
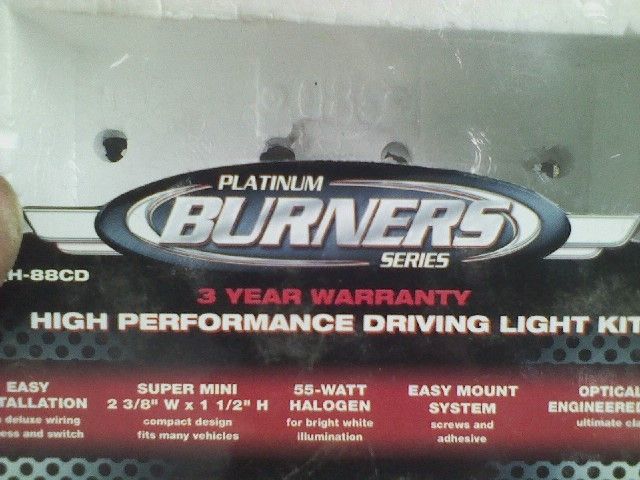
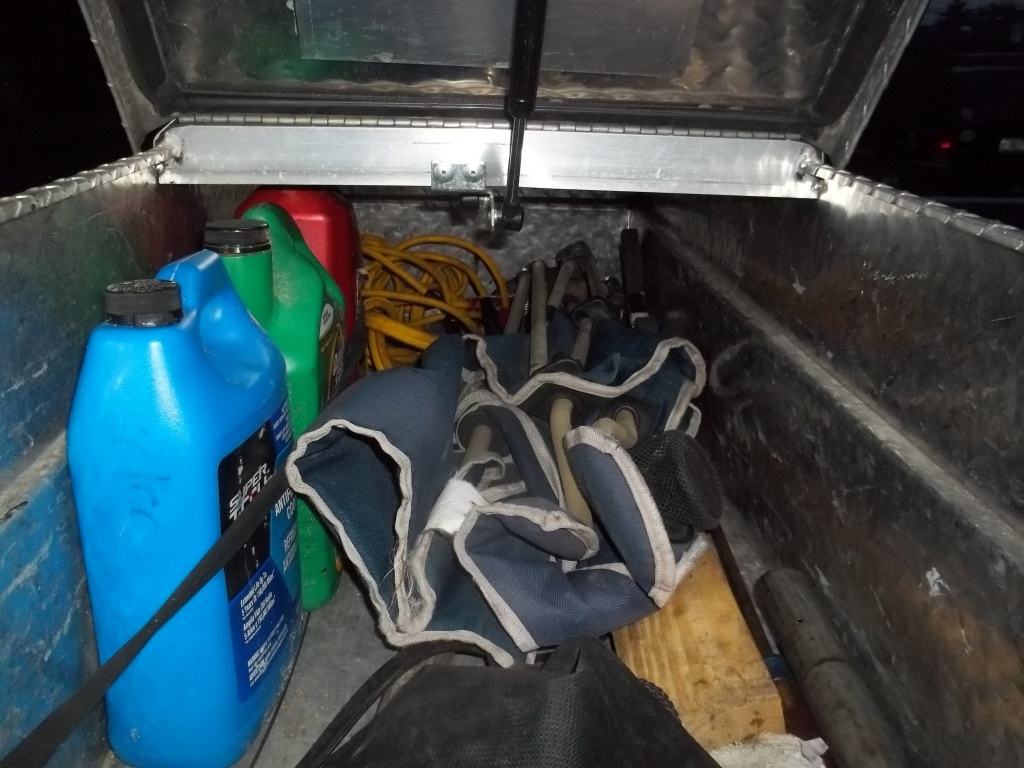
The materials:

I bought 10 feet of vacuum line. It is slightly smaller in ID from the hose that came off my transmission.
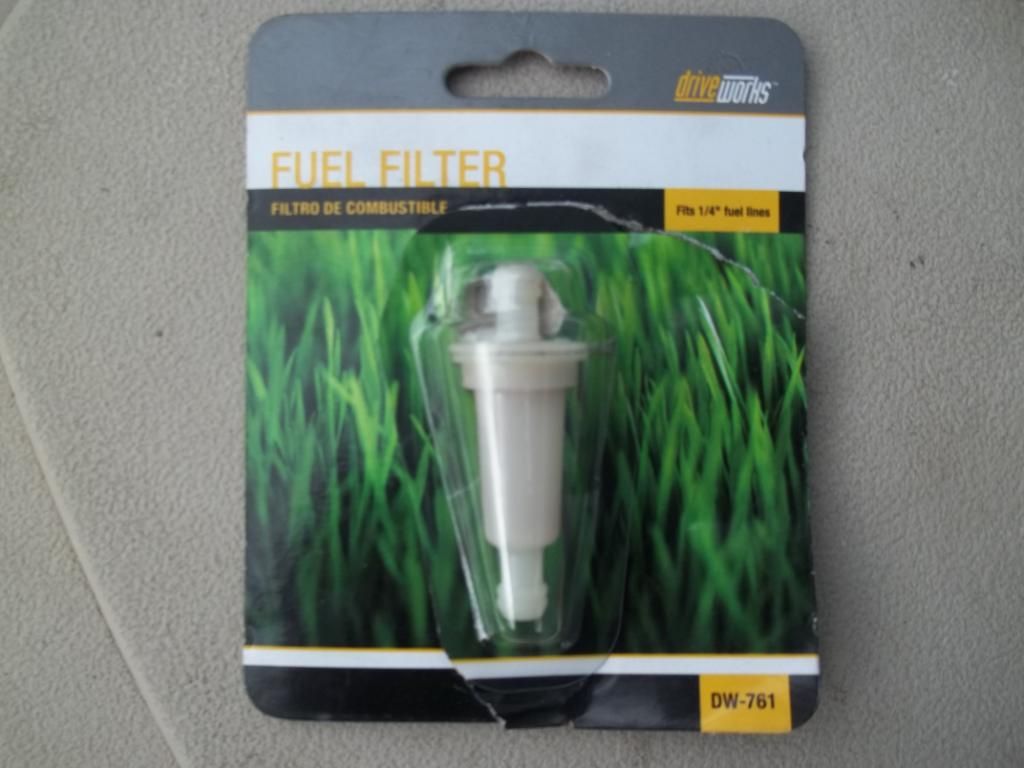
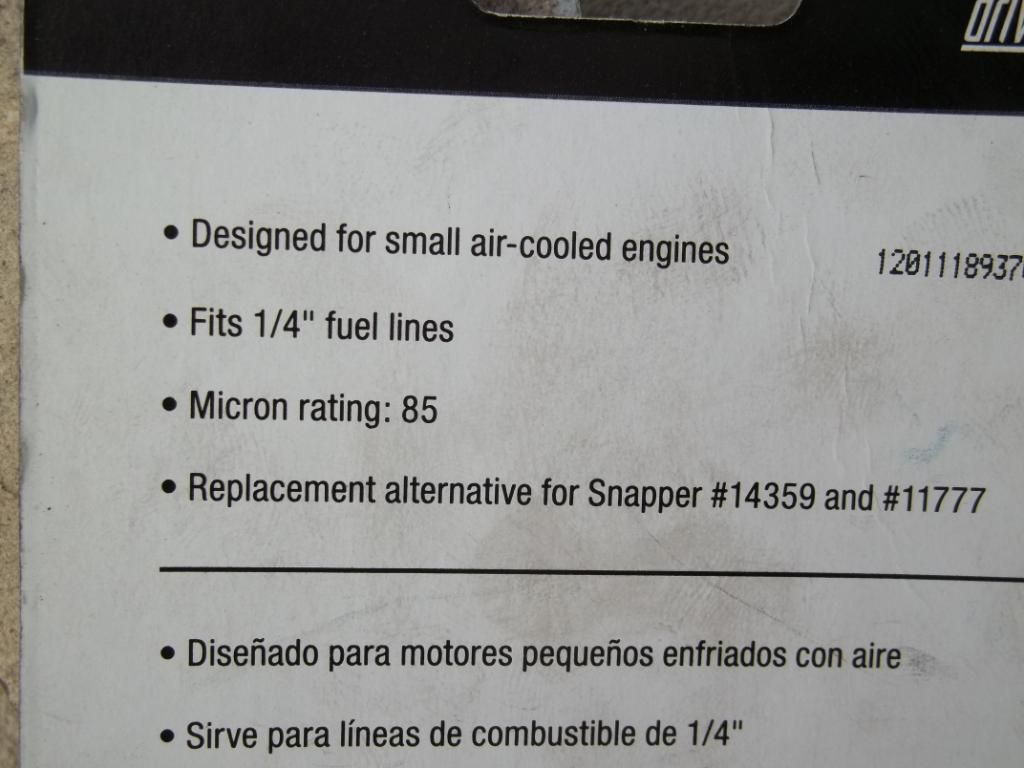
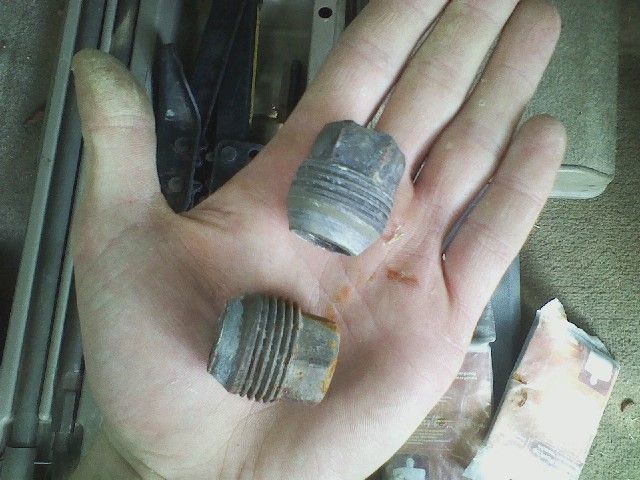
The plastic caps, i found out, are a dealer part. So the general consensus on the internet is, use a cheapo lawn mower fuel filter. I checked it by blowing into it, and it flows almost equally in both directions.
I got 4 small hose clamps and had the barbed fittings laying around, I ended up not needing them.
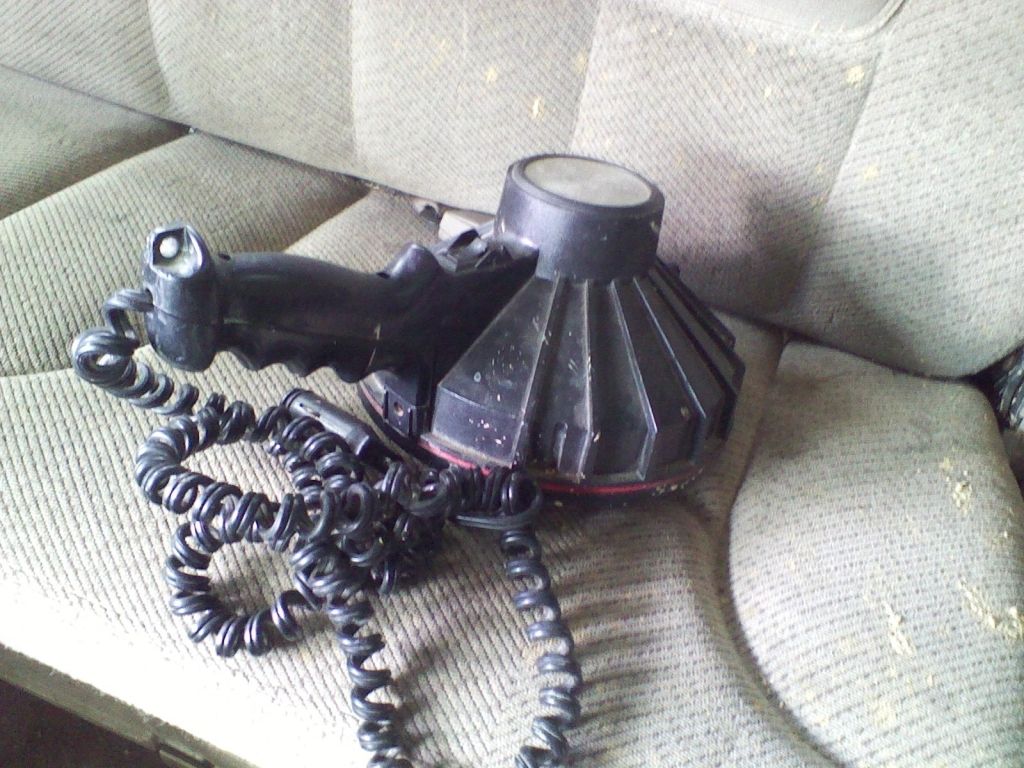
My transmission breather was broken and hanging down. Time to do something about it
that's all i had.
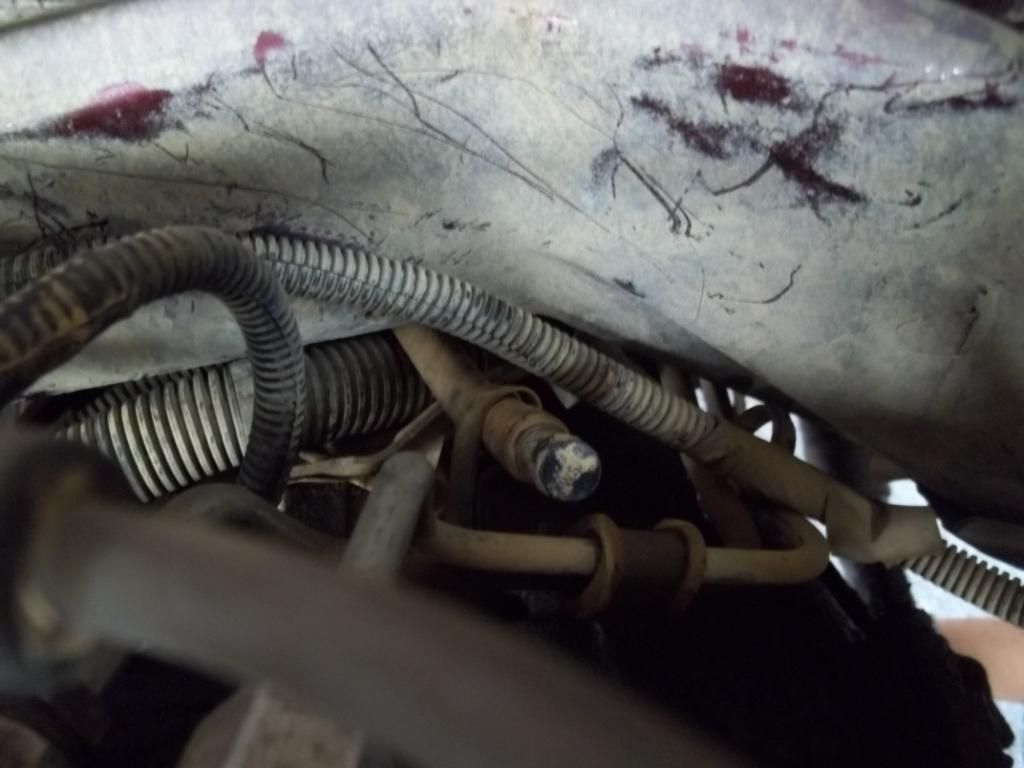
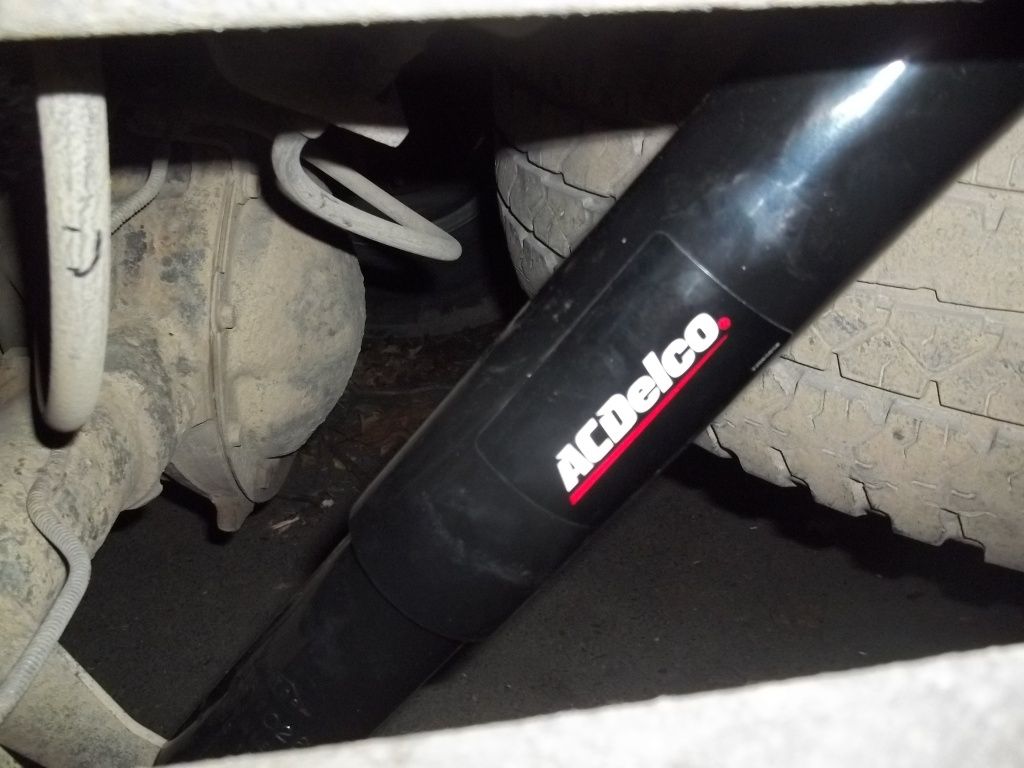
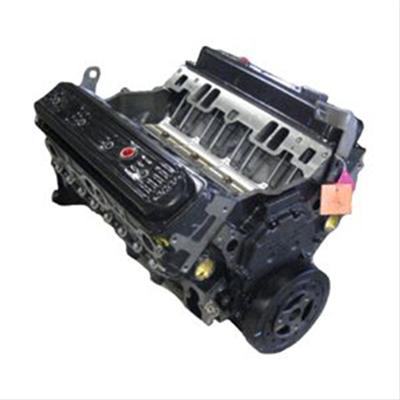
Let's start with the transmission. Let's assume yours is broken or missing. When i pulled on it to cut a small piece off to take into the autoparts store, the whole thing fell off. I was like, great, now I'm never going to find where it goes. After a bunch of reaching around and trying different angles, I found the nipple. It sticks out of the top of the transmission right above where the cooling lines run out. It is on the passenger side and the nipple is rather skinny, with a barb on the end. It almost points right at the right rear tire.
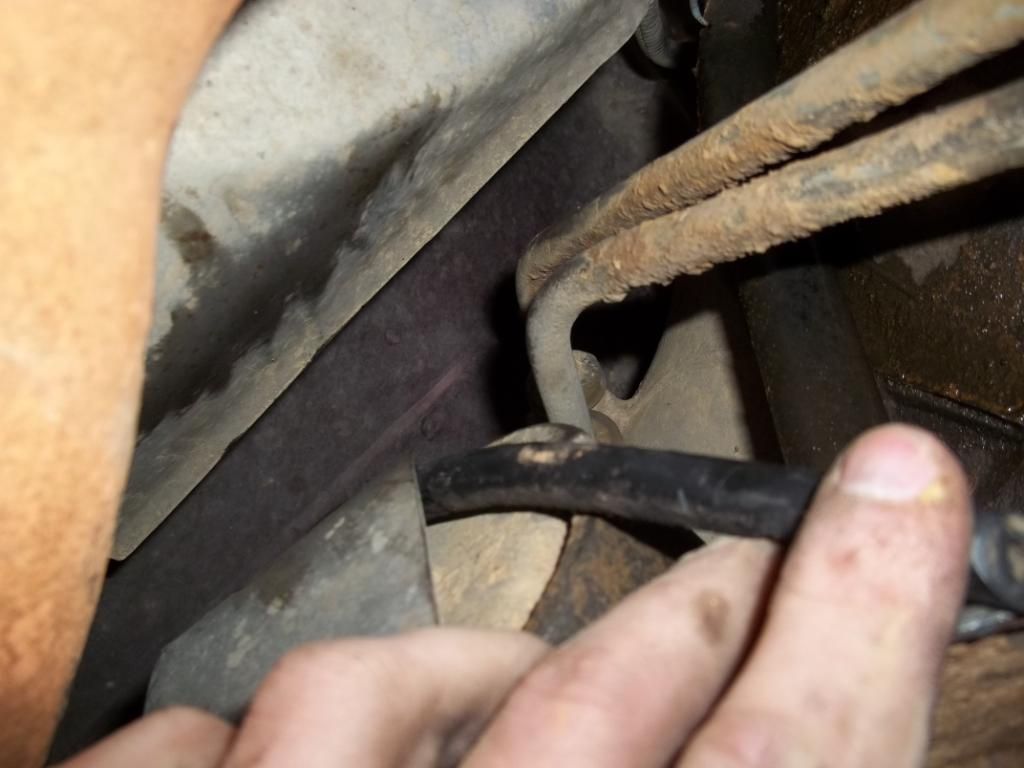
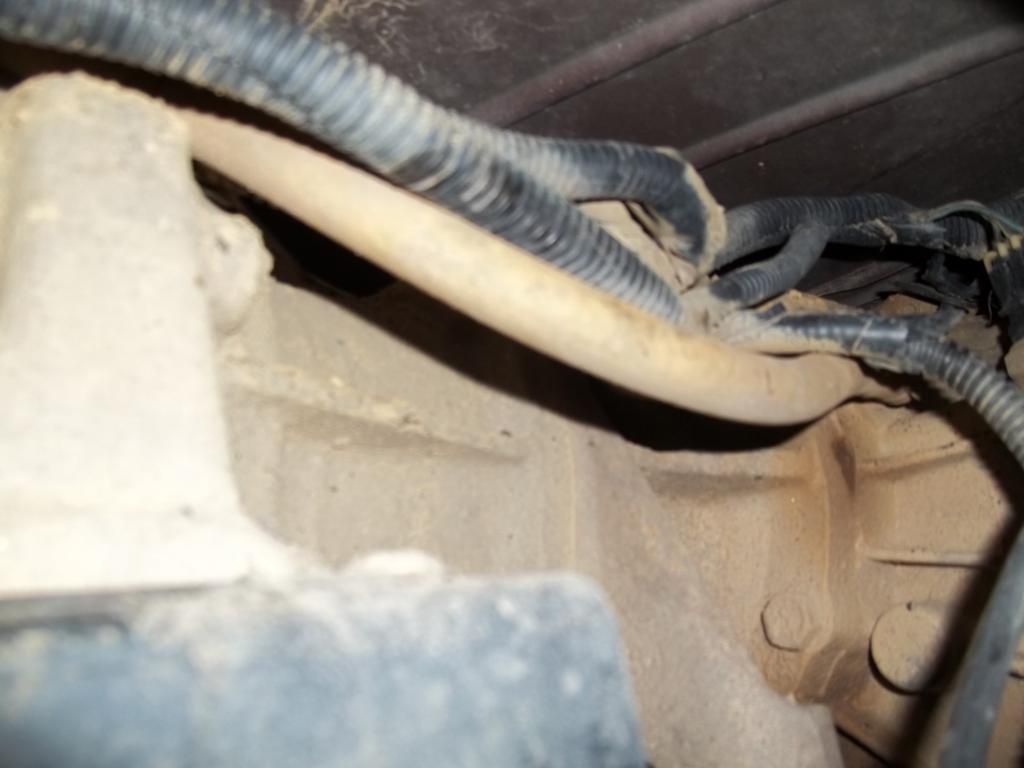
this is the old line re-attached to the nipple and coming down.
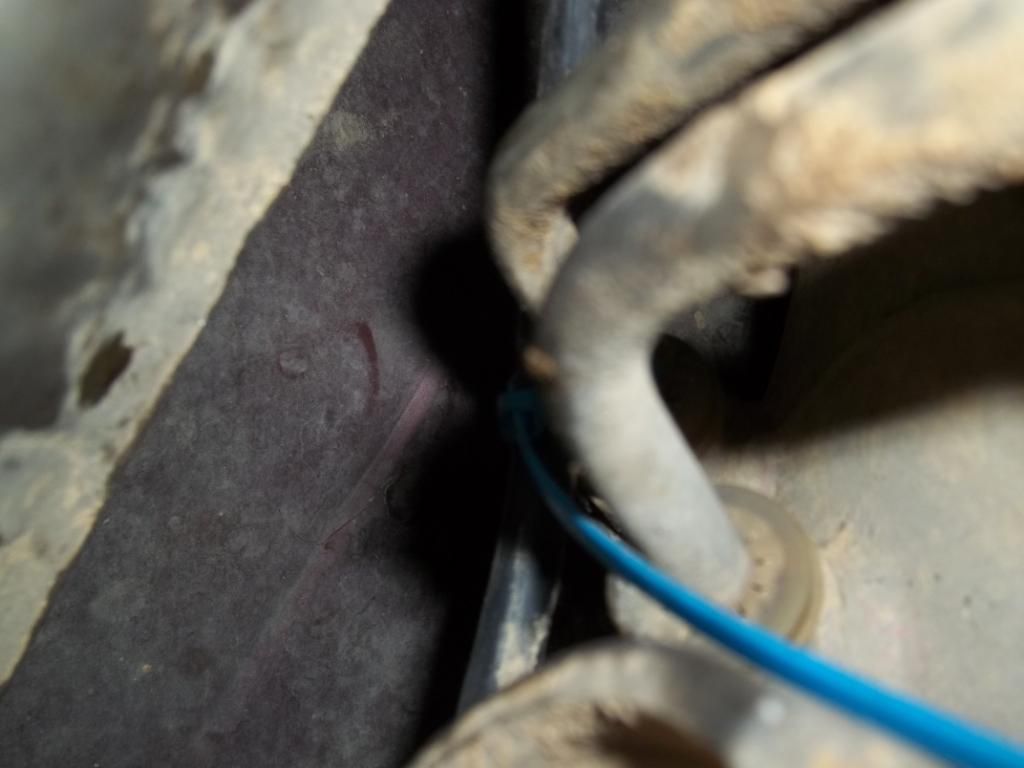
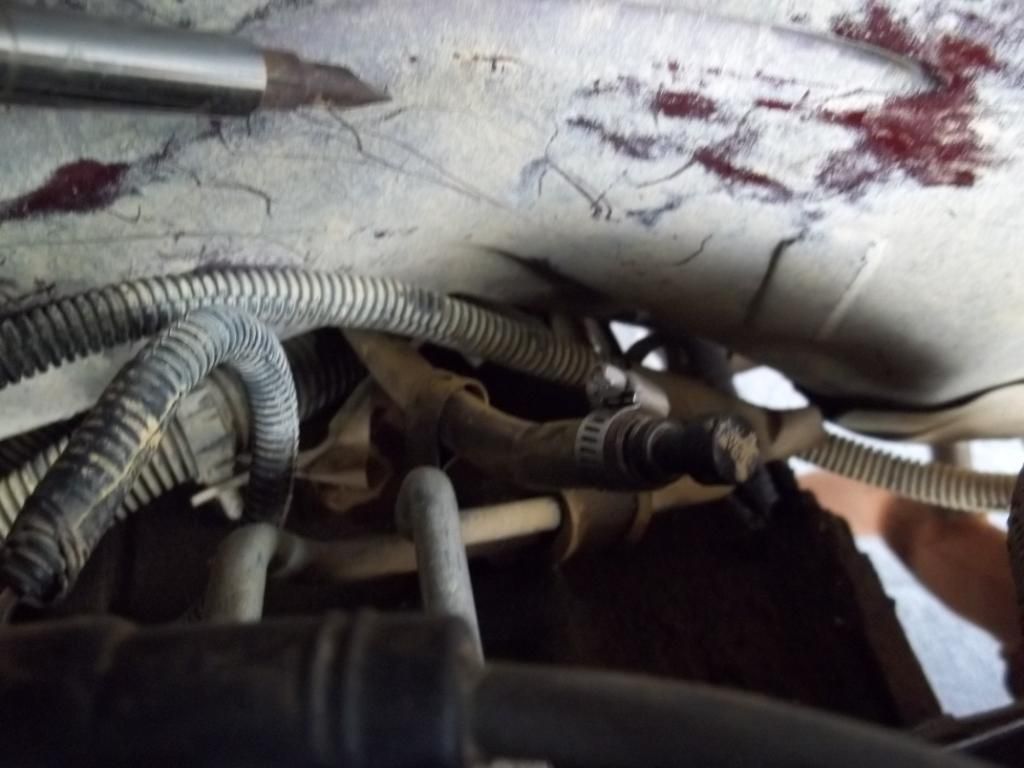
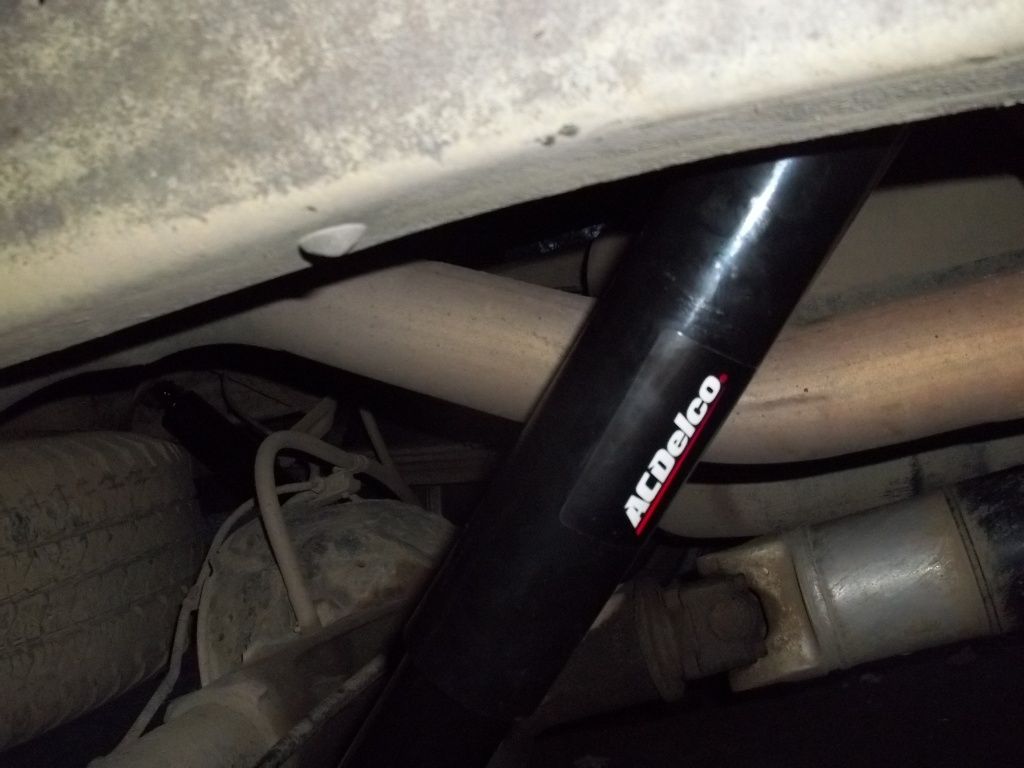
I ran the new hose up along the fire wall following the big wire harness and transmission lines on the passenger side of the motor.
After i figured out the length and the path i was using, I zip tied the new hose to the transmission cooling lines right where they came out, I also left a little loop of hose between the zip tie and the nipple.
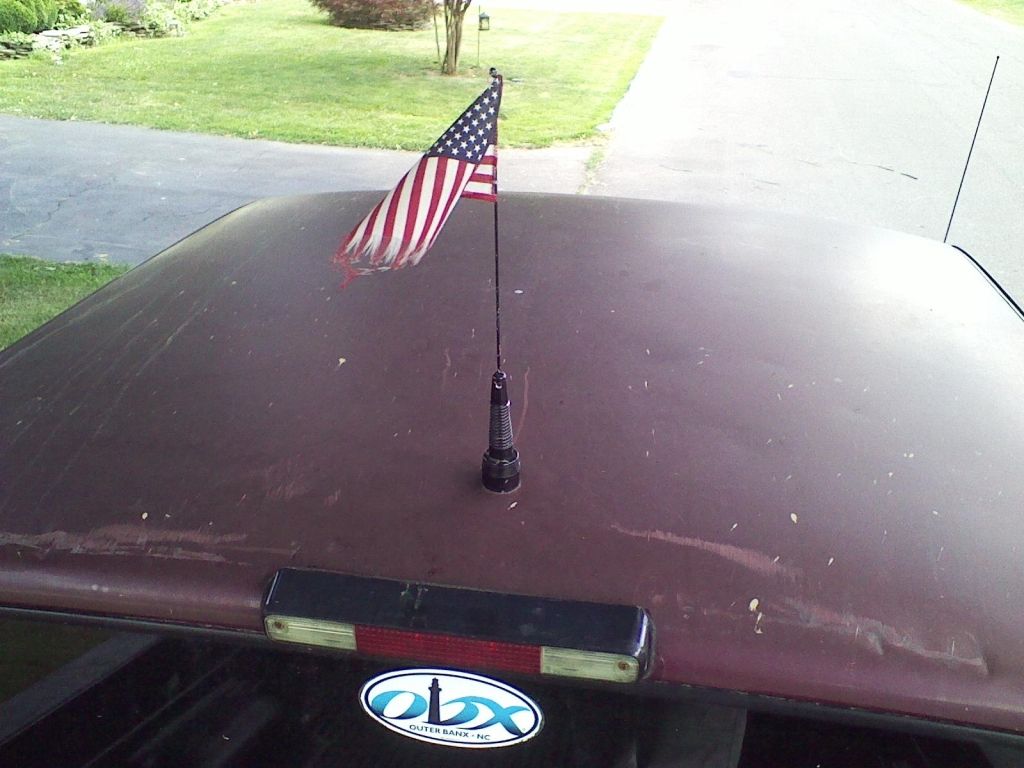
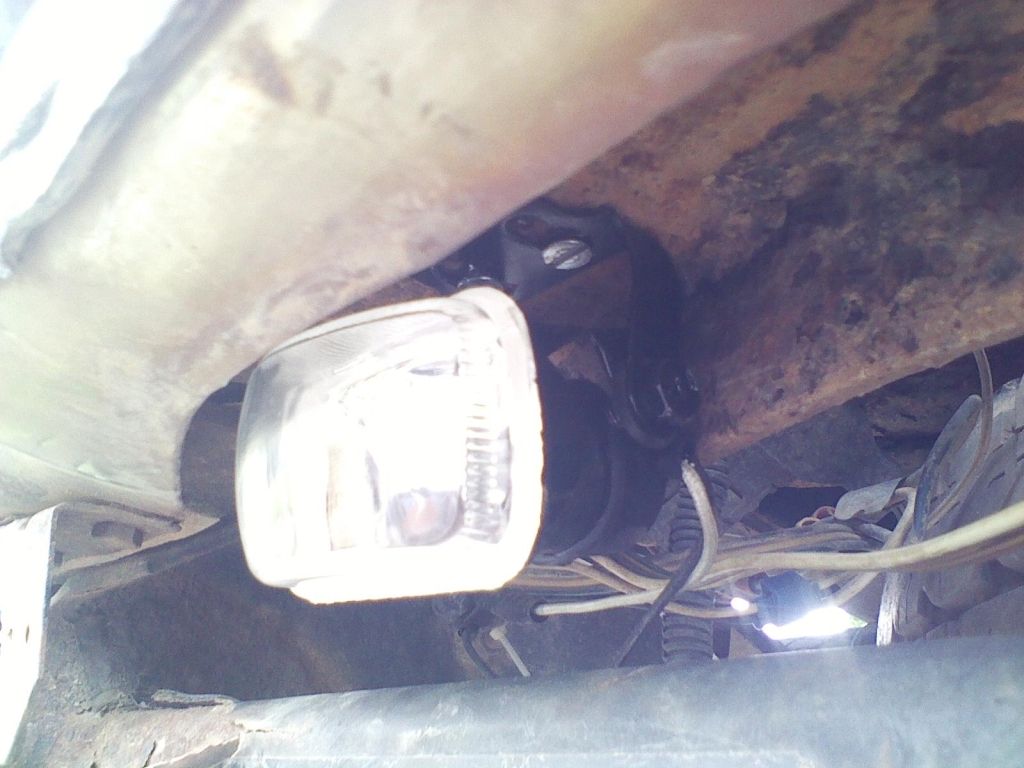
I ran the hose up to the wire connector bracket for the hood light.
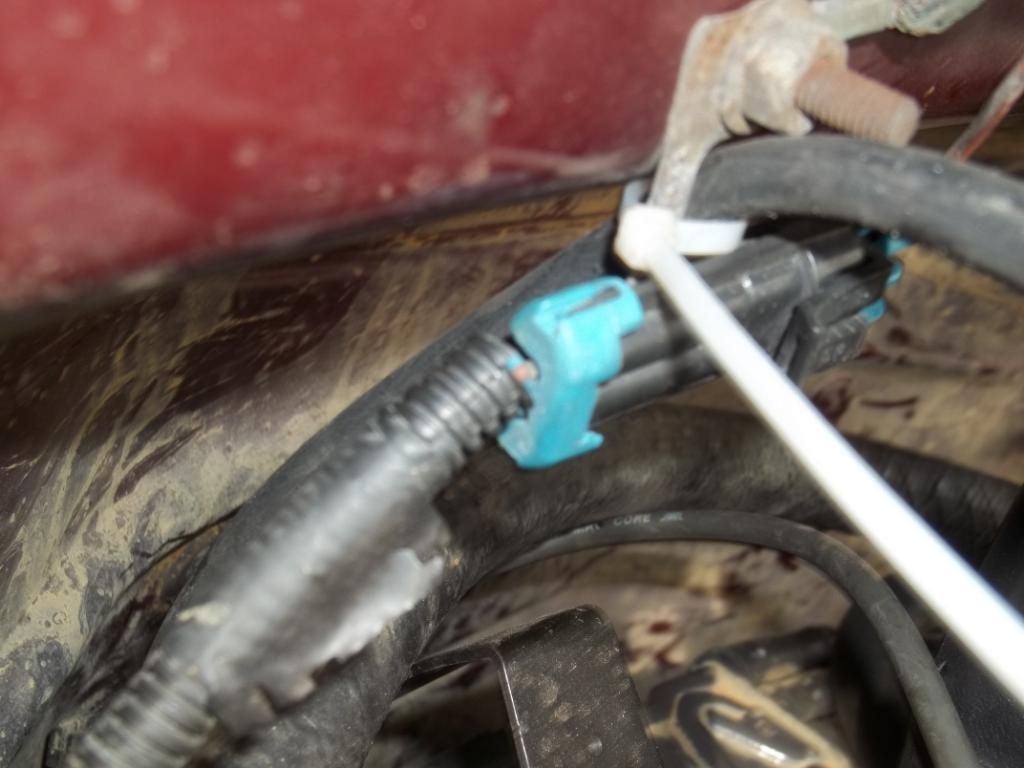
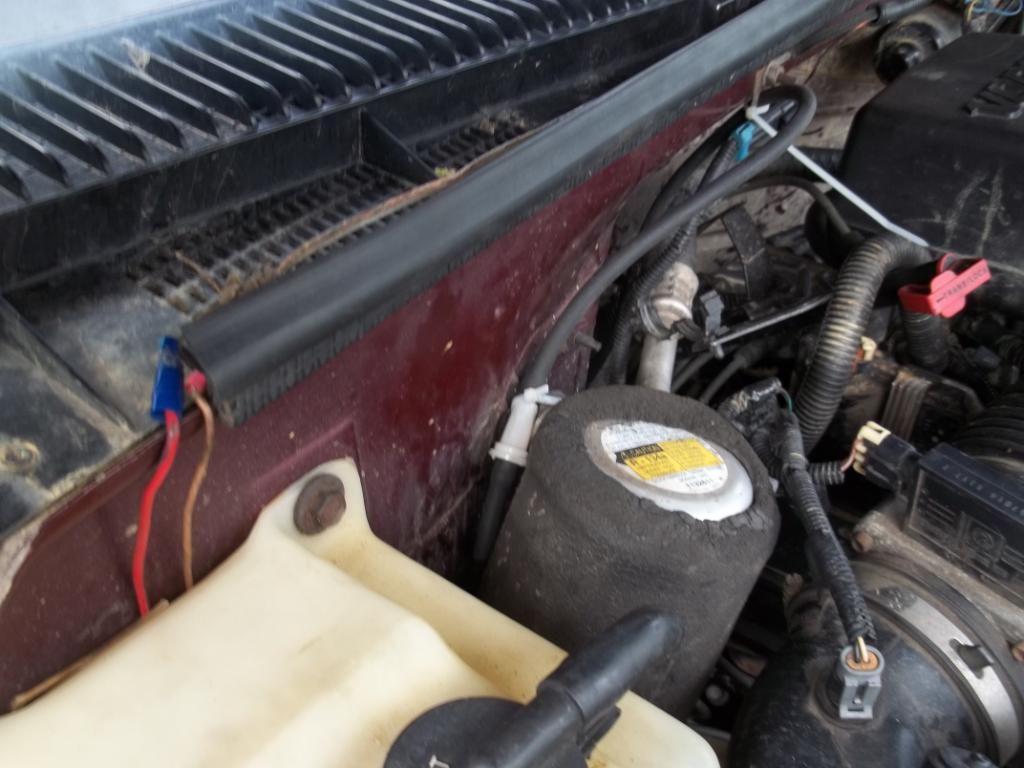
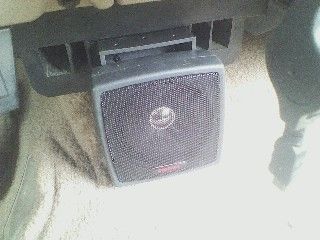
Than i angled the hose down and zip tied the fuel filter to the AC reservoir. My theory was an upside down "drip loop" If you are familiar with Aquariums and the electronic accessories to them. I put a short piece of hose on the other end of the filter as a rain guard.
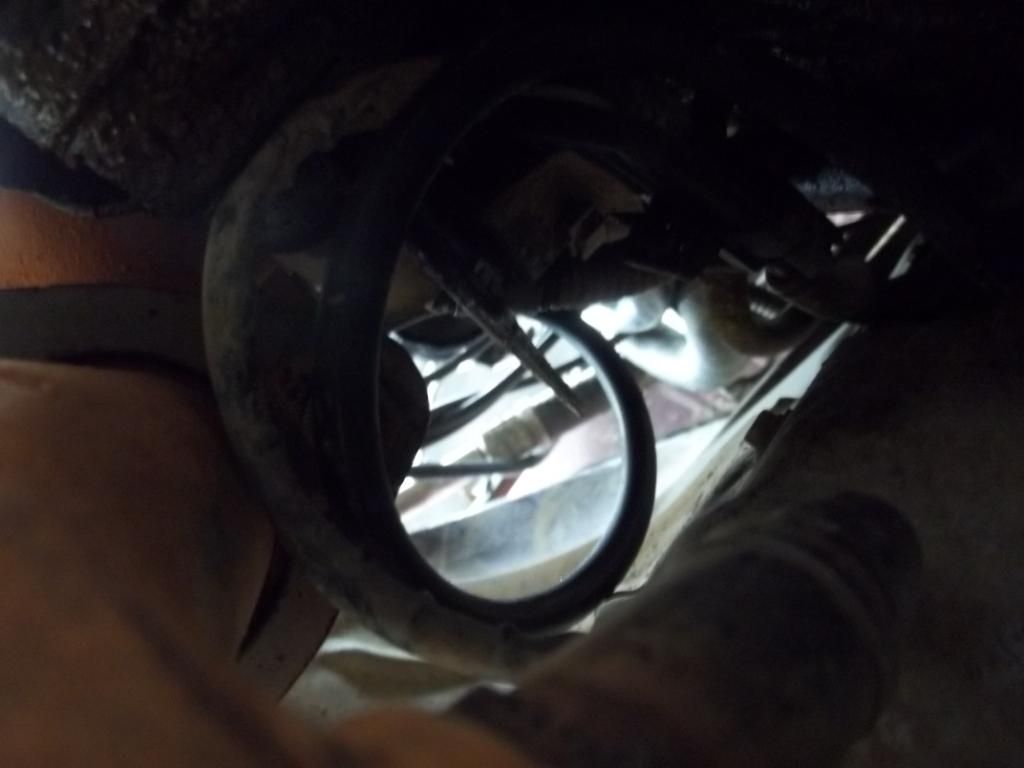
Transfer Case:
I did not relocate the breather per se. I just checked the function of the cap and put a hose clamp on it to secure the cap. I also checked the connection where the hose connects to the transfer case.
The hose runs up the driver side of the transmission and follows the large wire harness and fuel lines to behind the motor along the firewall on the driver's side.
Front differential:
The front diff breather can be found on the driver side of the radiator tucked up behind the oil cooling lines.

It is connected with a metal bracket under the black evap. canister there above the power steering lines. I left that alone. I pulled it up to put a hose clamp on it and inspect the end. I re-routed it to a slightly higher spot.
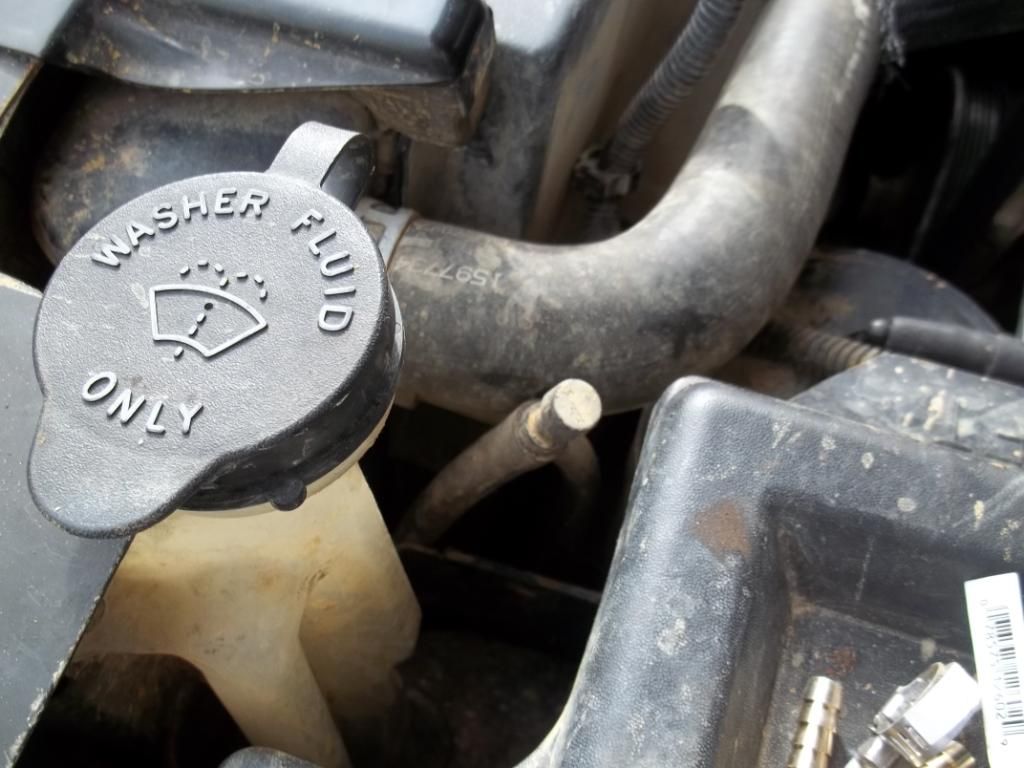
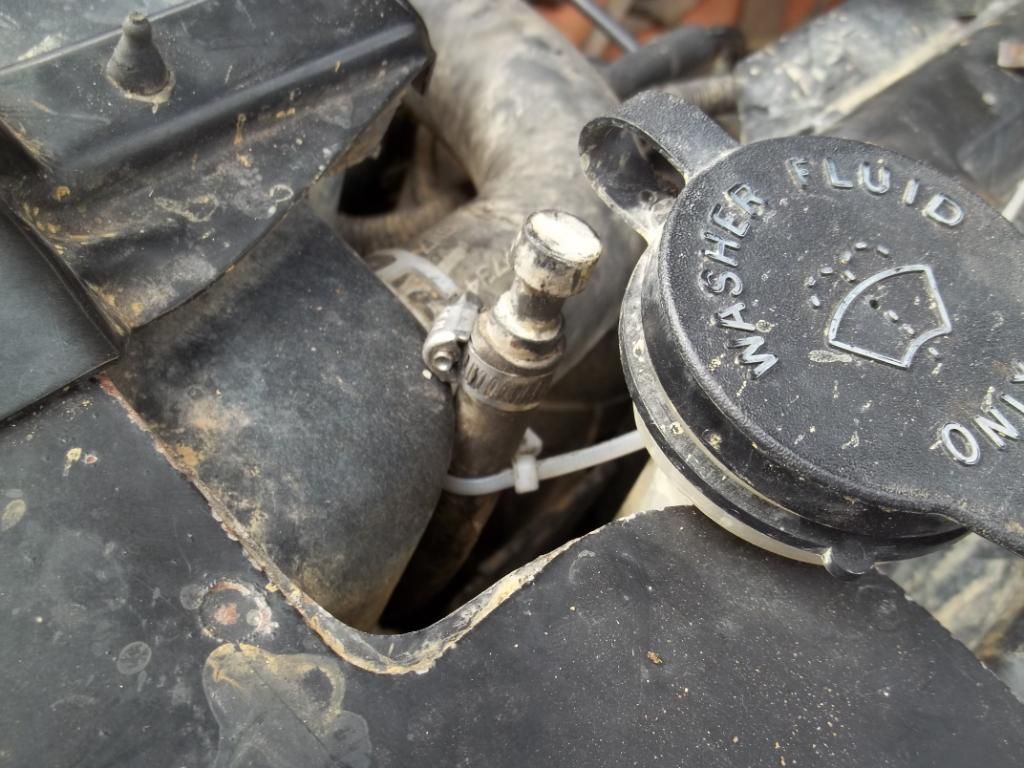
I zip tied it to the spring clip on the upper radiator hose.
Rear differential:
Stock location, passenger side along the frame where the brake line runs.

I did not relocate at this time. But if you were too, Most people run it up to the gas tank fill neck and zip tie it to the little breather hose for the fill neck. I did however check the cap of function and made sure it was secure on the hose.
(I did not relocate it because it did not have the right size hose or barbed fitting. It is a much larger hose than the transmission breather. Also, I have been through plenty of deep water before and have since changed the rear diff fluid, and there was no signs of water ever being in the differential.)
NOTE: I could of left the transmission breather tied to that bracket or even the trans dip stick and that would leave it higher up. BUT, that would but it right over the exhaust manifold. And on the off chance fluid ever get burped up, I'd rather not have it hit the manifold. Right now fluid would piss down the firewall/inner wheel well if it ever burped up. The breather is right about the same height as the intake for the motor, so the sacrifice of height doesn't really matter anyway.


 Viewed 28309 times")
 Viewed 28309 times")
 Viewed 28309 times")


