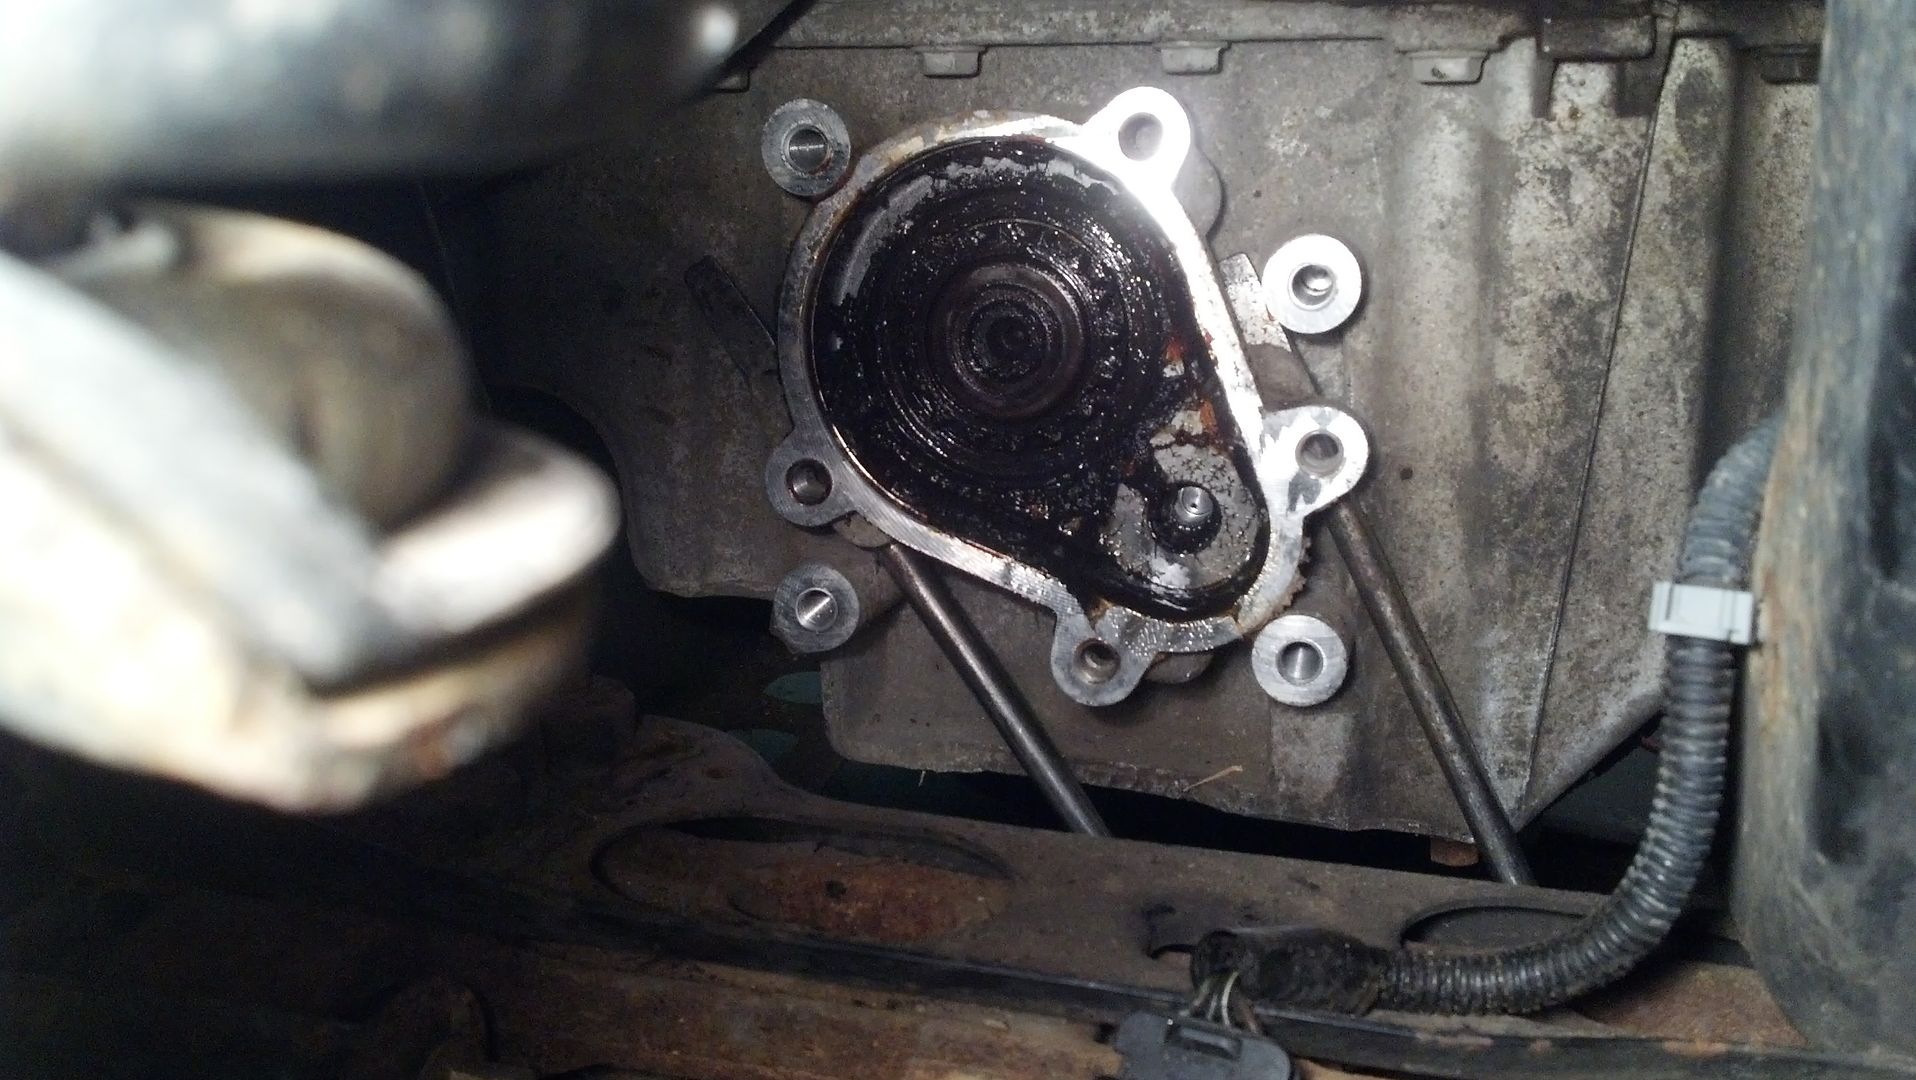
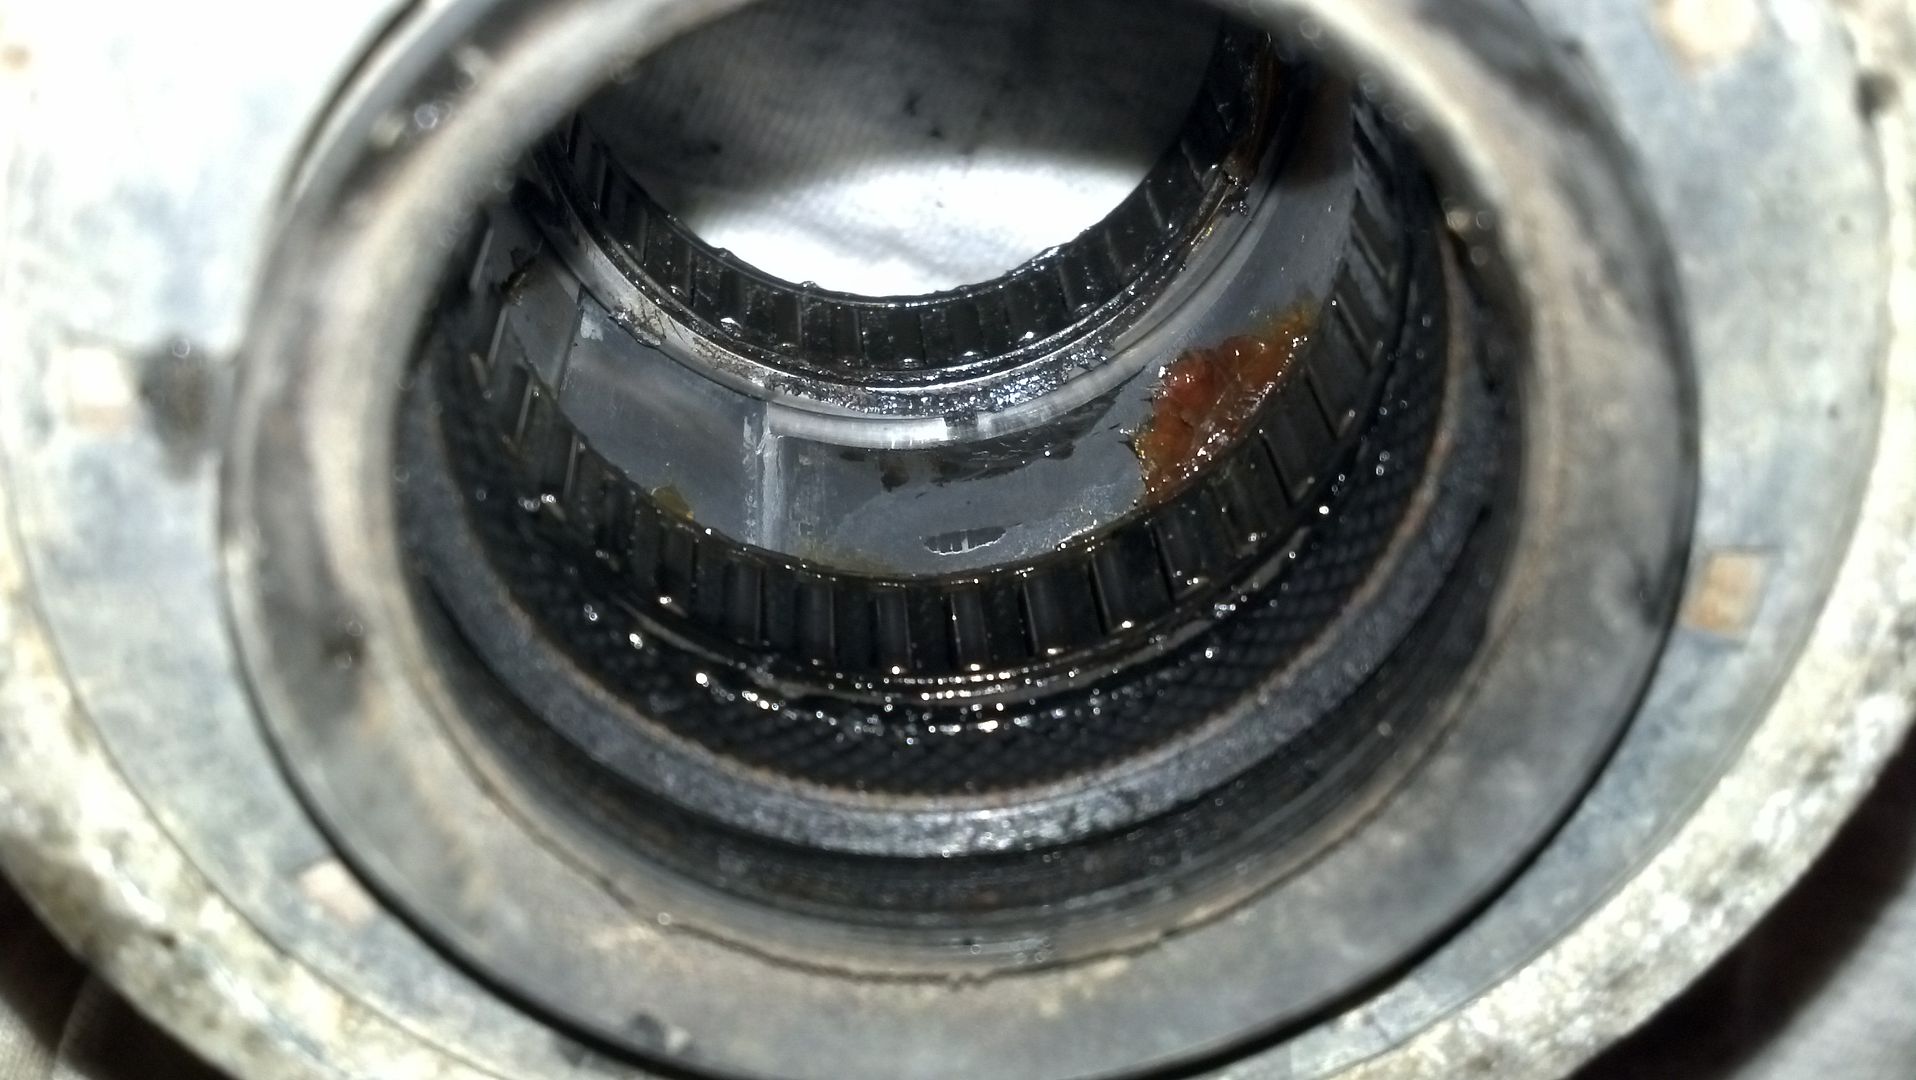
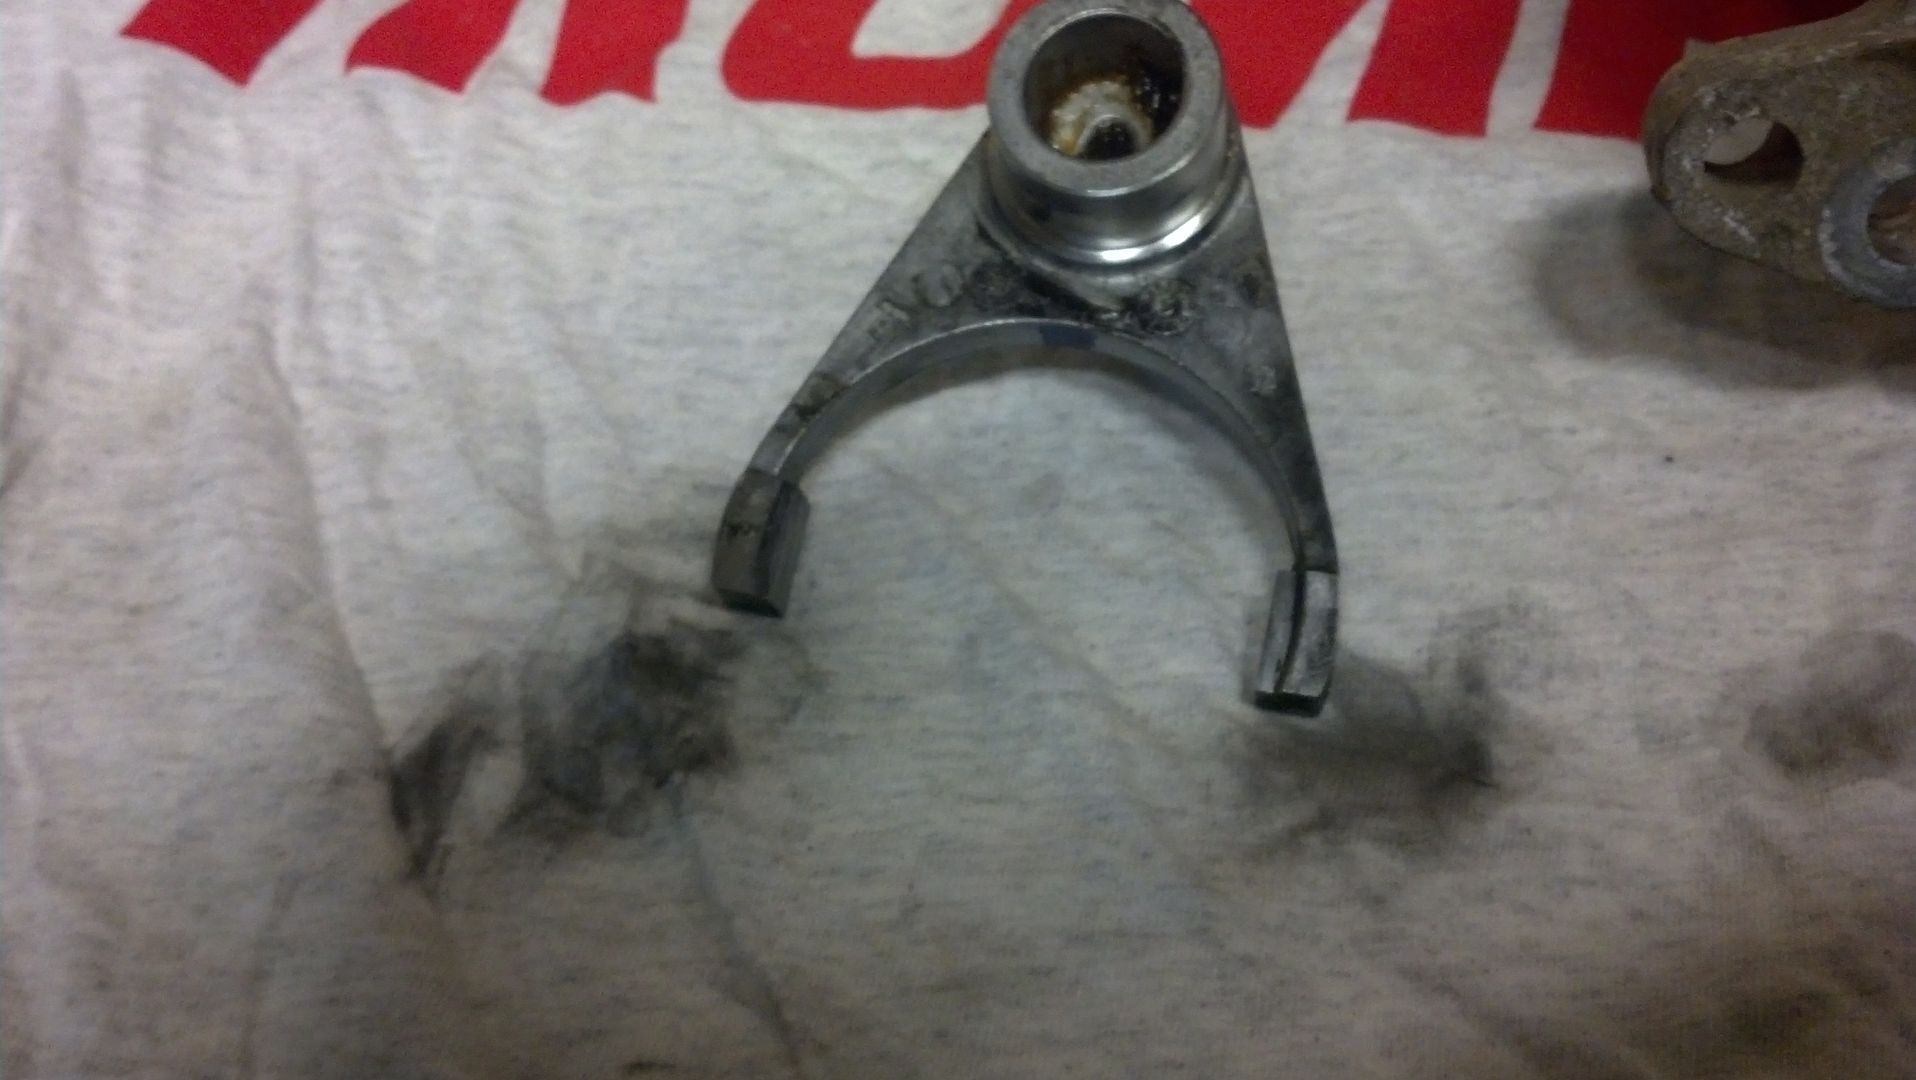
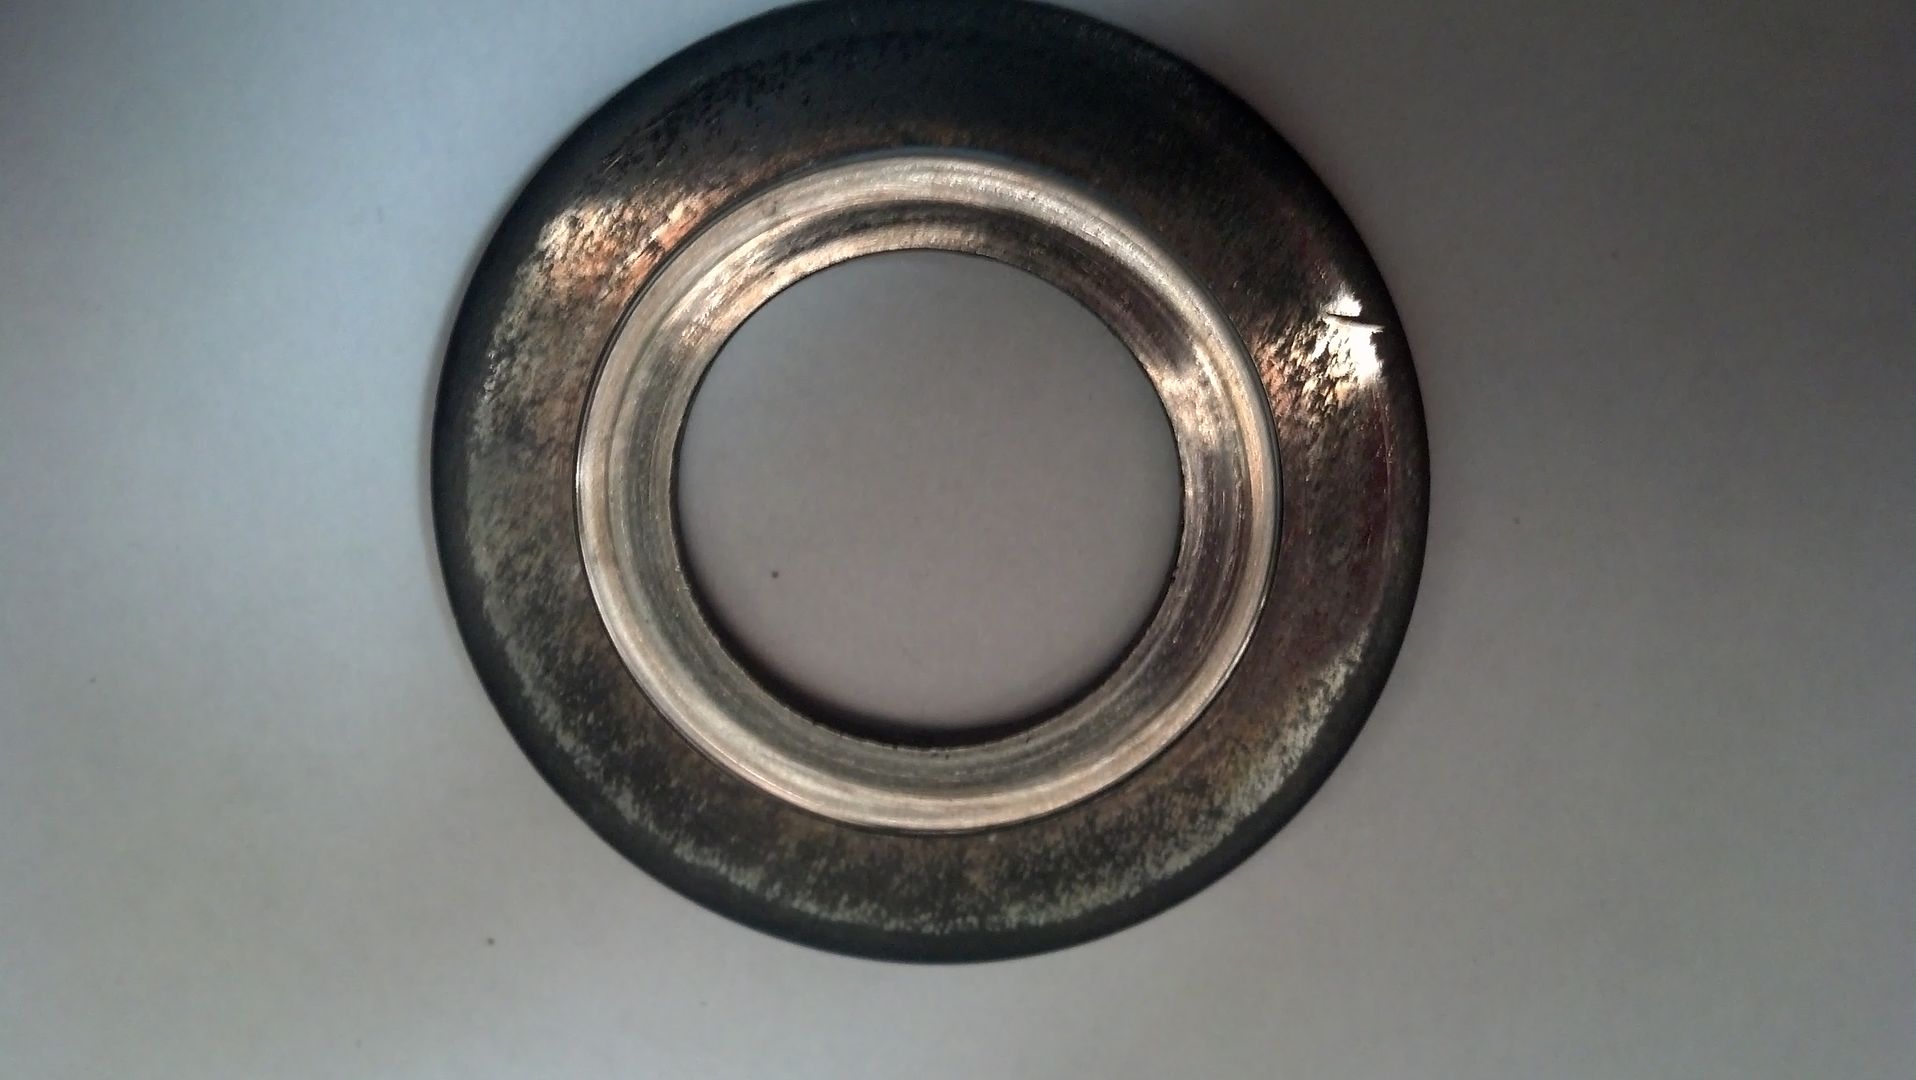
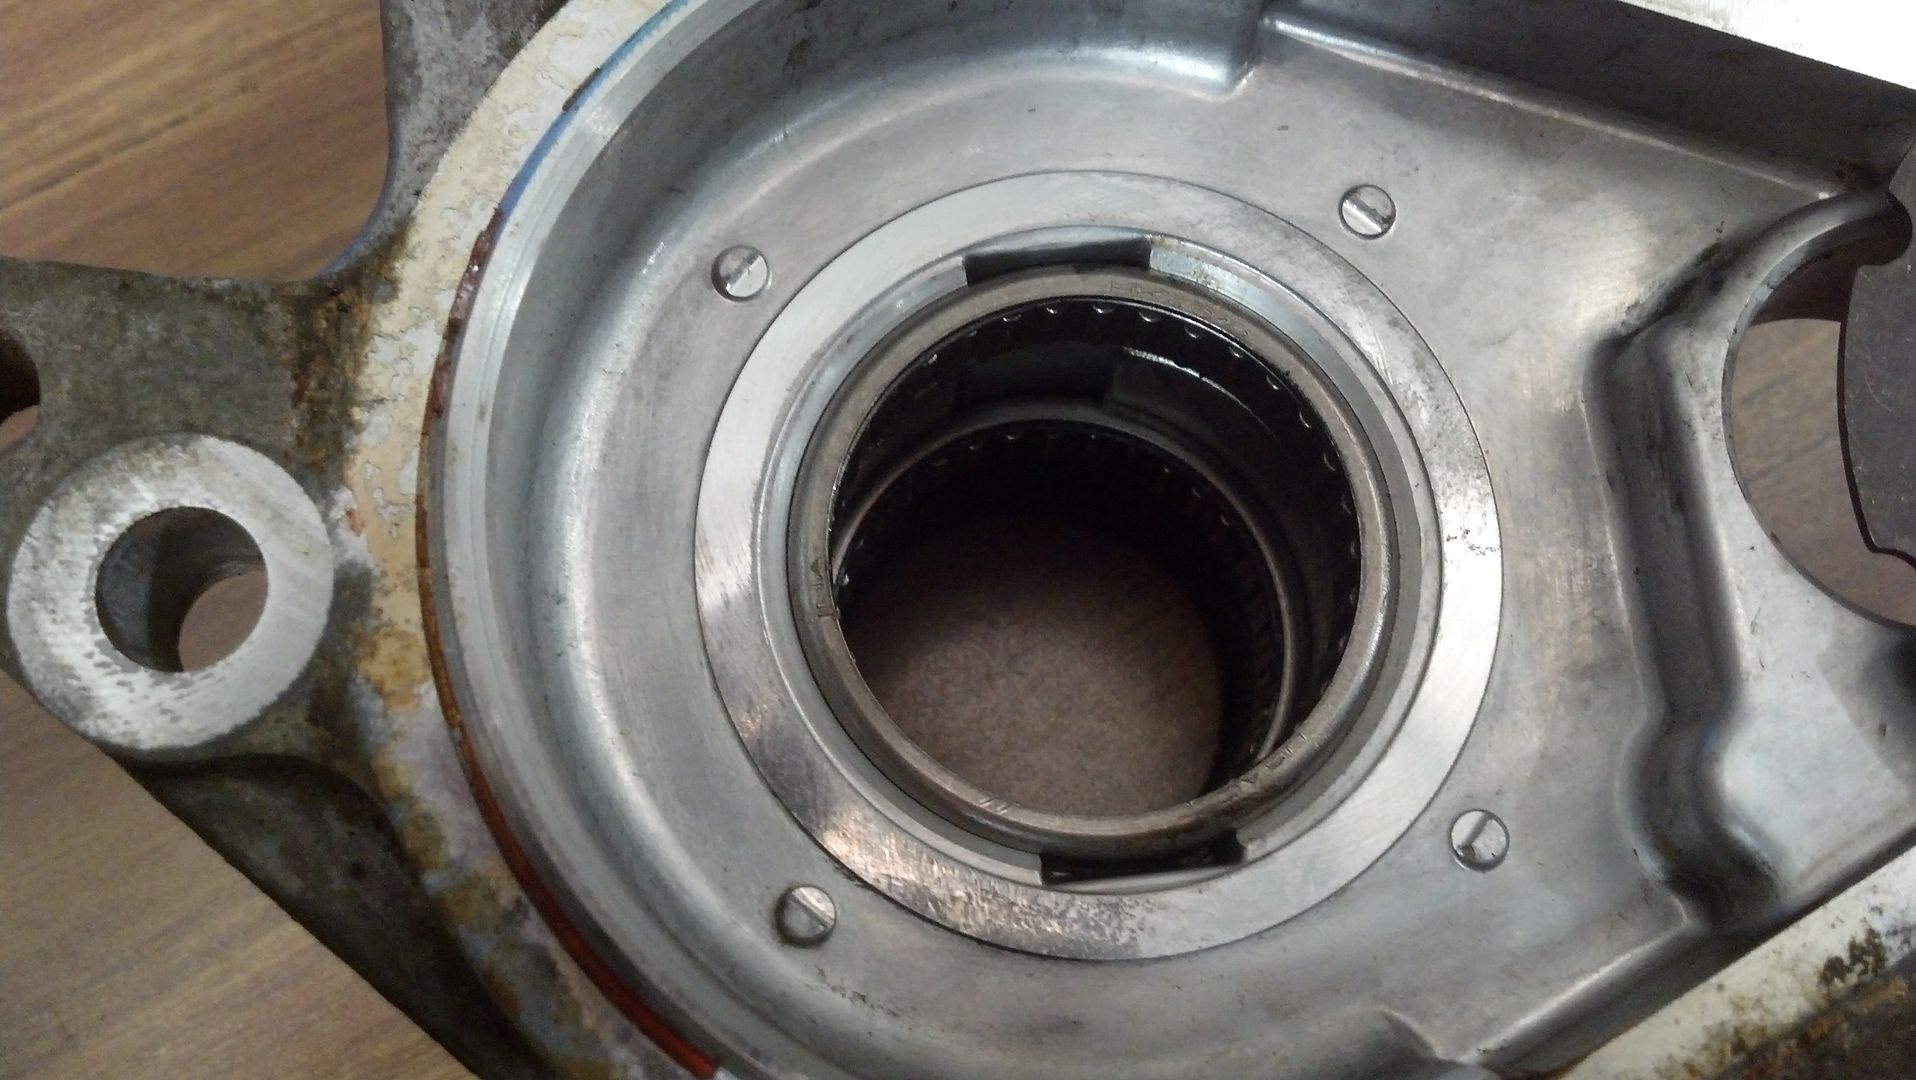
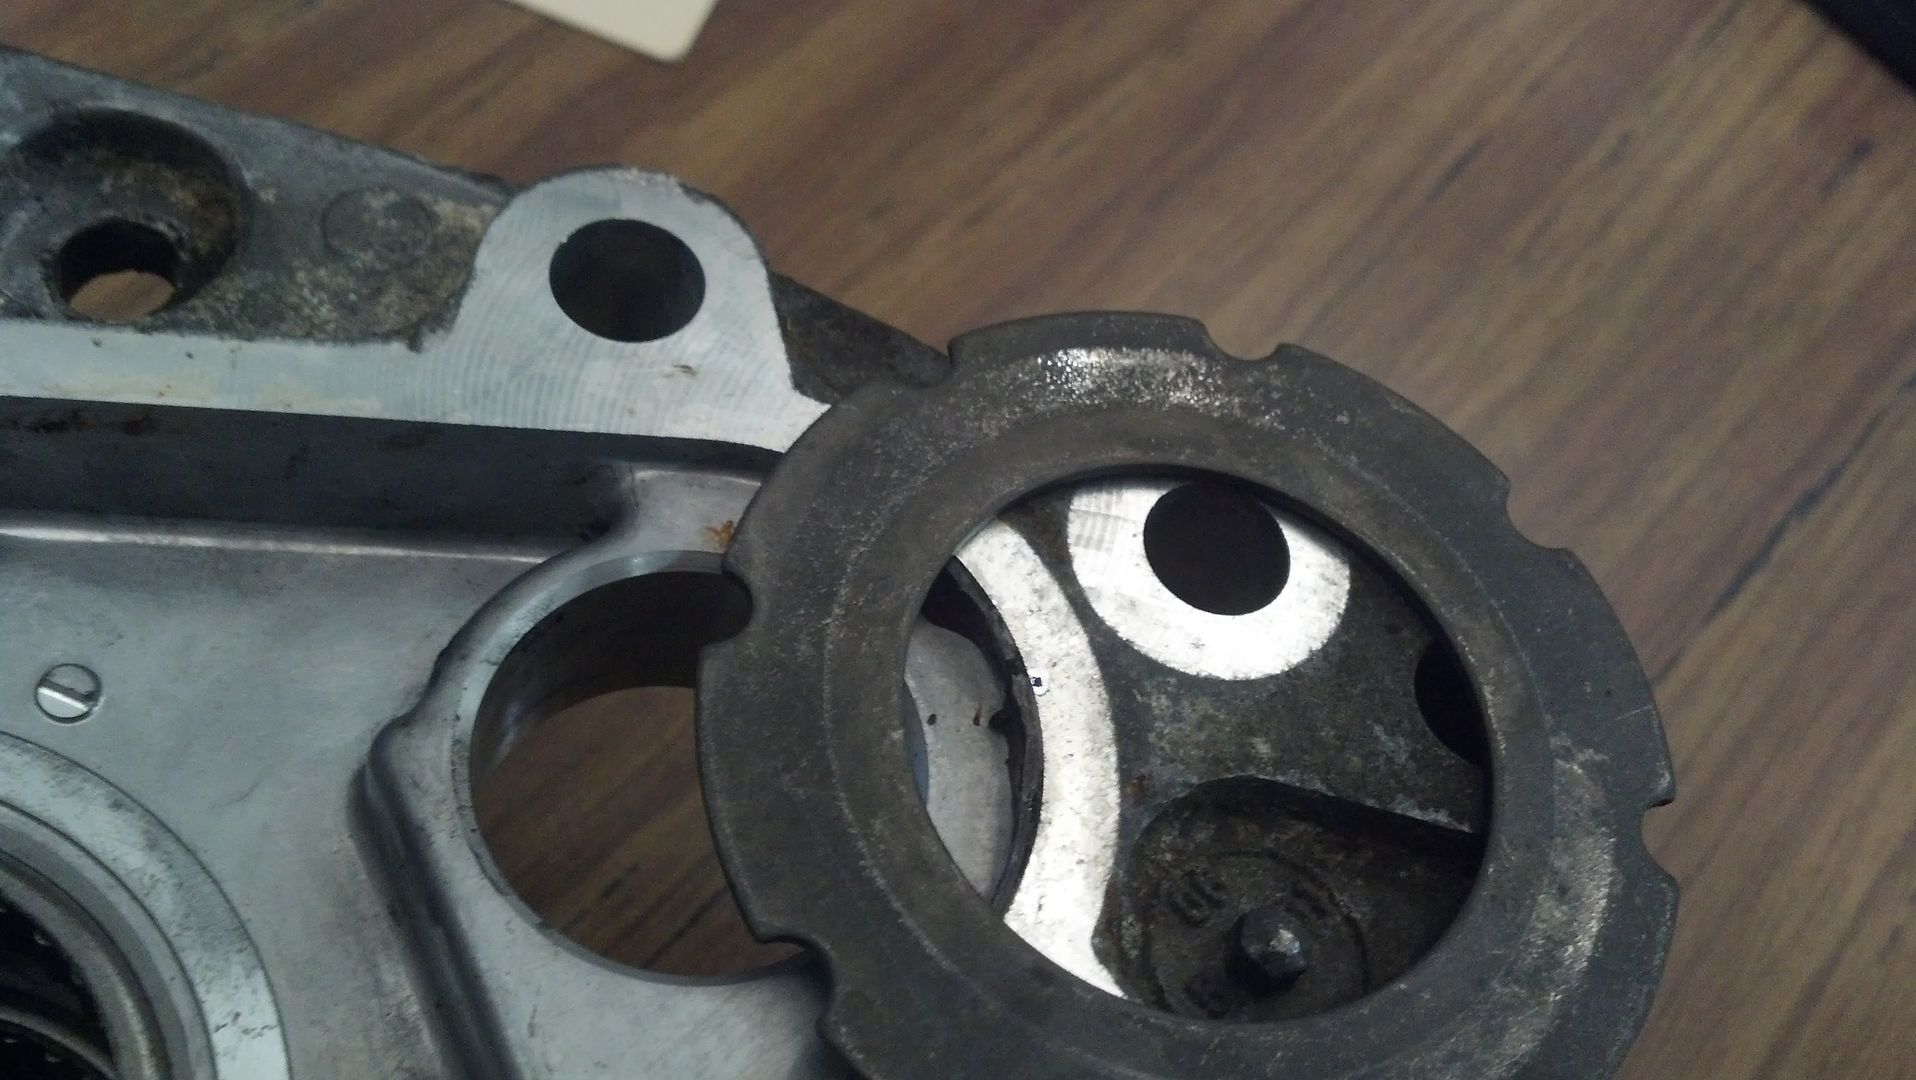
Once it came off, it looks like all the bearings are in good shape. So it looks like I'll replace them while its apart, then look a little deeper into where my rattles were coming from. Really don't know if they were coming from here.?


It should be locked in once you pop the cv in, thats what the c clip is for.Chango wrote:Alright so I may be retarded...but I've got everything on the truck, trying to get the new CV to "lock in" to the disconnect. I line up the splines, slip it in but it won't "lock". I can pull it right back out by hand?
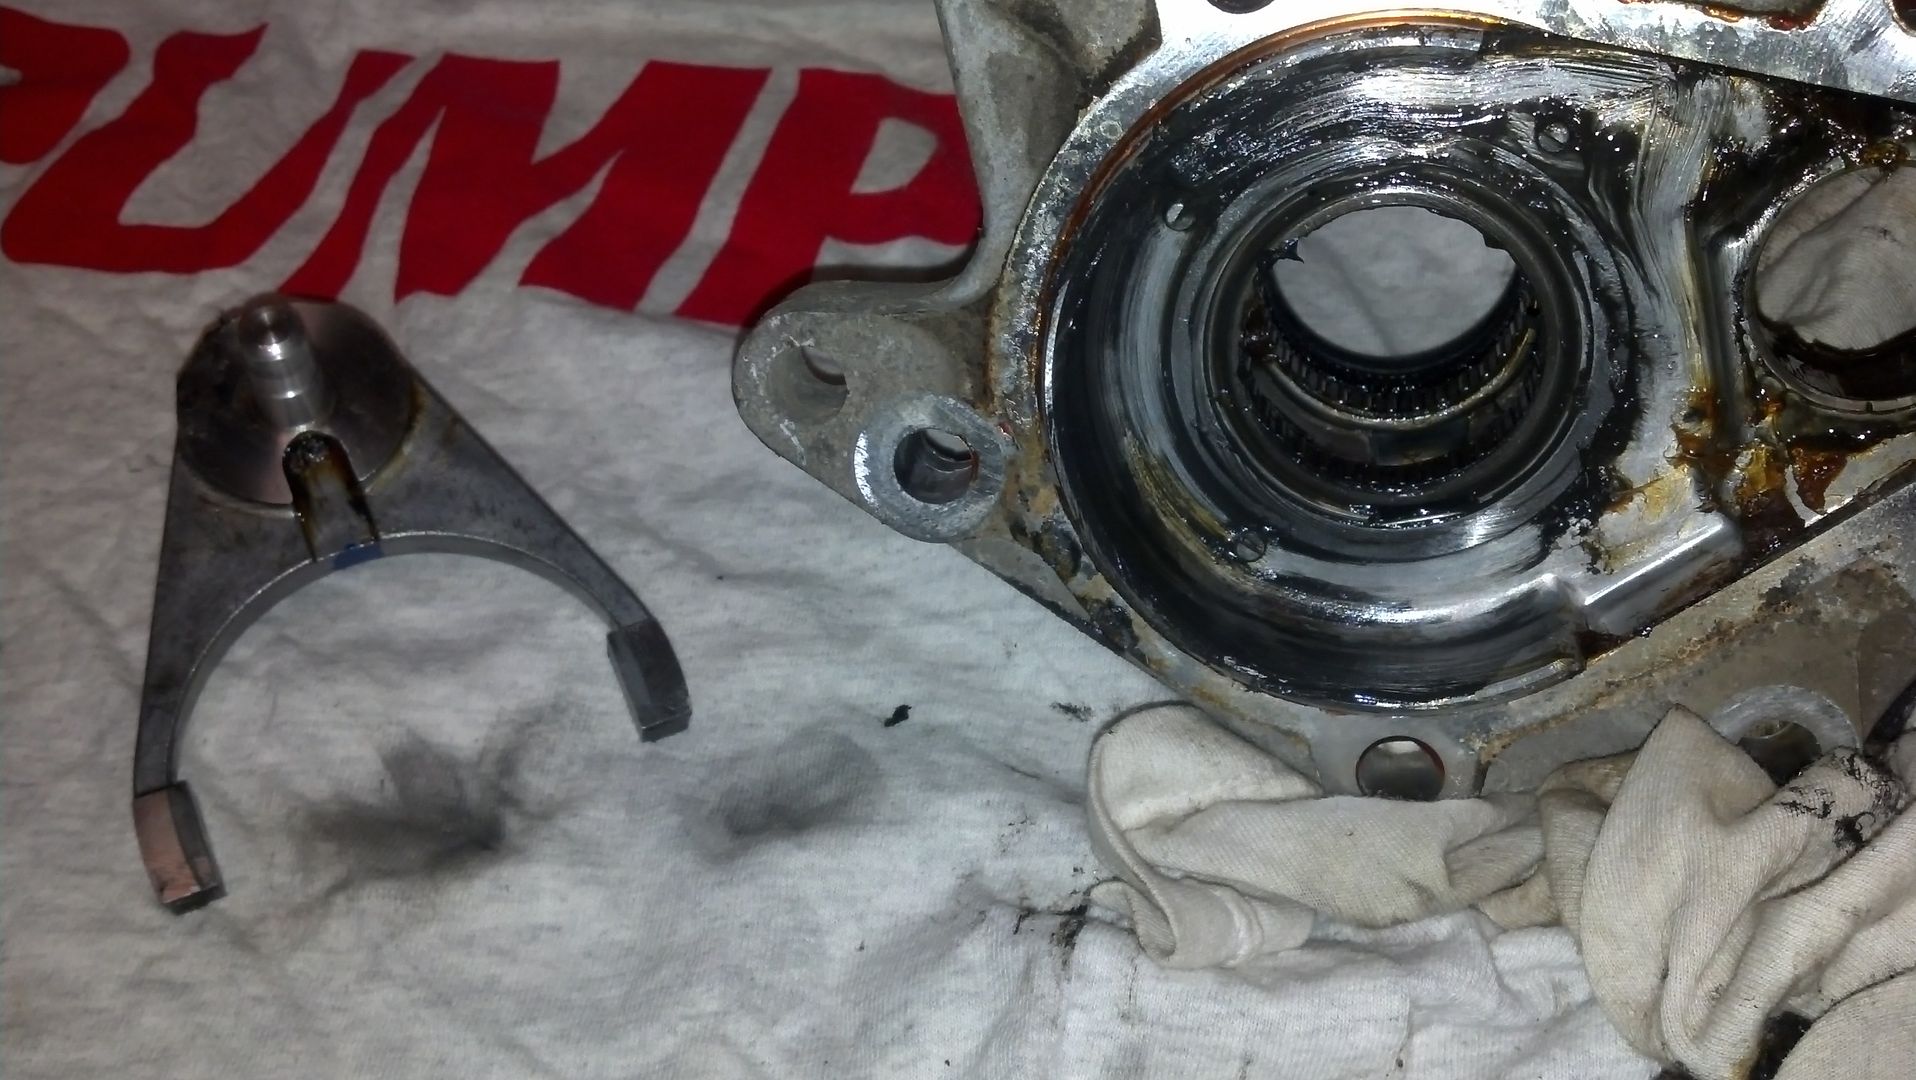
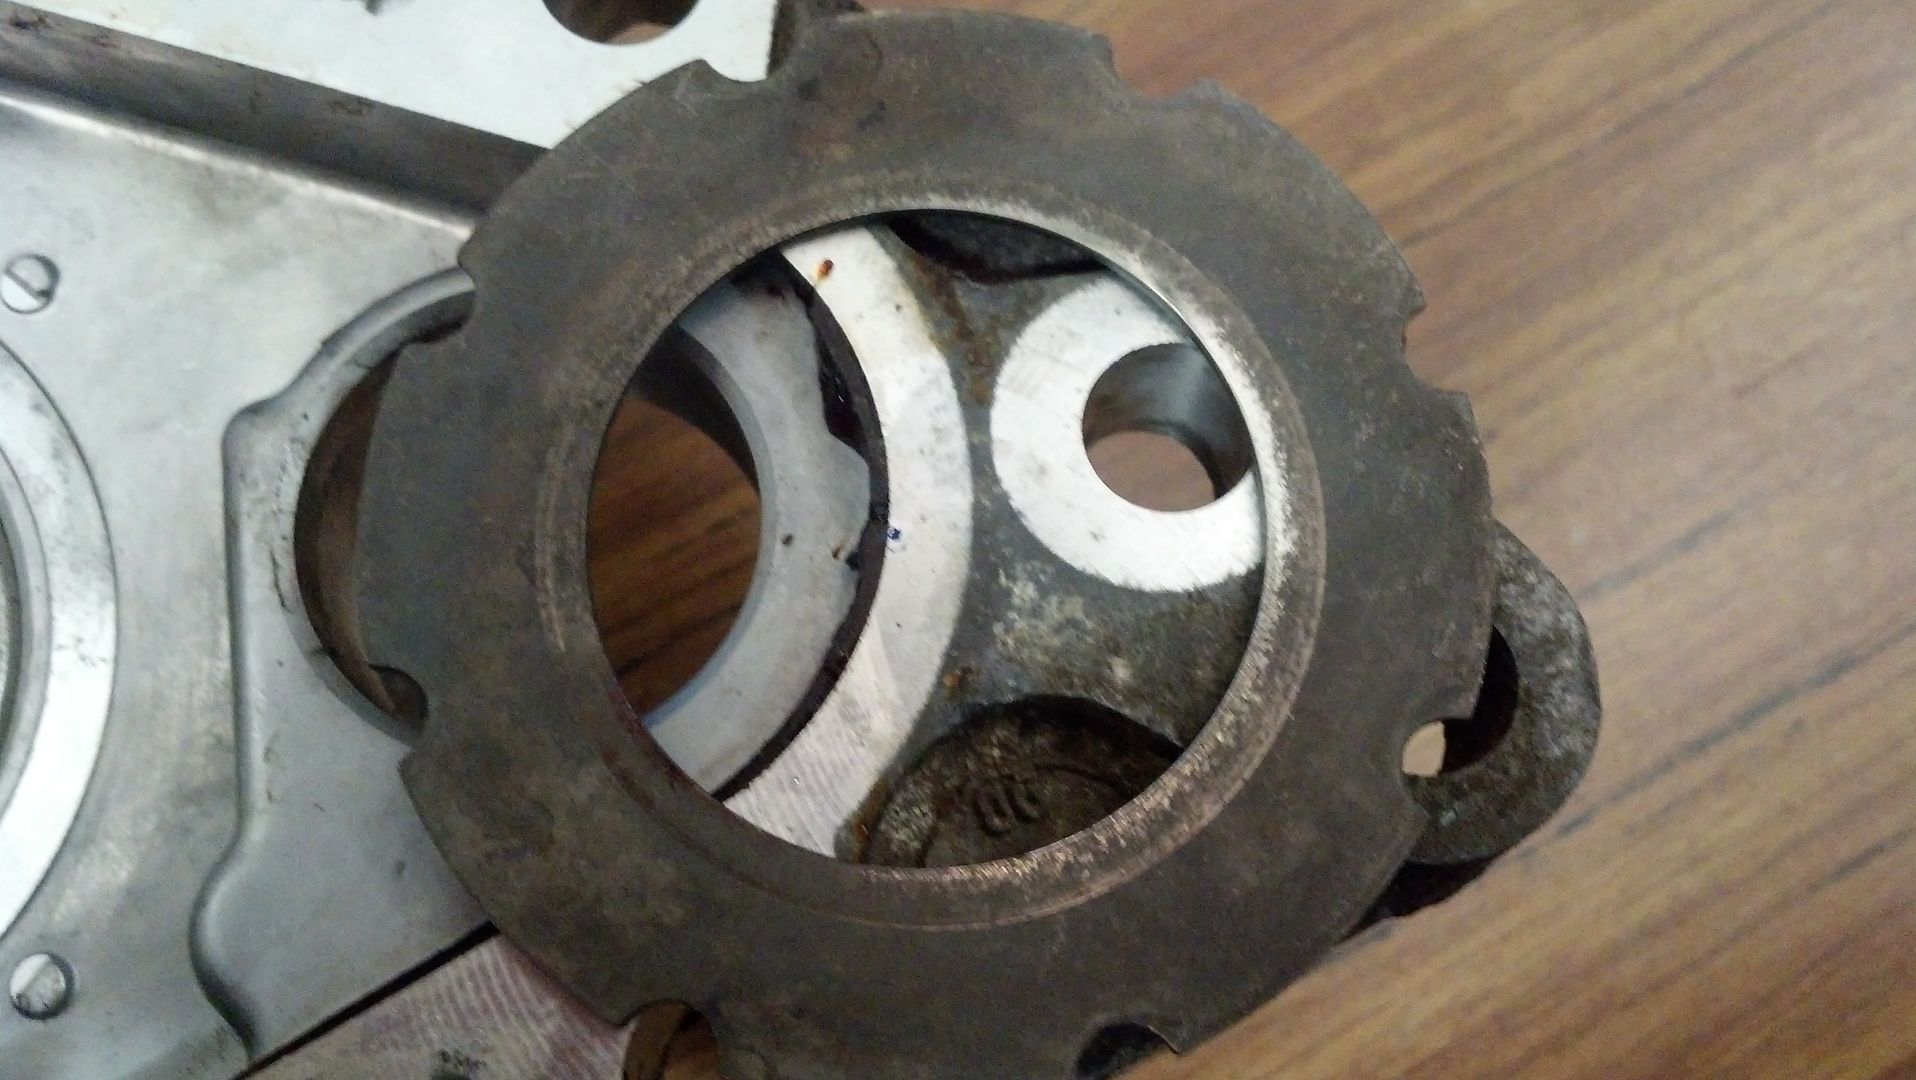
I installed the tapered side of the disconnect towards the tire. Should this seat once everything is bolted back up? Or should it be "locked" in as soon as you shove it in the disconnect?


CarbEnvoy wrote:I don't think I have to do my disconnect yet as my truck does not yet (hopefully soon) have a lift on it. But I was curious if anyone has just put in an AWD disconnect for a Bravada/9-7x etc.
I realize that if possible, you can just add the sleeve to your existing disconnect if it's still working. But if it's too worn, or it breaks during removal, wouldn't it be easy to just order an AWD disconnect?
The Roadie wrote:Research, plan your mods, fund the plan, then GO DO THEM. THEN WHEEL IT.
