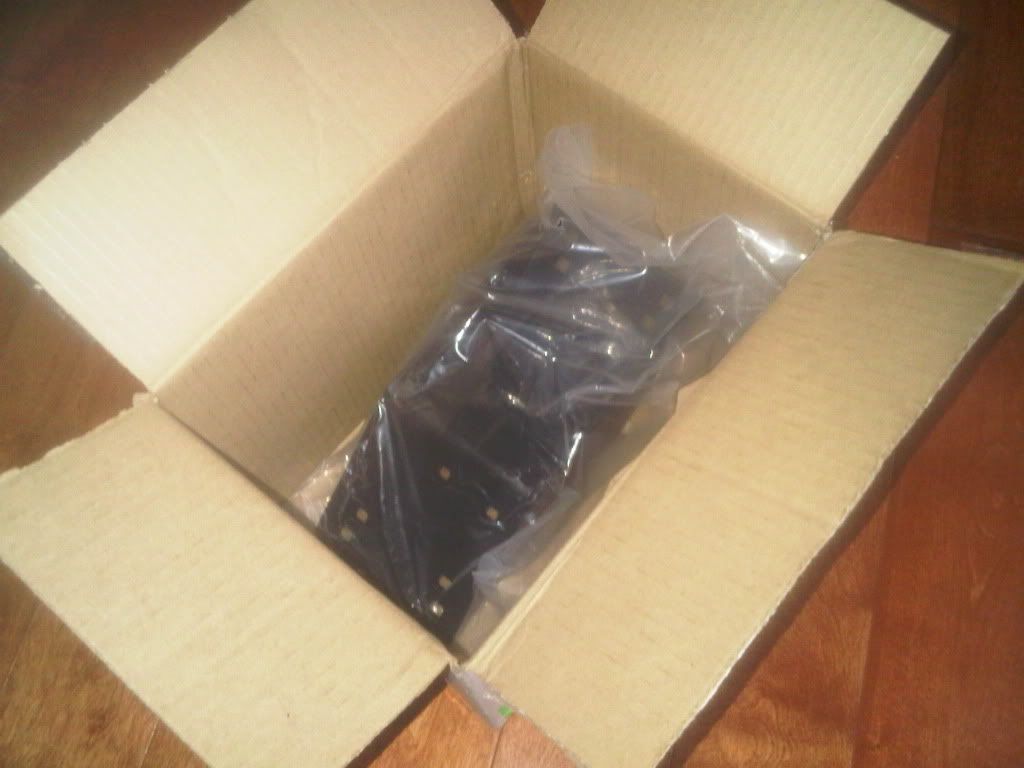
I finally, after weeks of waiting, and numerous problems with canadian customs. i got my order. i did plan on having this installed for my cross country trip to California, but problems at the border held it up. i talked to the company and asked them to change the shipping address to my home in Los Angeles, and within 2 days it has arrived.
man shipping can be a pain in the ass sometimes! but im glad its here.
i got the ram mount kit for my specific truck
usb light
screen support
additional flat laptop support clips
MOD: Ram-Mount Laptop mount
Forum rules
Threads must fully document the modification with pictures and verbiage in the first post.
Threads that do not meet this criteria may be moved or deleted.
Threads must fully document the modification with pictures and verbiage in the first post.
Threads that do not meet this criteria may be moved or deleted.
12 posts
• Page 1 of 1
- Zero
- Veteran
- Posts: 1048
- Joined: Thu Sep 10, 2009 5:07 pm
- Location: Los Angeles, CA / Toronto, ON
- Name: Brendan
- Vehicle Year: 2005
- Vehicle: Chevrolet Trailblazer EXT
- DriveTrain: 4WD w/ G80
- Rank: Offroad Rated
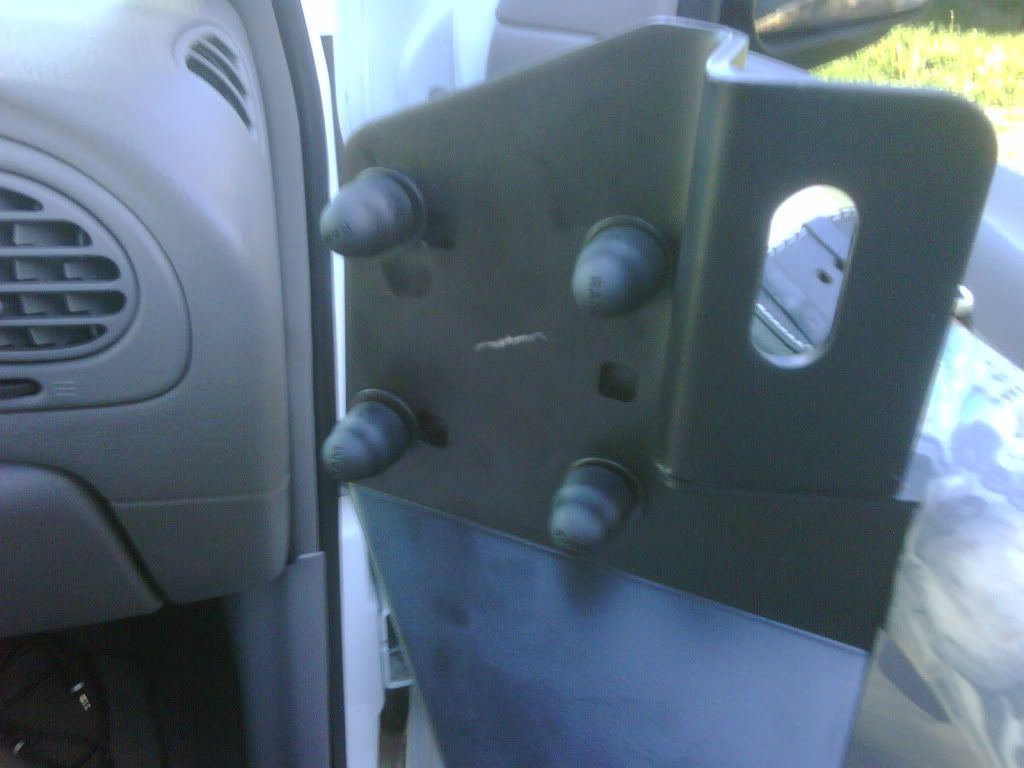
1. The directions say that the lower support plate is to mount on top of the feel of the sliders on the seat. This just cant happen because of the shape of the metal support. The only way it will fit is to be put under the feet of the sliders.
2. Some parts came slightly damaged. Little marks and niks in the paint here and there. Nothing major. Im still happy.
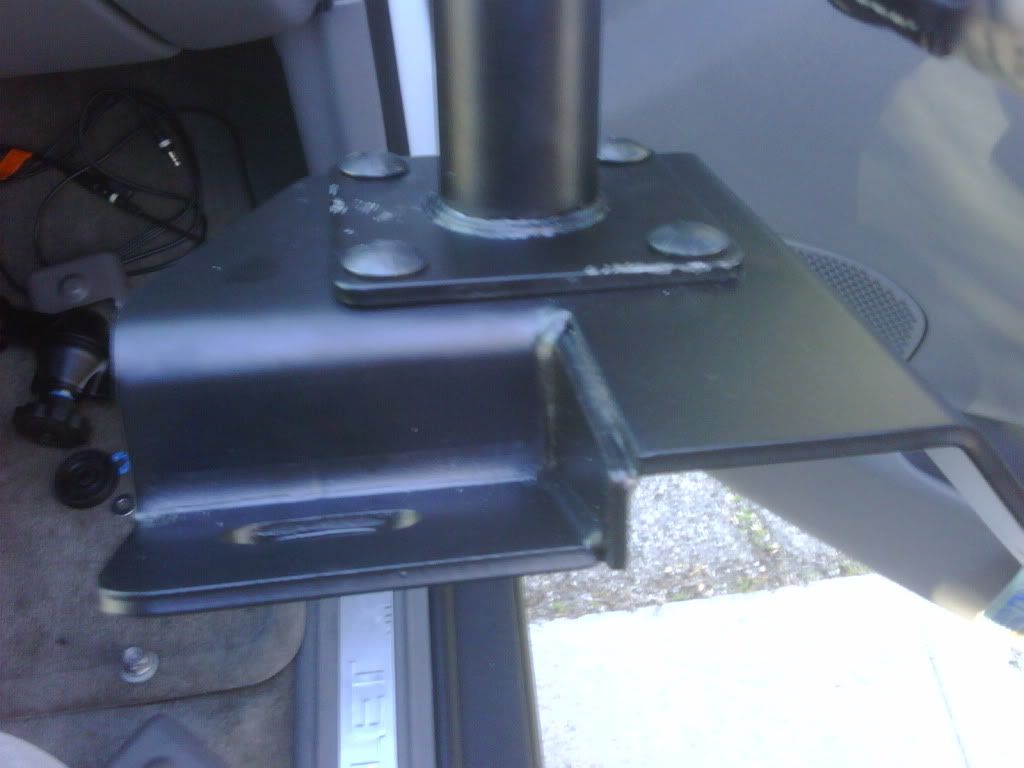
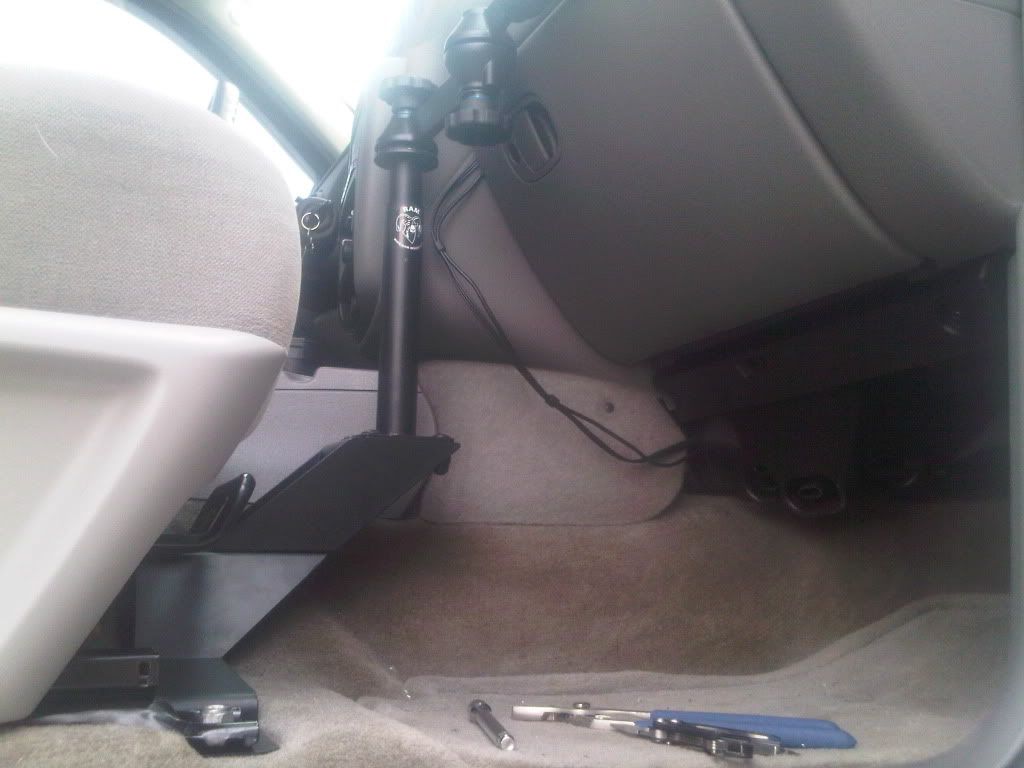
3. The lower part of the post that attaches to the bottom plate support come up almost right in the middle of my passenger seat. The seat can no longer slide back and forth. The post is quite obtrusive for anyone sitting in the seat.
When I was in Roadies truck, his cam up right next to the center console, at least 3+ inches further to the left then where mine is located. i later came to find he had made his own mod to the Ram system to move things over and out of the way.
Here is a link to what Roadie did....... http://forums.trailvoy.com/showthread.php?t=3700
I am waiting to hear back from Ram for a fix to this little problem of mine.
Other then this problem, the kit seems to be top notch. Excellent packaging, the directions could be a little better but they got the job done. I dont like how the manuals are spread between the bags. It should just be on book. Everything seems to be made of top quality materials. The whole kit has a bit of weight.
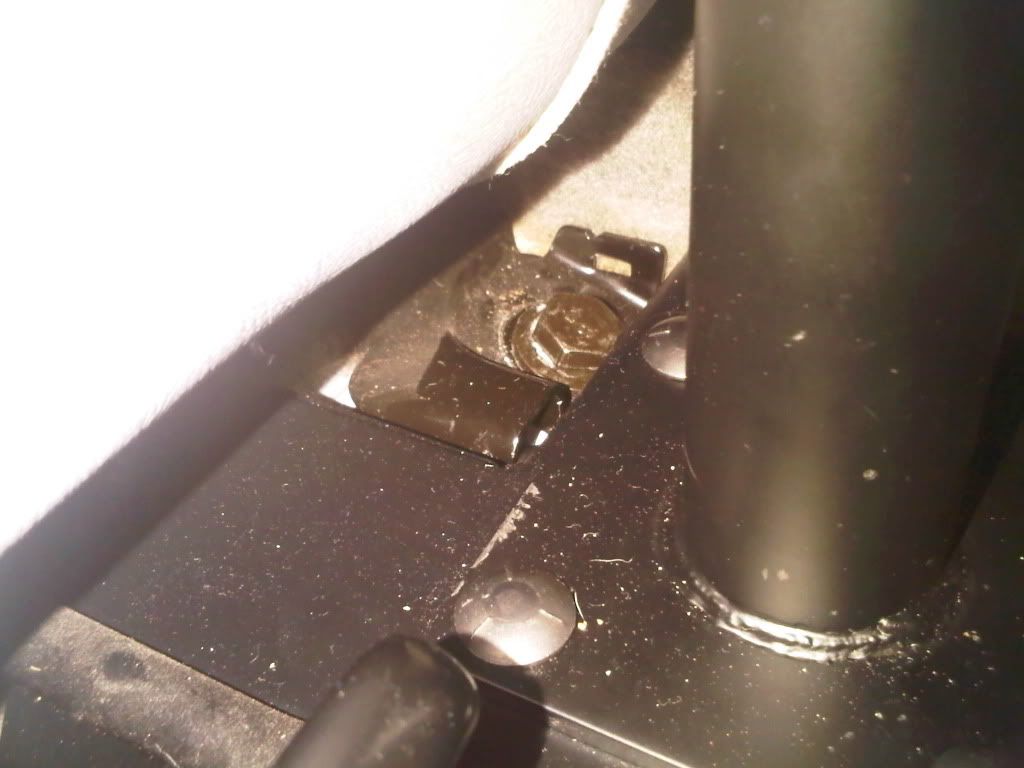
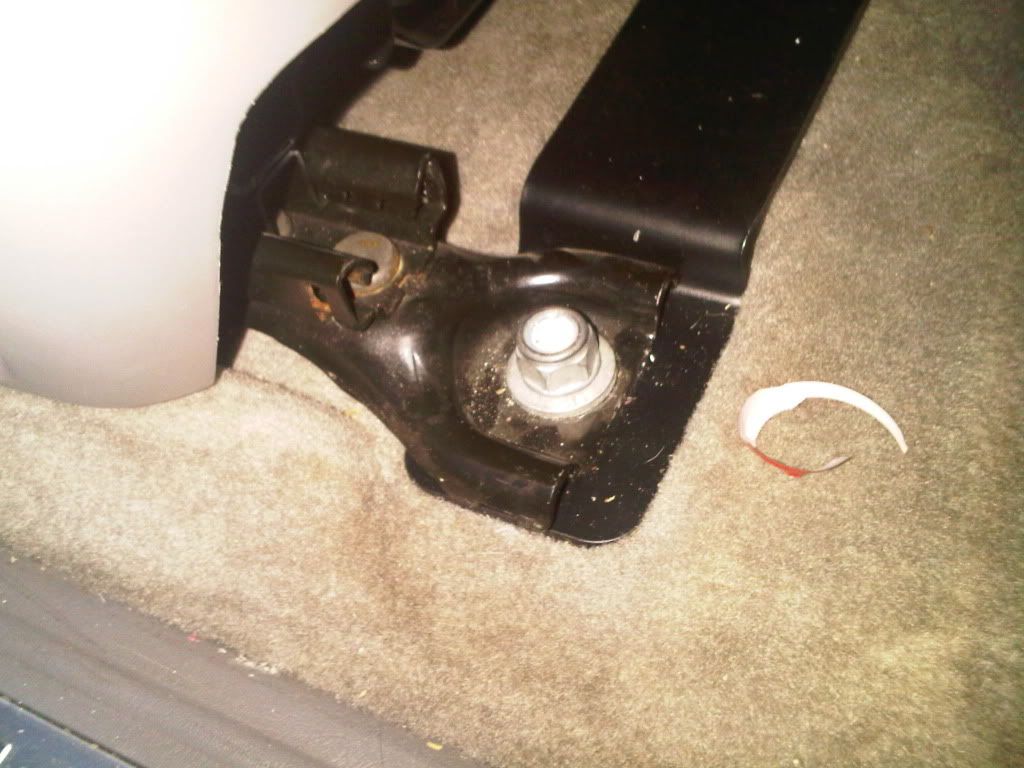
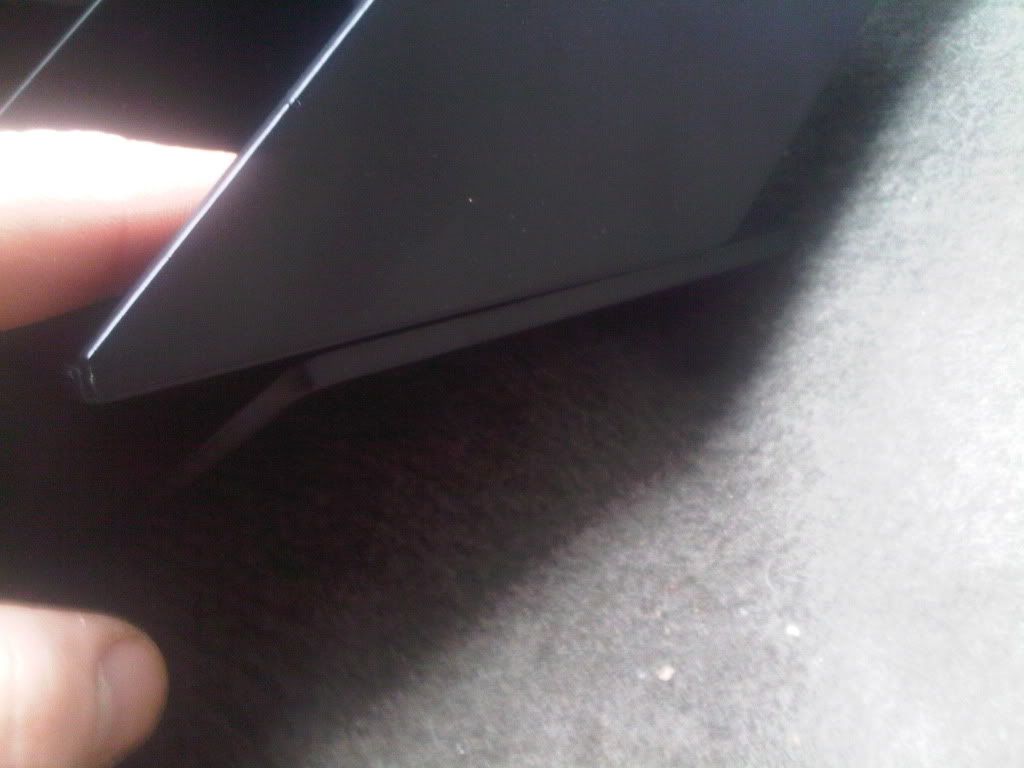
Base plate bolts come with rubber caps.
Bottom post mounted to base plate....
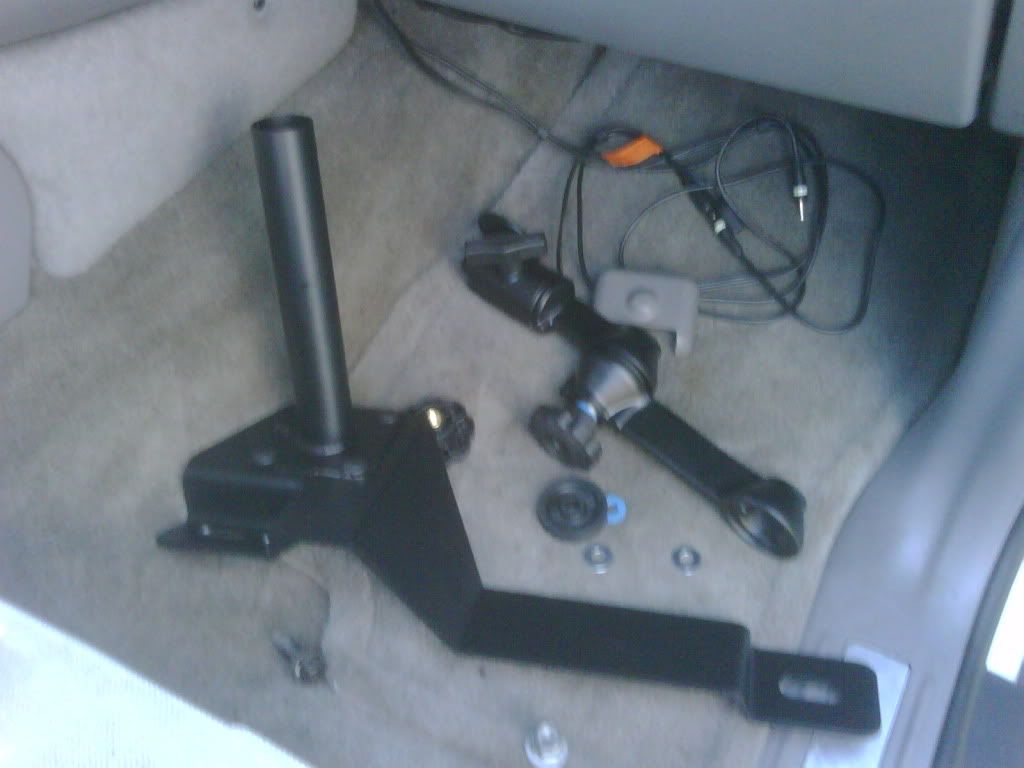
laying everything out for the over picture.....
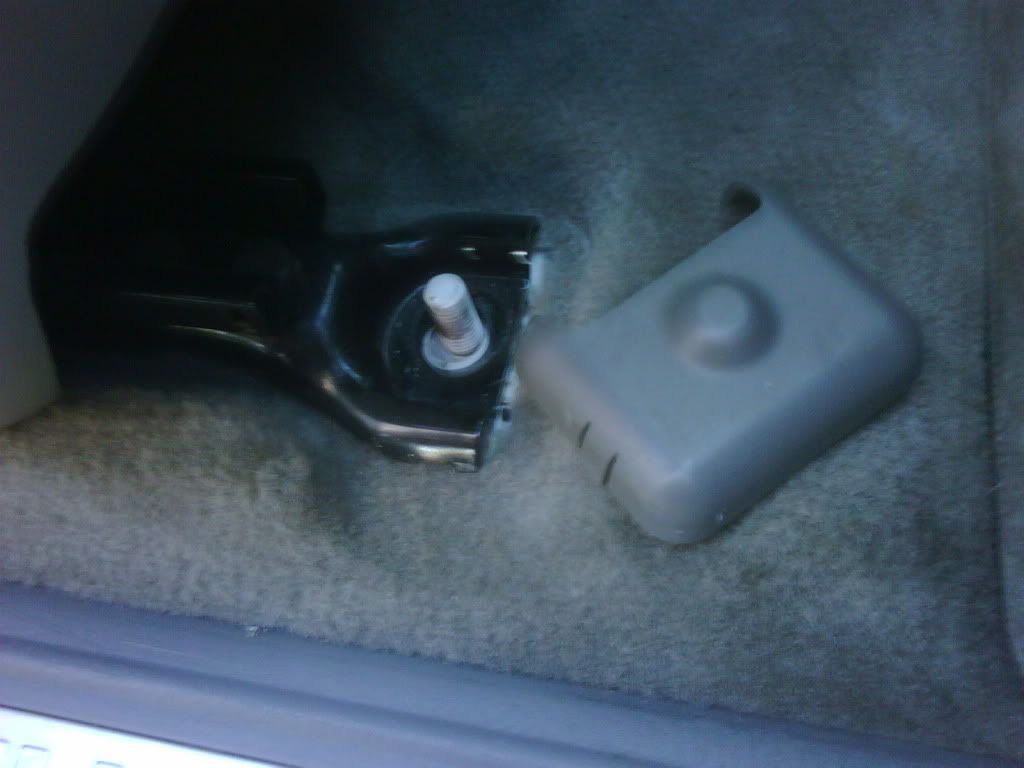
Slider bolt cover removed...
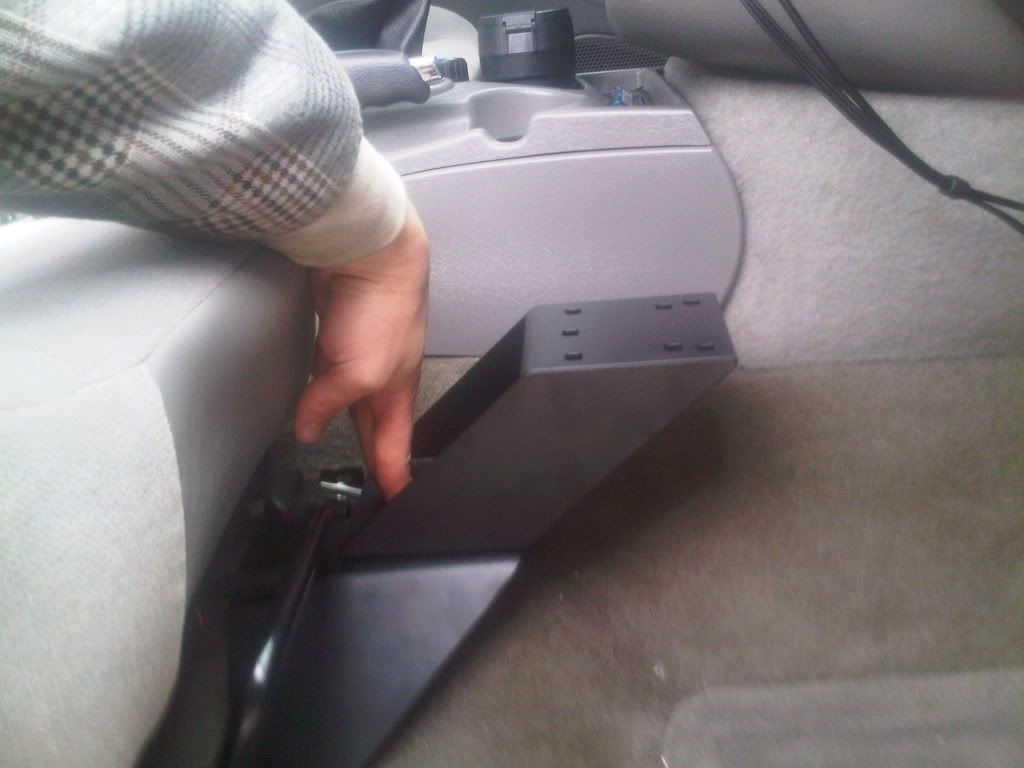
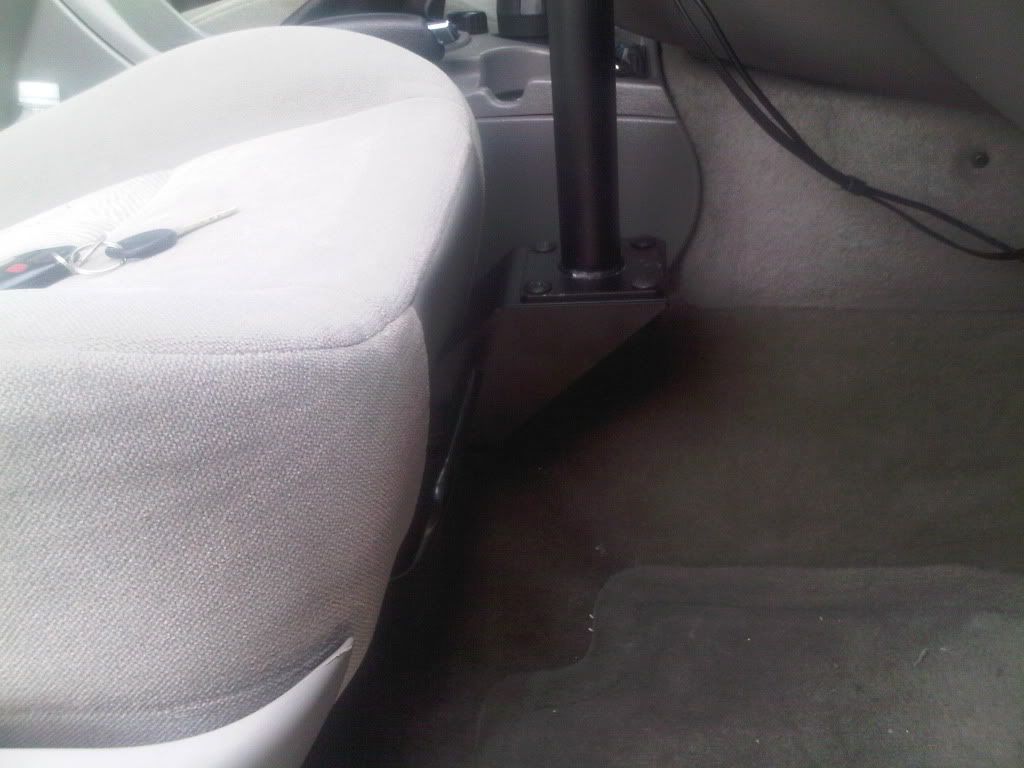
Where the base plate had to be installed under the foot of the slider, not on top as stated in the directions.
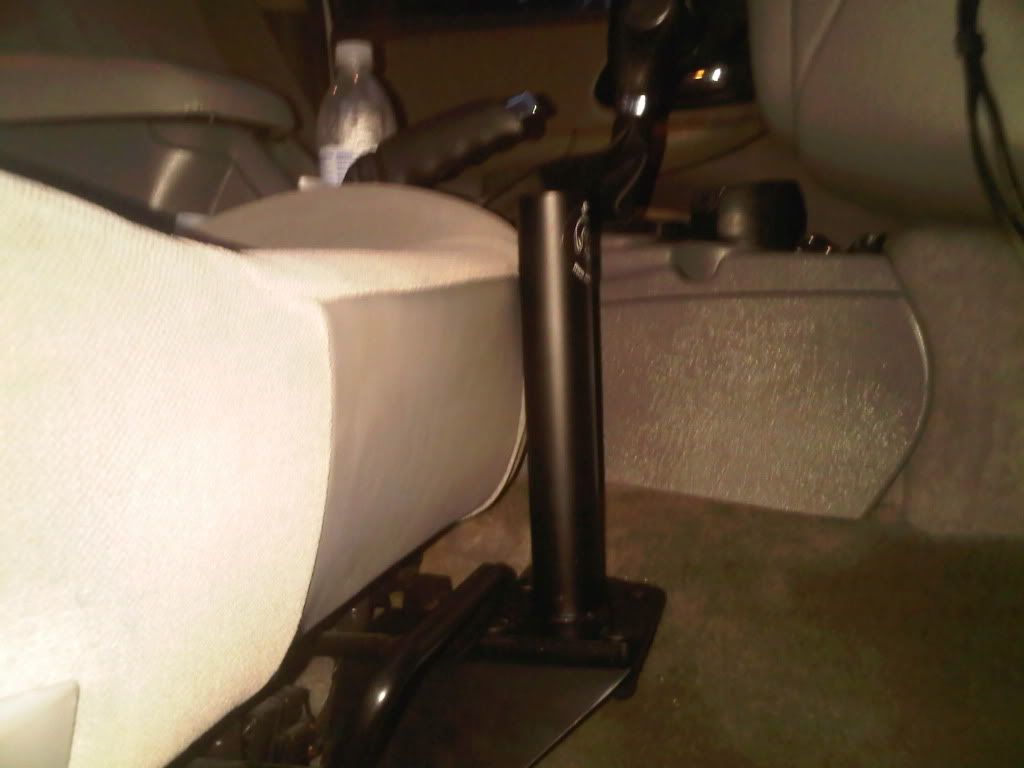
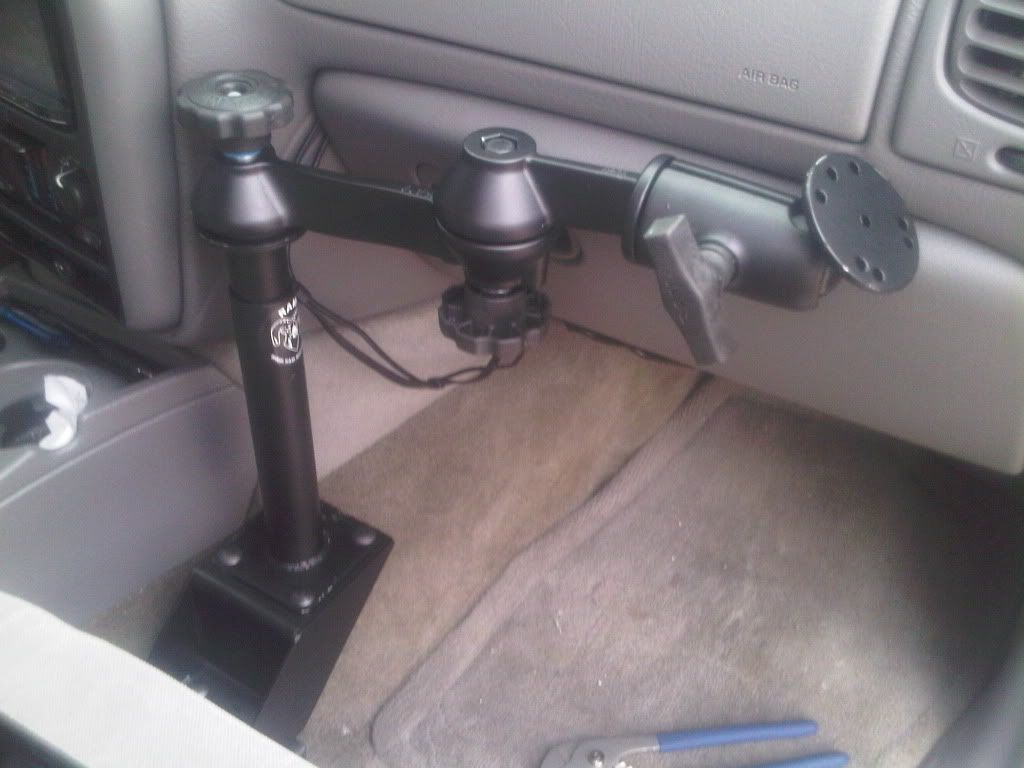
Look how far towards the middle of the seat the post is....

2. Some parts came slightly damaged. Little marks and niks in the paint here and there. Nothing major. Im still happy.
3. The lower part of the post that attaches to the bottom plate support come up almost right in the middle of my passenger seat. The seat can no longer slide back and forth. The post is quite obtrusive for anyone sitting in the seat.
When I was in Roadies truck, his cam up right next to the center console, at least 3+ inches further to the left then where mine is located. i later came to find he had made his own mod to the Ram system to move things over and out of the way.
Here is a link to what Roadie did....... http://forums.trailvoy.com/showthread.php?t=3700
I am waiting to hear back from Ram for a fix to this little problem of mine.
Other then this problem, the kit seems to be top notch. Excellent packaging, the directions could be a little better but they got the job done. I dont like how the manuals are spread between the bags. It should just be on book. Everything seems to be made of top quality materials. The whole kit has a bit of weight.
Base plate bolts come with rubber caps.
Bottom post mounted to base plate....
laying everything out for the over picture.....
Slider bolt cover removed...
Where the base plate had to be installed under the foot of the slider, not on top as stated in the directions.
Look how far towards the middle of the seat the post is....
- Zero
- Veteran
- Posts: 1048
- Joined: Thu Sep 10, 2009 5:07 pm
- Location: Los Angeles, CA / Toronto, ON
- Name: Brendan
- Vehicle Year: 2005
- Vehicle: Chevrolet Trailblazer EXT
- DriveTrain: 4WD w/ G80
- Rank: Offroad Rated
UPDATE
I just received an email from the guys at Ram-mount
Good Day Brendan,
I apologize for the delay. If you would like to send me your address I would like to have a 4" angled riser sent out to you.
This will move the telepole over toward the center and out of the way of the passenger area.
Regards,
Brian Anderson
National Products, Inc.
8410 Dallas Ave. S.
Seattle, WA 98108
P: 206-763-8361 - 100
F: 206-763-9615
briana@ram-mount.com
So it looks like I may have a fix that will keep me from drilling. I also offered to take some measurements to see if they can improve the design. Nice bunch of guys, Im glad they are so eager to help and make things right.
Its nice to find another company out there that stands behind their product and works with their customers. After all, in the beginning, for all I knew I installed it wrong hahahaha.
Ill keep you guys posted when the new part comes.
- Zero
- Veteran
- Posts: 1048
- Joined: Thu Sep 10, 2009 5:07 pm
- Location: Los Angeles, CA / Toronto, ON
- Name: Brendan
- Vehicle Year: 2005
- Vehicle: Chevrolet Trailblazer EXT
- DriveTrain: 4WD w/ G80
- Rank: Offroad Rated
UPDATE
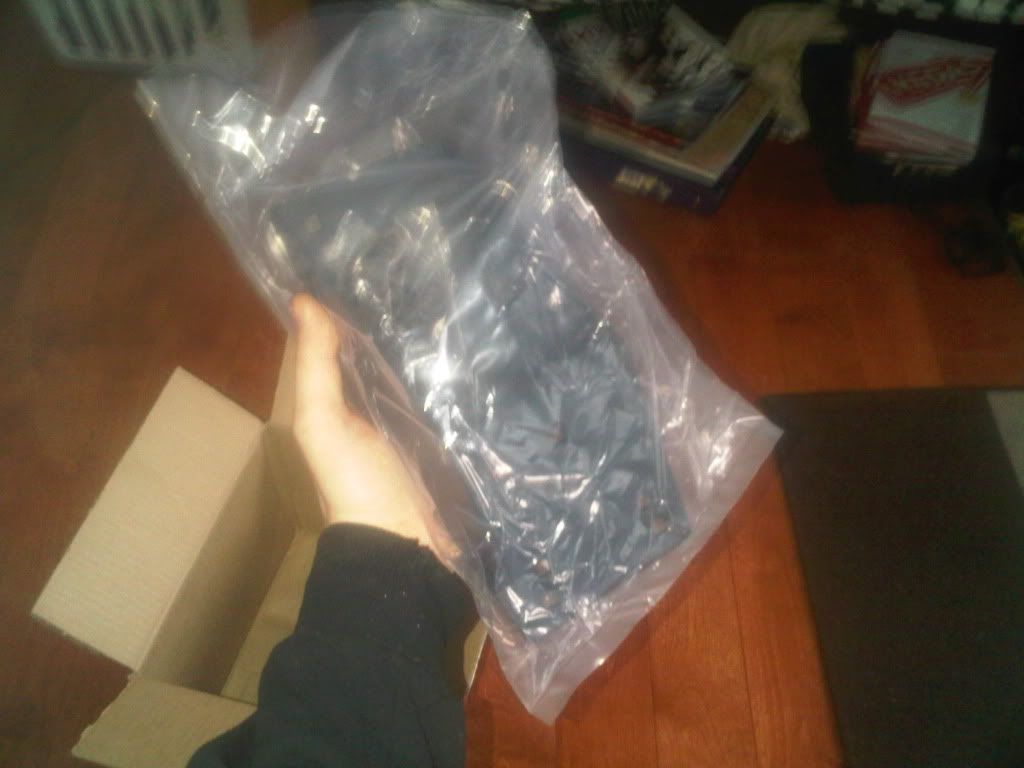
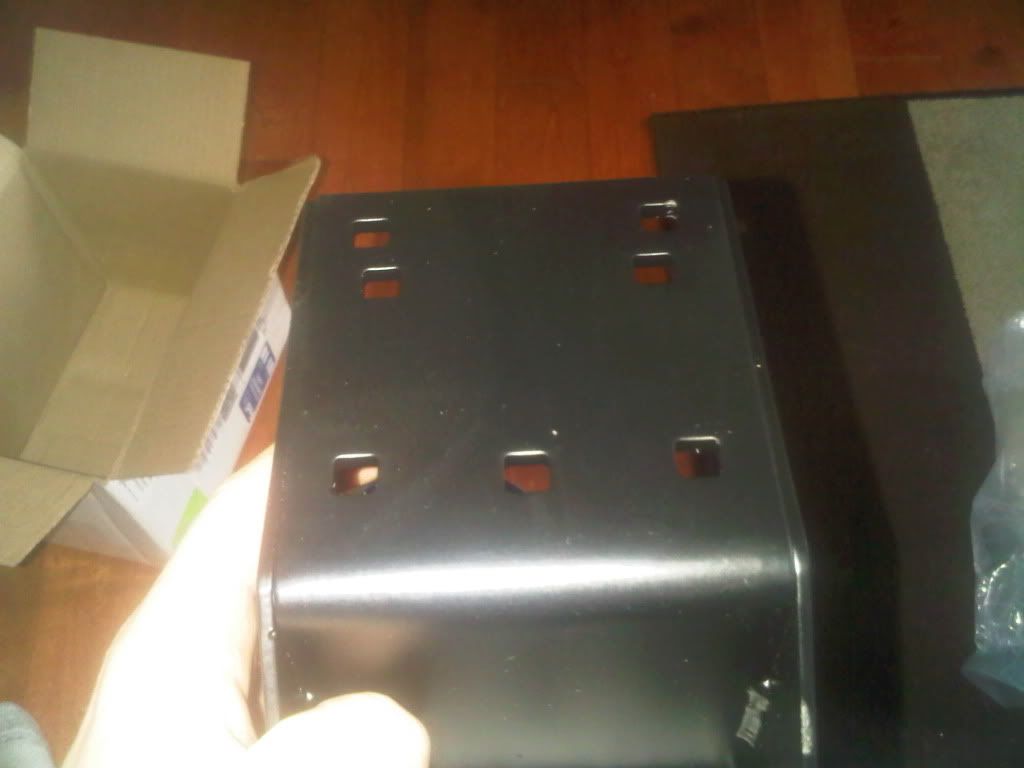
My part came in today, just as Fedex said it would! Its alot bigger, and really heavy compared to what I was expecting.
here are some pics for now, while I go outside and try to install it. I hope that this is a good fix, but I think there is going to be some cutting involved to make this fit without destroying the center console, and still being able to clear the seat enough for it to slide back and forth freely. As this was my main complaint about the install.
Z
The box....
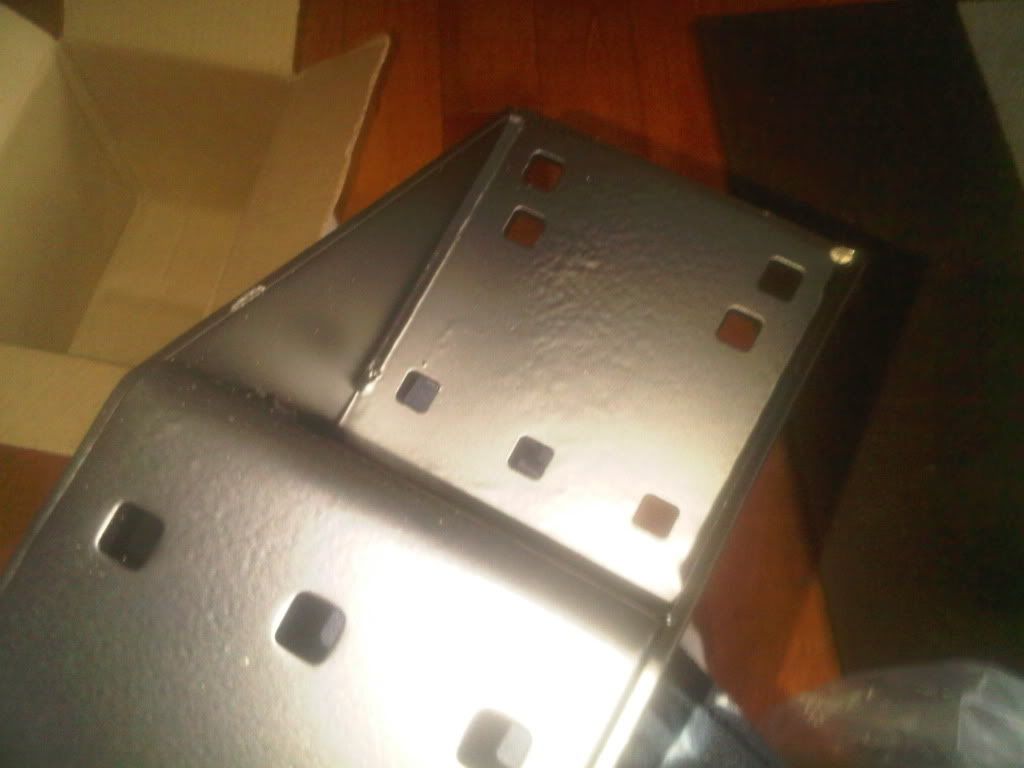
The part....
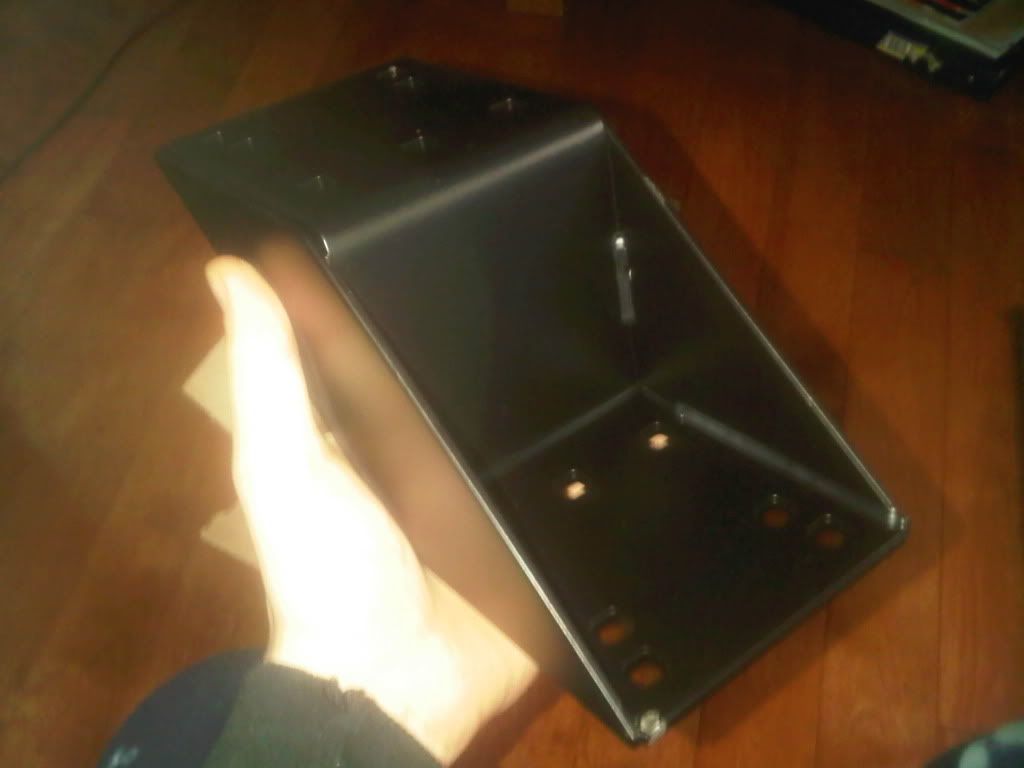
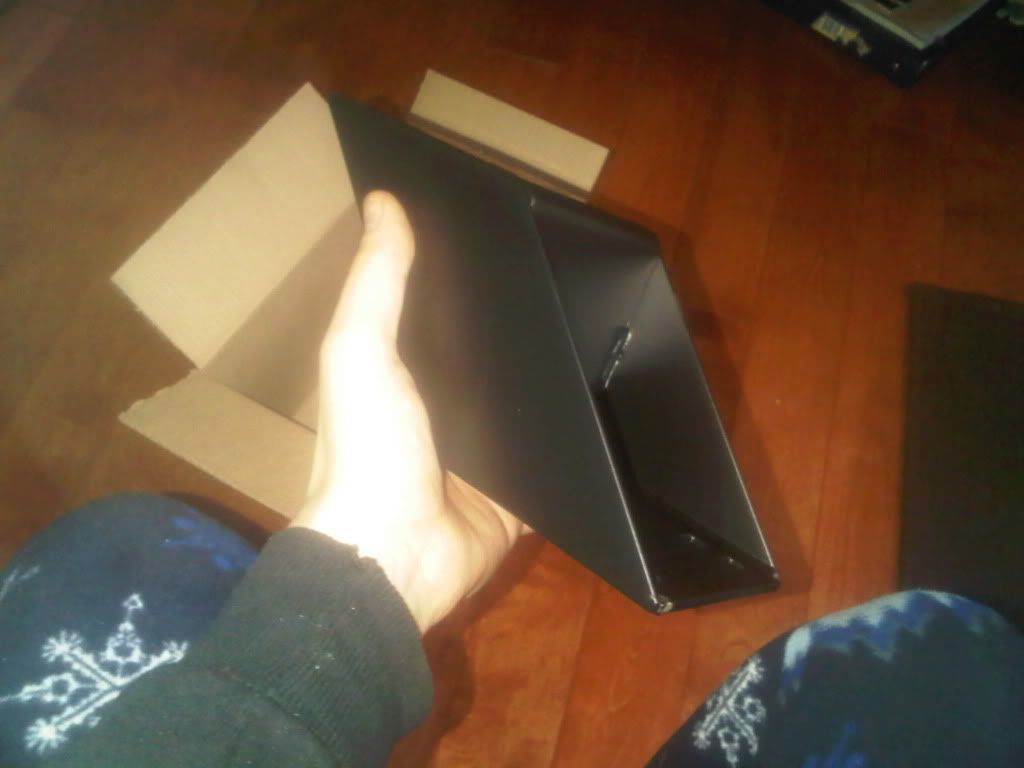
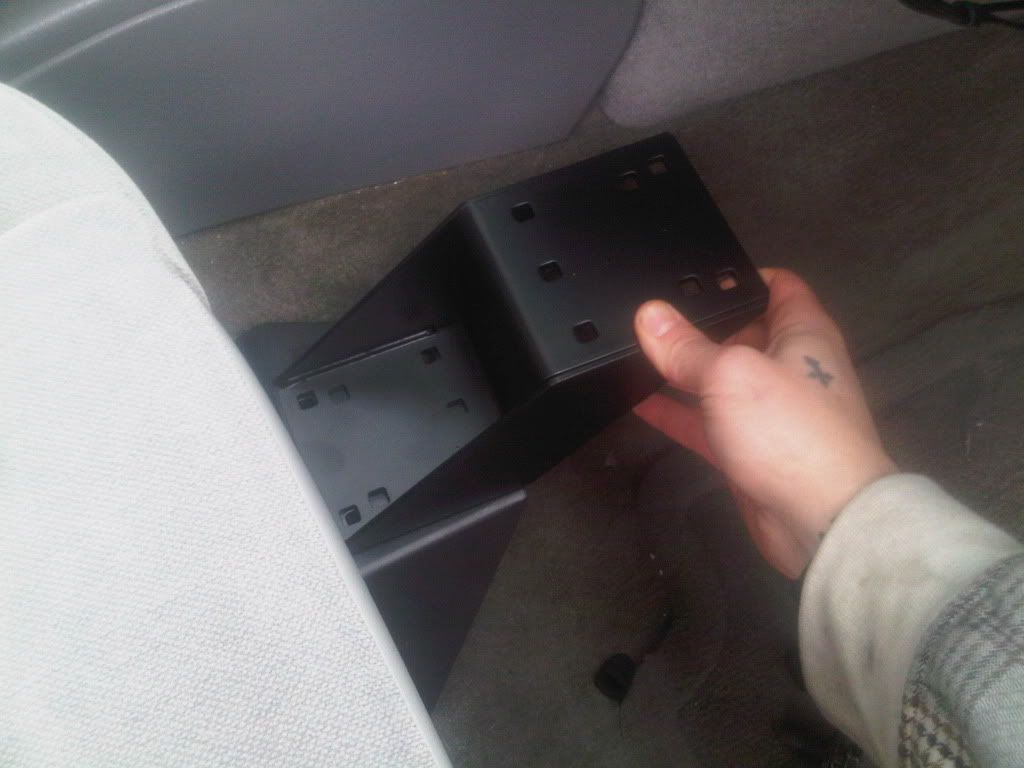
The mounting points....
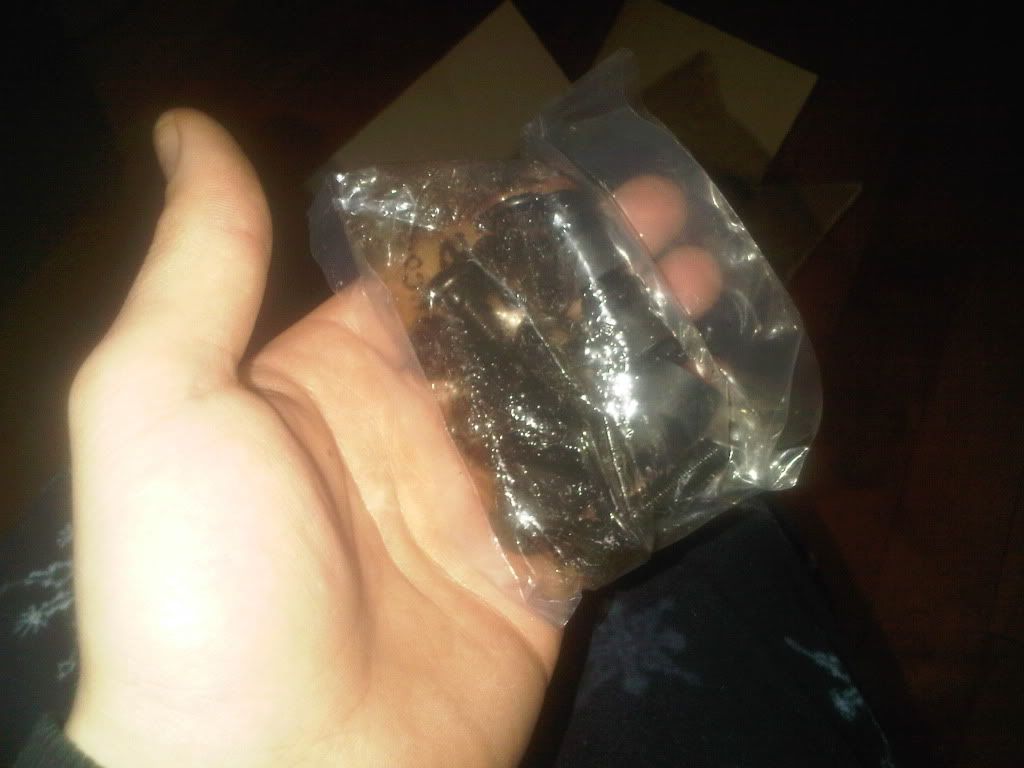
Hardware.....
The kit is installed, in -5, while it started to snow. Some may call me crazy, I say ts commitment to not leaving things un done
As I thought, I was not able to move the mount closer to the center console area by the shifter as Roadie has his.....
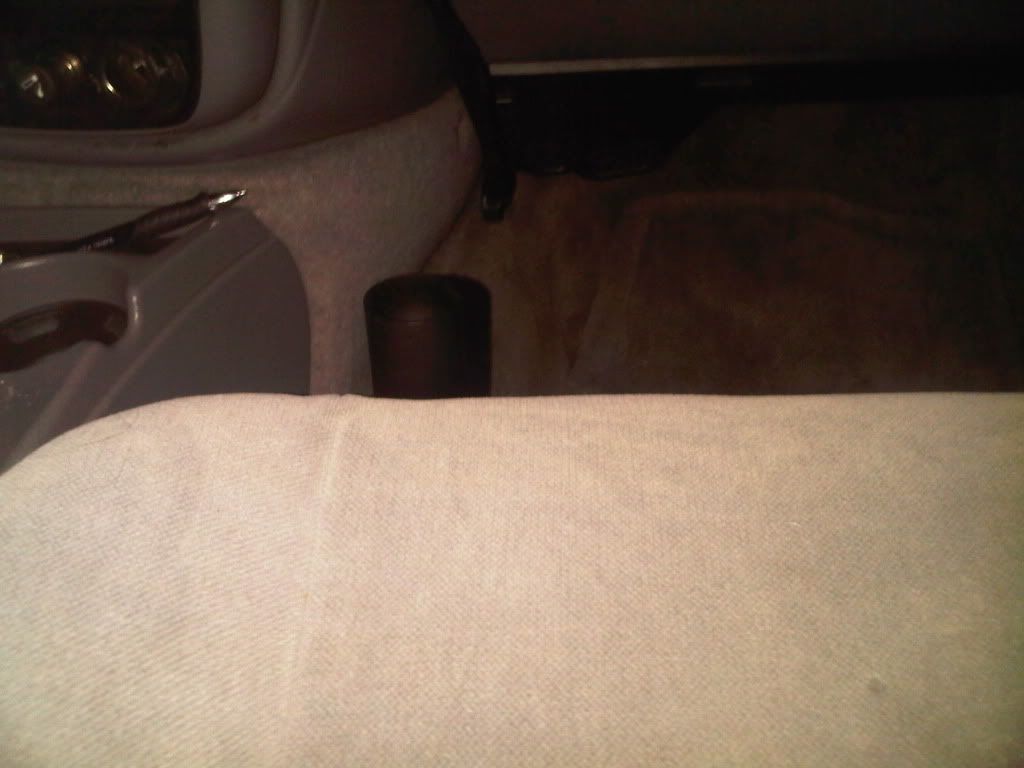
So I turned the bracket and pointed it towards the glove box, this now allows me to slide my seat back and forth, I dont have to cut anything on the truck or the mount. It seems pretty solid. Now I just have to get a laptop mounted up hahahaha. I will hopefully have my laptop in a week.
As u can see here, the mount comes out to far, and hits the center console....
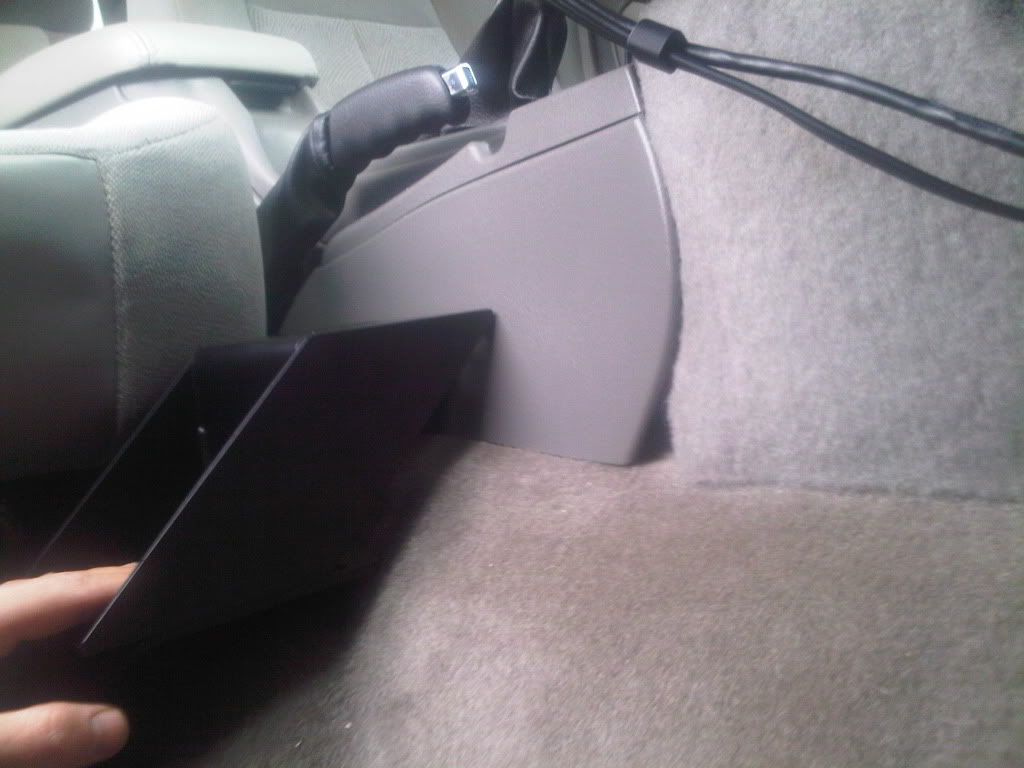
The piece would have to be moved quite a bit as you see in the pic in order for it not to hit the center console.
So i decided to point the riser towards the glove box instead...
Here are some pics of it all installed and ready to go.

My part came in today, just as Fedex said it would!
Its alot bigger, and really heavy compared to what I was expecting. here are some pics for now, while I go outside and try to install it. I hope that this is a good fix, but I think there is going to be some cutting involved to make this fit without destroying the center console, and still being able to clear the seat enough for it to slide back and forth freely. As this was my main complaint about the install.
Z
The box....
The part....
The mounting points....
Hardware.....
The kit is installed, in -5, while it started to snow. Some may call me crazy, I say ts commitment to not leaving things un done
As I thought, I was not able to move the mount closer to the center console area by the shifter as Roadie has his.....
So I turned the bracket and pointed it towards the glove box, this now allows me to slide my seat back and forth, I dont have to cut anything on the truck or the mount. It seems pretty solid. Now I just have to get a laptop mounted up hahahaha. I will hopefully have my laptop in a week.
As u can see here, the mount comes out to far, and hits the center console....
The piece would have to be moved quite a bit as you see in the pic in order for it not to hit the center console.
So i decided to point the riser towards the glove box instead...
Here are some pics of it all installed and ready to go.
- Zero
- Veteran
- Posts: 1048
- Joined: Thu Sep 10, 2009 5:07 pm
- Location: Los Angeles, CA / Toronto, ON
- Name: Brendan
- Vehicle Year: 2005
- Vehicle: Chevrolet Trailblazer EXT
- DriveTrain: 4WD w/ G80
- Rank: Offroad Rated
Hey Zero,
Just wondering if ya go it set up yet w/ a laptop now? And is it in the way of the passenger anymore, even after you turned the bracket 90 degrees?
Just wondering if ya go it set up yet w/ a laptop now? And is it in the way of the passenger anymore, even after you turned the bracket 90 degrees?
Build Thread
Back to stock, had fun while it lasted...
Back to stock, had fun while it lasted...
- janesy86
- Veteran
- Posts: 1291
- Joined: Thu Sep 10, 2009 2:29 pm
- Location: MA, Salem
- Name: Nick Janes
- Vehicle Year: 2007
- Vehicle: Chevrolet TrailBlazer
- DriveTrain: 4WD w/ G80
- Rank: Offroad Rated
It is much more comfortable then it was before....big time.....but it is still in the way a little bit for some passengers. There is some room to maybe make a mount that moves it back away from the glove box, and inside towards the center consol and shifter a bit more.....kinda like how Roadie has his set up.
But for now it is doing the job, and no I have not received my lap top yet. Hopefully soon. My Delorme kit is just sitting around hahahaha.
But for now it is doing the job, and no I have not received my lap top yet. Hopefully soon. My Delorme kit is just sitting around hahahaha.
- Zero
- Veteran
- Posts: 1048
- Joined: Thu Sep 10, 2009 5:07 pm
- Location: Los Angeles, CA / Toronto, ON
- Name: Brendan
- Vehicle Year: 2005
- Vehicle: Chevrolet Trailblazer EXT
- DriveTrain: 4WD w/ G80
- Rank: Offroad Rated
Yah, that looks like it interferes with the glove box. I thought RAM just assumed it was for driver-only occupant vehicles, and didn't care about the passenger area. I looked at that angle mount, and ended up buying another item to try to make it fit better, but I like my mod more, even though it involved drilling into the floor pan. I can't find a pic right away, but it was a pivoting lower mount, like the angle mount, but on a vertical pivot that would allow a variable amount, 0-2" IIRC, of shifting. Not a fixed offset like your gadget.
-

The Roadie - Founder
- Posts: 5011
- Joined: Mon Sep 07, 2009 11:29 pm
- Location: CA, Vista, San Diego County
- Name: Bill Carton
- Vehicle Year: 2004
- Vehicle: GMC Envoy
- DriveTrain: 4WD w/ G80
- Rank: Expedition Guide
Good to know. I may look into this down the road...
Build Thread
Back to stock, had fun while it lasted...
Back to stock, had fun while it lasted...
- janesy86
- Veteran
- Posts: 1291
- Joined: Thu Sep 10, 2009 2:29 pm
- Location: MA, Salem
- Name: Nick Janes
- Vehicle Year: 2007
- Vehicle: Chevrolet TrailBlazer
- DriveTrain: 4WD w/ G80
- Rank: Offroad Rated
Here's my solution to the ram mounting pole's location:
 laptop-mount.jpg
- (77.29 KiB) Downloaded 156 times
-

Trail X - Founder
- Posts: 9935
- Joined: Mon Sep 07, 2009 10:22 pm
- Location: VA, Roanoke
- Name: James Downing
- Vehicle Year: 2005
- Vehicle: Chevrolet TrailBlazer
- DriveTrain: 4WD w/ Aftermarket Locker
- Rank: Expedition Guide
Nicely done! How much did you cut out and have it move over?
-

djthumper - Moderator
- Posts: 2702
- Joined: Wed Mar 24, 2010 6:04 pm
- Location: NV, Las Vegas
- Name: Larry
- Vehicle Year: 2006
- Vehicle: Chevrolet TrailBlazer
- DriveTrain: 4WD
- Rank: Offroad Rated
James, will this move the pole to the side or rearward?
- bgwolfpack
- Veteran
- Posts: 1794
- Joined: Fri Sep 18, 2009 7:19 pm
- Name: Randy
- Vehicle Year: Other
- Vehicle: Other Vehicle
- DriveTrain: 4WD
I cut out 3", so it's 3" gone from the height, and it will kick it towards the center console 3".
-
Trail X - Founder
- Posts: 9935
- Joined: Mon Sep 07, 2009 10:22 pm
- Location: VA, Roanoke
- Name: James Downing
- Vehicle Year: 2005
- Vehicle: Chevrolet TrailBlazer
- DriveTrain: 4WD w/ Aftermarket Locker
- Rank: Expedition Guide
12 posts
• Page 1 of 1