Tools needed:
Socket wrench set
18mm deep socket
3/4'' deep socket
9/16'' deep socket
19mm open ended wrench
T40 torx bit(for better grip)
Channel lock pliers
rotary tool
penetrating lubricant(PB Blaster)
Goggles(or cool sunglasses) and gloves
Jack stands
At least 1/2 ton floor jack
*I have included a few pictures to illustrate the before and after. The work involved is pretty straight forward*
*spray all bolts with penetrating lubricant for at least a few days prior to the install*
1. Properly raise vehicle with floor jack and support with a jack stand before removing wheel. Once set on jack, remove wheel and place to the side. I put the parking brake on for good measure. I did this one wheel at a time to ensure as much stability as possible.
2. Using the deep 18mm socket, break the OEM sway bar end link nuts loose, both upper and lower. You may need to temporarily remove the bump stops to gain access to the upper mount in the rear.
3. Attach the T40 bit to the socket wrench and insert in the opening at the end of the bolt. Hold this stationary and use the open ended wrench to turn the nut.
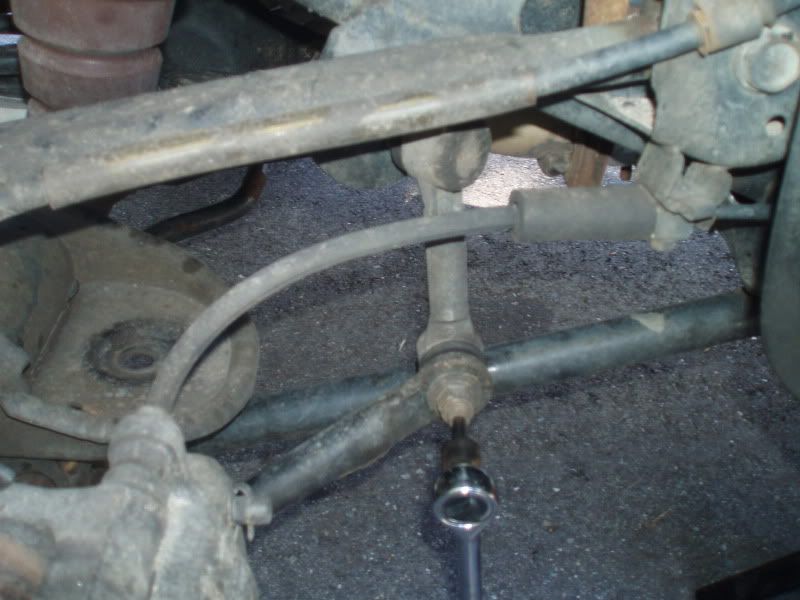
-the lower nuts removed with no problem, but the uppers had to be "coaxed". I used my rotary tool to cut relief grooves in the nuts, allowing them to move more freely. On one of them, I was required to use channel lock pliers to hold the bolt in place from the back end while turning the nut with the 18mm deep socket. I was in such a rush to get it finished that I forgot to take pictures
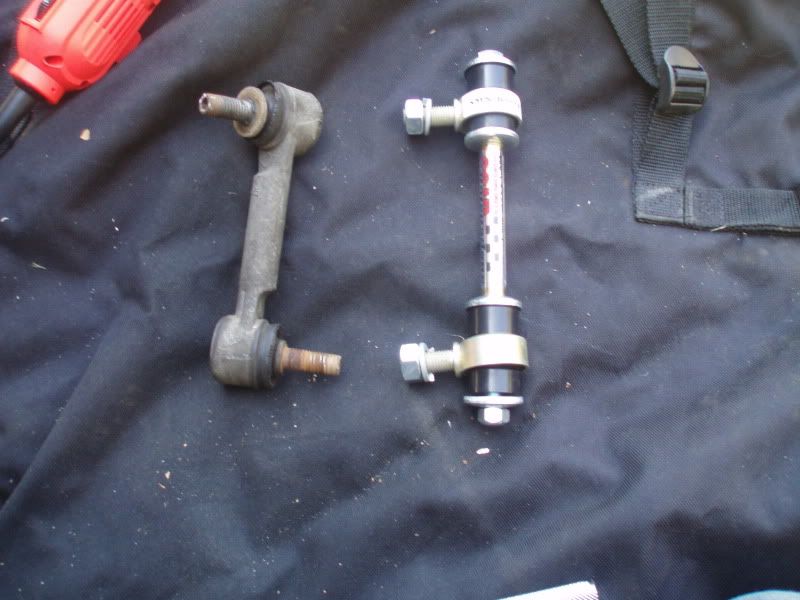
Now the old end link can be safely removed. Here is a side by side comparison.
Installing the new end link is a simplified reverse of the removal.
4. Put the new end link in place and finger tighten the nuts to keep it stable.
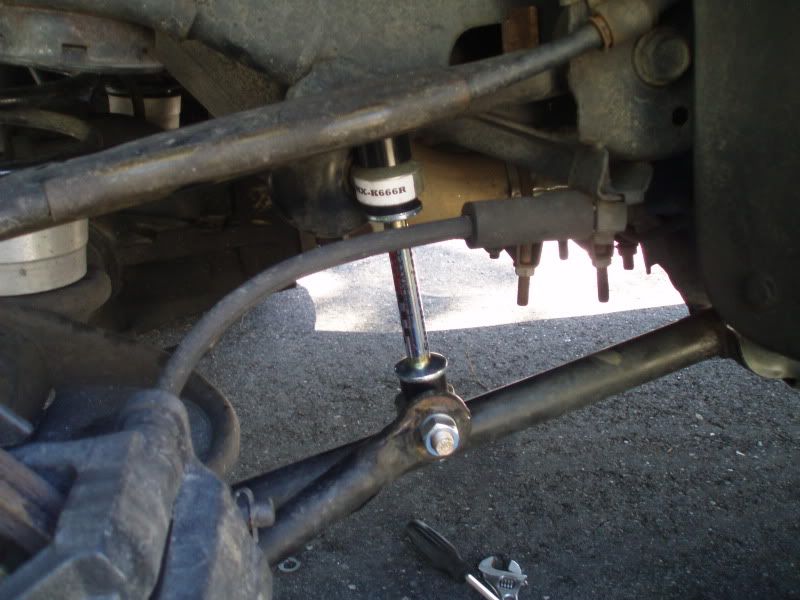
5. Using the crescent wrench, hold the bottom in place. The rear links will have the nut facing down, the fronts will have the bolt head facing down. The deep 9/16'' socket should be used on the top to take the slack out. Use your better judgment to make them snug without crushing the bushings. Then, use the 3/4'' deep socket to tighten the end link nuts to the specified 65lb/ft of torque.
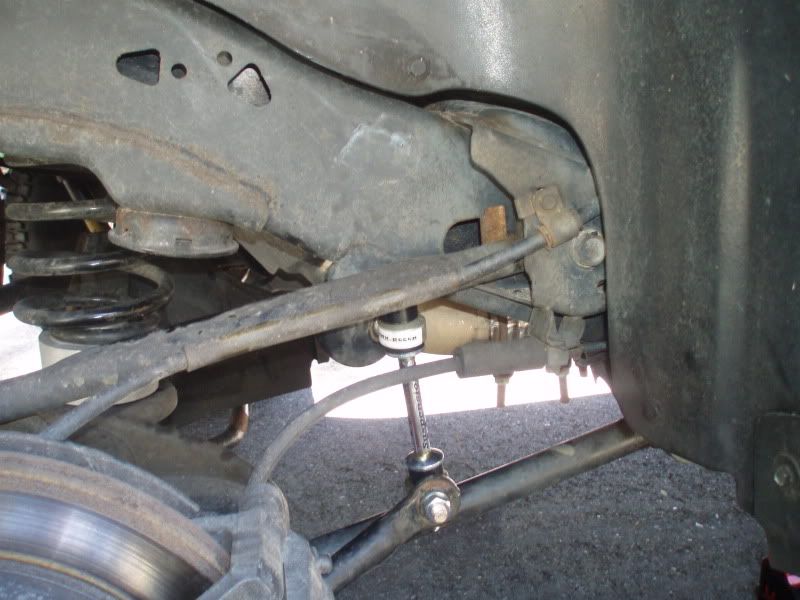
The finished product on the passenger rear.
6. Reinstall the wheel and lower the vehicle back to the ground.
Repeat this on all four links and you will be good to go! No more squeaks or clanks caused by the end links


